

As the owner of a modern Beneteau, Jeanneau or a host of other recently-launched dream boats, you’ve probably noticed the distinct lack of teak trim on deck. You may very well be pleased with this development. Minimal maintenance on deck allows for more sailing time! If this is you, you may want to search for another interesting maintenance article on the Practical Sailor website. No need to worry about the teak that isn’t there.
However, if you’re the proud owner of a traditional design that the manufacturer blessed with an abundance of teak trim on deck, and you’re facing teak maintenance on a seemingly never-ending cycle, this article may be of interest to you.
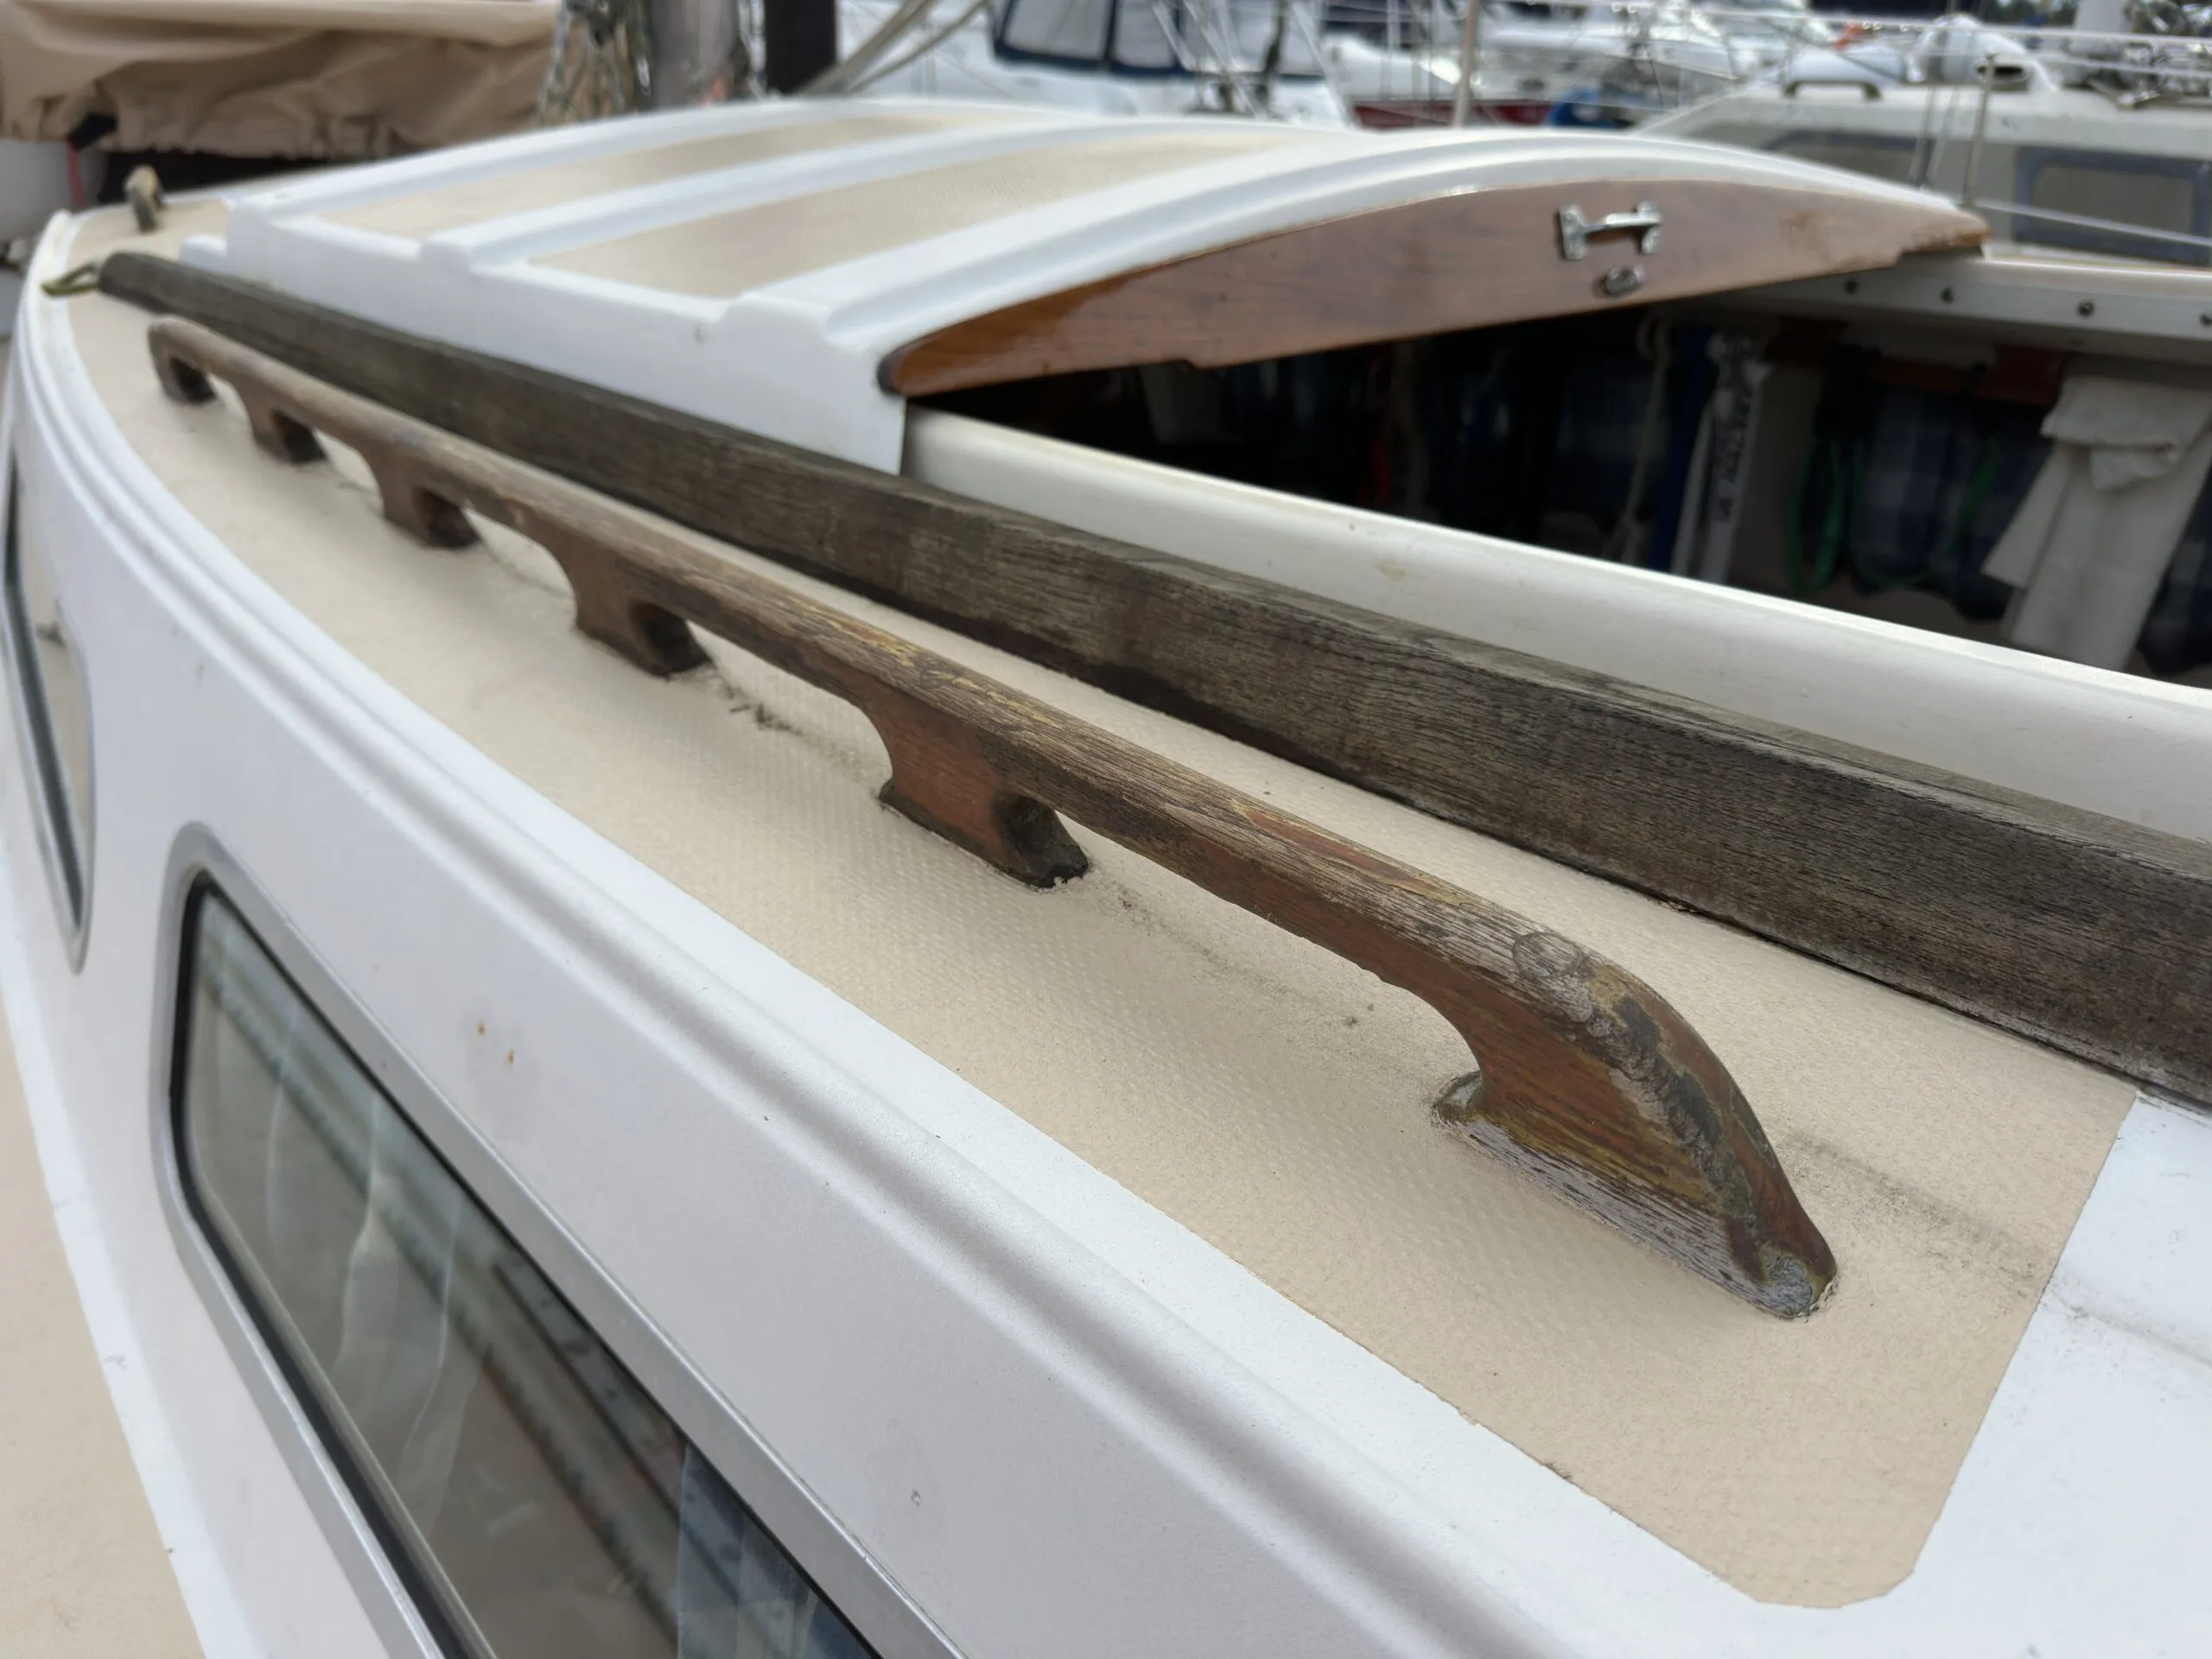
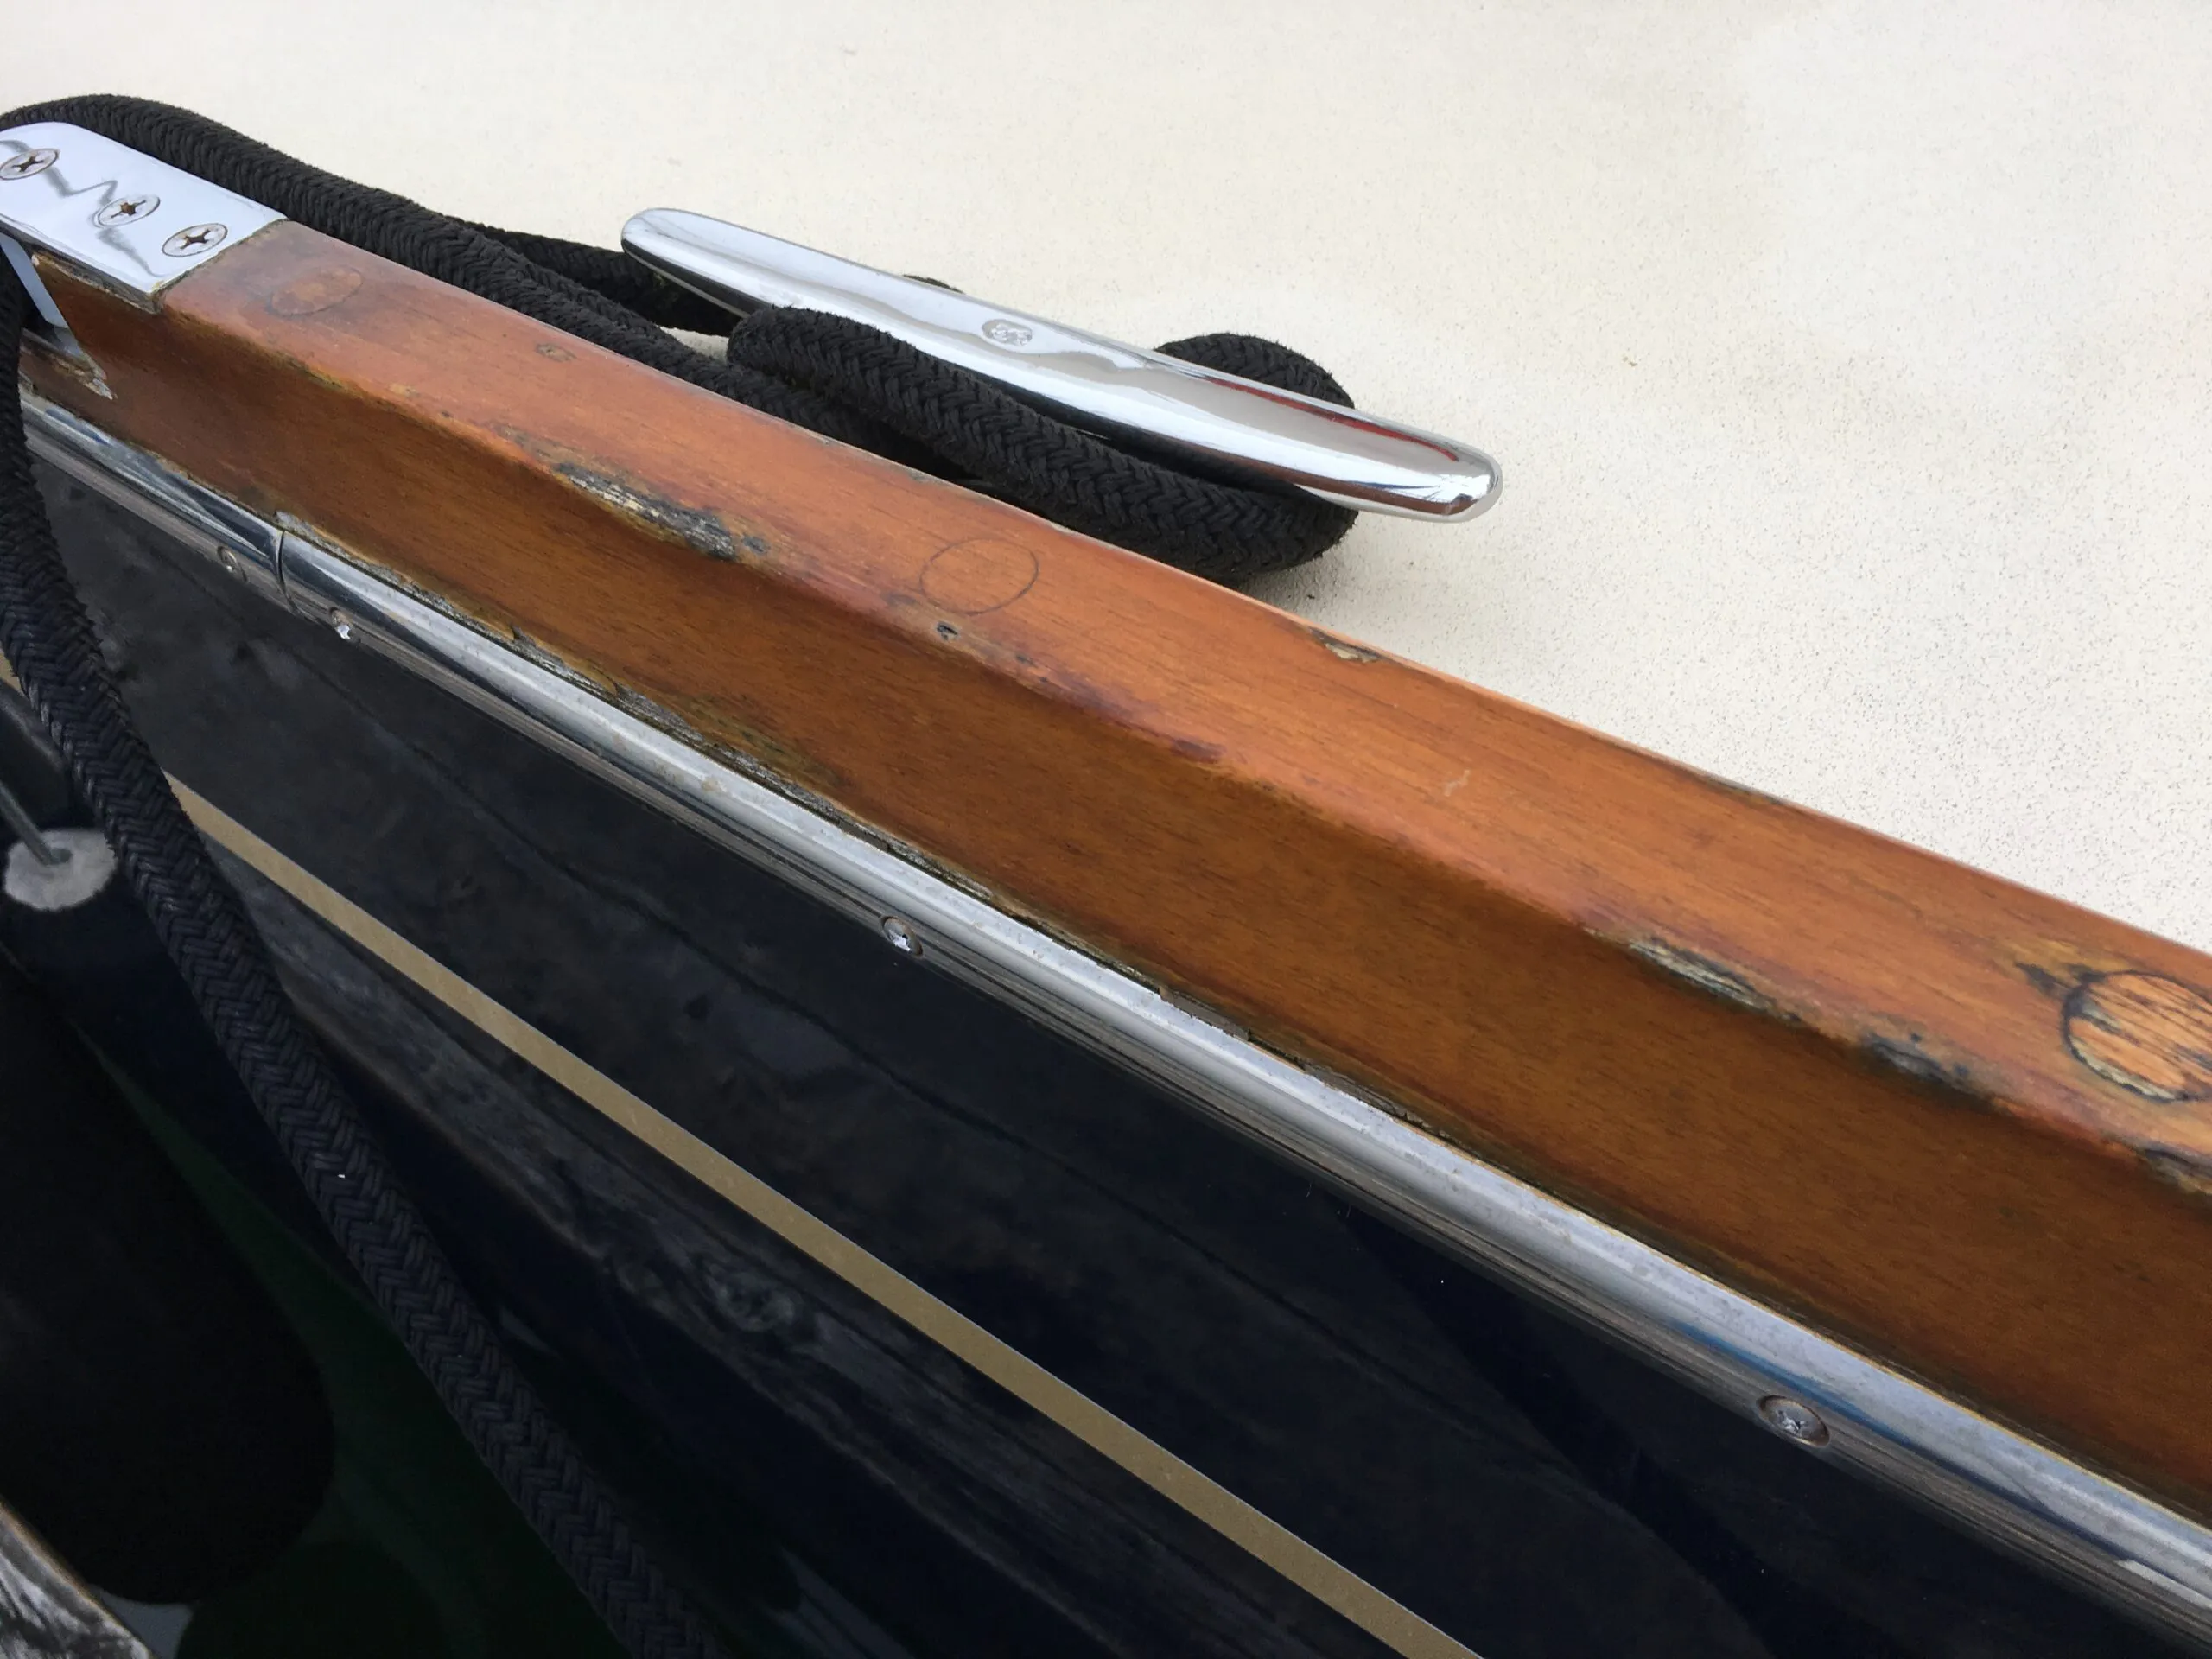
There’s nothing quite like the appeal of gleaming teak trim on a sailboat of any vintage. The handrails on the coach roof, perhaps an eyebrow accenting the cabin trunk, dorade boxes and teak toe rails all contribute to the aesthetics that draw attention at the dock and at anchor. But poorly maintained teak seems to cheapen the whole boat despite all the high-tech gear that may be visible. Finely finished teak trim is a goal worth achieving. How do we get there?
Environmental Conditions
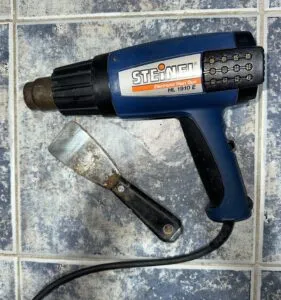
Before deciding on a finish, consider where the boat is located. Climate conditions in Florida and California are far different than Chesapeake Bay or the Pacific Northwest. Blazing sun and dry conditions call for maximum resistance to ultraviolet light. Northern climates, although lovely for the six months of the summer, are bedeviled with rain and freezing temperatures during the winter months. Although I can’t speak to varnish survival in Florida or California, I know that PNW winter rains are hard on teak finishes. Rain gets under teak-mounted fittings, then freezes as nighttime temperatures drop.
The same holds true where teak joints flex with the hull, causing hairline cracks in the varnish. Edges of the varnish start to lift. The upper finish may be in perfect condition, but the underlying structure lifts away from the teak and leaves a void that has turned black. That happens to all varnish-style teak finishes, even the exotic two-part finishes. The only remedy at that point is to sand down the offending portion and apply more varnish. Unfortunately, that repair will usually stand out as a repair. Blending the new varnish with the old is difficult. There are varnish-like products that allow for better blending when repairs are needed—I will address those further into this article.
Selecting a Finish
There are a plethora of teak finishes available in the marine world. Yes, with the word “marine” attached to the varnish, the price goes up. However, it’s all about the UV protection built into the product. Remember that most of the cost/effort involved in refinishing teak is in the labor, your labor. Now is not the time to skimp on the cost of the finish.
Practical Sailor has, over the years, published teak finish comparisons outlining longevity, gloss and ease of application. Researched by Darrell Nicholson, a long-time contributor to Practical Sailor, the article was updated in 2020 with links to specific articles on different varnishes and alternative finishes. See “The Best Marine Varnish: Exterior Wood Finish Tests.”
Ease of Application
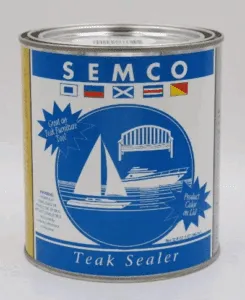
Ease of application should be a consideration before the product is selected. With some products a reasonably high level of skill is required to achieve an acceptable finish. In others, not so much. The easiest, by far, are the teak oils and products like Semco. Simply brush on and wipe off. The task must be repeated throughout the year if the finish is to last.
The most difficult are the two-part varnishes, mixing and time constraints adding to the degree of difficulty.
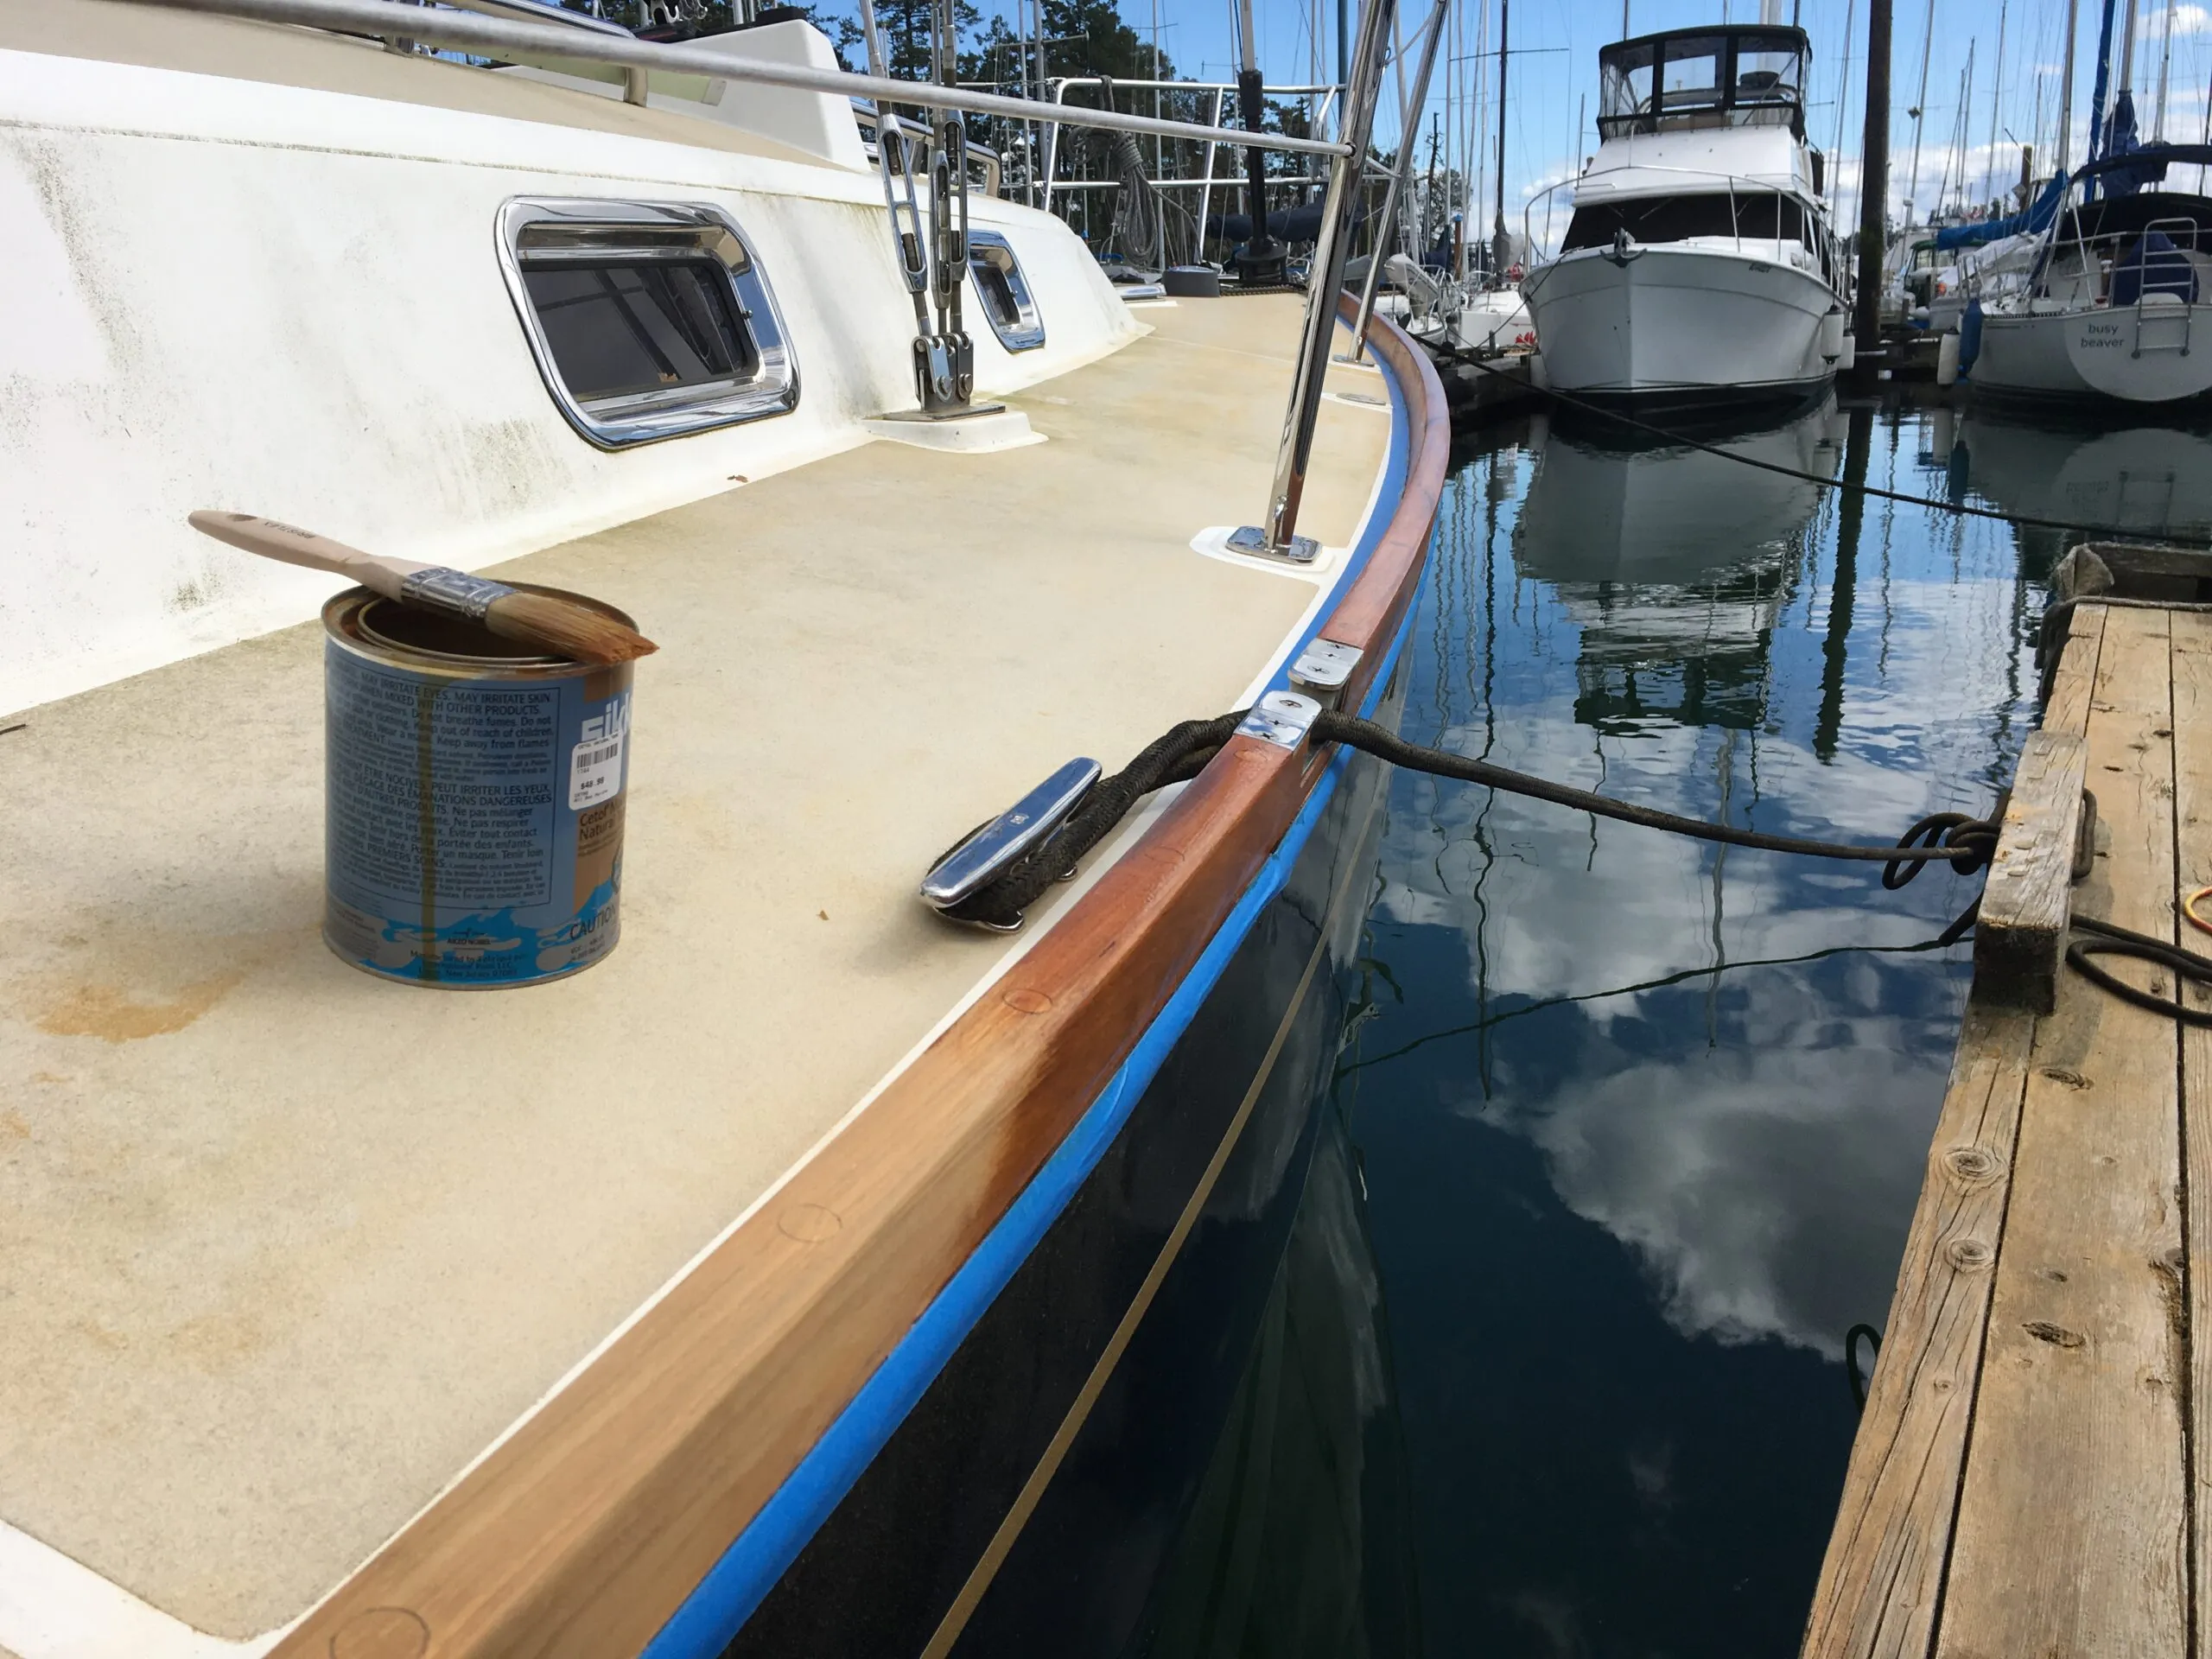
Between those bookends, Cetol and Deks Olje No. 1 and No. 2 are the simplest to apply, no special skills or experience required, no solvents and no brush dragging, simply brush on a thin coat.
The “standard,” true one-part varnishes can be tricky as temperature and solvent mixes determine ease of application. A wet edge must be maintained to prevent overlapping from appearing in the finish. Be honest with your skill level and select accordingly.
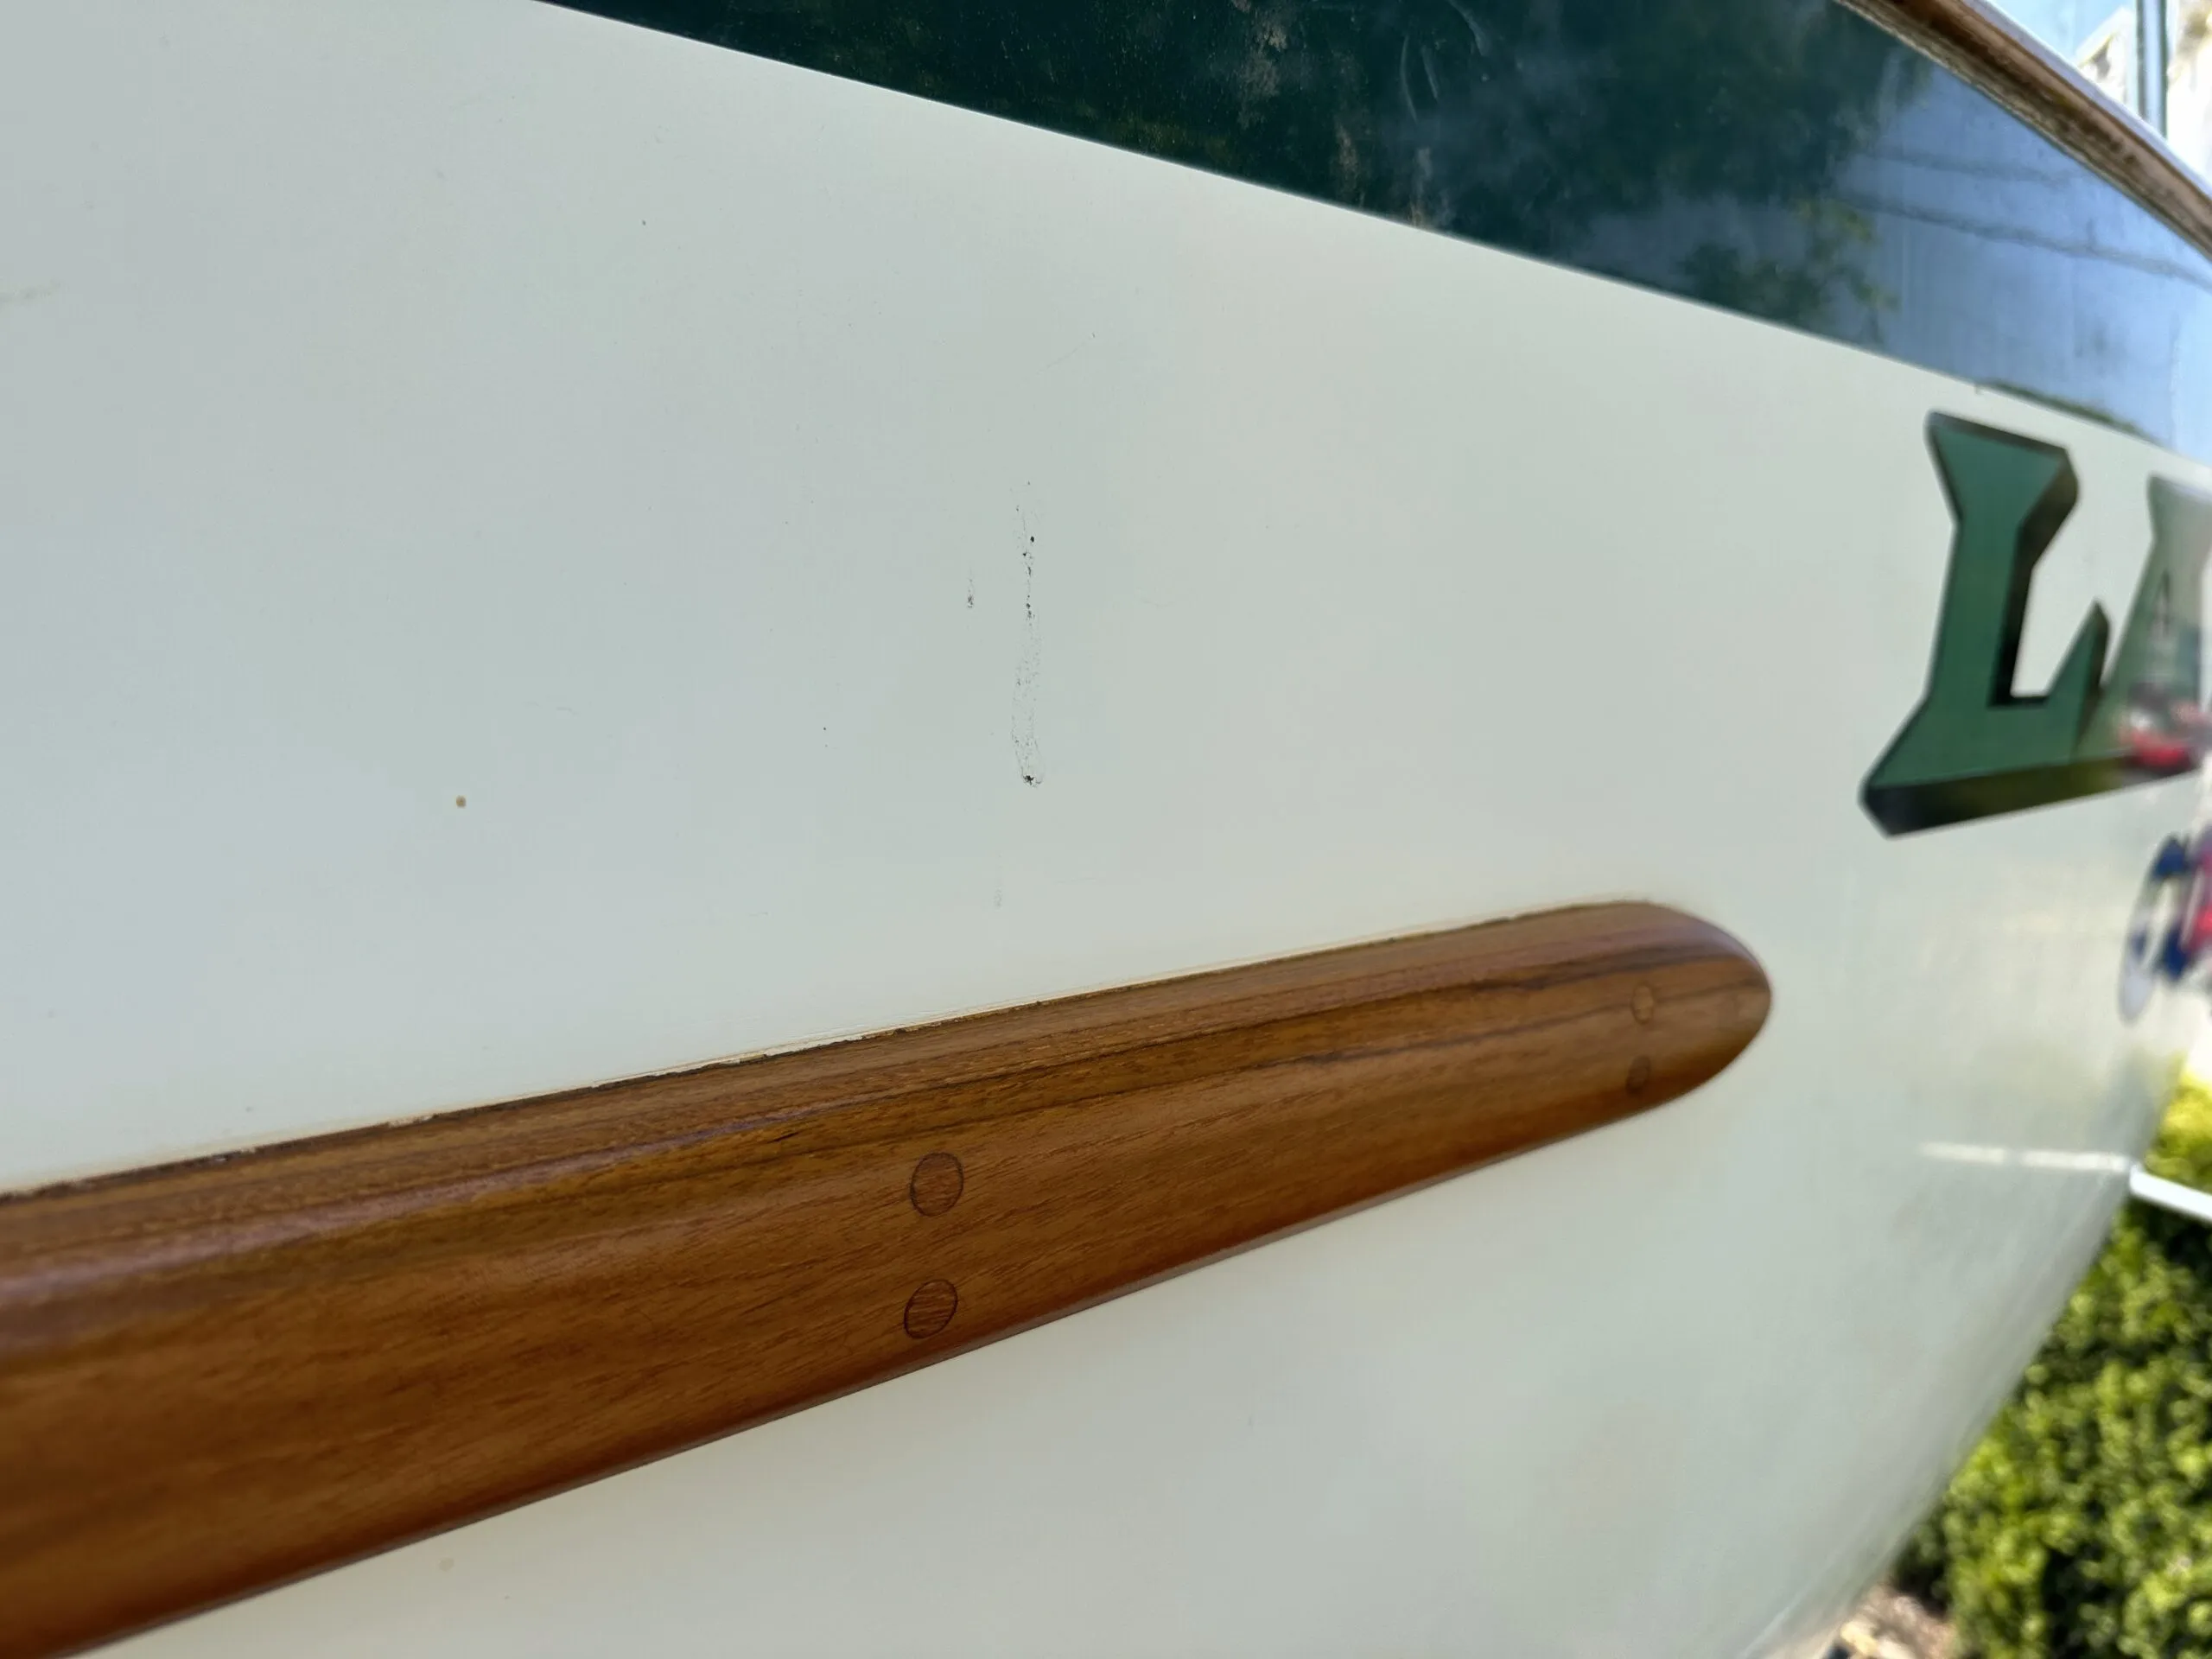
Teak Oil
Teak oil is still a viable option that provides a beautiful, soft luster when properly applied. A very simple brush-on/wipe-off, user-friendly application once the teak is prepared. A word of caution though, should the gelcoat near the teak be old and porous, care must be taken to not allow the oil to spill or drip onto that surface. It will discolor the gelcoat. Applying a coat of wax to the gelcoat makes a big difference, but don’t wax onto the teak!
Multiple applications of oil—with wet sanding between coats—can rival varnishes for the finished result. However, teak oil on its own is labor intensive. Repeated applications are a certainty as the oil dissipates under relentless sun. But it will never peel or lift as varnishes will.
Note: Wet sanding means using fine wet/dry sandpaper and lubricating the surface with a fine sheen of teak oil, sand the oil into the teak and then wipe off with a clean cloth. Multiple applications over a few days will produce a wonderful luster on the teak.
Semco
A different form of a teak sealer is Semco, a water-based polymer, available in different shades. I’ve used this on rub rails where varnish would never survive. Once the teak is sanded down to the 120 grit level, a simple double application of Semco will provide a sanded teak appearance with no shine, simply bare teak. Both coats can be applied within minutes of each other. And yet it stands up well to the environment and abuse. In our Pacific NW climate, a light sanding and re-application twice a year maintains that fresh teak appearance.
Varnishes
Standard one-part varnishes are provided by a host of manufacturers. Interlux, Epifanes, Pettit and Cetol come to mind. An old standby is LeTonkinois, a favorite amongst wooden boat owners. There are also regional finishes not necessarily available nationwide.
Providing a high luster shine or satin finish with UV protection is the goal of all such products. Each has its own degree of application difficulty with specialty solvents and application procedures requiring multiple coats.
It is critically important to follow the manufacturer’s directions, either on the can or on their website. After all my years of varnishing, I still check the instructions on the can as I go between boats and products, just to ensure I have the right process.
Task-Specific Varnishes

Within each manufacturer’s line of varnish products there are also specific varnishes for specific tasks. As examples, Epifanes provides a teak finish specifically designed to grip oily teak and still finish with a high gloss finish. They also have a high-build product that allows the rapid build-up of base coats, multiple coats per day. Cetol provides a high solids varnish for extra UV protection, and then a clear varnish to apply overtop to produce a high gloss finish.

Varnishes for Professional Application
There are also two-part epoxy varnishes available from companies such as Epifanes. These provide a brilliant, long-lasting finish, but are more difficult to apply. Although available to boat owners, from experience I would recommend such products be left to the professionals. Awlgrip, well known for two-part hull paints, also produces Awlwood, a one-part varnish that leaves a very hard, brilliant finish that seems to last for years. I found it difficult to apply in an outdoor setting.
Easiest-To-Apply Varnish
Of the one-part varnishes Cetol is probably the easiest and most forgiving to apply. Instructions call for three coats of the high-solids product, no sanding. The result leaves a somewhat muddy satin finish that tends to hide the true beauty of the teak. For a glossy finish, Cetol recommends the additional coats of Cetol clear. The varnish brush does not drag and there are no solvents to mix.
LeTonkinois is a very thin varnish and brushes on very easily. If you’ve followed Leo aboard Tally Ho on YouTube, the varnished teak on deck is LeTonkinois. I refinished the forward doghouse this spring and, in his latest episodes, Leo mentions the need to re-finish the varnishes on deck. The equatorial sunshine is brutal. Tally Ho’s stern was varnished with Epifanes. It will be interesting to see how it survives.
Owatrol’s Deks Olje

Knowing that the winter water problem exists here in the PNW I’ve tried a variety of varnishes, all failing after a year or two. Edges around fittings and flexing joints lift allowing water under the varnish, even with annual topping coats. Knowing that repairs will eventually have to be made, I’ve settled on a product that can be repaired to an almost invisible status. This is not a paid promotion for this product. I have no affiliation with the company and pay full price just like everyone else.
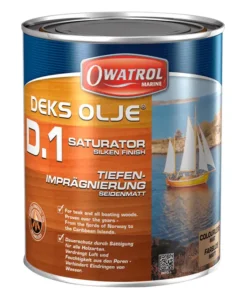
Owatrol’s Dek’s Olje is a two-part, oil-based teak oil/finish that I’ve used for about 30 years. Deks Olje 1 is simply an oil, but it’s the base coat for Deks Olje 2, a varnish-like product. The final result is as glossy as varnish, but unlike most varnishes that leave a hard finish, Deks Olje 2 remains flexible. The bonus is that where it lifts in corners and at fittings, the lifted portion can be peeled or sanded down, Deks 1 wet-sanded into the teak underneath and Deks 2 applied as normal. The repair is virtually invisible.
I’ve managed more than 15 years between a total refinish on my own boat. The downside is the flexibility of this product is not suitable for cockpit tables or companionway boards where hard use is a daily occurrence. But it’s great for trim and handrails. Although this product works well in our PNW climate, I cannot speak to its longevity in Florida sunshine. Perhaps a reader could experiment and let me know.
Bottom Line
Again, do the research. Determine what kind of a look you want for your teak trim. Do you have the skill set and are you willing to put in the effort to successfully apply the product you’ve selected? Remember that there is far more cost involved in the effort than in the product to be applied.
Preparation
It really doesn’t matter what product you plan on applying to the teak, preparation is the key. The cost of the product is minor compared to the cost and effort required to get the teak to a condition that will reflect the glow of a well-maintained teak trim.
Dust Management

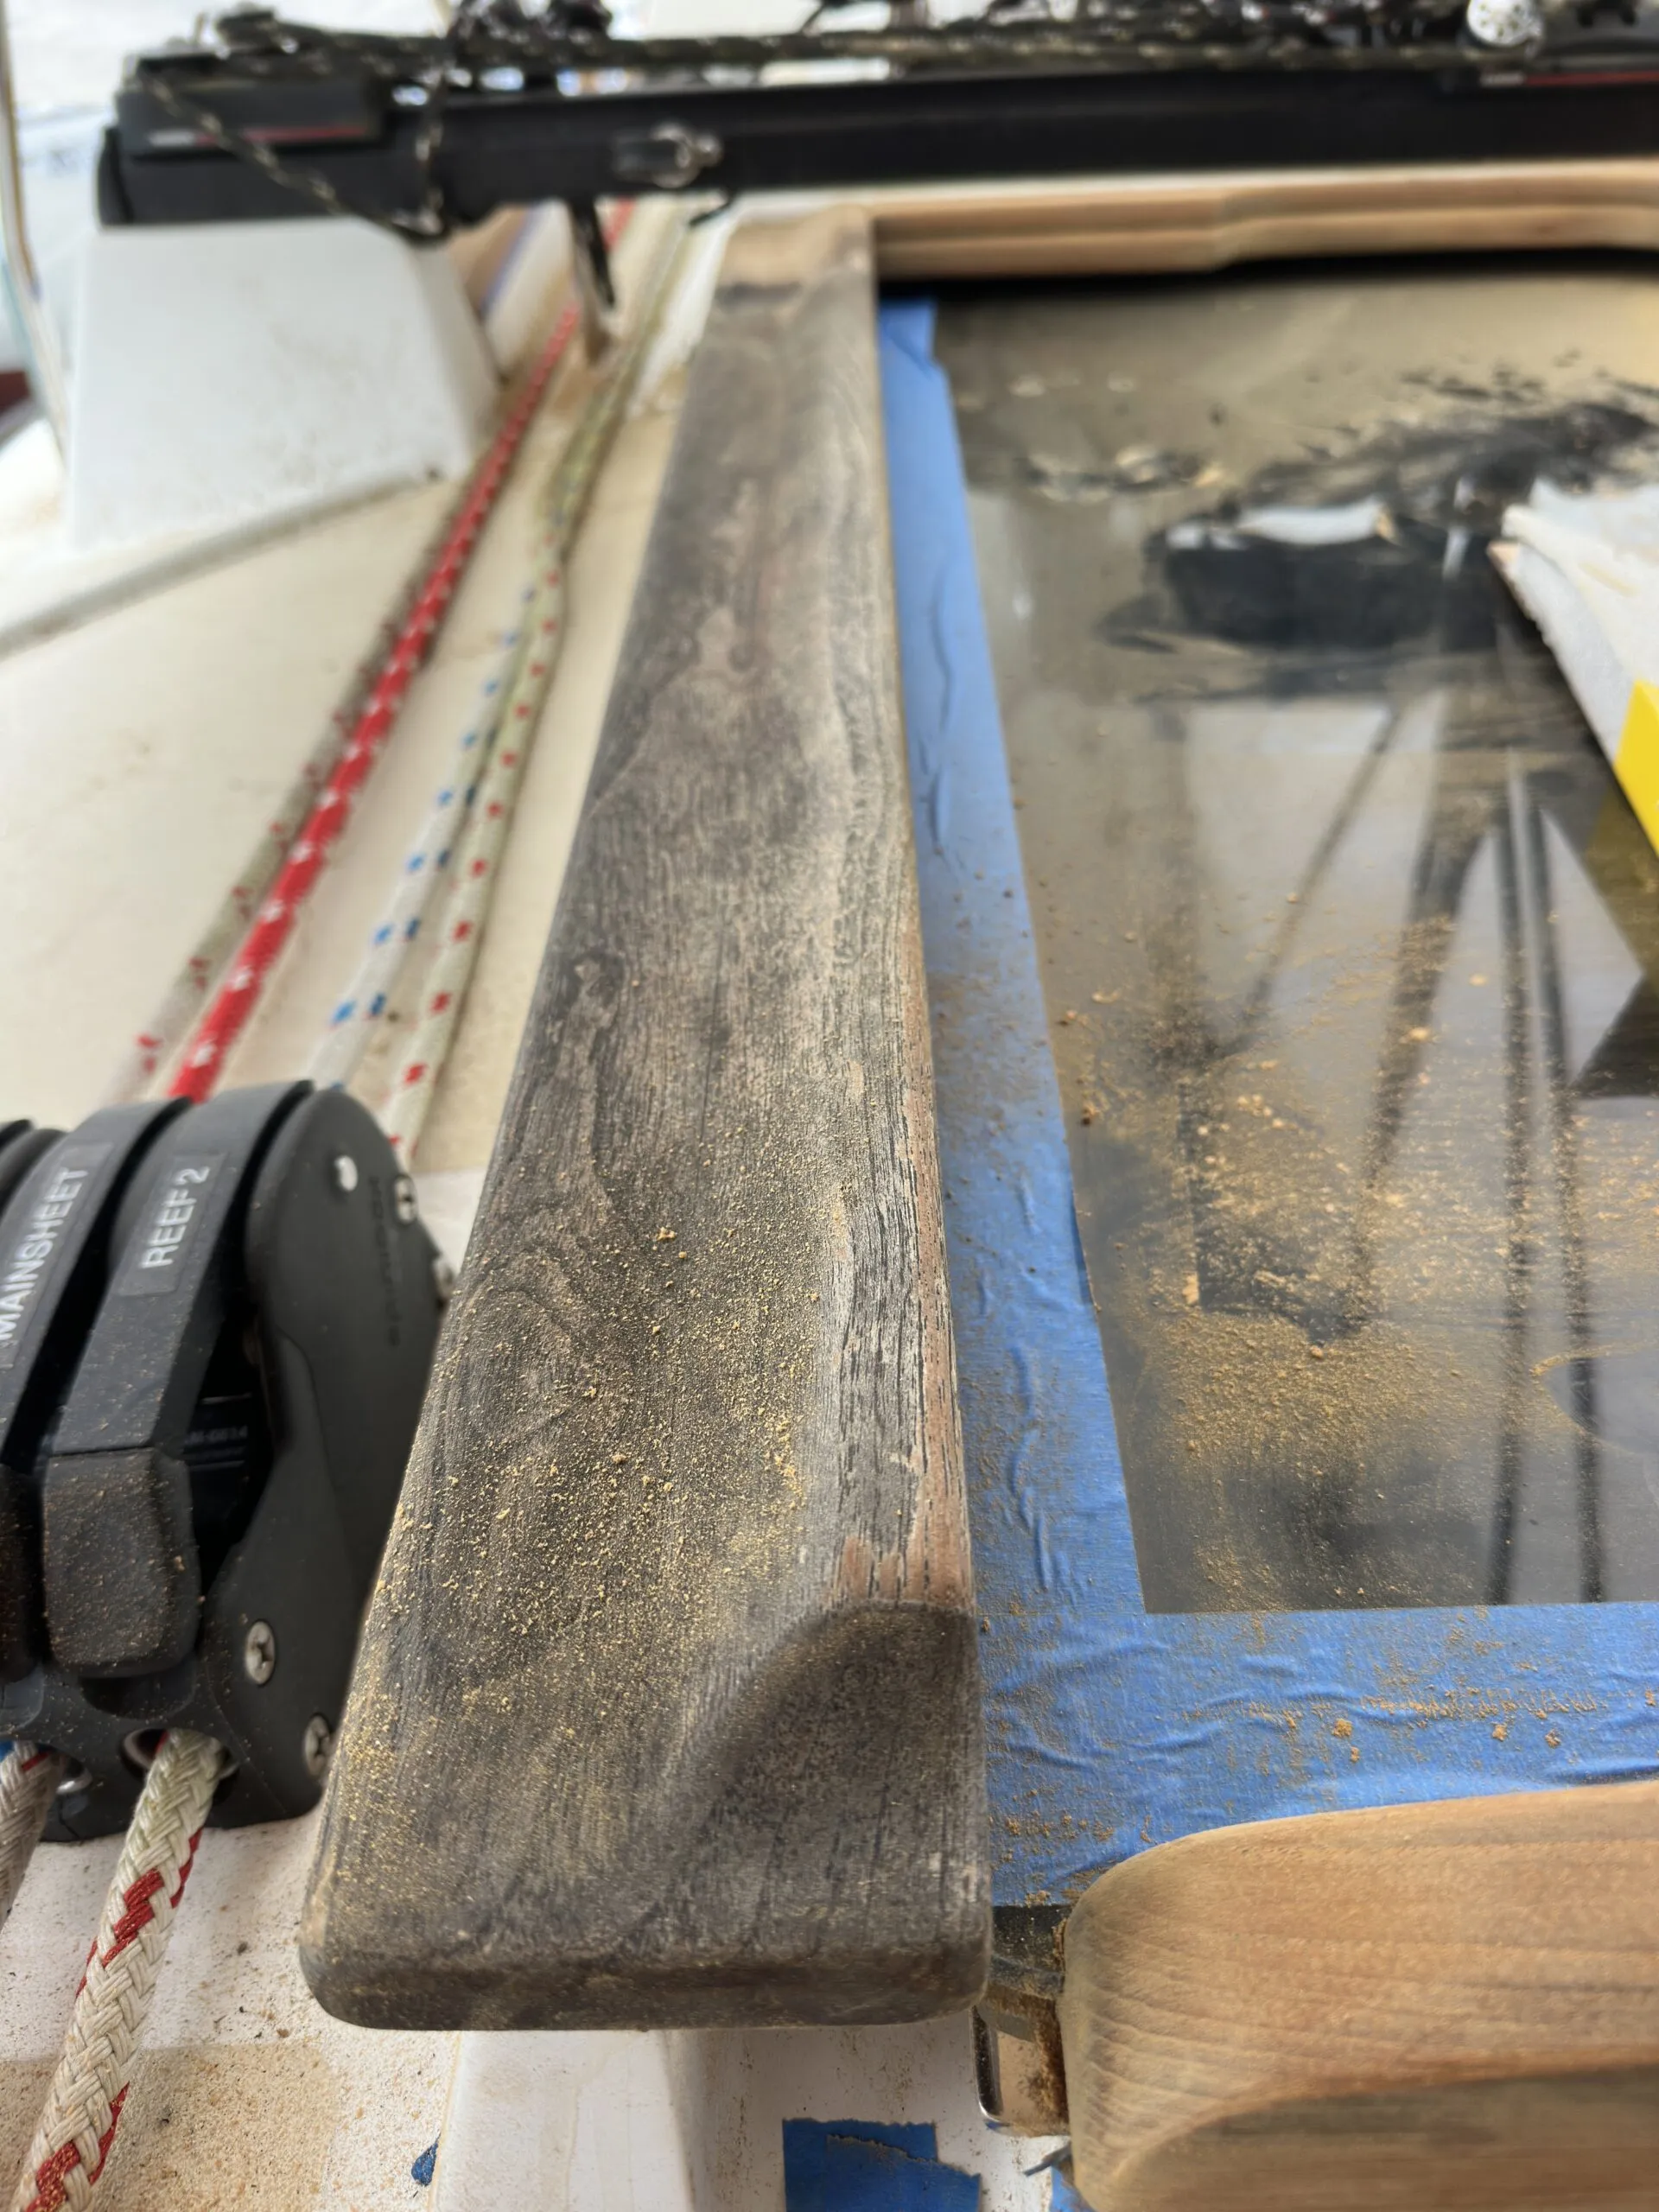
Unless you have deep pockets and are sending your treasure to a professional boat yard with its climate-controlled facility, you’ll probably be performing the work yourself at the marina, floating at the slip, or at a boat yard. Sanding the old finish off will be the first step towards teak nirvana. However, in our times of environmentally sensitive marinas and boat yards, it would be prudent to check with staff to determine working parameters. Dust control from sanding will probably be near the top of the list. Your neighbors may not be pleased with dust covering their boats either.
Hand-sanding companionway trim or handrails may not be an issue. Power sanding a cap or toe rail may be a different story. Dust collectors on most random orbital sanders are notoriously inefficient, dust escaping constantly. I’ve found that taking the standard dust collector off the sander and using duct tape to attach the hose from my wet/dry vacuum is a far more effective method of dust control. Your neighbors will appreciate the effort.
Removing Old Finish
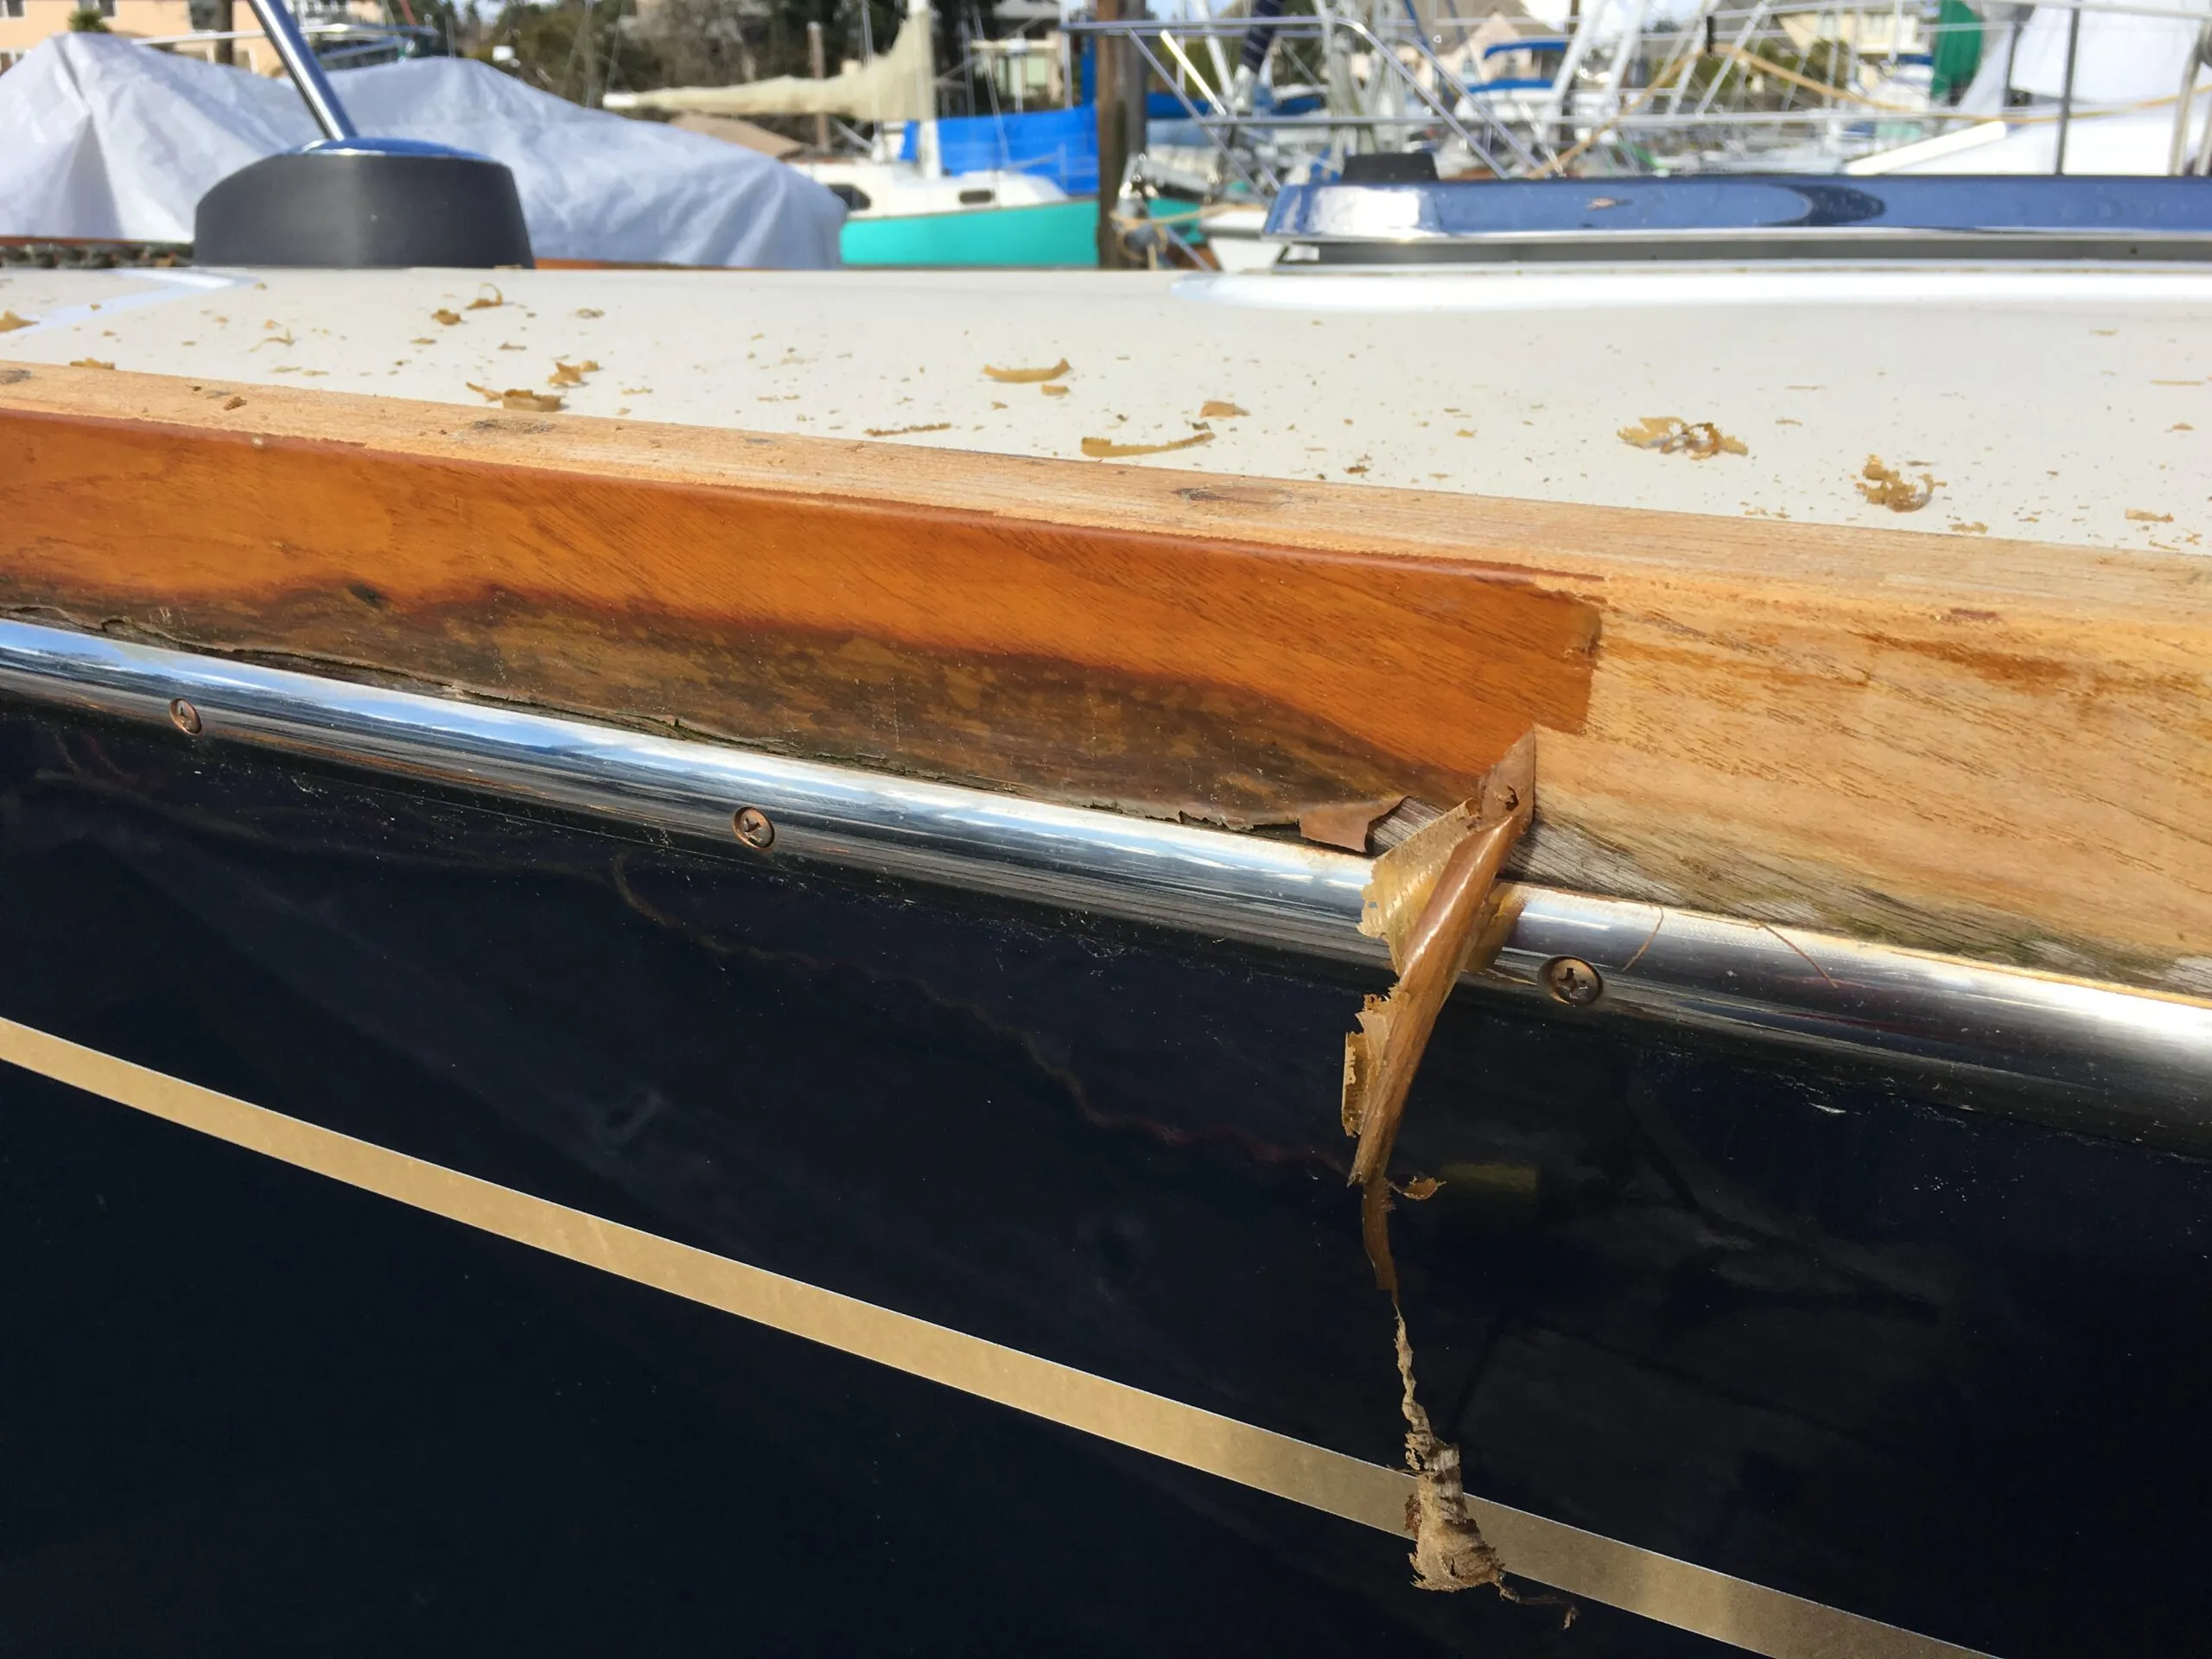
For Thick Layers
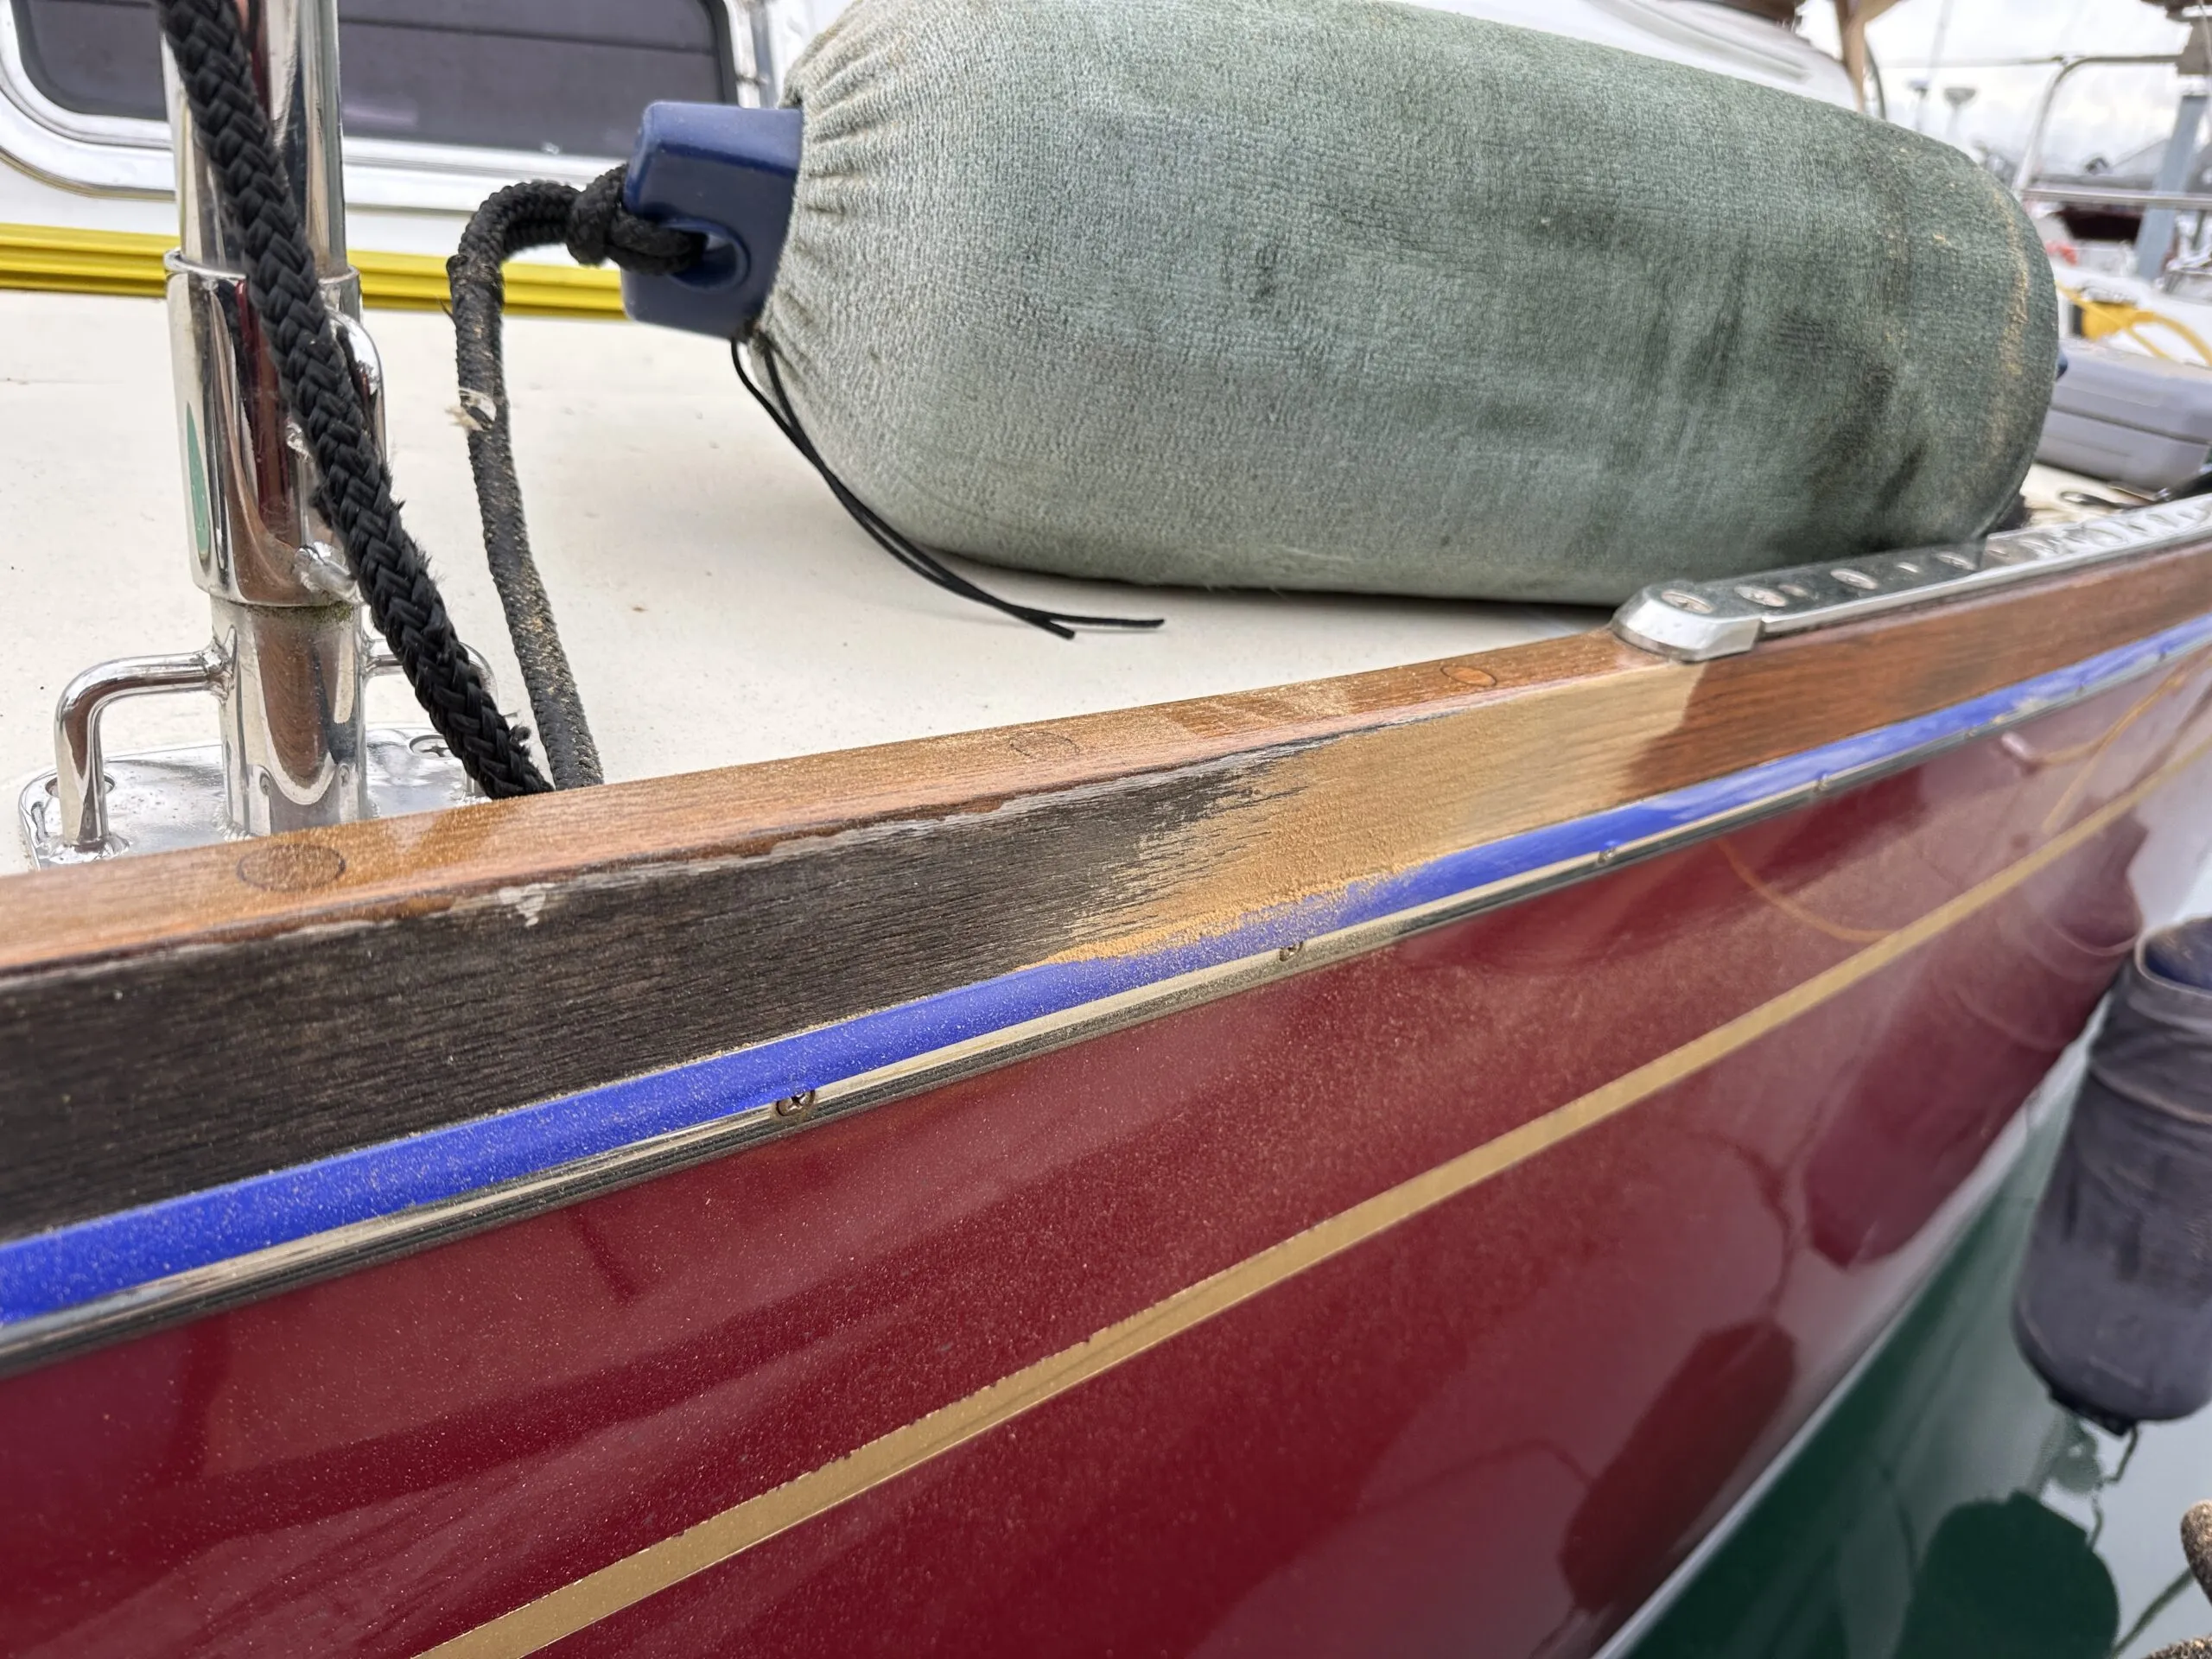
If the job is going to be extensive with plenty of teak covered in thick layers of lifting or damaged varnish, that old finish will have to be removed. The choice is sanding or stripping. Although I have tried gelcoat-safe liquid varnish strippers in the past, I have yet to be satisfied with the results. The delay in waiting for the chemicals to work and resulting mess takes more time and effort than I like. Furniture stripper from your local hardware store, a more powerful chemical, may do permanent damage to the gelcoat—ask me how I know, another lesson learned!
I have found the most effective way to remove thick layers of old varnish is a heat gun and putty knife. Care must be taken in the use of the heat gun. Focusing close to gelcoat may damage that finish. But it doesn’t take much to soften the varnish to the point of removal. The removal doesn’t have to be perfect either, just get the majority off. Caution should also be taken with the putty knife. From the store the knife has sharp edges and corners, perfect for gouging the teak under the varnish. Round off the edges and corners with a file or sandpaper before you start.
For Thin Layers
If the teak is not covered in a thick layer of faded varnish, or has a thin layer of old varnish, or no varnish at all, then sanding is the best option. Tape off adjacent gelcoat and stainless-steel fittings with masking tape. I use vinyl “masking tape” such as 3M-06408 Vinyl Tape available from most building and automotive supply shops. Although fairly expensive, it offers much better protection from unintended sanding damage to adjacent gelcoat and stainless-steel fittings. A power sander will go through regular masking tape in the blink of an eye.
Start with the large areas that a random orbital sander can reach. Depending on the state of the teak surface, 80 or 120 grit paper would be called for. Don’t forget a properly fitting dust mask. Teak dust can be very irritating to the sinuses. The 80 grit paper will chew through teak fairly quickly, down to the fresh teak in no time. Care must be taken. If the removal of hardware (pad eyes, blocks, etc.) from the teak is possible, do so before sanding. This will ensure that there won’t be any ridges in the teak leading up to a fitting. Fittings are also the first entry point for water under the varnish when the rains fall, it’s worth removing and varnishing underneath.
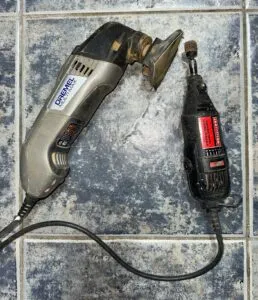
Removing Layers in Hard-To-Reach Areas
Once the majority of the flat surfaces have been sanded down to good teak, the detailing starts. Using a detail sander or rotary tool (Dremel products come to mind) it’s time to get into places that the orbital sander couldn’t. Take your time, this is where the labor comes in. Getting into those tight places is time consuming and potentially frustrating. If hand sanding is required, and it will be, use tight fitting gloves to protect the skin on your fingers. Sandpaper can be brutal.
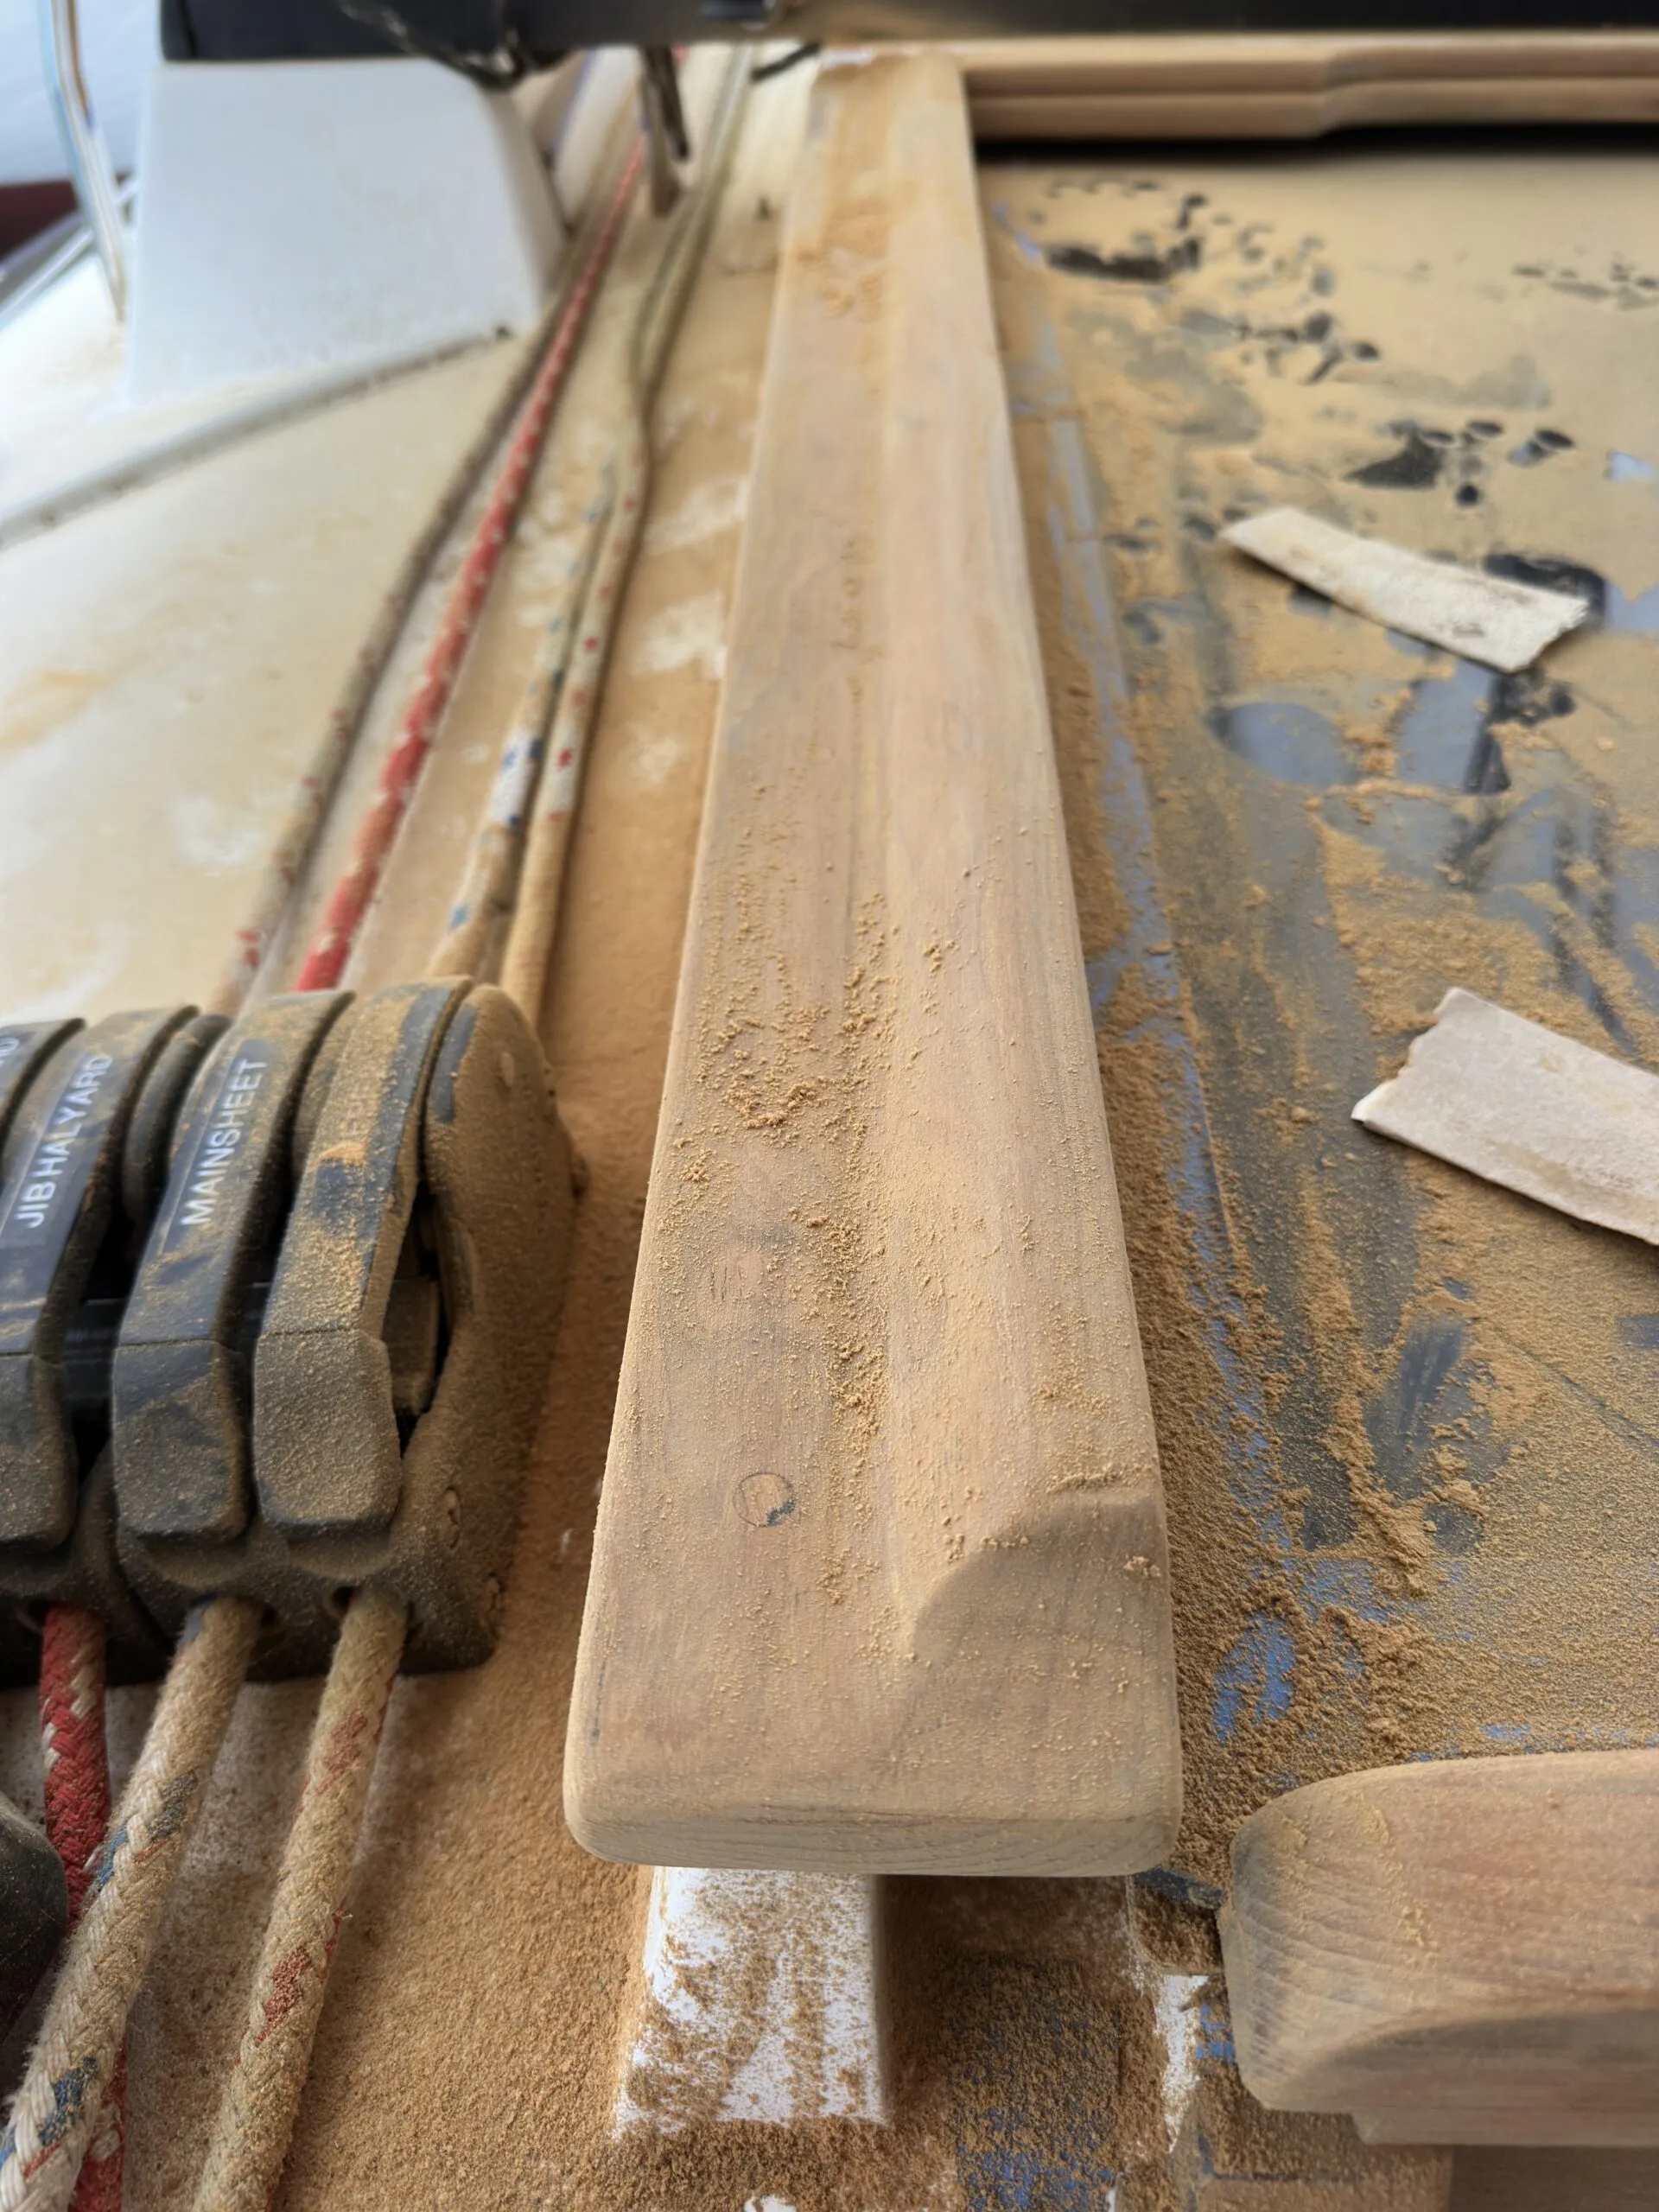
Fine Sanding Work
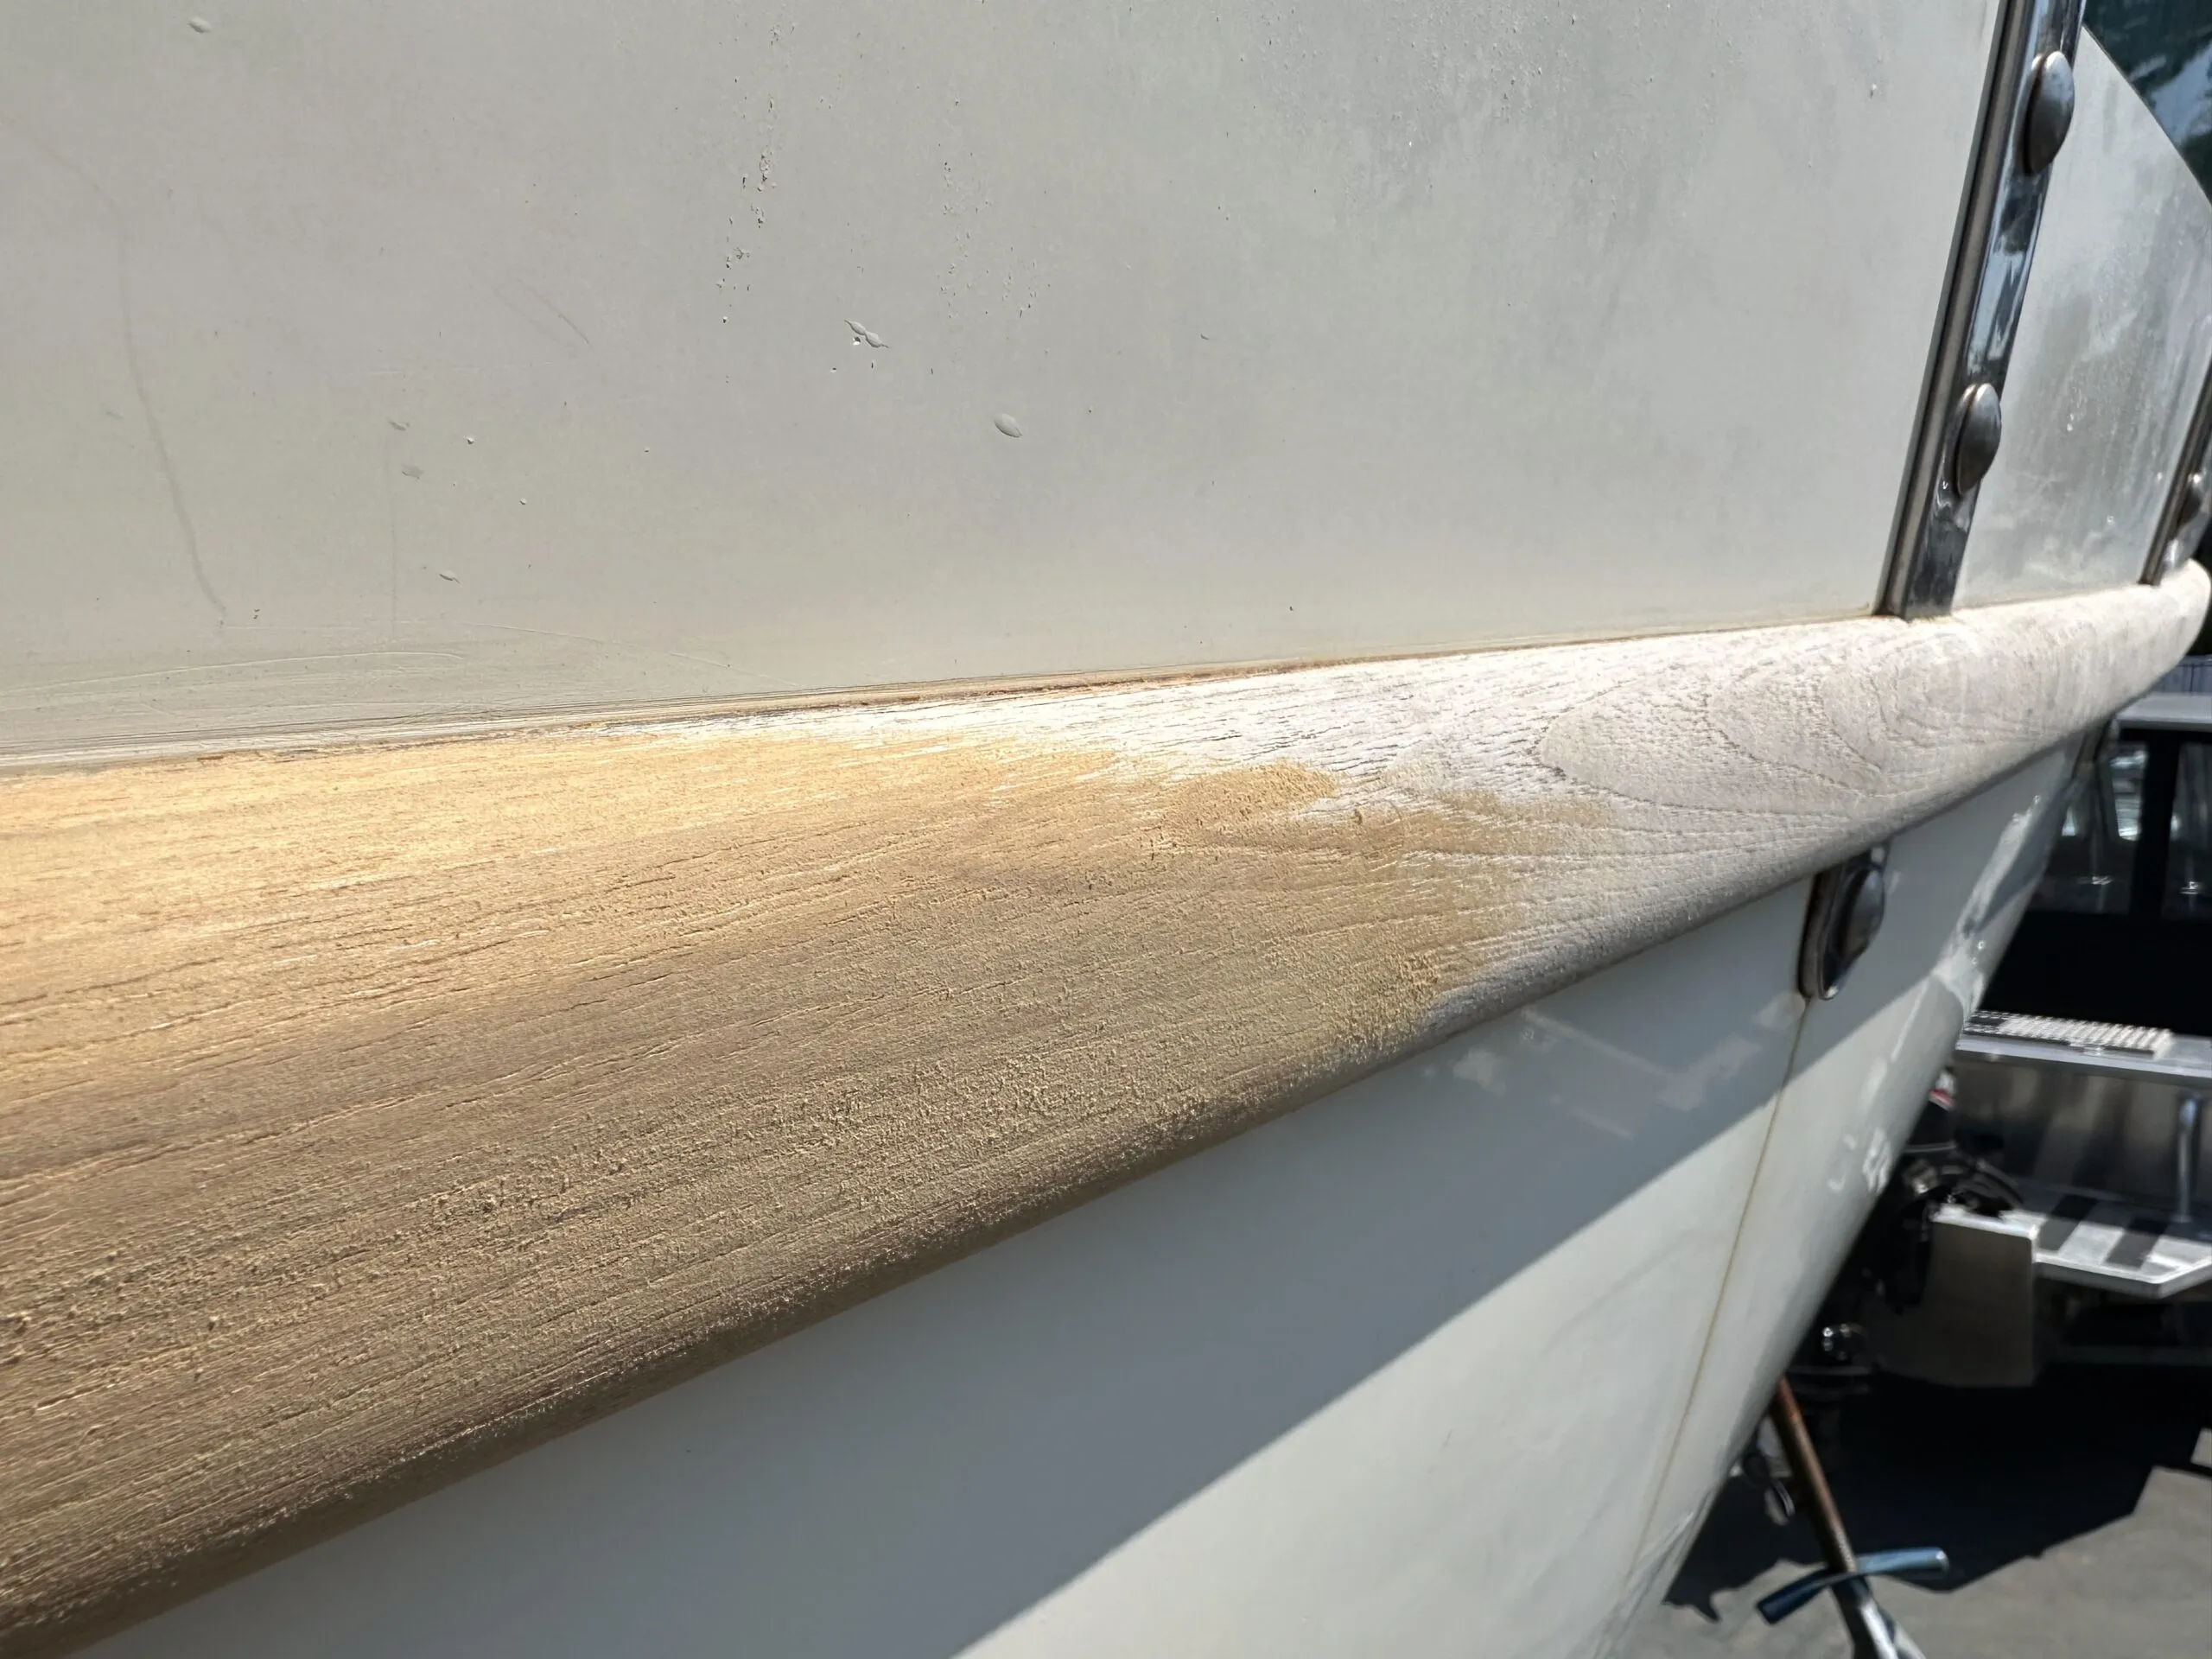
Once all the teak is free of the old finish and sanded down to bare wood, and if 80 grit paper has been used, repeat the entire process using 120 grit sandpaper. If the teak wasn’t in bad shape to begin with, perhaps start with the 120 grit sandpaper and save yourself a step. The 80 grit will leave scratches/swirl marks on the teak. The 120 sandpaper is used to remove these marks. But even 120 sandpaper will leave tiny swirl marks.
The final step is to hand sand with 120 grit longitudinally with the wood grain. It won’t take long and will highlight any remaining cross-grain scratches and swirl marks. I would not recommend going finer than 120 grit sandpaper. The first layer of finish will need something to grip. Sanding down to 220 or 320 grit sandpaper will leave a beautiful teak finish but the first layer of thinned varnish will sit on top of the teak and not penetrate as it should.
Application
Weather Conditions
The most laborious part of the task is now completed. The teak is bare and ready for the first coat of whatever finish you’ve decided on. Unfortunately, for the typical sailor, the boat is outdoors and subject to temperature variations, moisture and airborne contaminants while the finish is being applied. In the ideal world all finish applications would be undertaken before noon on a warm cloudy day with no chance of rain in the forecast, in a boat yard where no other boater is starting a bottom sanding job just upwind.
To make it more complicated, remember that in spring, the time most such projects are undertaken, the air may be full of pollen from nearby trees. Any breeze will turn the fresh varnish into a sandpaper surface.
Teak Oil or Semco
If you’ve selected teak oil, or a product like Semco, application is quick and easy. The finished teak will either glow with teak oil or look like natural, unfinished teak with Semco.
One-Part Varnish
If you choose a glossy finish you’re probably going with a one-part varnish. It is critically important to read the manufacturer’s instructions on application. Most one-part varnishes will require a thinner for the first couple of coats, allowing the product to penetrate the oily teak. Use the proper thinner! Hardware store solvents may not be compatible with the varnish. Why take the chance of the base coat failing in the future? Some products call for an acetone wipe-down of the teak prior to the first coat, removing as much of the natural teak oil as possible.
Protect Areas With Tape
Mask the gelcoat and stainless-steel fittings close to the teak with tape to prevent unwanted stains. Applying masking tape to a stippled, non-skid deck is problematic, thinned first coat varnish will get under the tape. It’s best to apply the first coat sparingly and carefully.
Wipe Teak With Solvent
Before applying the first coat of varnish, wipe the teak with a solvent, or simply give it a good washdown with water. Solvents dry much more quickly. The goal is to remove as much dust as possible before that first application. Once properly dried, and using an appropriately sized quality brush, the first coat soaks into the teak. I favor an undersized brush over a larger one. The smaller size—1-in. angle brush—won’t hold too much varnish and forces attention to detail.
Decant Varnish Needed For the Day
If you’ve just opened a fresh can of varnish, it’s critical to decant what you need for the day’s project into a smaller container. To introduce thinner for that first coat, some varnish must be decanted anyway. I favor small mason jars as they can be properly sealed for the next application. More importantly, varnishing from a decanted jar or can will prevent contaminates from getting into the remaining varnish. This will be important when it comes to the final finish coat, no contamination to ruin that last, glossy coat.
Another tick is to store the varnish can upside down once the lid is secured again. This will prevent any exchange of air through a leaky lid and prevent a skin forming on top of the remaining varnish.
Let the First Coat Dry
Patience is a virtue at this point. Allow the first coat to dry! With some varnishes that first coat never feels completely dry. Depending on the environmental conditions, a full day should do it, whether it still feels sticky or not. At this point you will also discover portions of teak not thoroughly sanded. These will appear as light-colored splotches on the teak, the old finish not completely removed before the first new coat was applied. These spots are very difficult to see while sanding, but they will stand out when the first coat of thinned varnish is applied. Additional sanding will be needed. This can be very frustrating.
Continue With Further Coats

Once you’re satisfied with uniformity on the first coat, subsequent coats will dry more quickly. Pay attention to the percentage of reducing solvents in the subsequent coats as the layers are building up. Again, read the manufacturer’s instructions.
Sanding between coats shouldn’t be required until three or four coats are applied, or too much time has passed since the last coat. Again, read the instructions.
Here’s a hint for the brush: Instead of washing out your brush in solvent after each coat, simply seal it in a plastic bag and store it in the freezer. The brush will stay fresh for days.
Challenges
Applying subsequent coats can prove challenging. Each product has its own idiosyncrasies when it comes to smooth application. Temperature and humidity are important factors. The warmer the day, the quicker the varnish sets up, and the brush drags in the varnish. Application on a hot day in direct sunshine is probably the worst combination.
Experimenting with small amounts of the correct solvent will help in smoothing out the application. Careful though, too much solvent and the varnish may sag on anything other than a horizontal surface. That’s what experience is all about! Be cautious of varnishing late in the afternoon if there is a possibility of dew falling before the varnish can dry. A blush will occur with the top layer turning blotchy white. A thorough sanding and topcoat usually solves this problem.
Each manufacturer will stipulate a minimum number of coats to be effective, providing protection to the teak. Note the word “minimum.” While the masking tape is on, the brush is wet, and you’re tuned into the project, it may be worth adding a few coats.
Final Coat
When it finally comes to the anticipated last coat the process should be a bit more detailed; a final sanding with 220 grit sandpaper, wipe-downs with a tack cloth and waiting for the best conditions available. If you’ve been using the same brush all along, either wrapped in plastic in the freezer, or simply placed in a jar with solvent, now is the time for a complete cleaning.
After a solvent bath, wash the brush in Toluene, a chemical that allows the brush to be subsequently washed in warm water with dish soap. Let the brush air dry in a protected area. Once completely dry, place in a plastic bag and seal. Done properly you know the brush is free of dust and other contaminants. A brush fresh from the hardware store may very well have contaminates from the factory or shipping despite its fancy packaging. It’s better to go with a brush you know is clean.
A common mistake when applying that last coat is applying too much varnish. It looks so good going on, a little bit more should look better. Not so! The extra varnish simply encourages sags and runs. Keep it thin, as you have for the last few coats.
You’ll note that I used the phrase “anticipated last coat”. If that coat does not live up to expectations, apply another “last coat”.
Maintenance
There is no magic wood finish that will last for years without any thought to maintenance. Ultraviolet light and weather work their way down from the top layers, eventually destroying the finish and reaching the teak beneath. Annual maintenance is required. For most applications this is simply a light sanding, repair a few dings, and apply two coats of additional product. This restores the UV protection. Maintenance usually boils down to motivation. It’s difficult to apply additional coats on a varnish that still looks good when there are so many other boat tasks to complete.
Conclusion

Maintaining teak on a sailboat may sound like a far too much work! I know some boat owners who have replaced their teak handrails with stainless steel, painted the companionway trim white and replaced the teak boards with plexiglass. Perhaps some day I will reach that stage. But not now. Rowing away from your boat in a quiet anchorage with the teak trim glistening in the warm sunshine, there is an element of ownership pride that paint and stainless steel will never replace. Dockside comments reinforce the pride in a job well done. As difficult as the project seems at the onset remember that it doesn’t all have to happen at the same time. Divide the different portions of teak into separate projects over time. What can’t be done this spring may be considered for the fall.


I’m very excited to see the Deks Olje mentioned! I know other varnishes are more durable, and I completely understand that there’s a need for hard one-part and even two-part products.
That said, the maintenance-over-time aspect of Deks Olje is stellar compared to almost everything else. Wash it, gently wet-sand with D1 and a scotch-brite pad every year or two, maybe another coat of D2 now and then… never having to go down to bare wood unless you stop maintaining it. Even minor nicks and scratches are easy to repair.
D1 is pretty sturdy, but definitely not glossy, and it needs to be reapplied more often than D2. It works for stuff you’ll be stepping on as long as you don’t need a shine. D2 does have a great varnish look, and while it will never be as hard or glossy as a two-part finish, I’m content to have a 90% solution that works year after year without major effort.
It’s not perfect, but as long as you understand its shortcomings, it’s a miracle compared to the alternatives.
Thanks for the comment Mike. I’ve been using Deks on my teak for about 35 years now. It’s interesting to see the reluctance of other boat owners in switching to this product, typically because it’s not a “varnish”. It’s perfect for our wet climate where even the two part varnishes lift at corners and under hardware, and then the whole project has to start again.
Great article.
When I bought my Santa Cruz 40 (in Santa Cruz) it had a great finish on the teak, even cloth covers for the hand rails. After several years of maintenance by me and crew, we decided to spend our time racing, not varnishing. Shiny teak is pretty, but it does not add speed.
I (we) spent each fall and spring painting and then sanding the bottom. That really adds speed in light air.
Again, this was a great article for the cruiser.
Thanks for the comment Ralph. I look after a J44 where the owner has the same opinion. Not that there is a lot of teak to maintain on the J, and to each his own.
The teak companion way steps and swim platform on my Florida Sabreline 34 has turned grey with age and I decided to clean and coat with Deks Olje. After teak cleaner and six coats they looked beautiful, as new. Then I happened to read that oil is not a good idea as the oil finish would oxidize black in the sun. Sure enough it began to turn black and now looks worse than the grey. I have not trackled it yet and I’m concerned the teak cleaner won’t work on the oxidized oiled finish. I can’t sand as the wood is groved for grip. I’ll try and remember to update this as I work on it over the winter.
Interesting Noel. Thanks for the feedback. I have never seen the Deks product turn black as a result of the sun. Over what time period are we talking? I went 15 years between stripping Deks off my teak hand rails, cabin brow and hatch trim. I started with eight coats as recommended by Deks. I touched up the small scrapes and winter damage, wet sanded with Deks 1 and added two coats of Deks 2 every spring. The touch-ups blended right into the finish and, unless you knew where they were, you’d never notice them. But none of it ever turned black. The sun bleaching turned the teak into a lighter brown more than anything else.
Well most of my teak is coated with Total boat wood finish. I live in Florida and it hold up well. We had to fit in a new section of toe rail and Total boat has discontinued the product. This is going to be a massive job redoing all the teak. Normal varnish just does not hold up well.
Hello Deborah. Thanks for reading and commenting. I just looked up Total Boat Wood Finish and see lots of product. Is the varnish you used a specific type/color that isn’t matched by their other products? I would certainly try stripping down one side of the boat before doing the entire toerail. The match may not be perfect, but don’t forget the 10 ft rule. (if it looks good from 10 feet away, it’s perfect!). Good luck!
Thanks for a very good article with lots of exacting actionable real-world advice.
Thanks for the comment Michael. I’m not an “expert” by any definition, but I’ve done a lot of sanding and varnishing over the years. I’ve also watched professionals in a controlled environment. What they do is not all that much different, just a controlled environment and plenty of practice.