

I once heard of a sailor who prided himself on sailing “pure”—no motor, no electrical, just wood and canvas. How he could dock and undock his lengthy craft, threading it in and out of the marina on sailpower alone, was a source of mystery and admiration to me. But the truth is, most of us mere mortals happily rely on the technological convenience afforded by a trusty engine and robust electrical system. It’s that latter part I’d like to talk about today, because there’s a revolution underway in how we power our boats.
Lithium battery technology used to be seen as expensive, finicky, and, worst of all, dangerous. It’s true that lithium systems present unique risks, and that, pound for pound (or amp-hour for amp-hour) they’re pricier than lead-acid systems. But today, a new generation of primarily Chinese-made lithium iron phosphate batteries (a.k.a LFP or LiFePO₄) are making it easier, safer and cheaper to deliver all the energy you need on tap to power your adventures. So how do you get started and finally “go lithium”?
While there’s no going wrong with a licensed electrical contractor, modern standards such as ABYC’s E-13 Lithium Ion Batteries and the venerable E-11 AC and DC Electrical Systems On Boats, provide reliable resources for DIYers looking to accomplish their own lithium conversion on a budget. But to mitigate the unique safety risks of high-capacity, low-impedance systems like lithium, it’s essential we do things by the book.
Join me as I share the story of my own lithium conversion and offer some insights on how you can do the same. While I am a Certified Engineering Technologist with many years of experience at the lab bench, it’s my opinion that with some good quality components, sound advice and standards literacy, you can “go lithium” too.
Lead-Acid vs. Lithium Batteries
Compared to lead-acid, lithium batteries are lighter, denser, more stable and longer lived. You can also fully discharge them without risk to the battery, increasing effective capacity. The catch? They’re typically more expensive (although not so much more these days), harder to dispose of, and come with their own unique safety requirements, which we’ll discuss below. While not exactly a “drop-in” replacement for lead-acid, the plentiful and increasingly affordable components (driven in part by booming RV and off-grid housing markets) make lithium an obvious choice for anyone looking to increase their capacity, replace an aging lead-acid system, or otherwise “futureproof” their boat’s electrical system.
There’s no need to delve too deeply into the pros and cons of LFP and lead-acid batteries, as they’ve been amply discussed elsewhere. Suffice it to say that, as fellow Practical Sailor contributor Stephen Burnage notes in his article on lithium battery systems, “LiFePO4 battery technology is now of a maturity and at a cost where it should be the logical choice for many sailboat owners.”
Planning a Successful Conversion
The first step in your lithium conversion is to assess your needs: Size your proposed battery system, take stock of any existing components you can reuse, and figure out if you’ll need any new tools for the job.
Sizing Your Battery
If you’re happy with your current lead-acid capacity, just stick with that, as Burnage advises. He cautions that although you can go to a greater depth of discharge with LFP batteries and therefore get away with less, you need to beware of “creep,” or the tendency to accumulate more and more loads over time. Whether it’s that microwave you’ve always wanted or those fancy new LED decks lights, all these loads add up. And here’s the thing: It’s not so easy to add capacity to your lithium system.
In fact, battery manufacturers recommend that you only join batteries of the exact same type, capacity, and batch/date of manufacture. That means you shouldn’t buy a battery assuming you can just buy another “identical” battery two years later and drop it in. This might seem like a money grab on the part of manufacturers, but in reality even batteries with the same model number commonly undergo internal changes from year to year that aren’t readily apparent (if at all) from the datasheet, but may affect compatibility. While there are stories of some sailors mixing batteries, even from different manufacturers, and “getting away with it,” I would strongly advise you to follow manufacturer recommendations and only connect identical batteries.
That said, I also strongly recommend you stick to as few batteries as possible—ideally only one. While you sacrifice some redundancy, you’re also reducing complexity, reducing the number of failure points, and reducing the amount of “infrastructure” in your project such as costly chargers, monitors, fuses, bus bar and wiring. Typically, one larger battery is also cheaper than two smaller batteries, which doesn’t hurt.
Bottom Line
Buy all the batteries you need at once. Ideally, just one. Size your battery system for both your current and future needs to avoid a costly expansion project in the future.
Tip
Given that LFP batteries can last upwards of 15 years (although 10 is more realistic), it would be a shame to upgrade after only a few years and be stuck with a perfectly good, albeit smaller, battery. Unless, that is, you know you’ll have another use for it. In my own case, I plan to use my current 100 Ah battery to power an electric trawling motor for my dinghy when it comes time to upsize in a few years. Aside from electric dinghy motors being a lighter, quieter option than outboards—see “Buyer’s Guide: 14 Electric Outboard Options From 2.5 to 9.9 Horsepower” —you can also easily pull the dinghy battery out for use in your sailboat in an emergency. Other uses for old LFP batteries include RVs, off grid homes, or simply as a backup power source at home.
Energy Audit
If you are unhappy with your current capacity or simply unsure, it’s best to conduct a simple energy audit. Don’t be intimidated—it’s really quite simple. In the table below, I’ve tabulated the power needs of all the electrical devices on my boat, together with their estimated runtimes per day. You can usually find the wattage of your devices on the box they came in, in their manual or datasheet, or as an estimate online. As a weekend warrior and coastal sailor, I figure on the average day I might sail for three hours, with the lights and radio running slightly longer.
Bringing this all together, and assuming you are running a 12 V system (more on system voltages in a minute), you simply multiply a device’s power consumption (wattage) and runtime, then divide by 12 to get your Ah (amp-hours) consumed per day.
Alternatively, you can just multiply the wattage and runtime and compare it to the battery’s energy rating (mine is 1280 Wh). But since Ah capacity is more common, that is what I’ve used below. Here’s how much energy I calculated my humble vessel will use on a typical day out on the water:
| Device | Consumption (W) | Run Time/Day (h) | Energy/Day (Ah) |
| Navigation Lights | 10 | 3 | 2.5 |
| Radio | 25 | 4 | 8.3 |
| Cabin lights | 10 | 5 | 4.2 |
| Depth Sounder | 10 | 3 | 2.5 |
| Total: | 17.5 | ||
Tip: For reference, an iPhone battery has about 4 Ah of capacity.
Choosing Capacity
Of course, this doesn’t mean I want a 17.5 Ah battery, or I’d have to recharge it every day. Given the falling prices of LFP batteries and the desire to leave room for potential upgrades in the future, I decided 100 Ah was the sweet spot for me. This gives me about five or six days on the water between recharges at current consumption levels. In reality, I slightly overestimated—best to be on the safe side—and since I frequently daysail with nothing but my radio switched on, I still haven’t had to recharge my battery once in the past two months.
If you have solar panels or some other means of generating power on the go, you can conceivably get away with less battery. Assuming five good hours of sun per day, a 100 W panel operating at perfect efficiency would provide about 40 Ah of power per day. More realistically, call it 25-30 Ah. If your daily consumption was less than that, your battery would never need shore power charging at all. More on adding solar to lithium systems in a follow-up article.
Choosing Your Battery
Most LFP batteries, as well as the classic lead-acid batteries we all know and love, run at 12 V. But you can also find LFP batteries in 24 V and 48 V varieties. Why? The essential point to keep in mind is that larger loads draw larger currents. But by increasing the voltage, you can reduce the current proportionally while delivering the same power—double the voltage and you halve the current. This is important because large currents generate more heat and require thicker, more expensive conductors, so in general it’s best to keep current as low as possible.
This may lead you to think that 48 V is better than 24 V, which is in turn better than 12 V, but I would beg to differ. 24 V and 48 V are great for heavier loads like trawling motors, water generators, and washing machines. 48 V has also become very popular for off-grid homes, which obviously draw a lot of power. But for most boats, the extra expense of 24 V or 48 V components is simply not worth it. You’ll find much more (and cheaper) selection at the 12 V level, both in terms of system components and appliances like microwaves, fans and fridges. And unless you’re frequently running some heavy duty loads, the higher current and heat levels at 12 V present little cause for concern. But regardless of the system voltage you choose, just make sure you size your conductors appropriately. More on that in the next section.
Bottom Line
Choose 12 V unless you have a compelling reason not to.
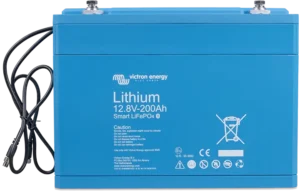
When it came time to buy, I knew I wanted a single 12 V 100 Ah battery with a well-reviewed integrated battery management system (BMS) so I didn’t have to add that in separately. Bluetooth would be nice to have but wasn’t a dealbreaker. In the end, after watching and reading numerous reviews of the many offerings coming out of China, I went with the 12 V 100Ah Mini Bluetooth Battery from WattCycle. This Chinese brand has been making waves in the boating and off-grid world, receiving favorable reviews from popular outlets like Will Prowse.
Brand Comparison
Similar reputable brands in this class include Renogy, Battle Born, LiTime, Eco-Worthy and Vatrer. LiTime was featured in a Practical Sailor video some months back. But in my opinion, and in the opinions of many others, the gold standard remains Victron. If I had the money, every component in my system would be Victron. That said, recently Epoch debuted some compelling offerings that look to eat into some of Victron’s upmarket appeal with waterproof, UL-certified batteries that actually incorporate some of Victron’s internal components. Whatever your choice, be sure to read the customer and expert reviews carefully, and read the fine print on the warranty.
Buyer Beware
Not all batteries will bear the SAE, IEC or UL testing certifications. This is a requirement of ABYC E-13, and while all ABYC standards are voluntary, there is a possibility that in the future some insurance companies will require compliance with this relatively young standard (E-13 only went into effect in 2023). It’s always a good idea to get a certified battery, even if it costs a few bucks more. My own battery bears an IEC mark, among others. I consider UL marks such as UL1642 and UL1973 to be the most desirable as these are rigorous, globally recognized standards that frequently also satisfy other standards agencies’ requirements (especially IEC) through standards harmonization. As the lithium battery space matures, expect more and more standards to harmonize and converge.
Note: While many LFP batteries are listed as 12 V, their nominal voltage is actually 12.8 V, which is why you’ll see that the energy rating of a 12 V 100 Ah LFP battery is 1280 Wh, not 1200 Wh.
A Note on “Smart” Batteries
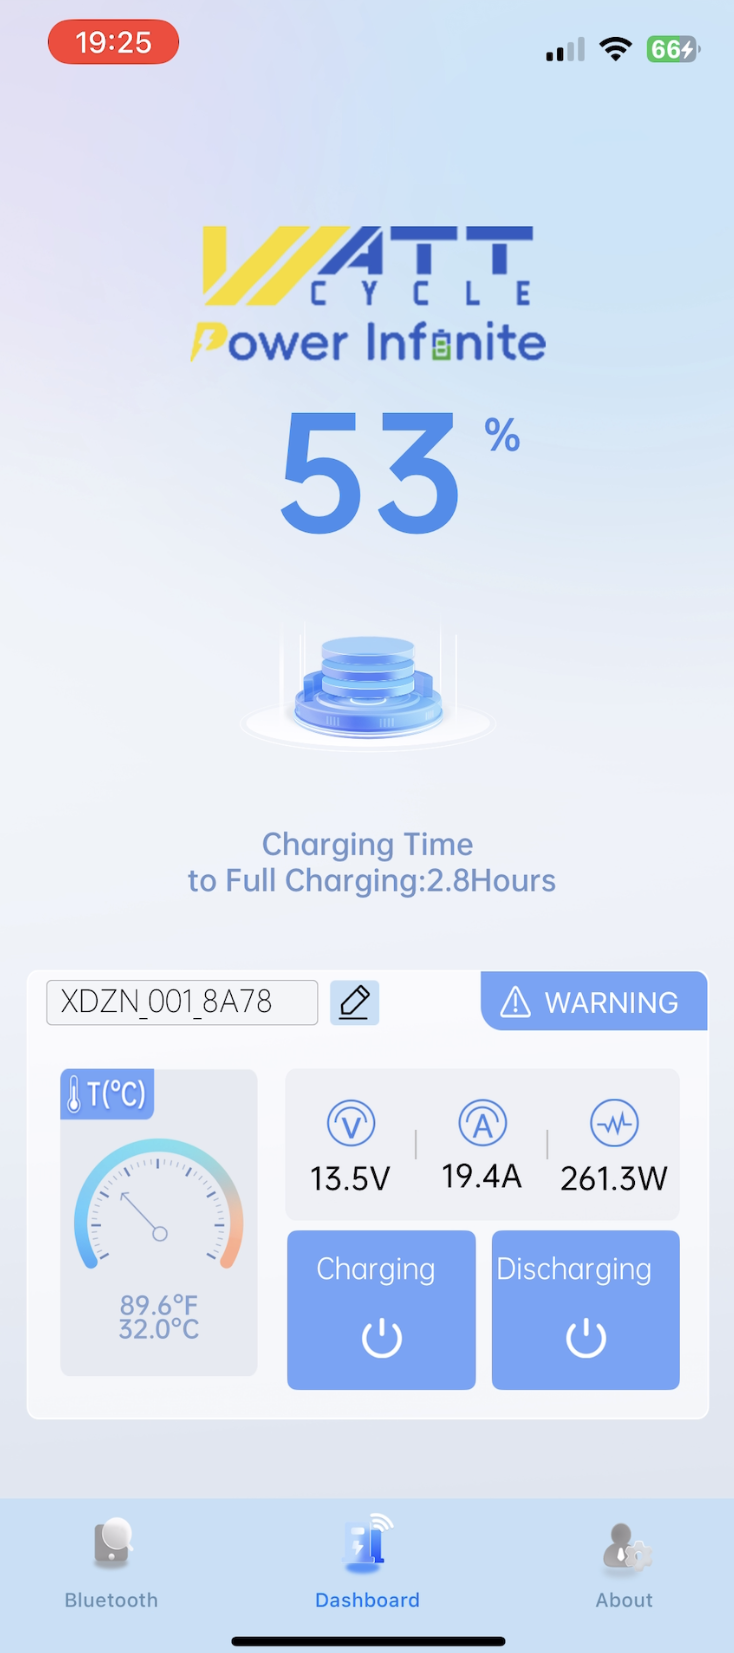
The particular battery I purchased is “Smart,” which means it has Bluetooth that allows you to monitor charge levels and remotely connect or disconnect the battery. While convenient, this feature isn’t essential, and in fact you should keep in mind three important caveats when choosing a smart battery:
- Do not rely on your Bluetooth app to provide you with a low charge warning. Per ABYC, you should always have a visible and audible alarm. After all, if your phone or tablet dies, you’ll be out of luck.
- Do not use smart batteries in a battery bank. When connected together, these batteries can become confused and automatically disconnect. For this reason, they’re best used in a single-battery system.
- If you spend a lot of time bouncing from marina to marina, or any places where theft may be common, be aware that anyone with a smartphone or tablet will be able to scan the area and discover your battery, if it’s in range. A smart LFP battery could make a juicy target, but I haven’t personally heard any stories of battery theft. In any case, it’s something to consider—especially if your system resides in an unlocked compartment.
For these reasons, I recommend smart batteries only for single-battery systems on a shoestring budget (like my own).
For more on BMS architecture and how battery management systems interact with boat electrical systems, including potential complications with parallel batteries, see Burnage’s detailed BMS discussion.
Tools and Components
Battery Chargers
Let’s get the big one out of the way first—if you’re coming from lead-acid, chances are your battery charger isn’t up to the task of charging an LFP battery. The reason is that LFP batteries actually require a slightly higher charging voltage to fully top off and balance their cells, so when using a charger designed for lead-acid, an LFP battery will never fully charge and its cells risk becoming unbalanced and prone to faster degradation. Unless you have a newer charger that can toggle between battery chemistries, you’ll need to budget for a lithium-specific charger. Fortunately, many of the battery manufacturers listed above also offer package deals that combine a battery and charger together.
Note: This article assumes you will retain a separate lead-acid starter battery for starting your motor. As detailed in Burnage’s article, there are numerous reasons—including low battery impedance, alternator voltage spikes, field excitation issues, and voltage ripple effects—why ABYC recommends you avoid connecting your alternator directly to an LFP battery for charging. Instead, a bi-directional DC-DC converter is essential for safely charging your lead-acid starter battery from your house battery.
Inverters
If you’re using an inverter, there’s a good chance it will be compatible with your LFP battery. Just be sure its input is matched with the voltage and current coming out of your battery. Datasheets are your friend here. If your inverter supports a communication protocol, like Victron’s, you’ll also want to ensure your battery’s internal BMS (if it has one) supports the same protocol or you will lose some functionality.
BMS and Battery Monitoring
While most modern LFP batteries contain an internal battery management system (BMS) to monitor and respond to potentially dangerous conditions such as low charge, overcurrent, overvoltage and cell imbalance, not all do. I always recommend a BMS, so try to purchase a battery with one integrated, or else budget to add an external BMS.
Battery monitoring, such as through a smart shunt, can provide information about a battery’s status, but it cannot by itself take control actions such as tripping an overcurrent protection device. Therefore, the ideal setup will combine a battery with a BMS (internal or external) and a monitoring display featuring an audio/visual alarm, such as the Victron BMV-700 (MSRP $150).
Note: There’s a quirk with lithium—when the battery’s empty, it doesn’t slowly run out of steam like an old lead-acid, it just stops. That means equipment you really count on, like nav lights or your bilge pump, can suddenly go dark if the battery management system (BMS) trips. So it’s smart to plan for a backup way to power your essential gear if that ever happens. For ideas on keeping critical loads running in a lithium setup, check out Stephen Burnage’s install guide.
Fuses and Breakers
Overcurrent Protection for LFP Systems
Collectively referred to as overcurrent protection (OCP) devices, fuses and/or breakers trip under precise conditions to protect your circuit and connected devices. They also protect you and your crew from electrocution. Because LFP batteries have a low internal impedance, they are typically capable of much higher fault currents in the case of short circuit. This means your OCP will need to be selected and sized appropriately, and you may not be able to reuse what’s currently in your system. This goes double if you are upsizing. And keep in mind that each battery in your system will require its own OCP.
Fuses vs. Circuit Breakers
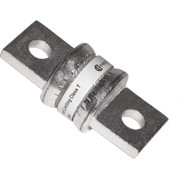
While your LFP battery likely has an internal BMS capable of interrupting fault currents (under controlled, manufacturer-tested conditions), it is best per ABYC standards to include external overcurrent protection in the form of a class T fast-interrupt/high-current fuse. See Burnage’s discussion of overcurrent protections and why Class T fuses are essential for systems any larger than my minimal setup.
Circuit breakers are typically cheaper over the long run, since you can simply reset them instead of buying a new fuse, but they are slower and may not successfully interrupt a dead short in a high capacity system. For this reason, they should only be used in smaller systems with only a few, small loads. Per ABYC E-11, you need 5,000 AIC per 100 Ah of capacity. For my 100 Ah system, a marine circuit breaker works just fine.
Choosing and Installing a Circuit Breaker
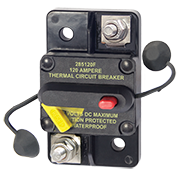
Look for a marine-rated circuit breaker that will offer some water ingress protection and an ignition-proof rating, meaning that it will not produce a spark when it trips (which could potentially ignite flammable vapors such as from gasoline stored in an enclosed space). Refer to ABYC E-11 Figure 1 for more on ignition-proof components.
If you choose a switching-rated type III circuit breaker, it can also double as an isolation switch for your battery to remove it from the circuit when the boat is not in use. This is useful because a battery isolation switch is a requirement of ABYC and a type III breaker; this rolls these two components into one, simplifying our system and keeping costs down. I opted for the Blue Sea Systems 120A 285-Series Circuit Breaker (MSRP $65). The tradeoff: you save money ($50 to $70) and can simply reset it rather than replace a blown fuse. The downside: if you ever go larger, most breakers won’t cut it. More on sizing and selection in my Part 2 follow-up article.
Conductors
Sizing Conductors for Current Draw
You’ll likely need thicker conductors if you’re upsizing your system. More load means more current draw, which requires a larger conductor cross-sectional area to avoid generating excess heat. Note that technically, the current draw in your system is dictated by the load you connect, not by how big your battery is. Just putting in a larger battery won’t increase the current draw in your system. Switching on more loads will—even if the system isn’t specced to handle it!
Note: Voltage drop in charging circuits deserves special attention in lithium systems. Excessive voltage drop between chargers and batteries can cause smart chargers to prematurely enter “float” mode, leaving batteries incompletely charged. For practical troubleshooting of voltage drop issues and guidance on charging circuit cable sizing, see Burnage’s install experience.
Choosing Marine-Grade Materials
Always choose tinned copper wiring for marine applications, as copper conducts much better than aluminum and the tin prevents the copper from corroding in wet and salty environments. For this reason, you should also choose tinned copper lugs for all of your power cable, which should in turn be heat shrinked to the insulation jacket of the cable to prevent water ingress. You can purchase pre-cut lengths of heat shrink tubing in red and black. For cable insulation, I have found silicone to be easily bendable and sufficiently durable for freshwater marine environments. Finally, consider using a dielectric grease on exposed terminals to protect them from the environment. See this article.
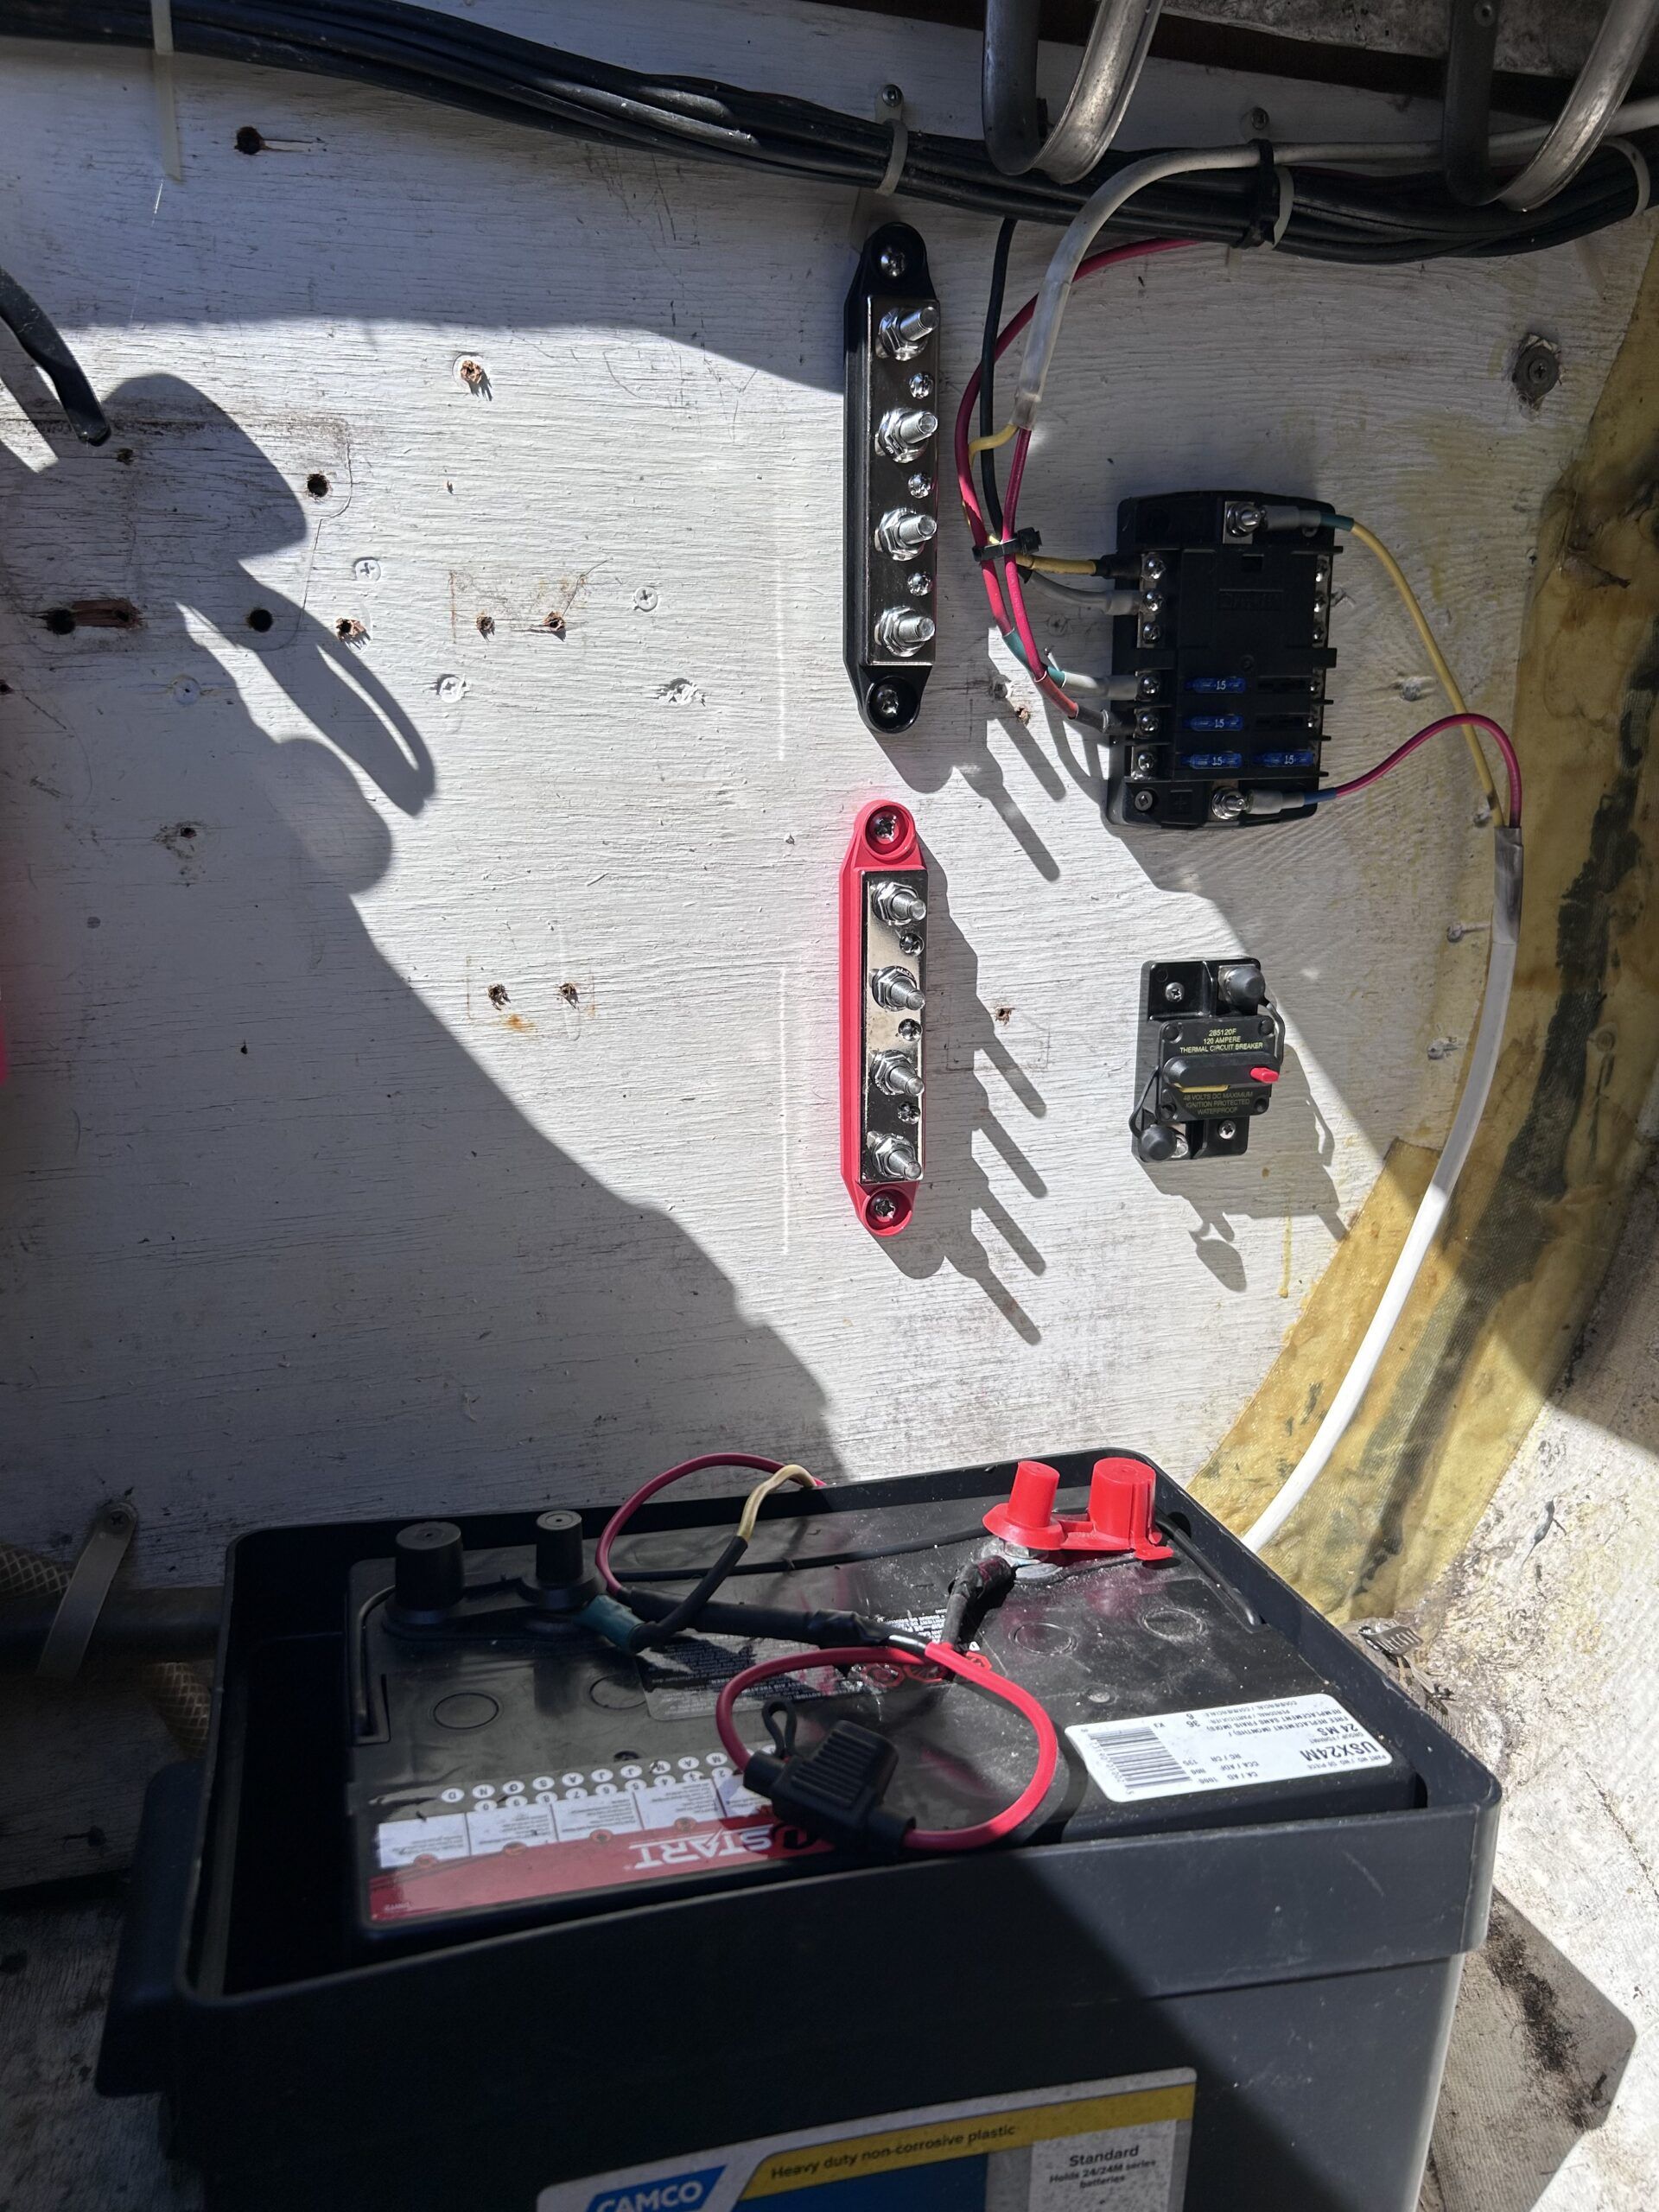
Bus Bars and Load Distribution
For larger systems with many connected loads, it’s easier and safer to use the bus bar to join your battery with the rest of the system. Since you should never put more than four lugs on a single terminal—I would even say no more than two—any system with more than four loads connected to the battery will need an intervening tinned copper bus. Fortunately, these are quite affordable. They also make it easier to connect and disconnect loads.
Securing Your Conductors
You’ll also want to include strain relief for your conductors, which means securing them at least every 16 inches per ABYC E-11. This can be as simple as zip-ties screwed into the wall, or dedicated conductor clips, which can be cheaply purchased in bulk.
Terminal Blocks and Panelboxes
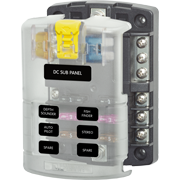
Critical loads, like an electric bilge pump, or large loads, like an electric windlass, are typically connected to the battery directly—ideally, as above, through bus bar terminal. But small DC loads like your lights and radios are more efficiently connected through a marine-rated terminal block like the Blue Sea ST Blade Fuse Block (MSRP $60). These terminal blocks have the advantage of taking blade-type automotive fuses to provide each of your smaller DC circuits with its own easily and cheaply replaceable OCP. You can also use a panelbox, which serves a similar function.
Note that ABYC requires each “branch circuit” to have its own overcurrent protection if the main overcurrent protection device is rated for more than 100 percent of the branch circuit’s rated load—which it probably is. That’s why I like the Blue Sea blocks above—each branch circuit gets its own (affordable) blade fuse.
Battery Boxes and Mounting
It’s important to keep your batteries, whichever type they are, protected from the elements. While LFP batteries do not have the same upright mounting requirements as lead-acid—which have a liquid electrolyte ready to slosh around or even leak out—it’s still a good idea to keep them mounted securely and upright in a battery box. Most LFP batteries have similar geometries to lead-acid, so common battery boxes such as the group 24, group 27, or group 31 should work fine providing you measure correctly.
Tip: There was a little bit of space left in my battery box around the new battery, so I cut up a foam pool noodle and wedged it in there to stop the battery from moving around. The foam also dampens vibration from the motor.
Solar Components
If you have solar panels and a solar charge controller, there is no reason why these should not work with your new lithium system, provided everything is specced appropriately and the solar charge controller is connected to an appropriate lithium charger and not directly to the battery. We will deal with adding solar power on a budget in the follow up article.
As the lugs and cables can be quite large in a lithium battery system, you may find the crimpers and strippers in your toolbox too small.
Ensure you have these speciality tools for a typical DIY lithium conversion:
Final Thoughts
This concludes Part 1 of our “lithium conversion on a budget” series. By now, you should know everything you need to spec and plan your system. In the second and final part that will be published next week, we’ll get our hands dirty with the implementation itself.


Not only our insurance cover stipulates professional installation, but comprehensive fire-protection, specific to Lithium (Ion and LiPe04), is also required. That’s quite a specialised market (AVD is one – Aqueous Vermiculite Dispersion extinguishers); also several manufacturers have gas suppression systems built-in (SOK is one brand).
Which insurer? Ours does not (State Farm).
All insurance binders have a general duty clause that says something to the effect that improper repairs or modifications can void the coverage. Following ABYC is one common way to avoid this clause.
Thanks for the comment, Richard. Building on what Drew said, neither does my insurance provider (Aviva) stipulate a professional LFP install. Rather, they exclude from coverage “The cost of making good faulty or improper material [and] faulty or improper workmanship.” So, as Drew mentioned, following ABYC code (and being ready to demonstrate the quality of your work through plans and pictures) is a sure way to stay within fair bounds. That said, you raise a good point and I heartily agree that everyone should check their policy fine print before embarking on a self-install!
I cover safety precautions, including the importance of lithium-specific fire extinguishers, in part 2, so stay tuned. It should be published soon. While there is no NFPA rating for lithium fires (yet), there are some emerging standards like NTA8133. Look for that mark on the extinguisher of your choosing. For now, AVD is what you want, and I expect we will see more extinguisher options and standards coming to market in the next few years as the lithium space matures.
Fair winds!
Many boats have automatic battery switches, replacing the 1-2-Both switch. It’s my guess that there cannot be a direct connection between a lithium and a lead-acid battery. The banks must be completely separate, with the DC-DC charger moving energy from the lead-acid start battey to the lithium house bank. That means the battery switches (auto and manual) need to be replaced with two On-Off switches, one for each bank.
The engine alternator, shore battery chargers, solar, wind, etc. are usually connected to the house bank. For a lithium install, these sources must be moved to the start battery. All charging sources go to the start battery, while only the DC-DC charger supplies current to the lithium house.
True or am I mistaken?
You are correct!
ABYC E-11 stipulates each lead-acid battery or battery bank over 800 CCA (or 100Ah capacity if CCA is unavailable) should have its own isolation switch. On the lithium side, ABYC E-13 mandates a switch if the battery or battery bank is greater than 500Wh in capacity. So, in practice, just give each battery its own switch. The switches should be connected as close as possible to the positive terminal of the batteries and rated appropriately.
And correct–you don’t want to wire an alternator into your lithium system directly or run lithium and lead-acid in parallel. Your alternator should be connected to a lead-acid starter battery, which is in turn connected to your lithium house bank via a DC-DC converter. Preferably, a bidirectional converter. Stephen Burnage wrote a good article that covers exactly this: https://www.practical-sailor.com/marine-electronics/lithium-batteries-for-small-boats-install-guide
There is one exception to the rule of separation: emergency situations. Burnage recommends retaining a manual combiner switch between your lead-acid and lithium batteries so that you can still power critical loads if your lithium system goes down. This is the only time the two systems should be directly connected. I recommend checking out the schematic diagram in Burnage’s article.
Hope this helps.