

Dorade vents are the best solution to keep the cabin fresh in bad weather or offshore. They let air in but keep water out in a way that nothing else does. When it gets rough, hatches need to be fully secured, including the main hatch. There are some mushroom style vents that will keep water out but the amount of air they let in is minimal compared to dorades.
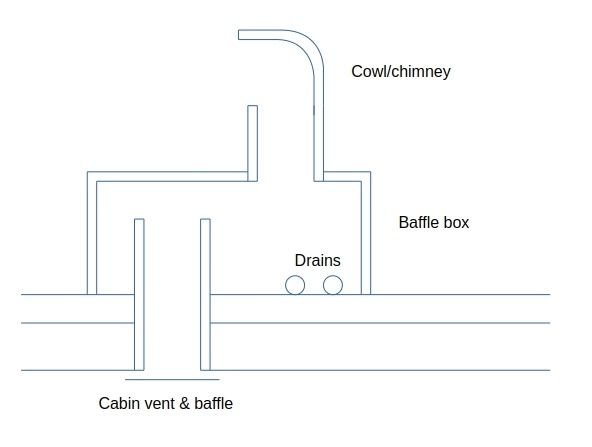
So what is a dorade vent? There are four parts to a dorade. See the diagram below.
The way this works is not immediately obvious. Dorades should pull air out not let it in. The chimney faces aft and the air flowing past it creates a suction effect drawing air out. If any water gets in it collects at the bottom of the baffle box and goes out through the drains. The height of the cabin vent above the deck determines how much water it will take before any gets into the cabin. This is also why the dorade cowls should face aft. If they face forward a wave could be driven in and overwhelm the baffle box. The final bit is the cabin vent baffle. If you sail in an area that has cool weather it is a good idea to have some means of partially closing them to regulate how much ventilation you have.
How To Build a Dorade
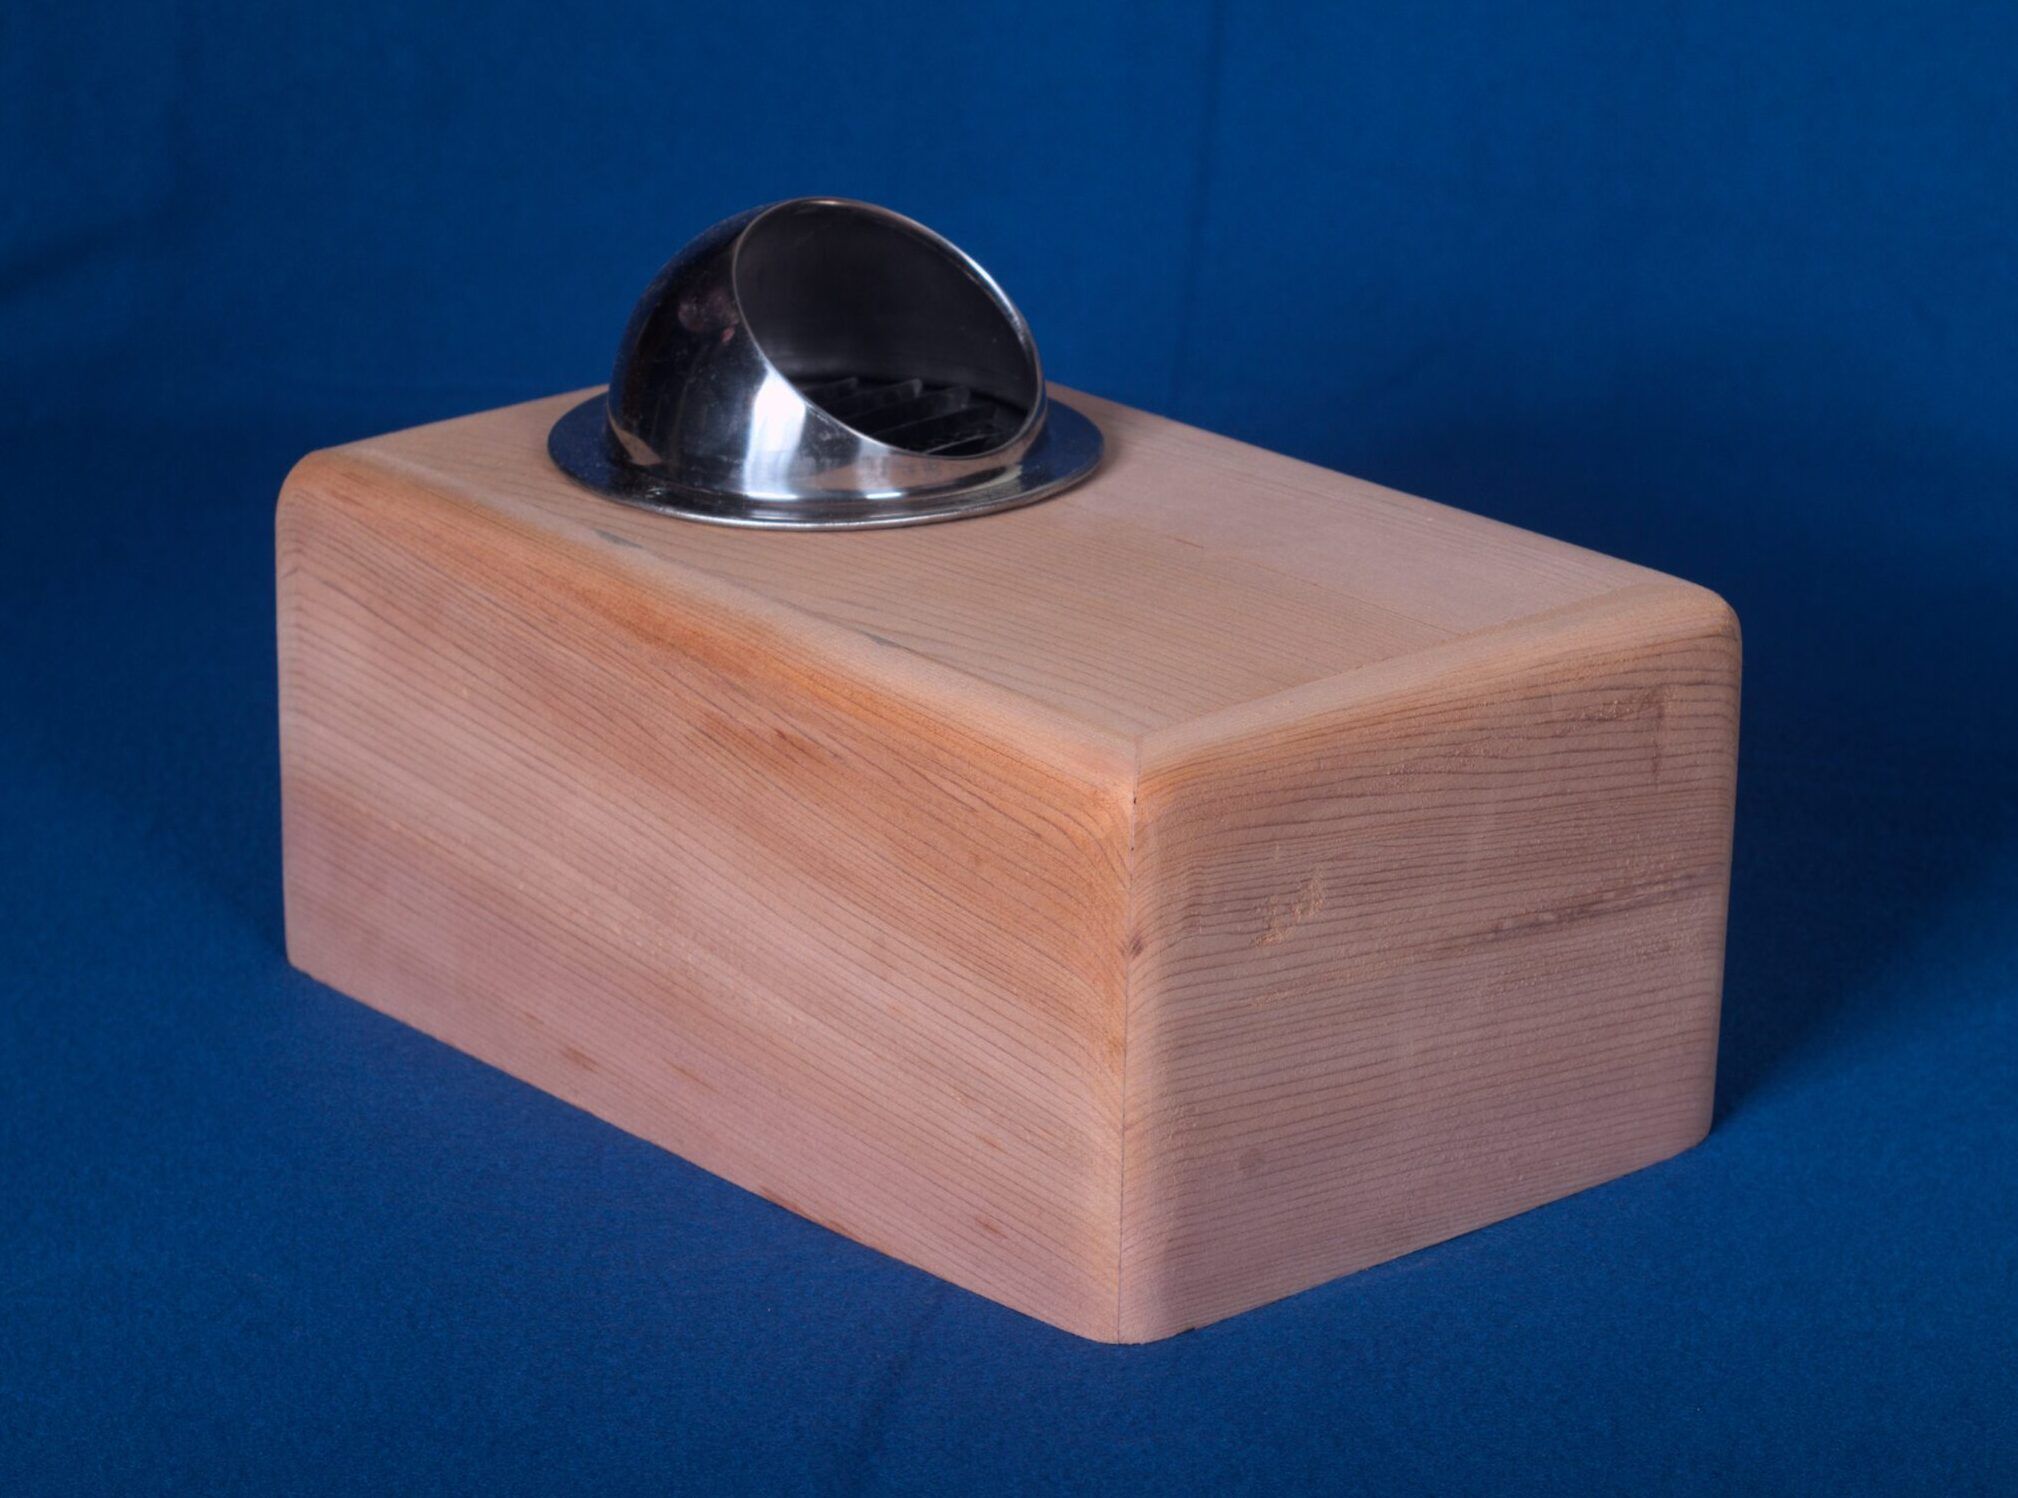
We need to make a box— the one I show is varnished wood—then we need to add a cowl and the cabin vent.
Building the Box
Traditionally they were made from teak or mahogany, and the corners were either dovetailed or finger joints. It looks great but left lots of end grain exposed, which often developed cracks and let water in. With the strength of modern glue, we can use a simple mitered joint with no end-grain showing, making it more weatherproof.
You can buy a traditional cowl but it is expensive. As an alternative I am using a stainless-steel cowl made as a vent for a laundry drier. Not only are these much cheaper but the shape makes it much less likely to snag any lines, which is a frequent problem with traditional cowls.
The cabin vent is simply a length of 4-in. PVC pipe from the local box store.
Choosing the Wood
Where you start depends on what woodworking facilities you have access to. If you have a supply and can prepare lumber from rough sawn stock it will be cheaper. It may also mean you have more choice. If not, you can buy your lumber from a specialist timber merchant already dimensioned. You should also get a good choice, just at a higher price. The less desirable option is to get lumber from a DIY/big box store. The choice is usually limited, and the quality can be dubious. For dorade boxes we don’t need boat-building grade lumber since these are not structural. The main concern is that it is durable and will take a reasonable finish. The box shown is made from western red cedar, which is very light and reasonably strong. Equally, you could use any of the mahogany-type woods.
Size
The box shown is 12 in. by 7 in. and 5 in. high. That allows for the cabin vent to stand up 4 in. That is about the minimum size box for a 4-in. diameter vent and will work well on most 30-something-foot boats. At that size it will take around 3 quarts to fill the box to the point where water gets down the cabin vent and that should be enough.
Safety Precautions
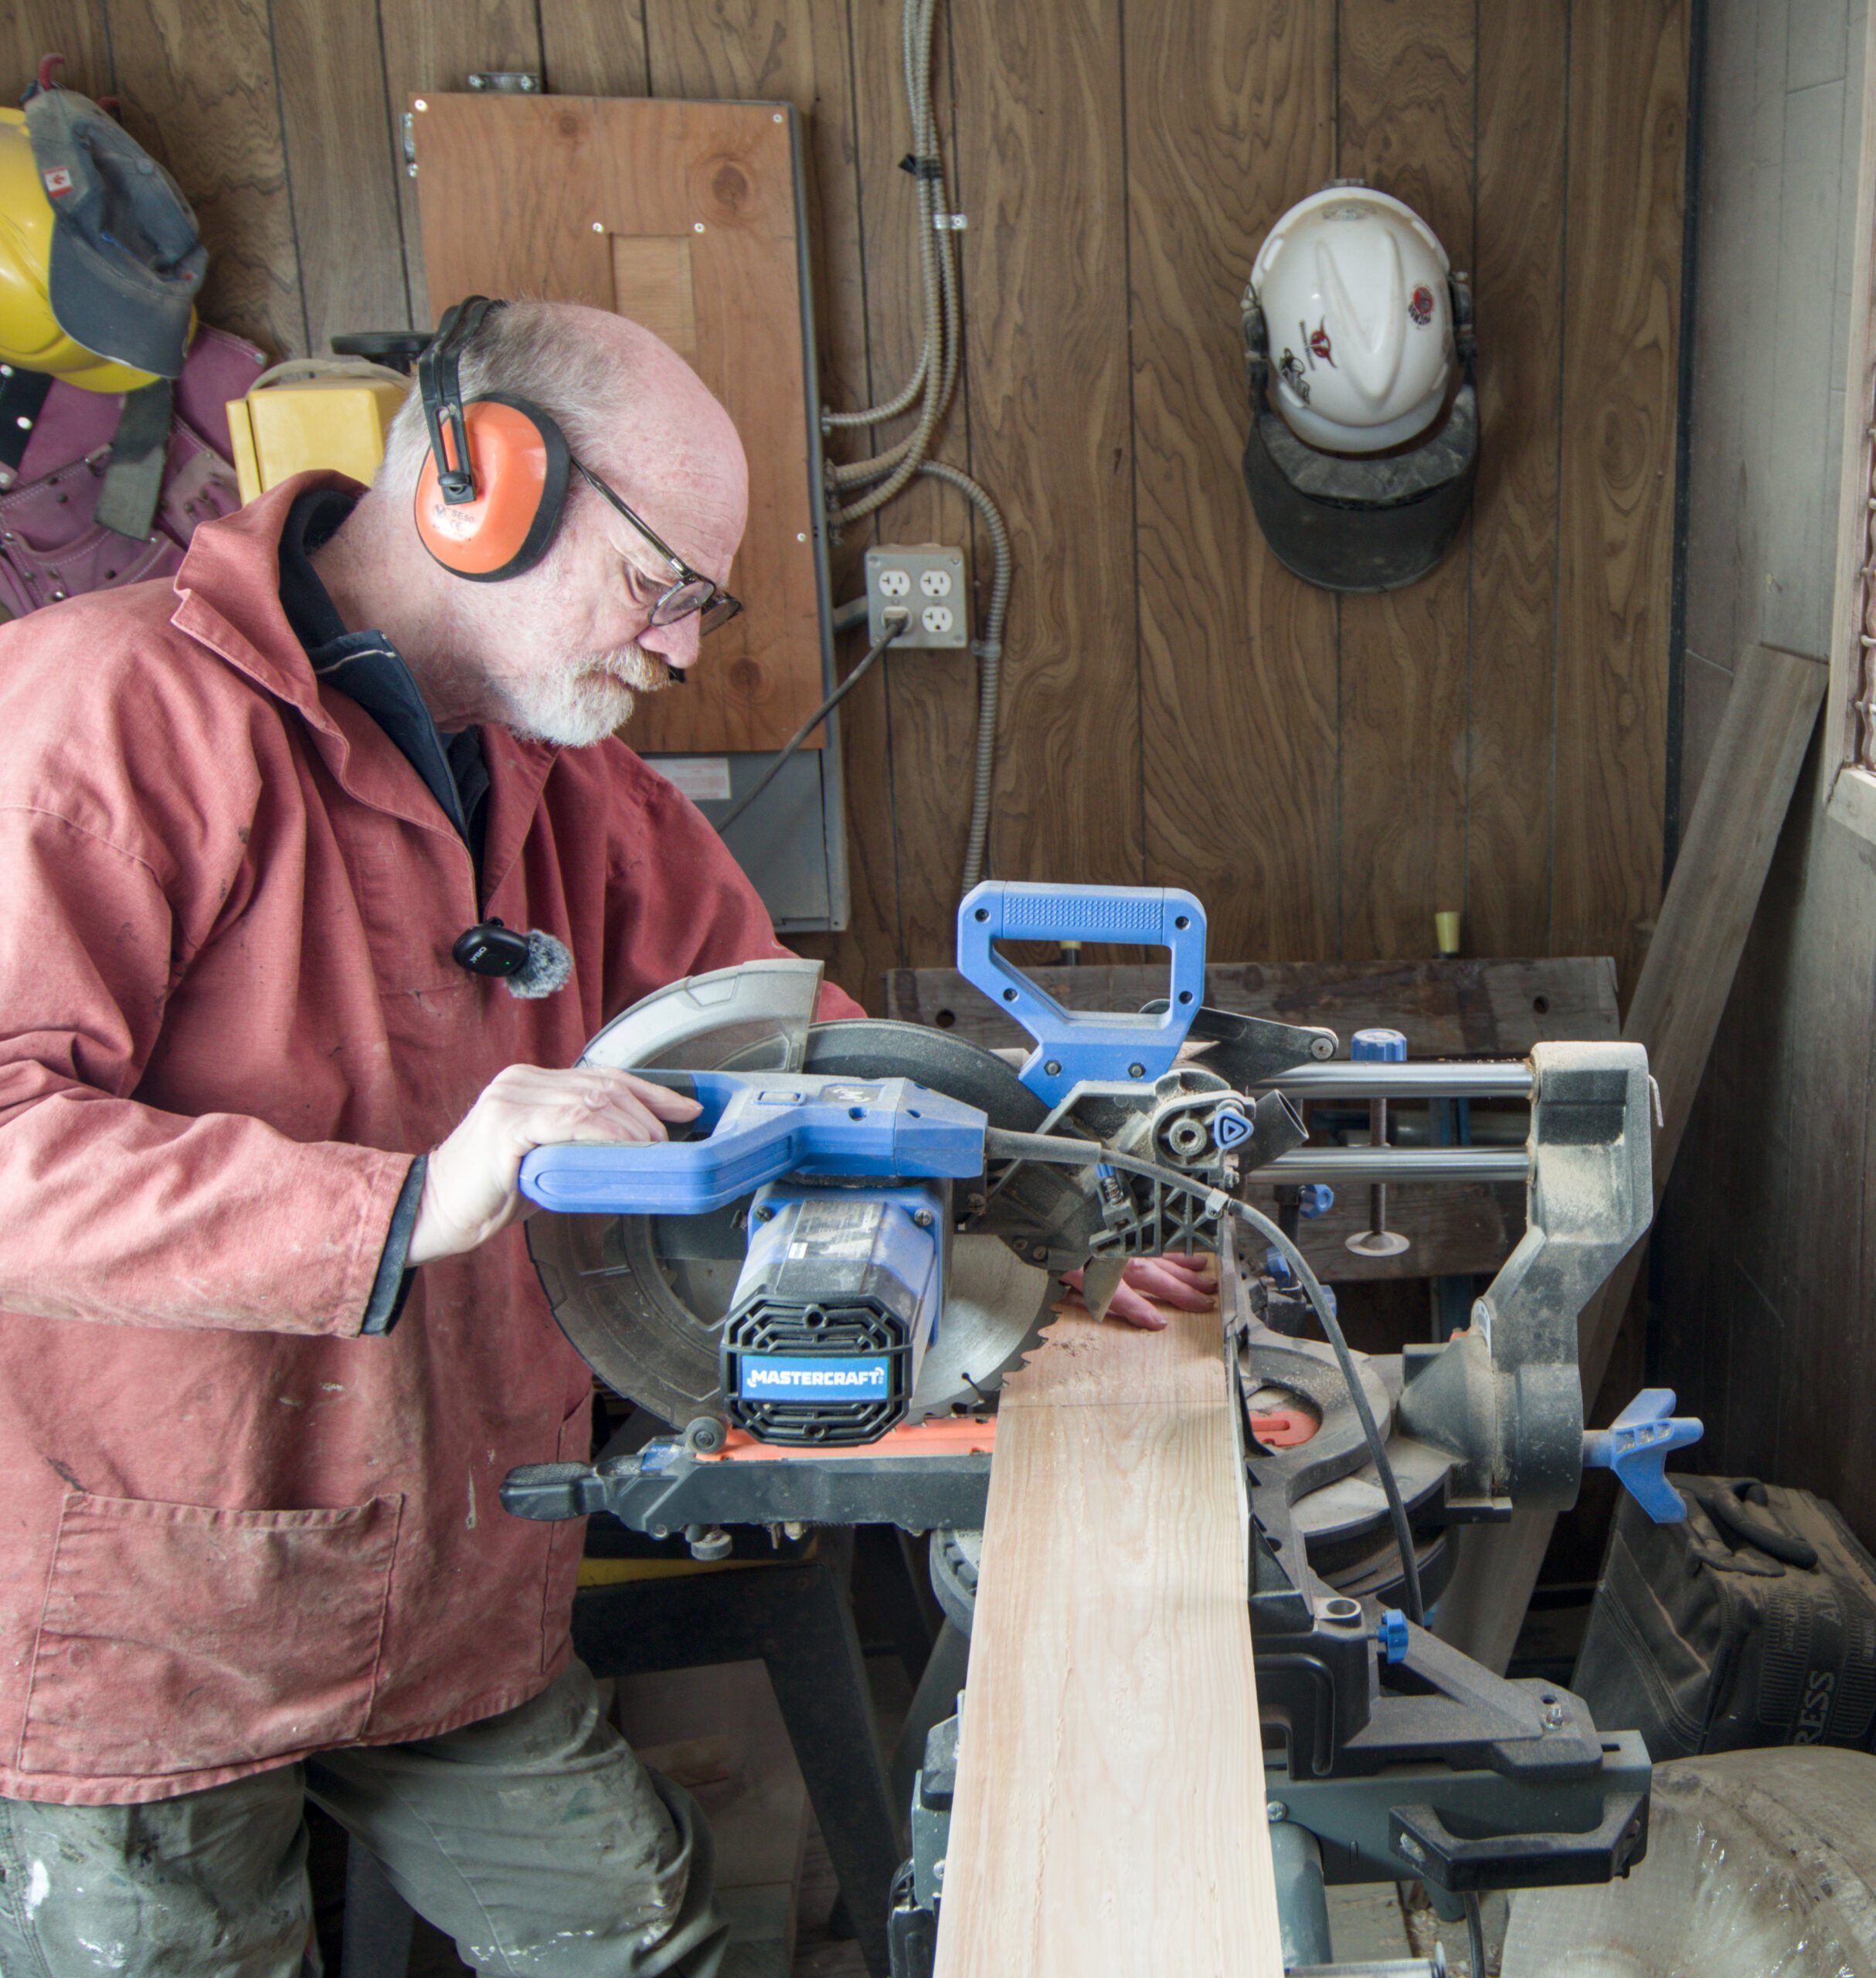
Woodworking tools, especially power ones, are potentially dangerous so use appropriate safety gear. Wear eye protection at all times, use ear protection whenever using power tools and never wear loose clothing that could catch in a machine. Also don’t wear gloves, they can and do catch in machinery and will pull your hand in if they do.
Cutting the Wood
To build a box that size we need to start with a plank with a finished size of 50 in. but make that 60 to allow for any mistakes. The thickness is not critical. Start with 1 in., and you will finish somewhere between 3/4 and 7/8 which is fine. Six inches wide is a standard size for raw lumber and that is ideal for this project, it will finish to about 5 3/4 in. This also sets the width of the box. If the top starts 6 in. wide the sides need to be 7 1/4 in. or less so that we can make it in one piece. This allows enough for planing.
Making the Wood Smooth
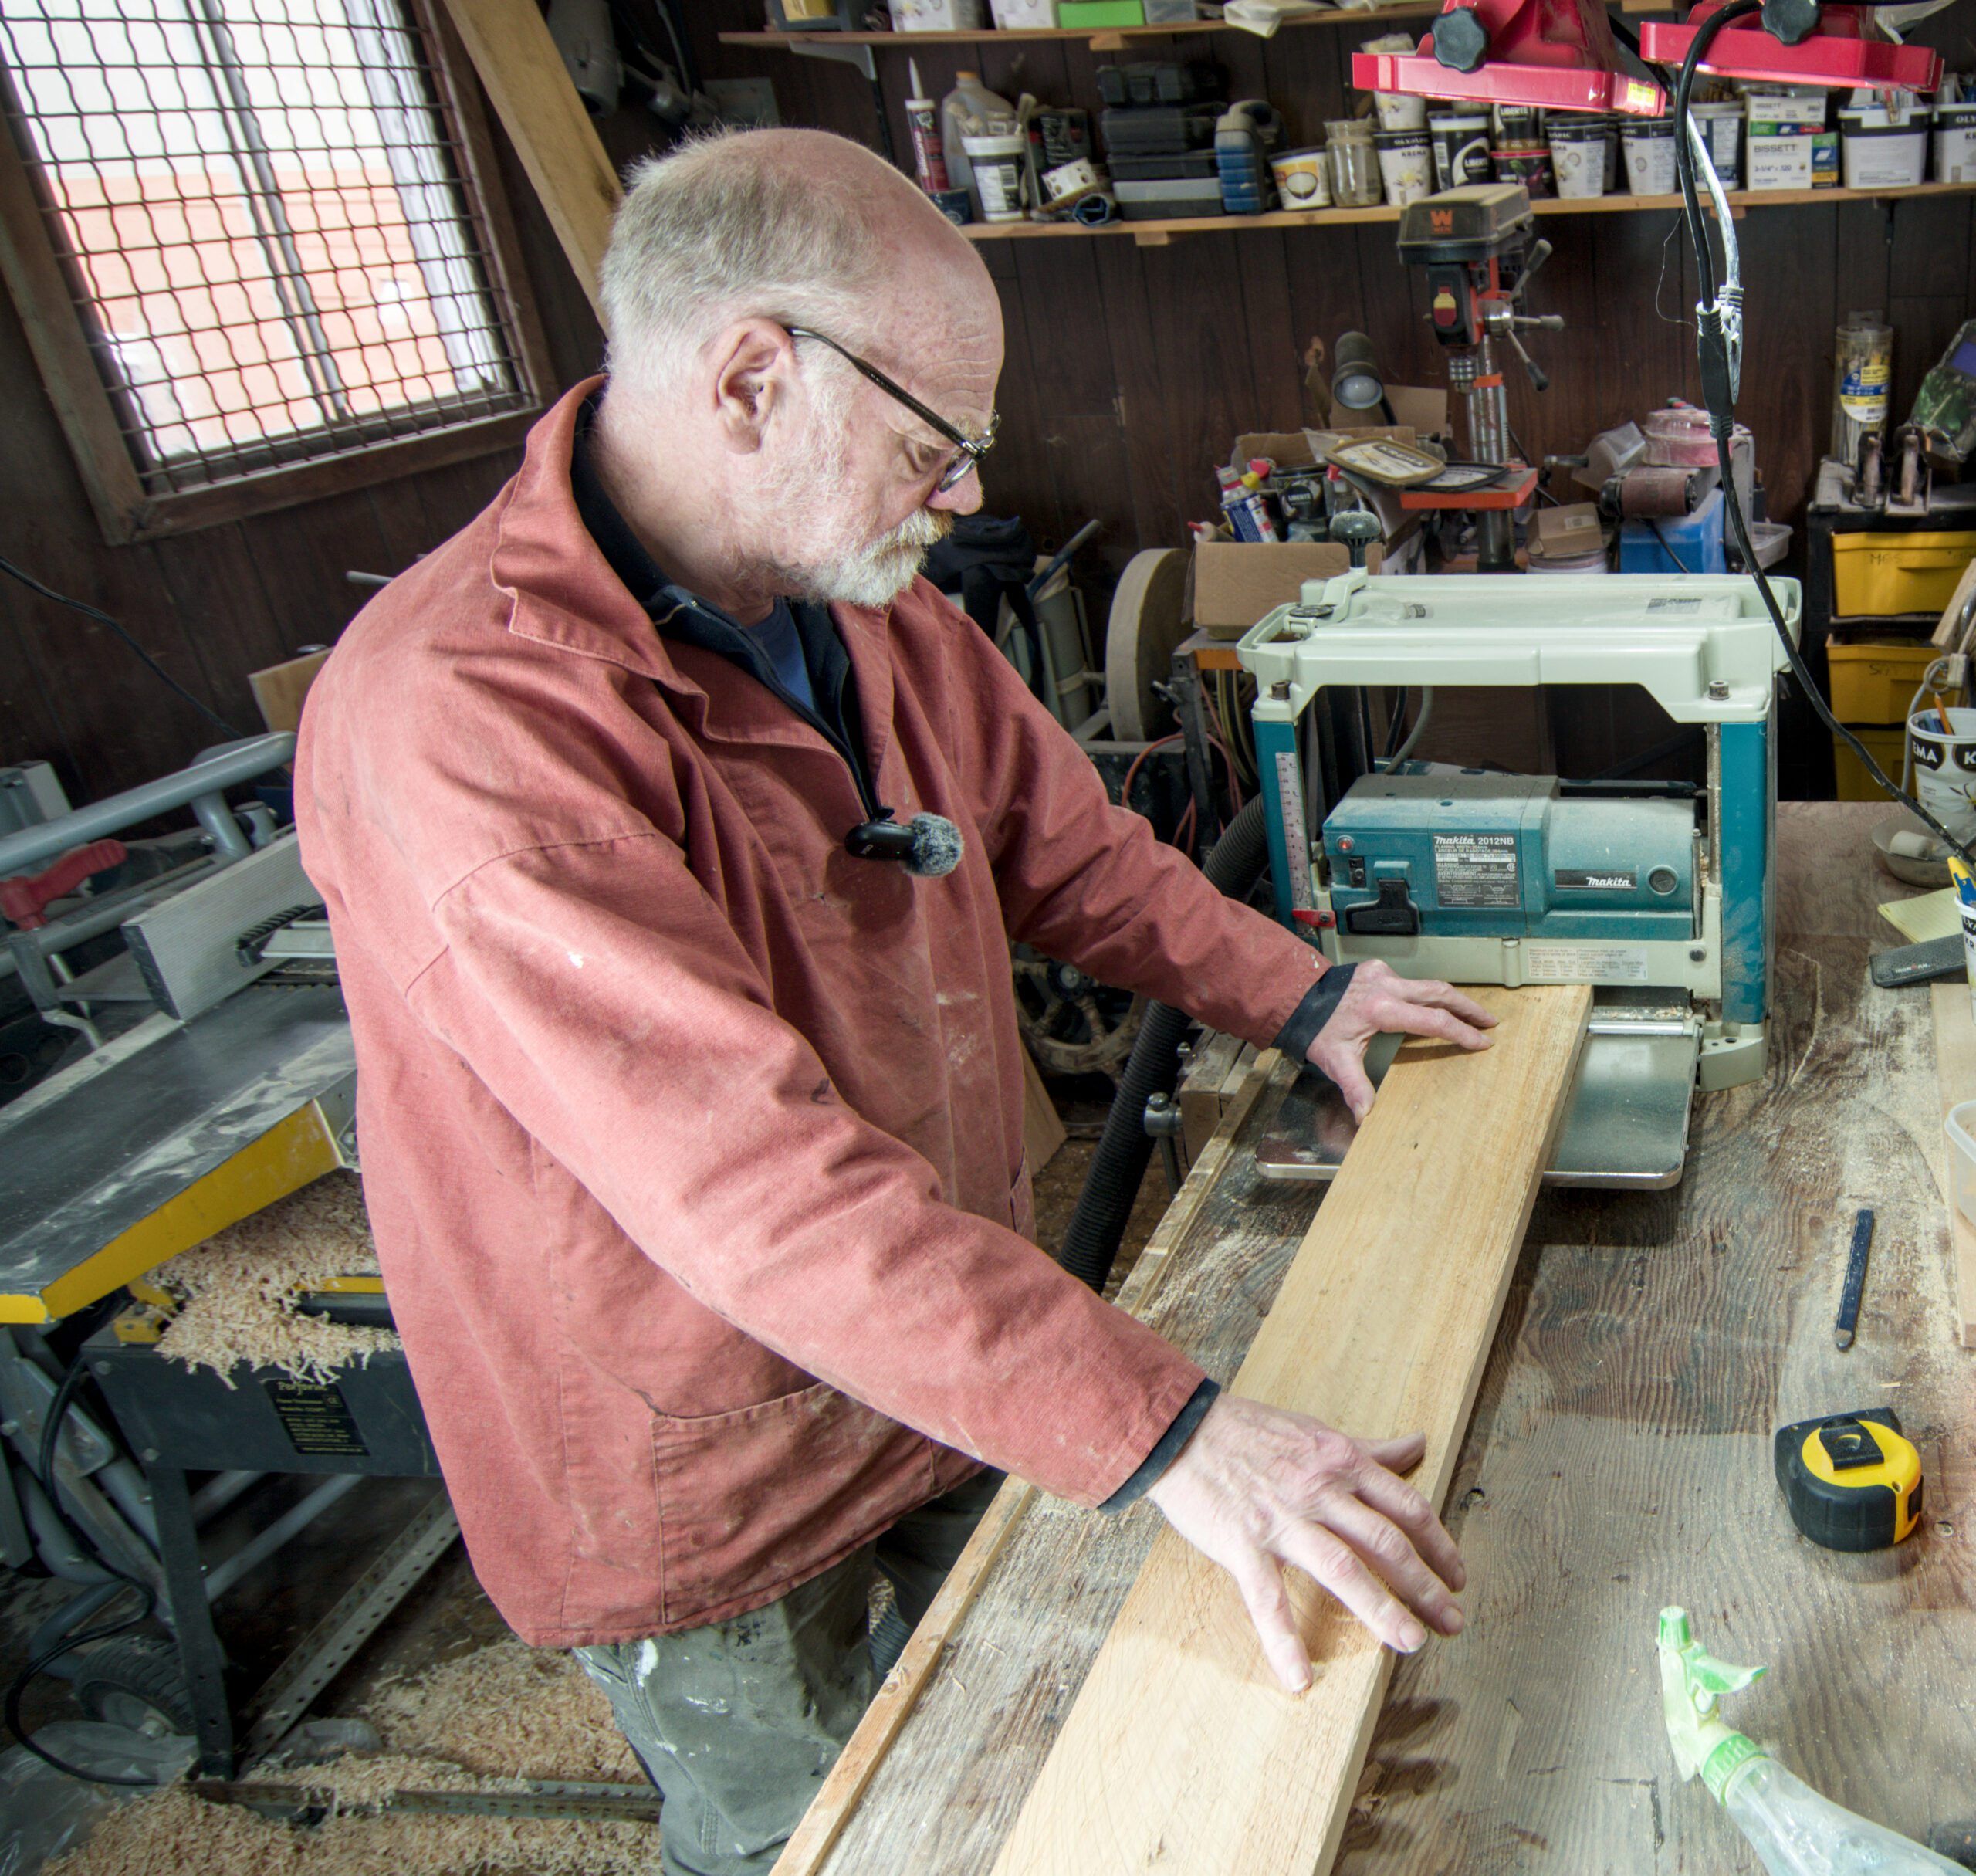
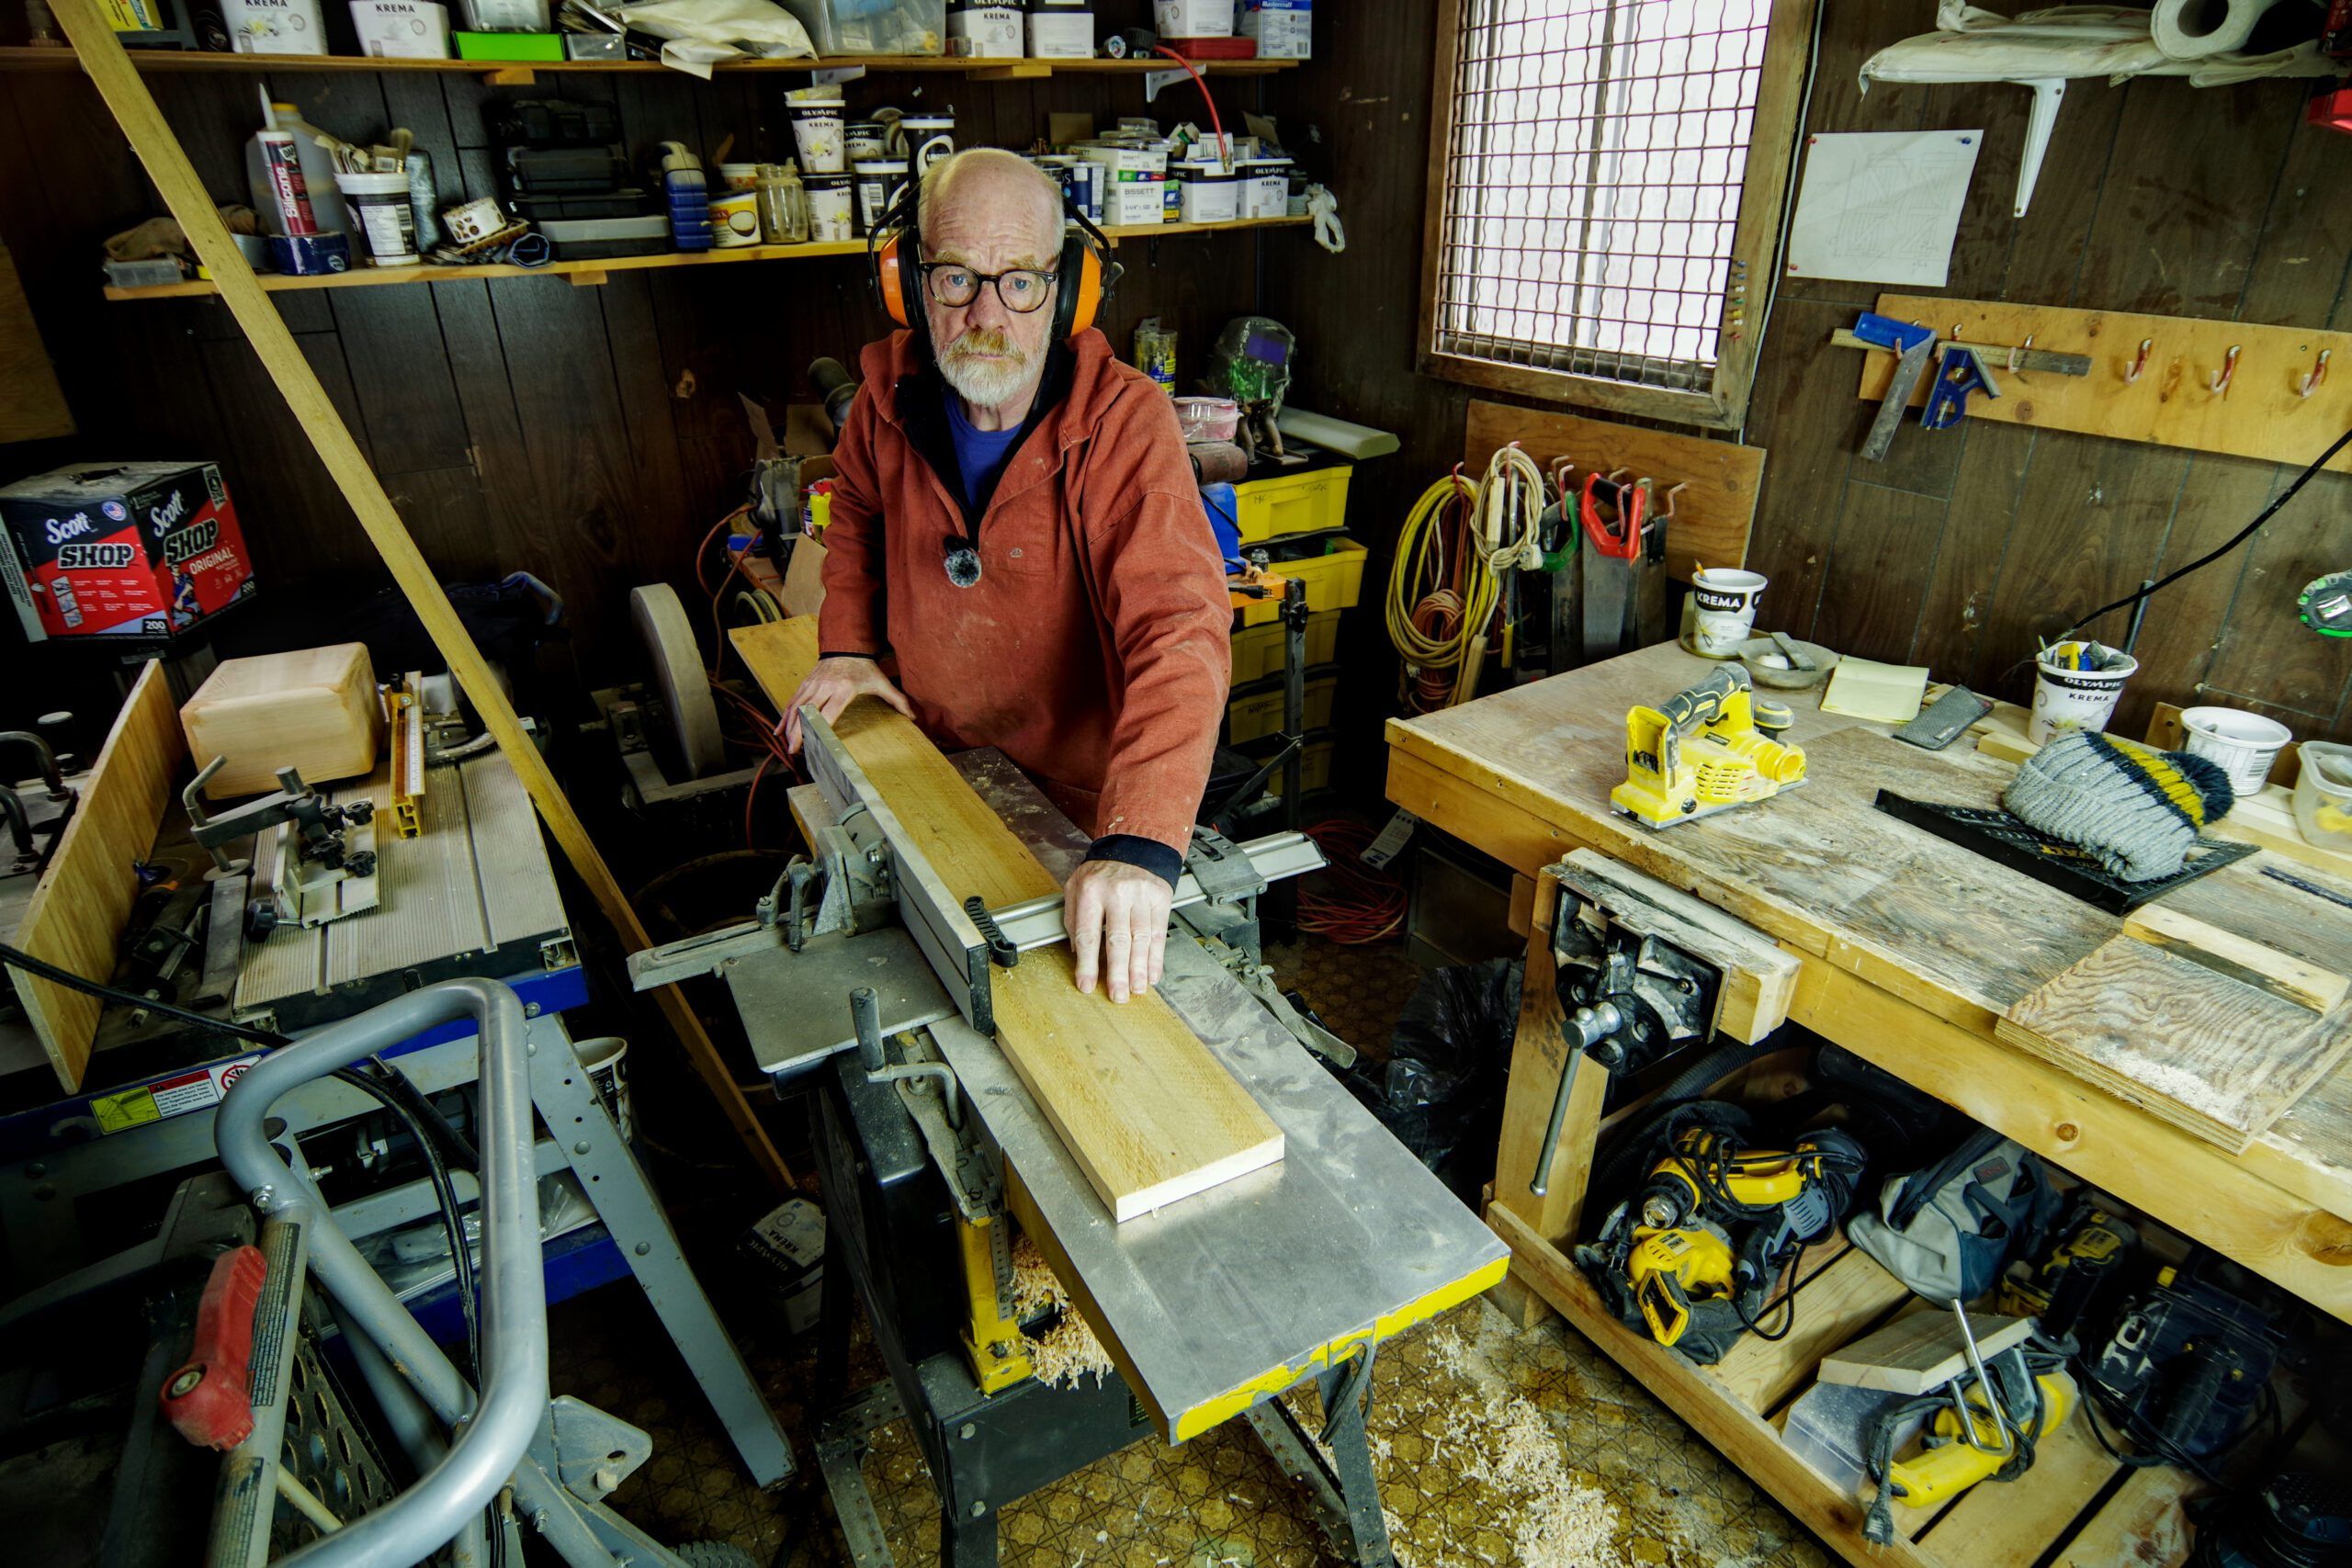
Now we need to get all four sides smooth and parallel. Ideally this is done with a jointer and thicknesser. Plane one face and both edges on the jointer then run it through the thicknesser. These are big and quite expensive machines so if you don’t have your own woodshop you have a few choices. Most timber suppliers will dimension raw timber to size at a reasonable price. You could also try asking your local college or school if they have a woodshop you could use. Quite a few will allow facilities to be used by community members. If they do, this is a great place to do many boat projects. They not only have all the tools you need and plenty of space, they may also have an instructor who can show you how to use the machines.
Cut the Lengths
Now we have the timber dimensioned we need to cut the lengths. We need three pieces 12-in. long for the long sides and top and two pieces 7-in. long for the short sides. Add 1/2 in. for cutting the joints so that finishes at 12 1/2 in. and 7 1/2 in.
The ideal machine both for cutting the lengths and width of the top, as well as the joints, is a table saw.
Alternatively you can use a sliding miter saw. Both will do the same job equally well.
These are quite big expensive machines that can be used for many jobs on a boat, but if you are only doing occasional small jobs they may not be worth it for you. You can also do this with a skill saw, but you need to use a guide. I find that a framing square works, but a standard woodworker’s square is not substantial enough.
Set the framing square clamped across the wood and hold it firmly with one hand. Now run the skill saw along the edge and you will get a good straight cut. The same method can be used to cut the miters. This is not going to be as accurate as using a table saw or miter saw. If you are doing it this way I suggest using thickened epoxy to glue up the box frame, it will fill any gaps better than wood glue.
Cut the Joints
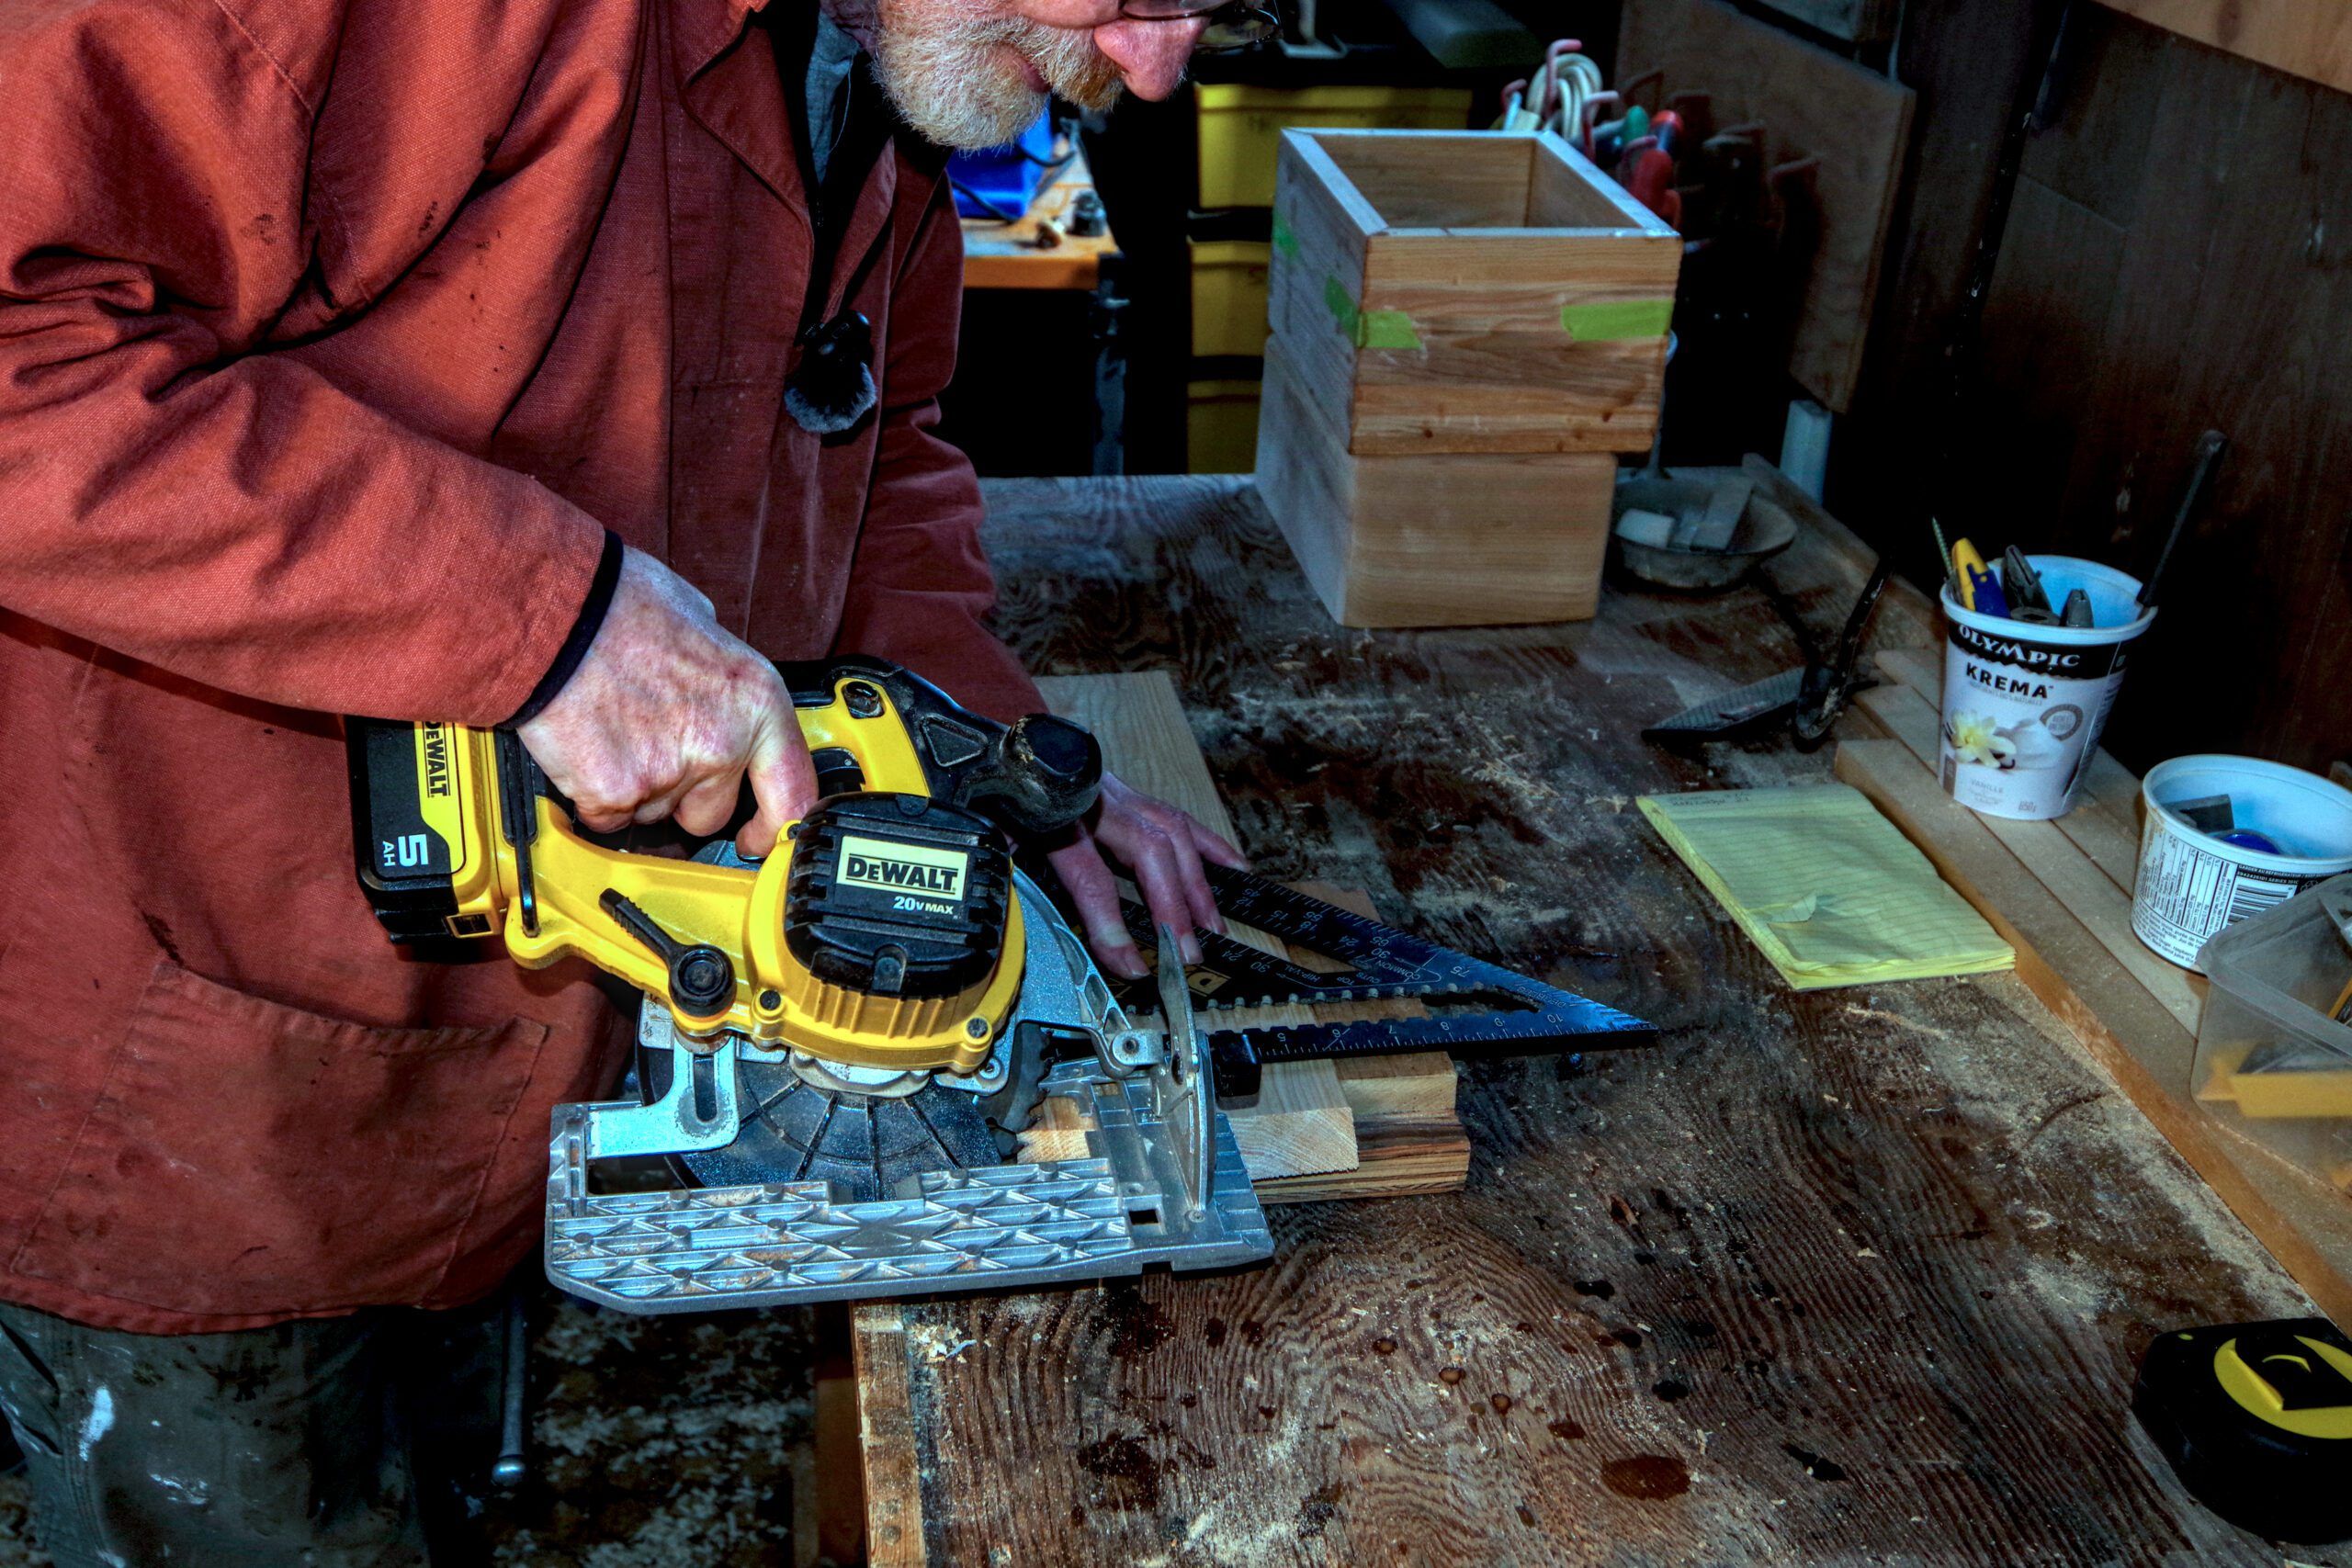
Next, we need to cut the joints. What we want is a miter at each corner so we have to cut a 45-degree chamfer on each end of the four side pieces. In fact, we want the miter to be very slightly more than 45 degrees. This is because if there is any error that will leave a gap—we want it to be on the inside.
Cutting the miters is the hardest part of the project. When you have cut the bevels keep the cut-off, we are going to use that to finish the inside.
The setting gauges on the bigger machine are usually accurate. If you are using a skill saw you will need to set the angle for the bevels with a decent square, the gauge on the saw is not accurate enough.
Dry Assembly
The picture below shows all the parts cut and one box dry assembled. Dry assembling it is important, you need to check that all the joints fit with no big gaps on the outside edges. If you dry assemble it, you can still make some adjustments if needed. Once you put the glue on you are committed!
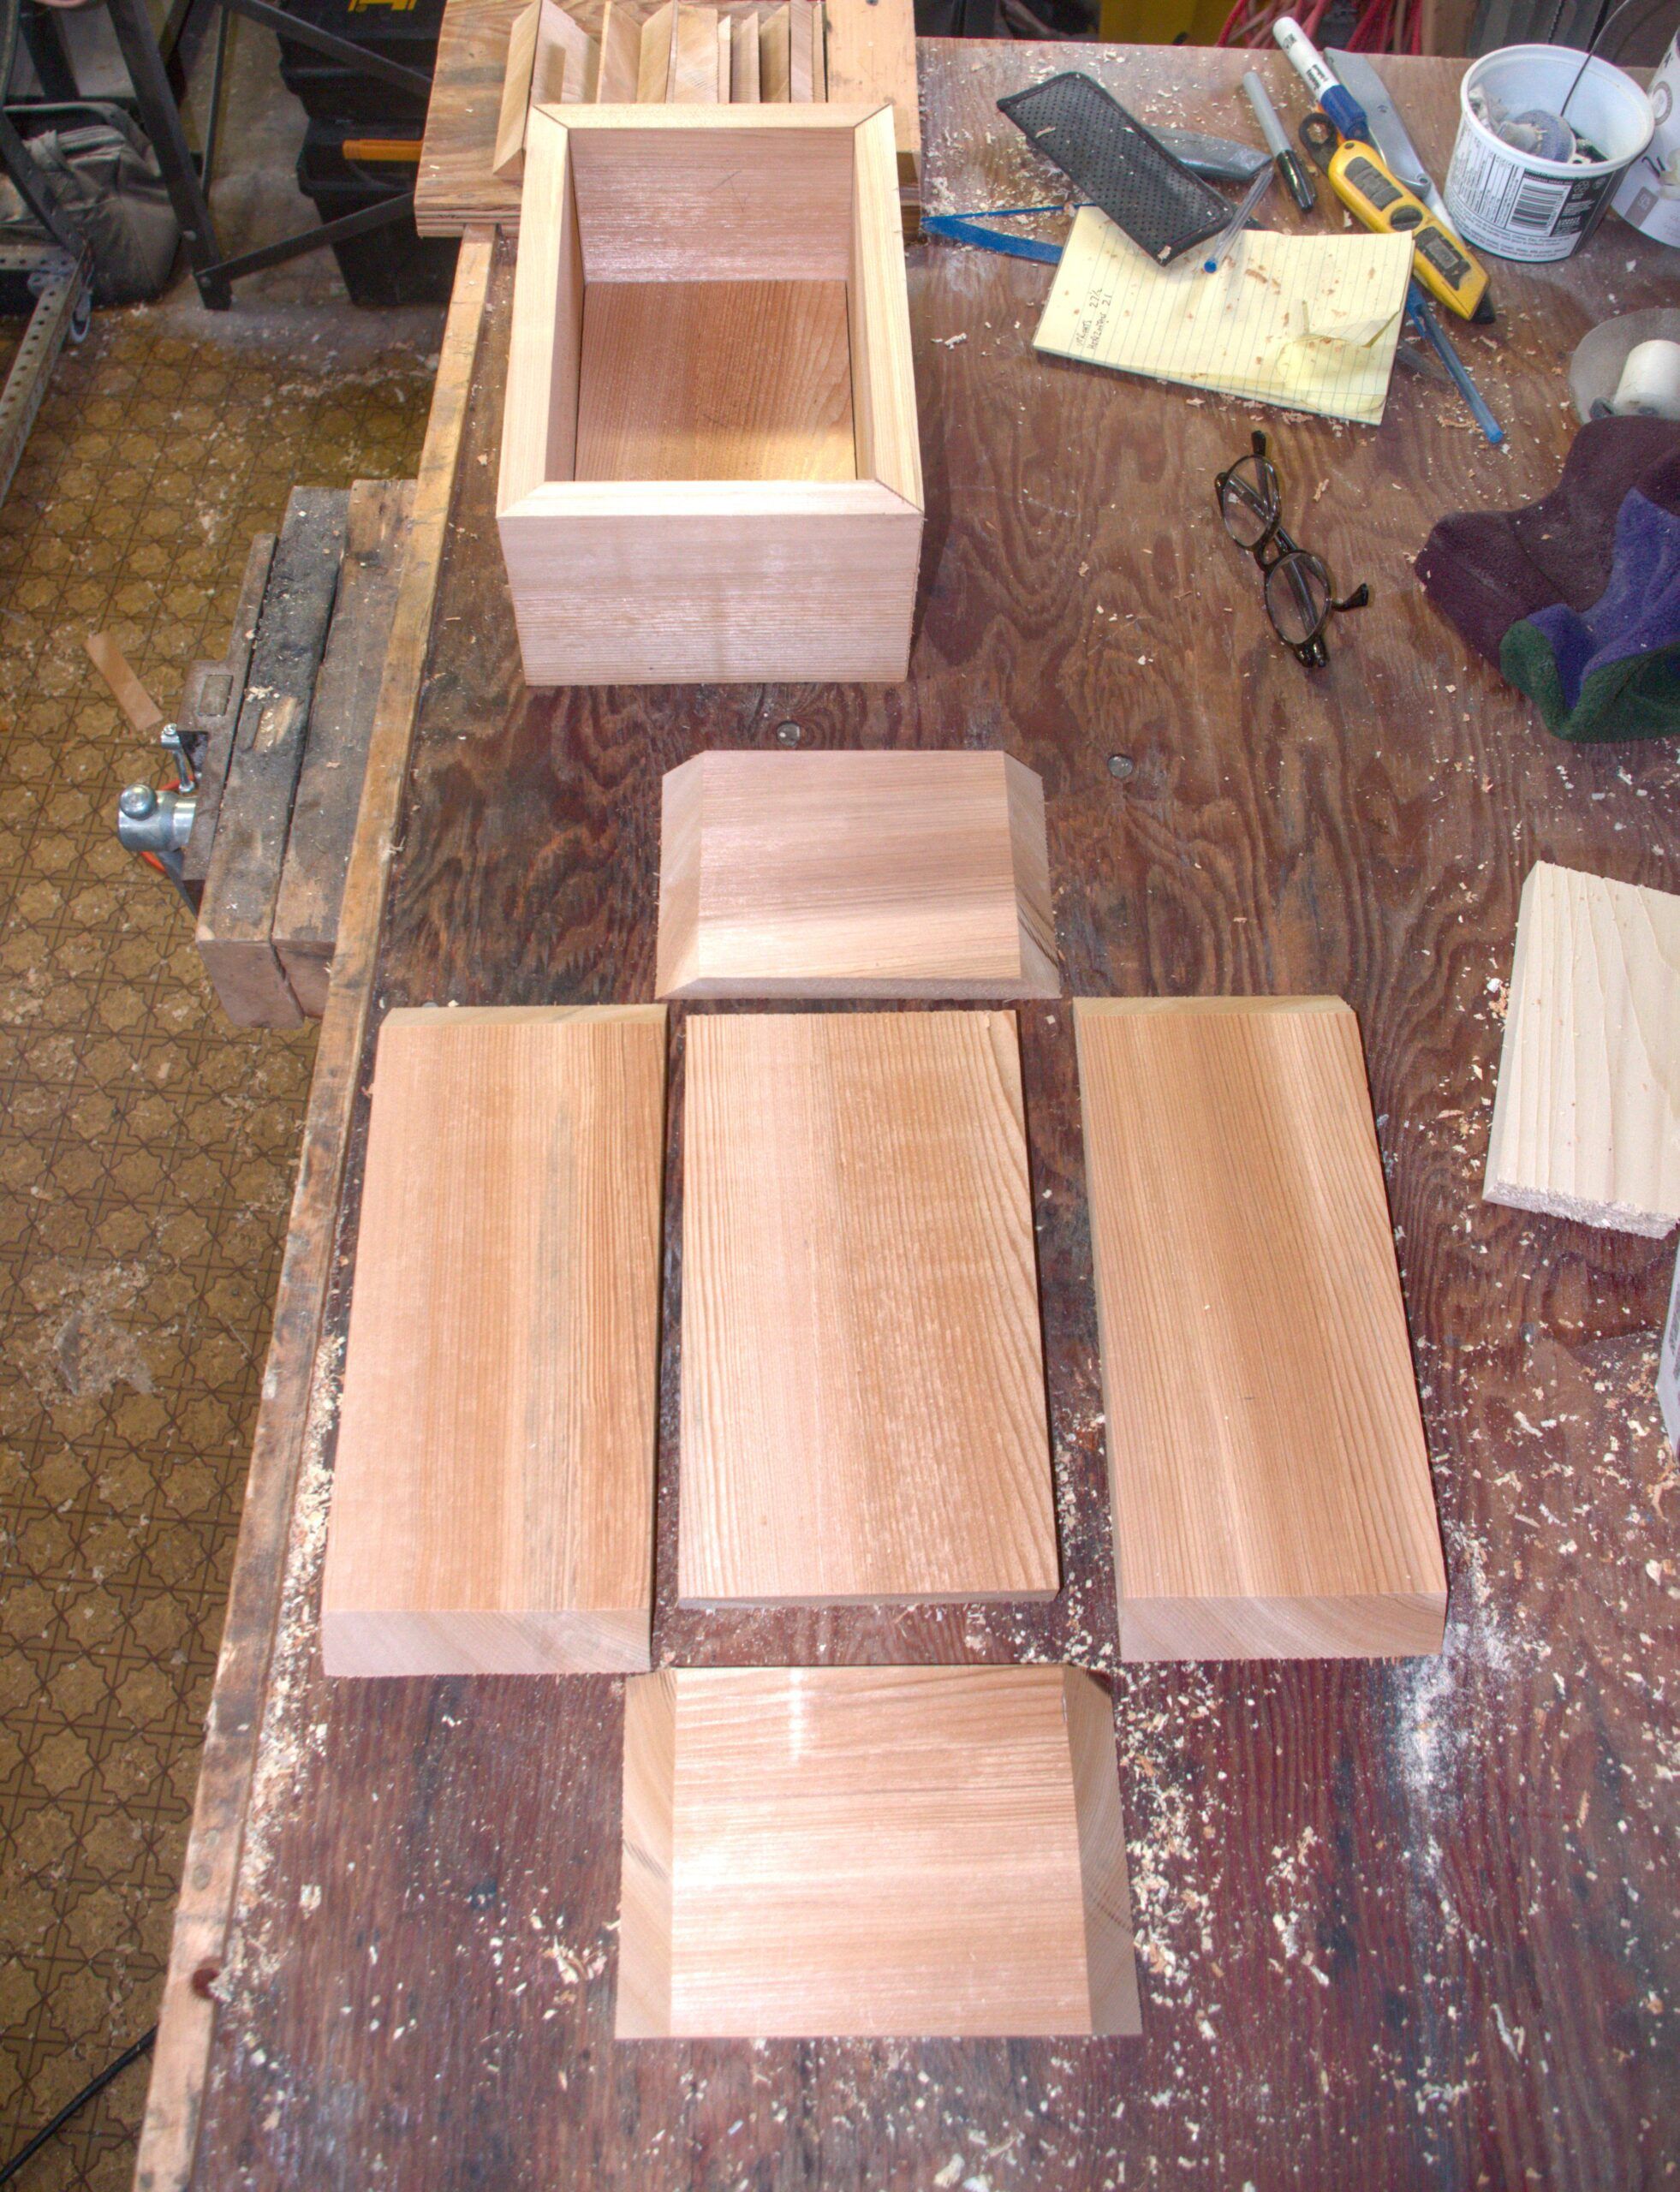
There are two ways to put the box together. You can glue all the mitered joints together but not fit the lid. Let everything dry and then fit the lid separately. Alternatively, you can put it all together in one go, but it can be tricky to get the lid exactly right, so fitting the lid afterwards can be easier.
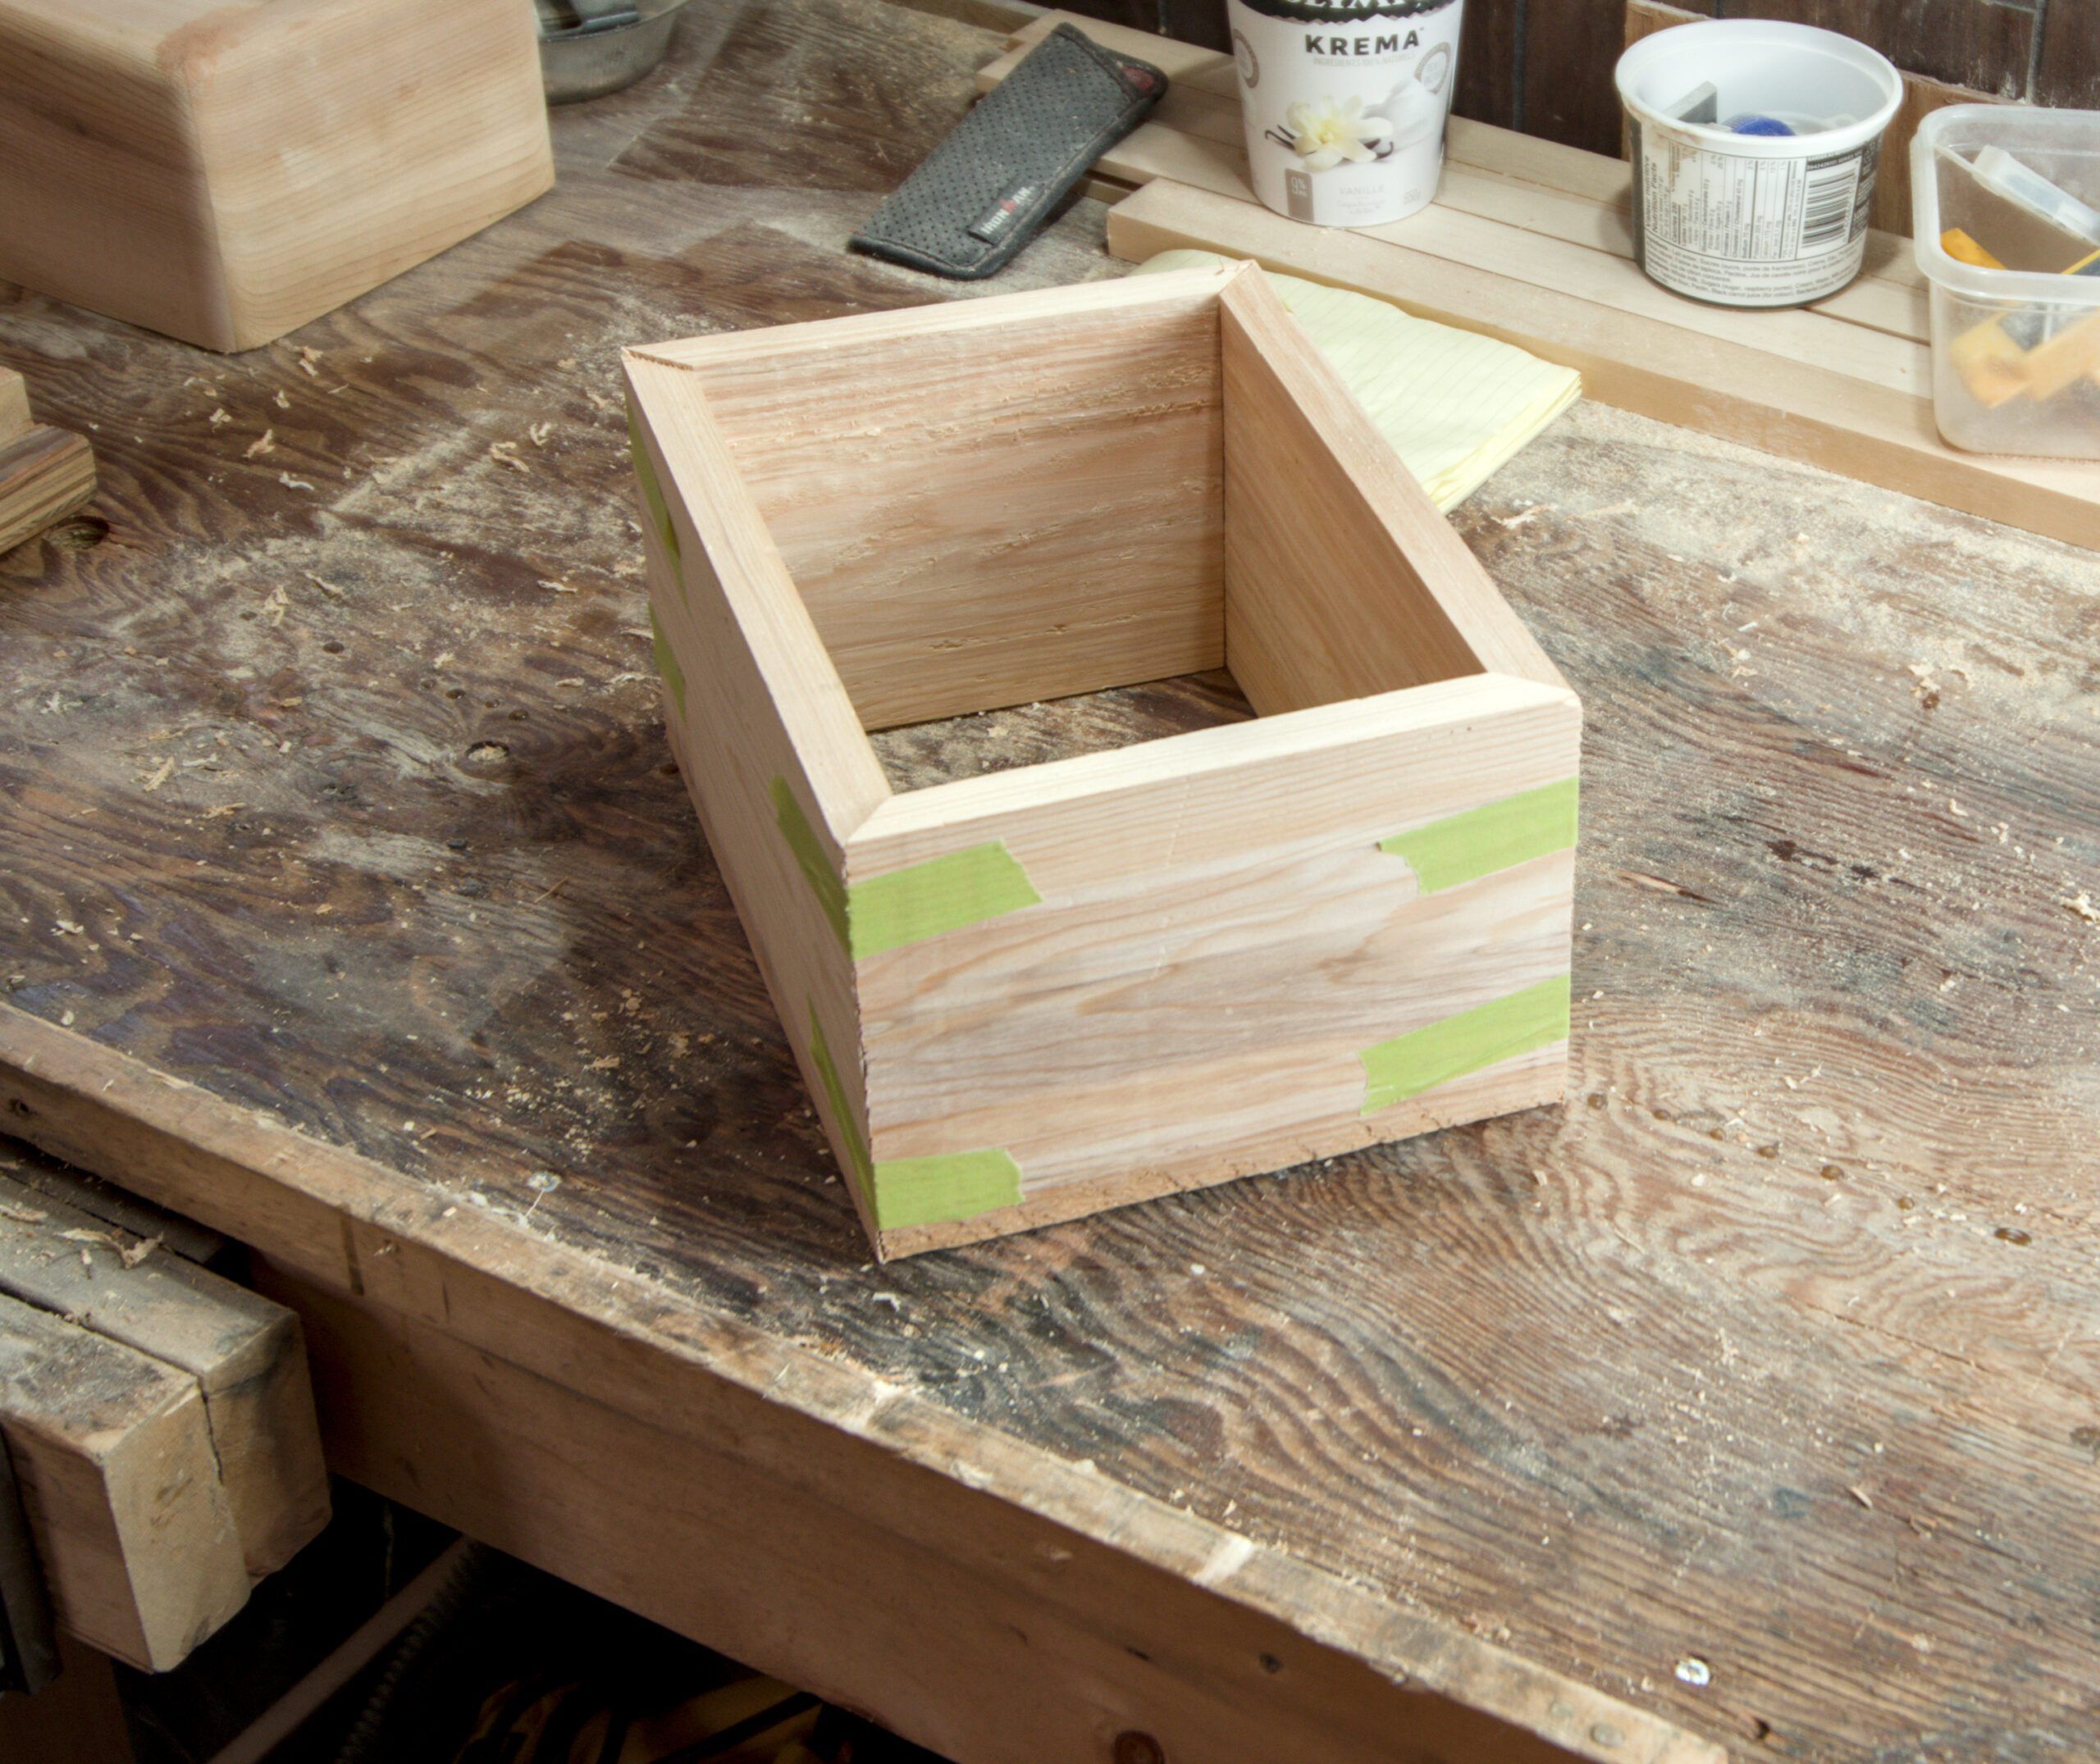
Whichever way you choose, a good trick both when dry-fitting everything and glueing up is to use painter tape to hold it together. Trying to get all four sides to stay in place while you clamp it up will not work well.
Gluing and Clamping
Once you have the glue on and the box taped together it needs clamping. Don’t overdo the clamping pressure, just enough to squeeze a little glue out of each joint. If you apply too much pressure, you will squeeze all the glue out and finish up with a dry joint that is weaker. The easiest way to clamp it up is in a bench vice. Drop the box in the vice and tighten it until the jaws are just touching. Now add two clamps across the other way, again with just enough pressure to hold them in place. Now you can slowly turn up the pressure on the vice and clamps until you just see a little glue squeezing out.
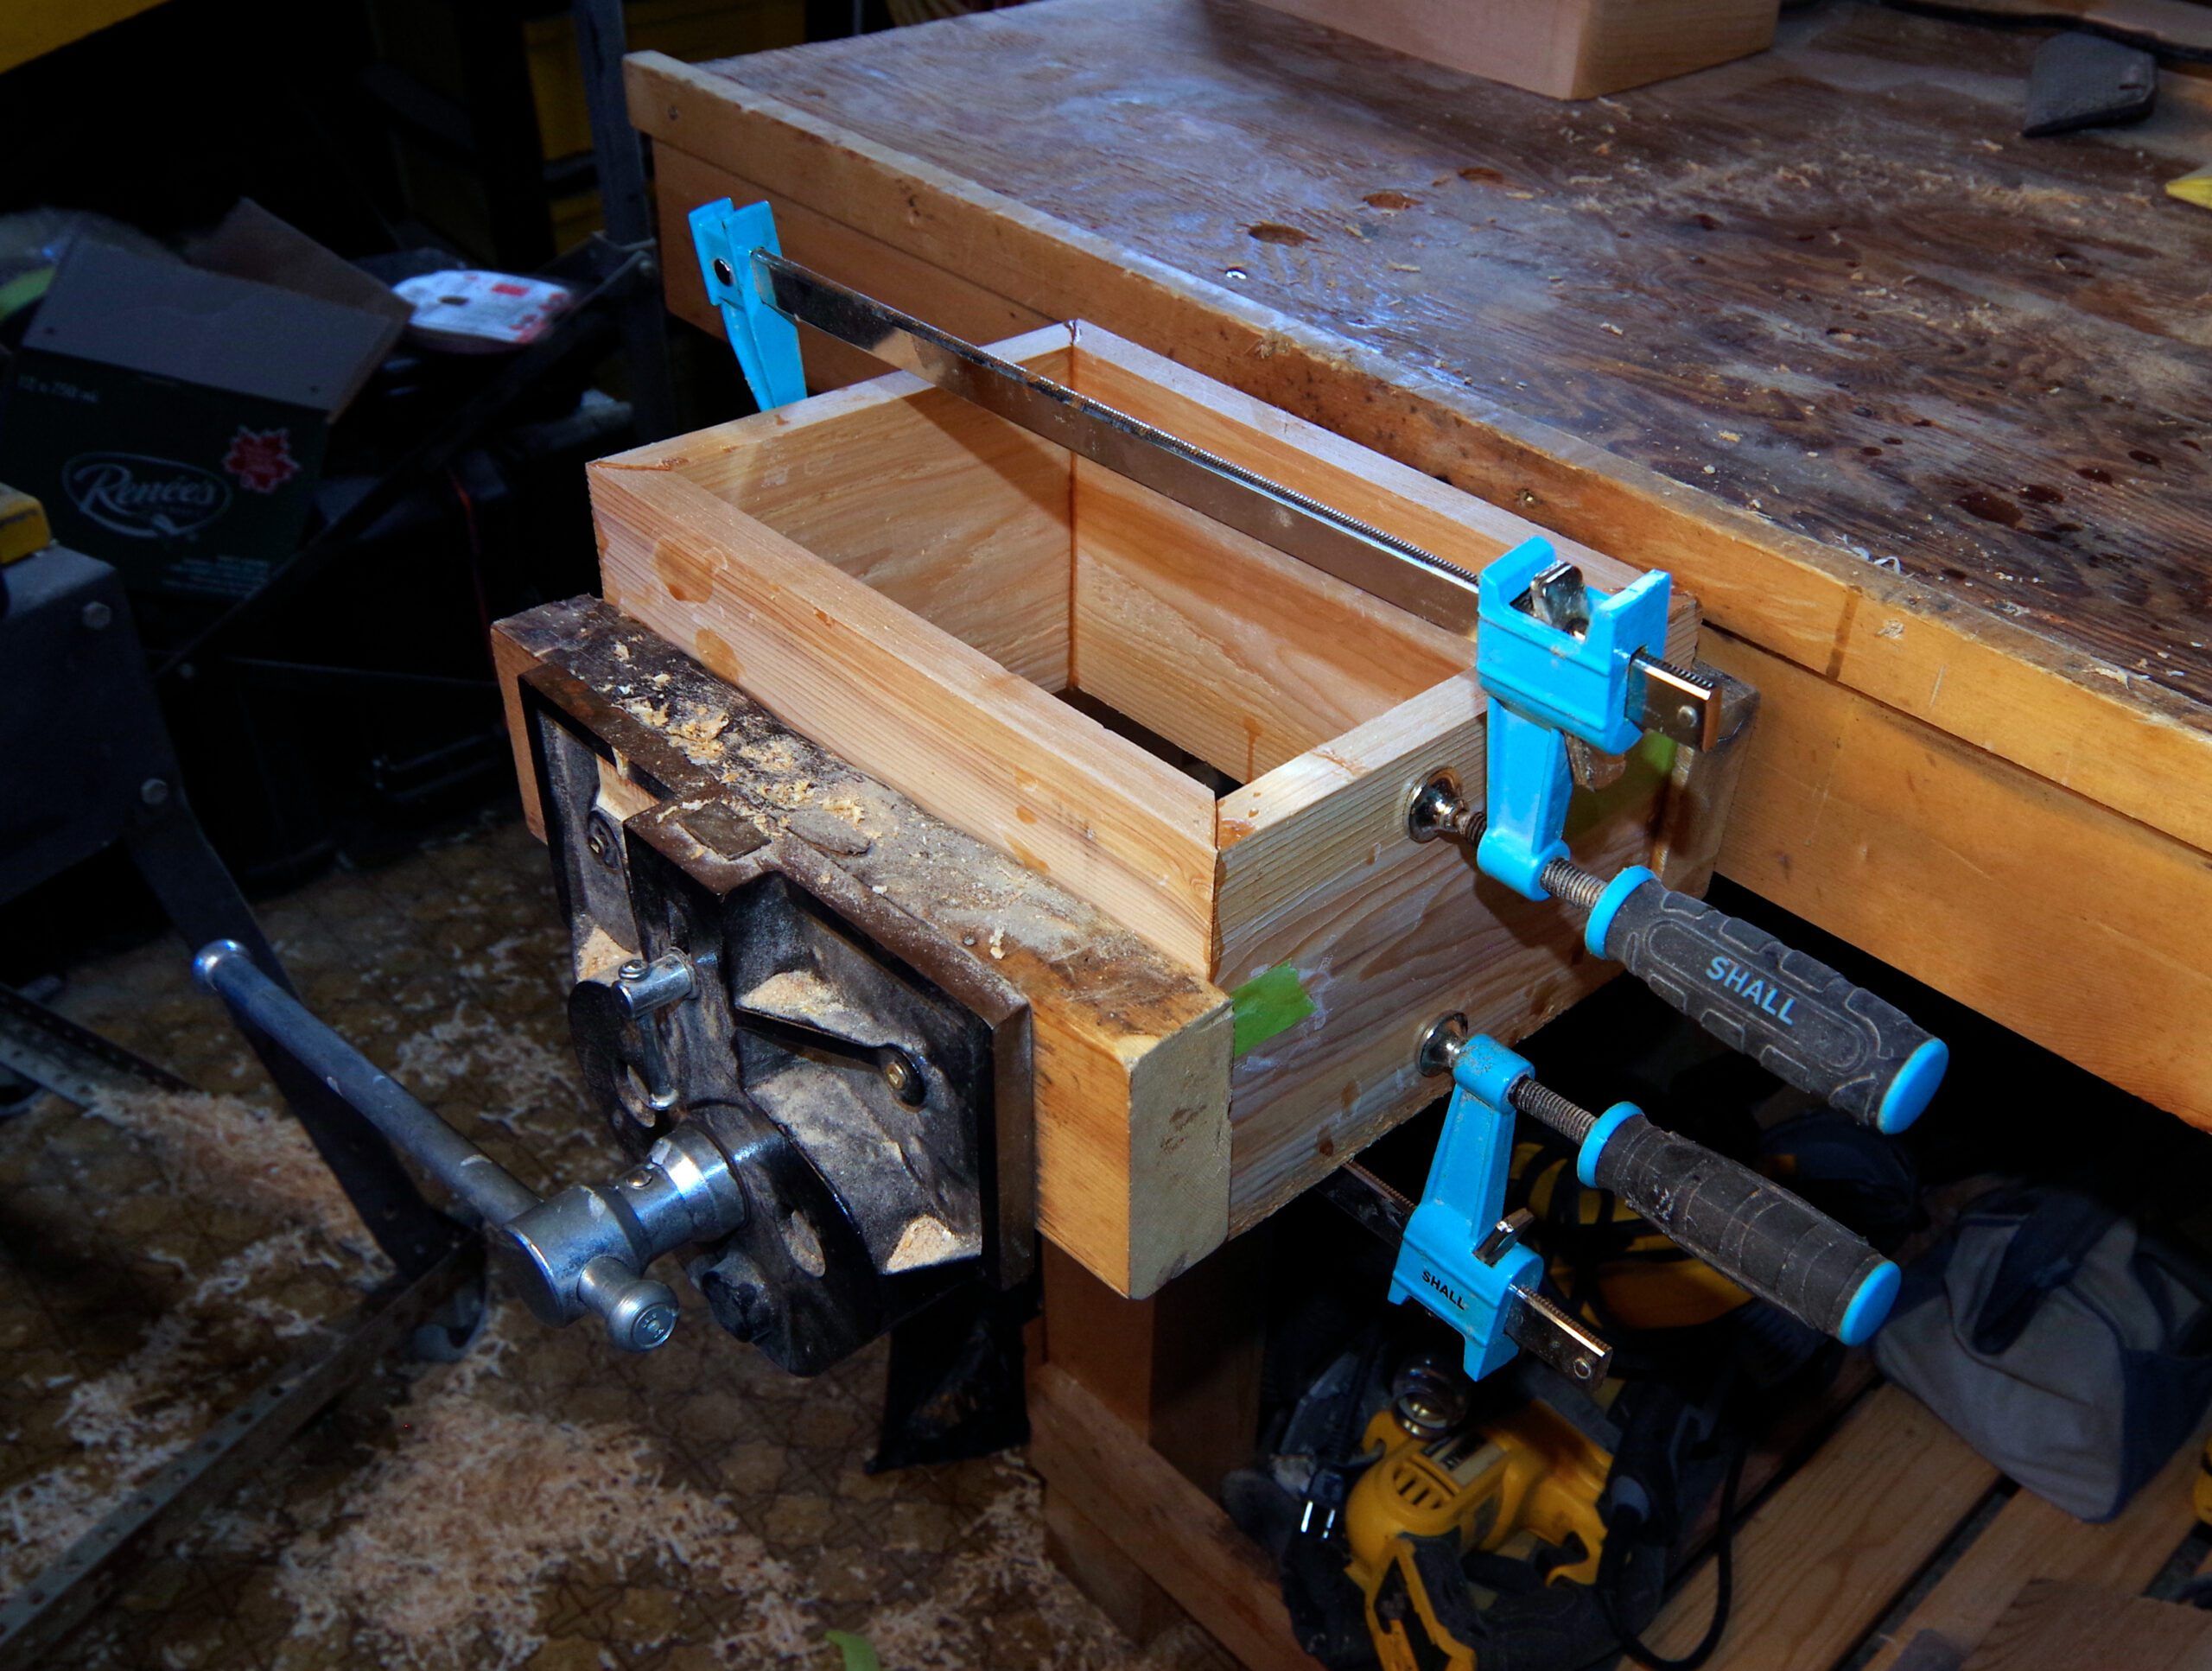
Leave it overnight to dry and then fit the lid if you did not do it all in one.
Reinforce the Joints
There is one last step. Earlier I said to save the pieces you trimmed off when making the miters. Now take those and glue them into the corners. This reinforces the joints and will stop any water penetration.
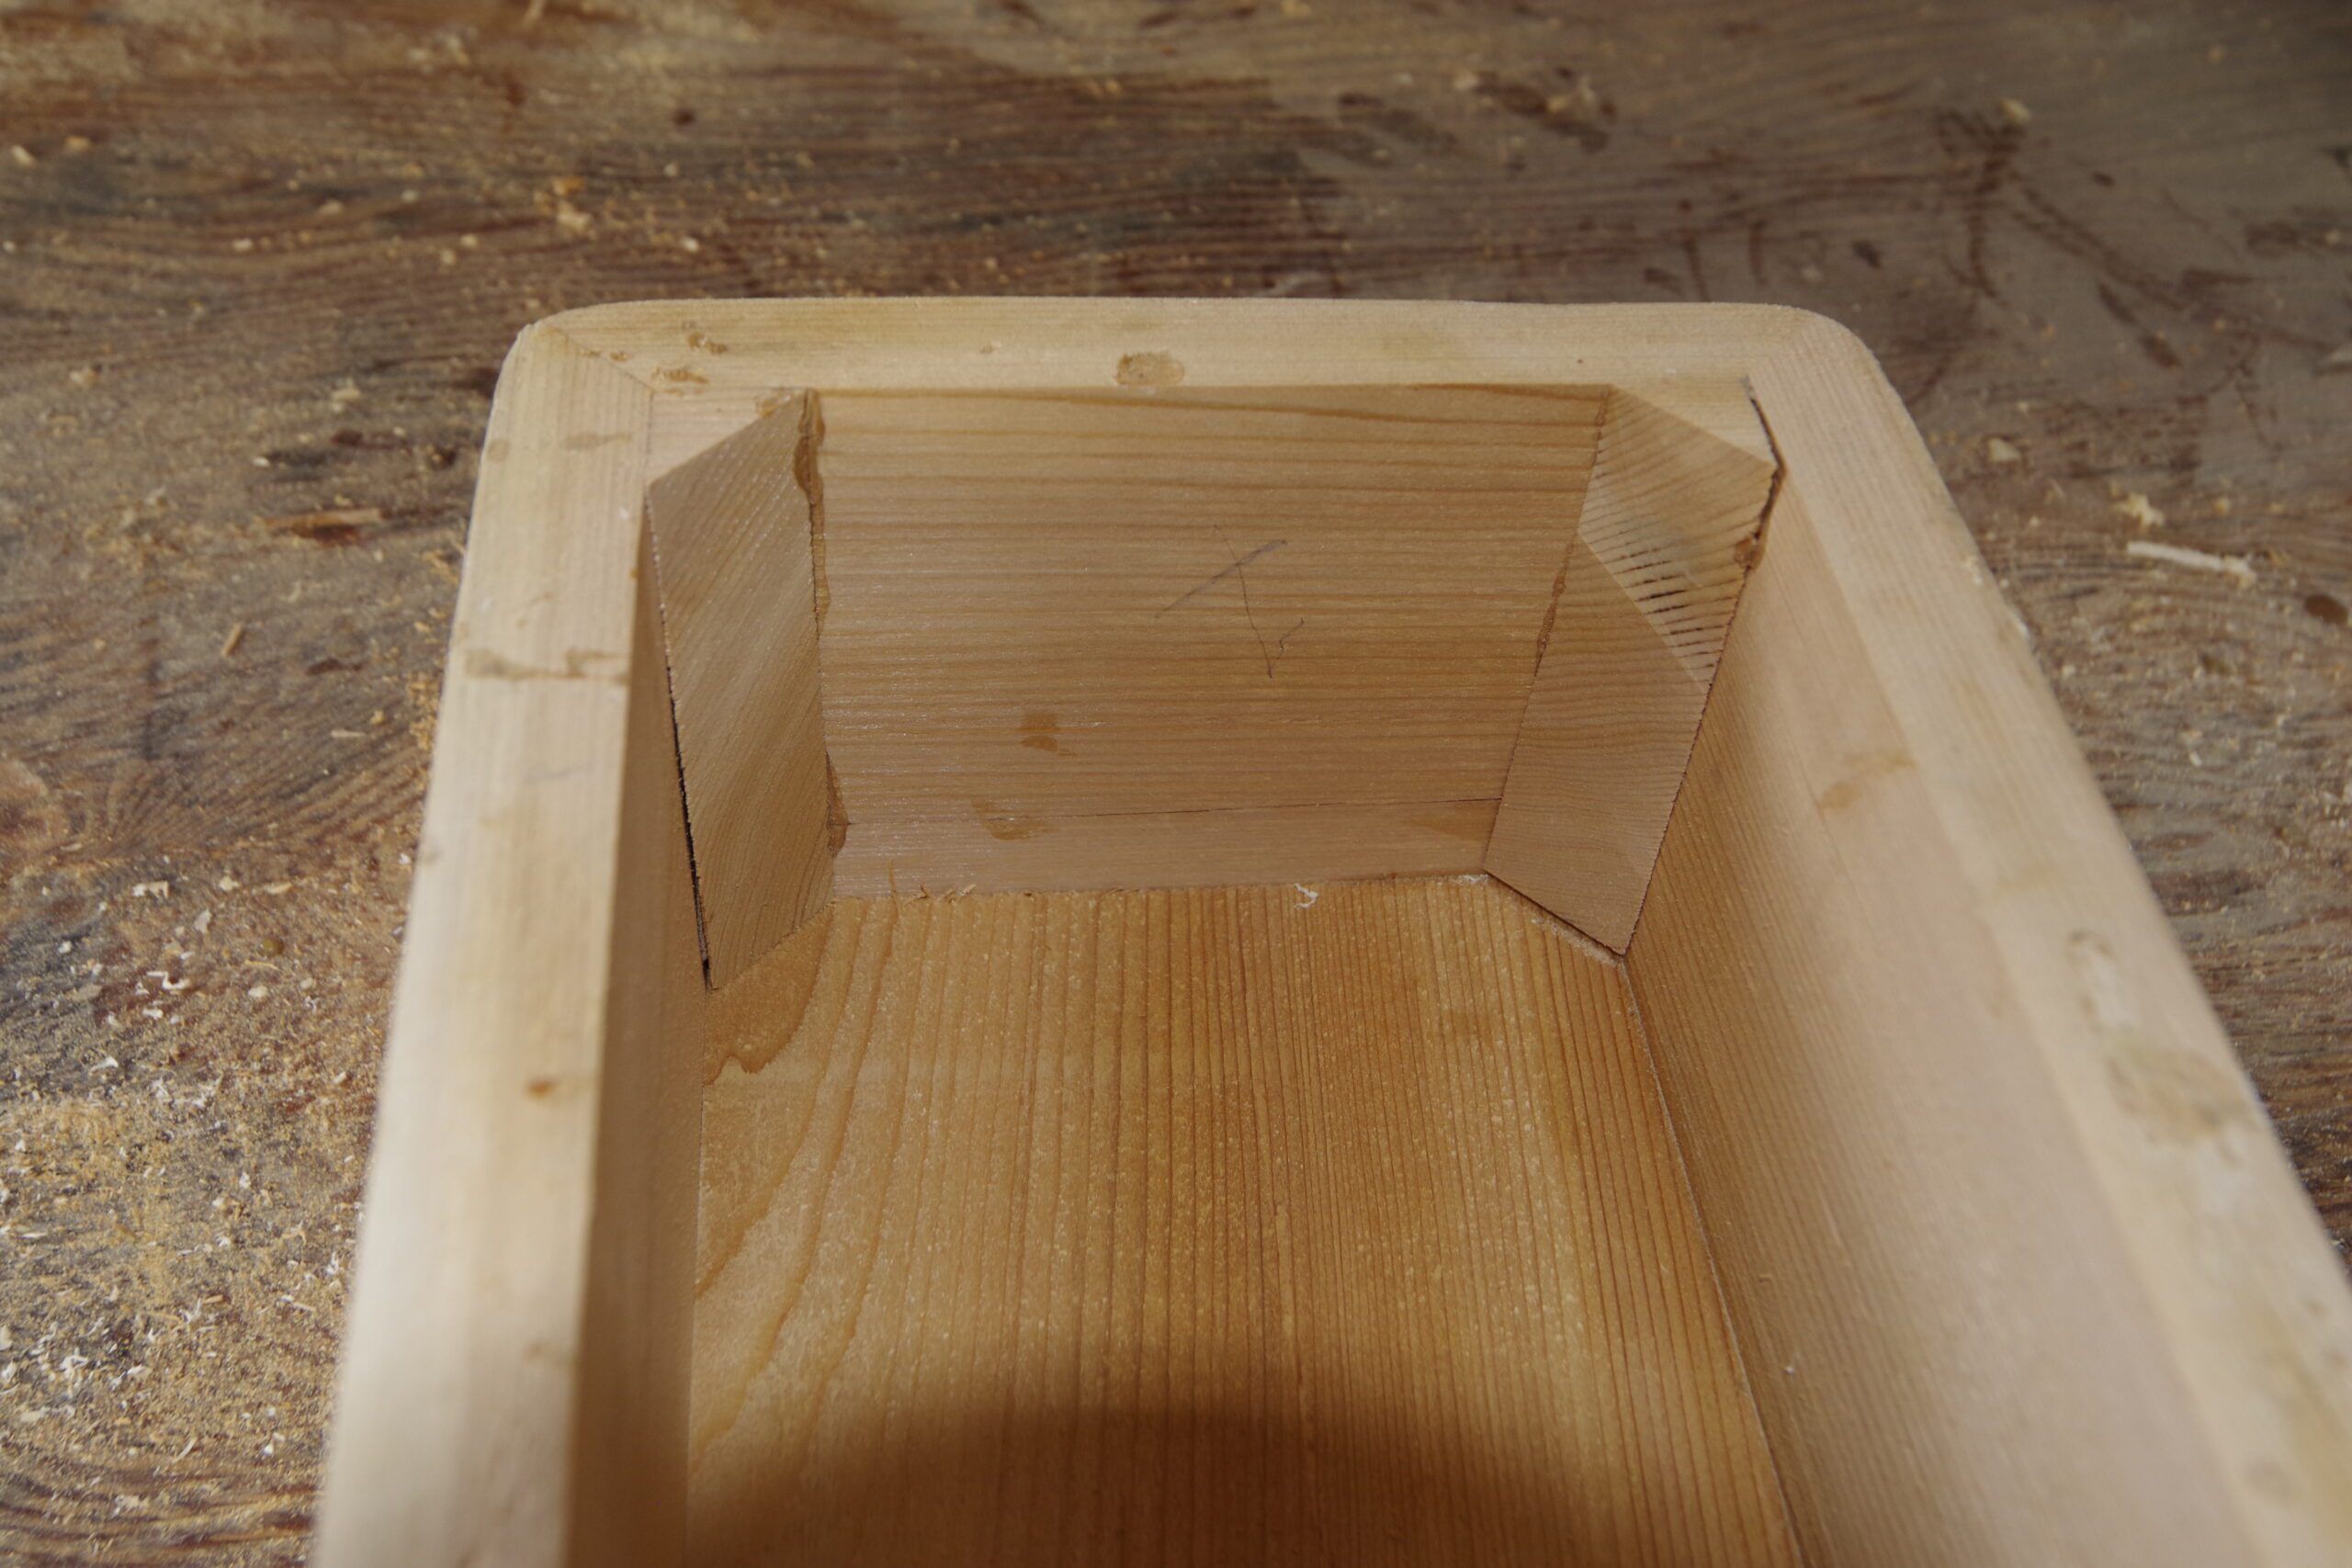
You now have a completed box. We need to clean it up and cut some holes to finish it.
Cut Holes
You need to cut a hole in the top to fit whatever cowl you are using. This can be done by drawing a circle, drilling a pilot hole and cutting it out with a jigsaw. A better way is to use a hole saw, but you need one big enough, and they are around $30. When drilling with large hole saws you need a variable speed drill and make sure to work slowly. The bigger the cutter diameter, the faster the edge is traveling. Running a 4-in. hole saw at full revs means the outside edge will be going so fast it is likely to burn the wood.
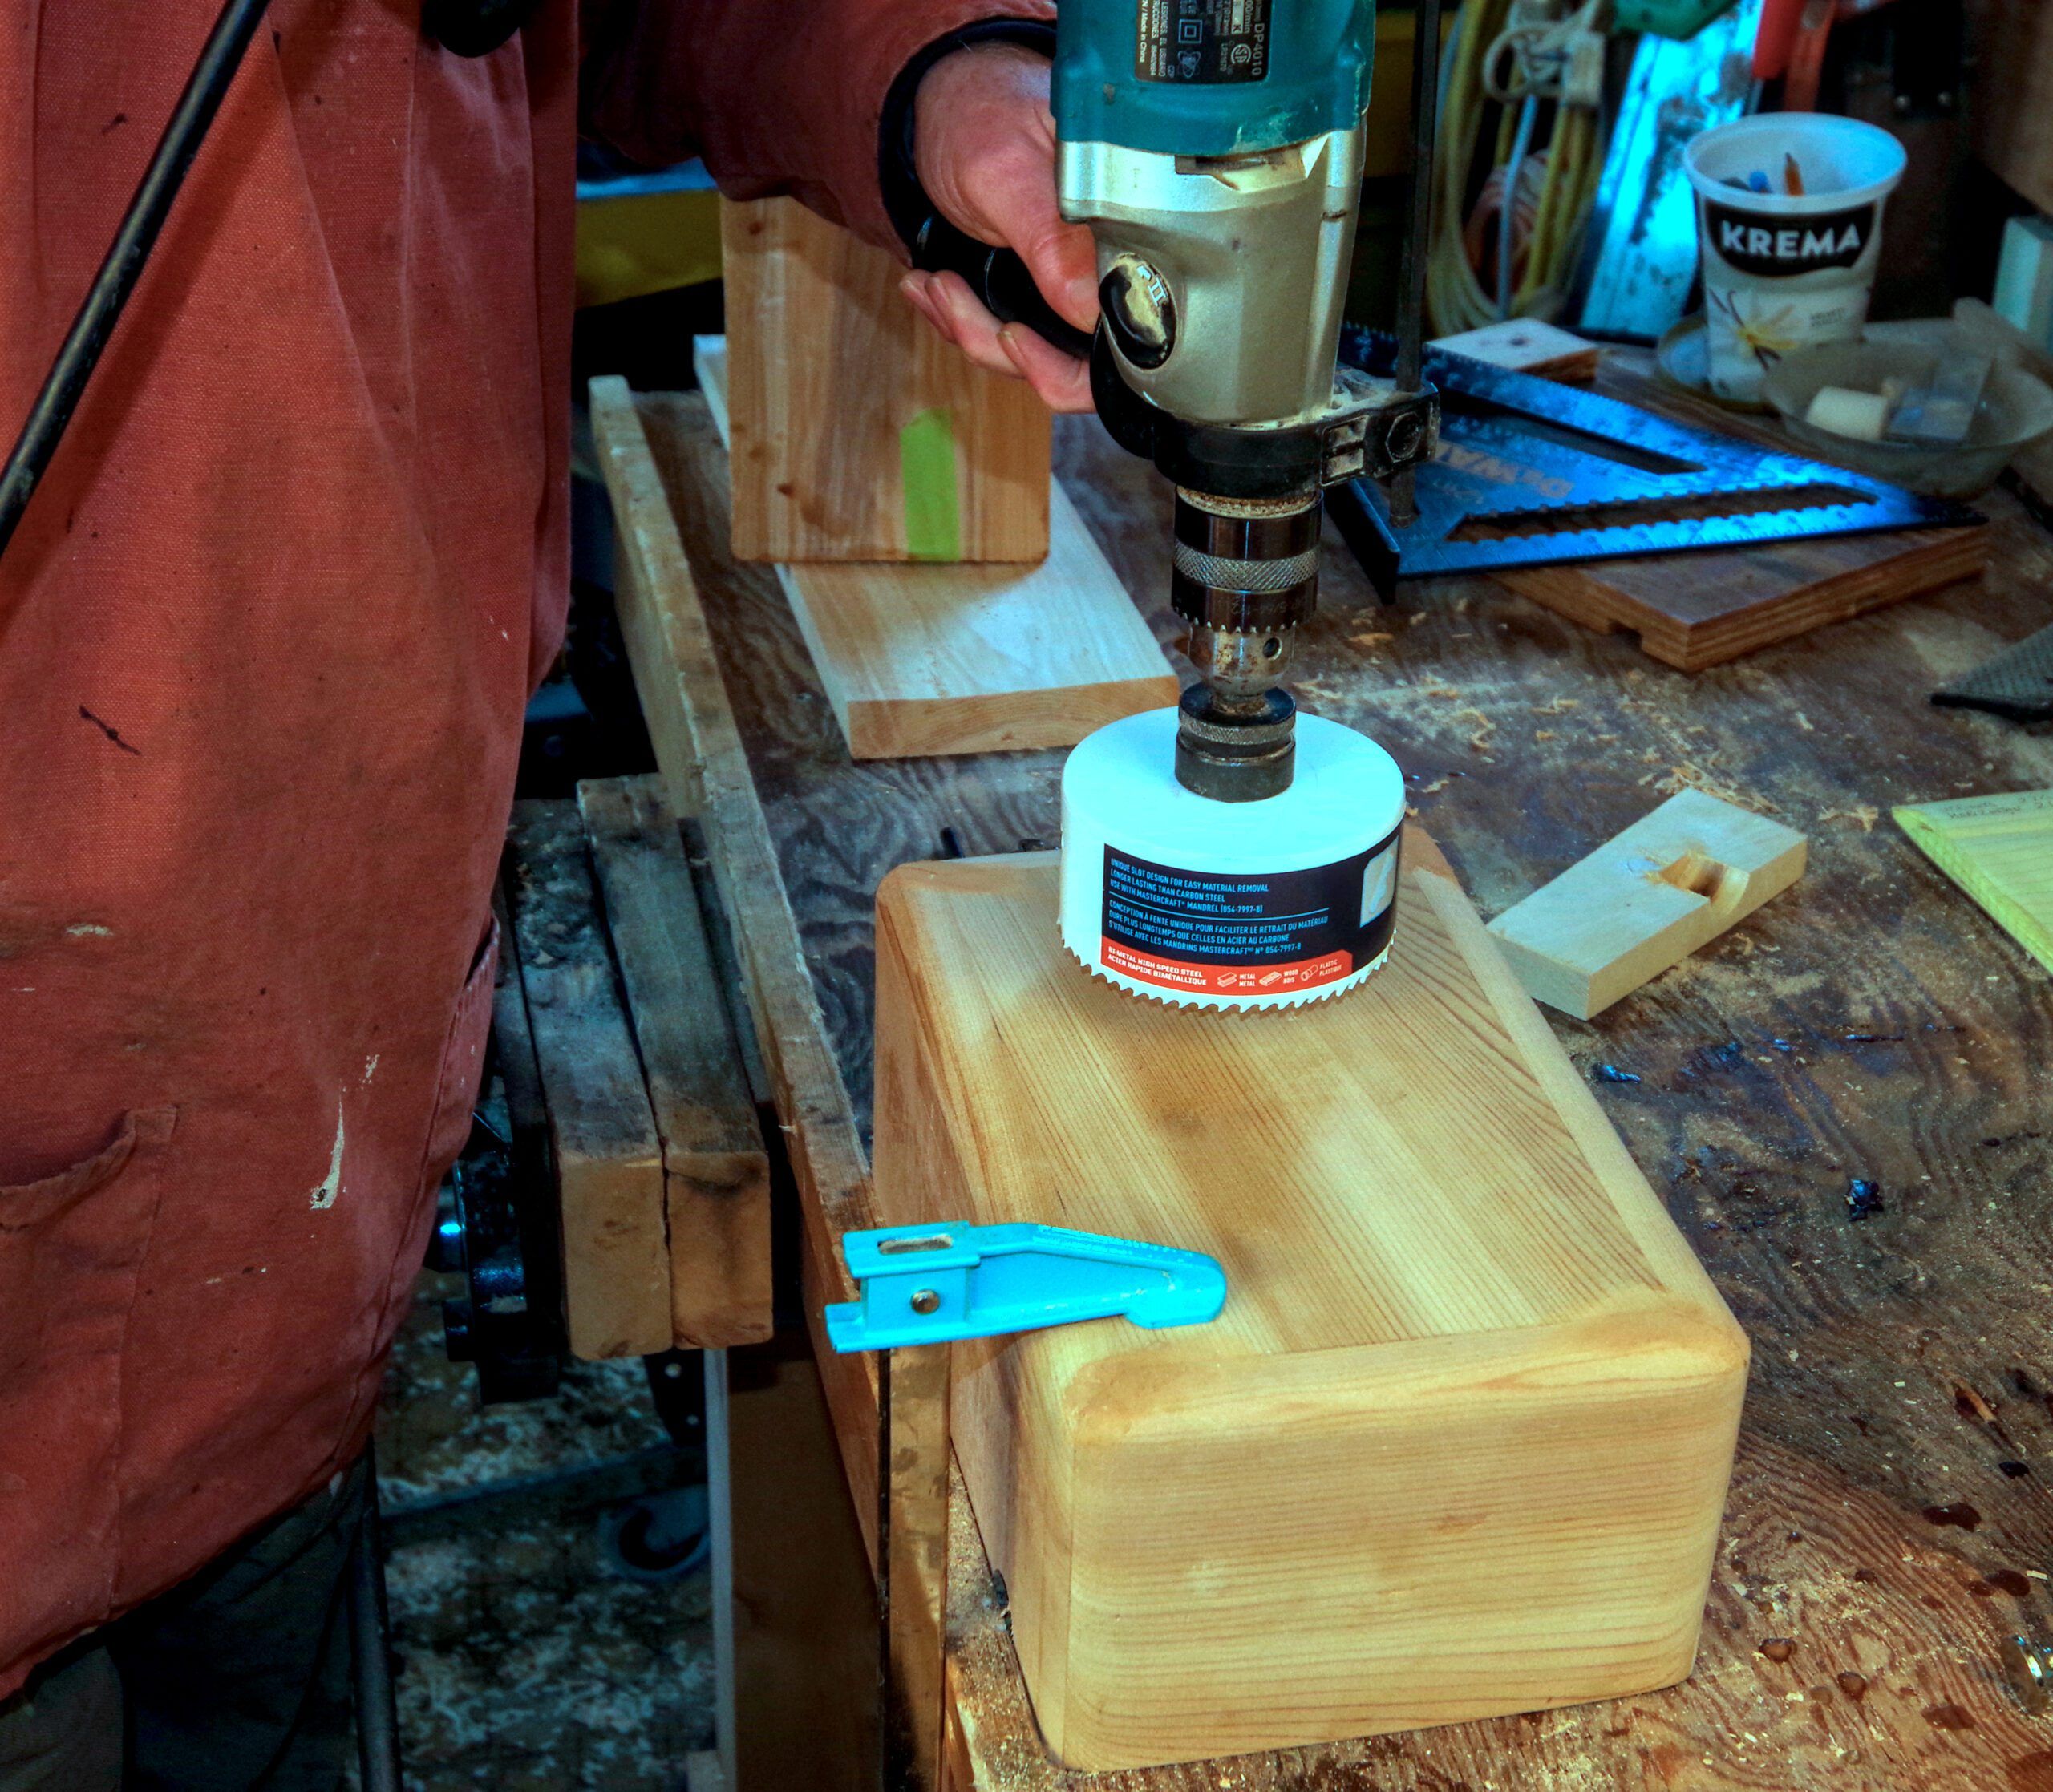
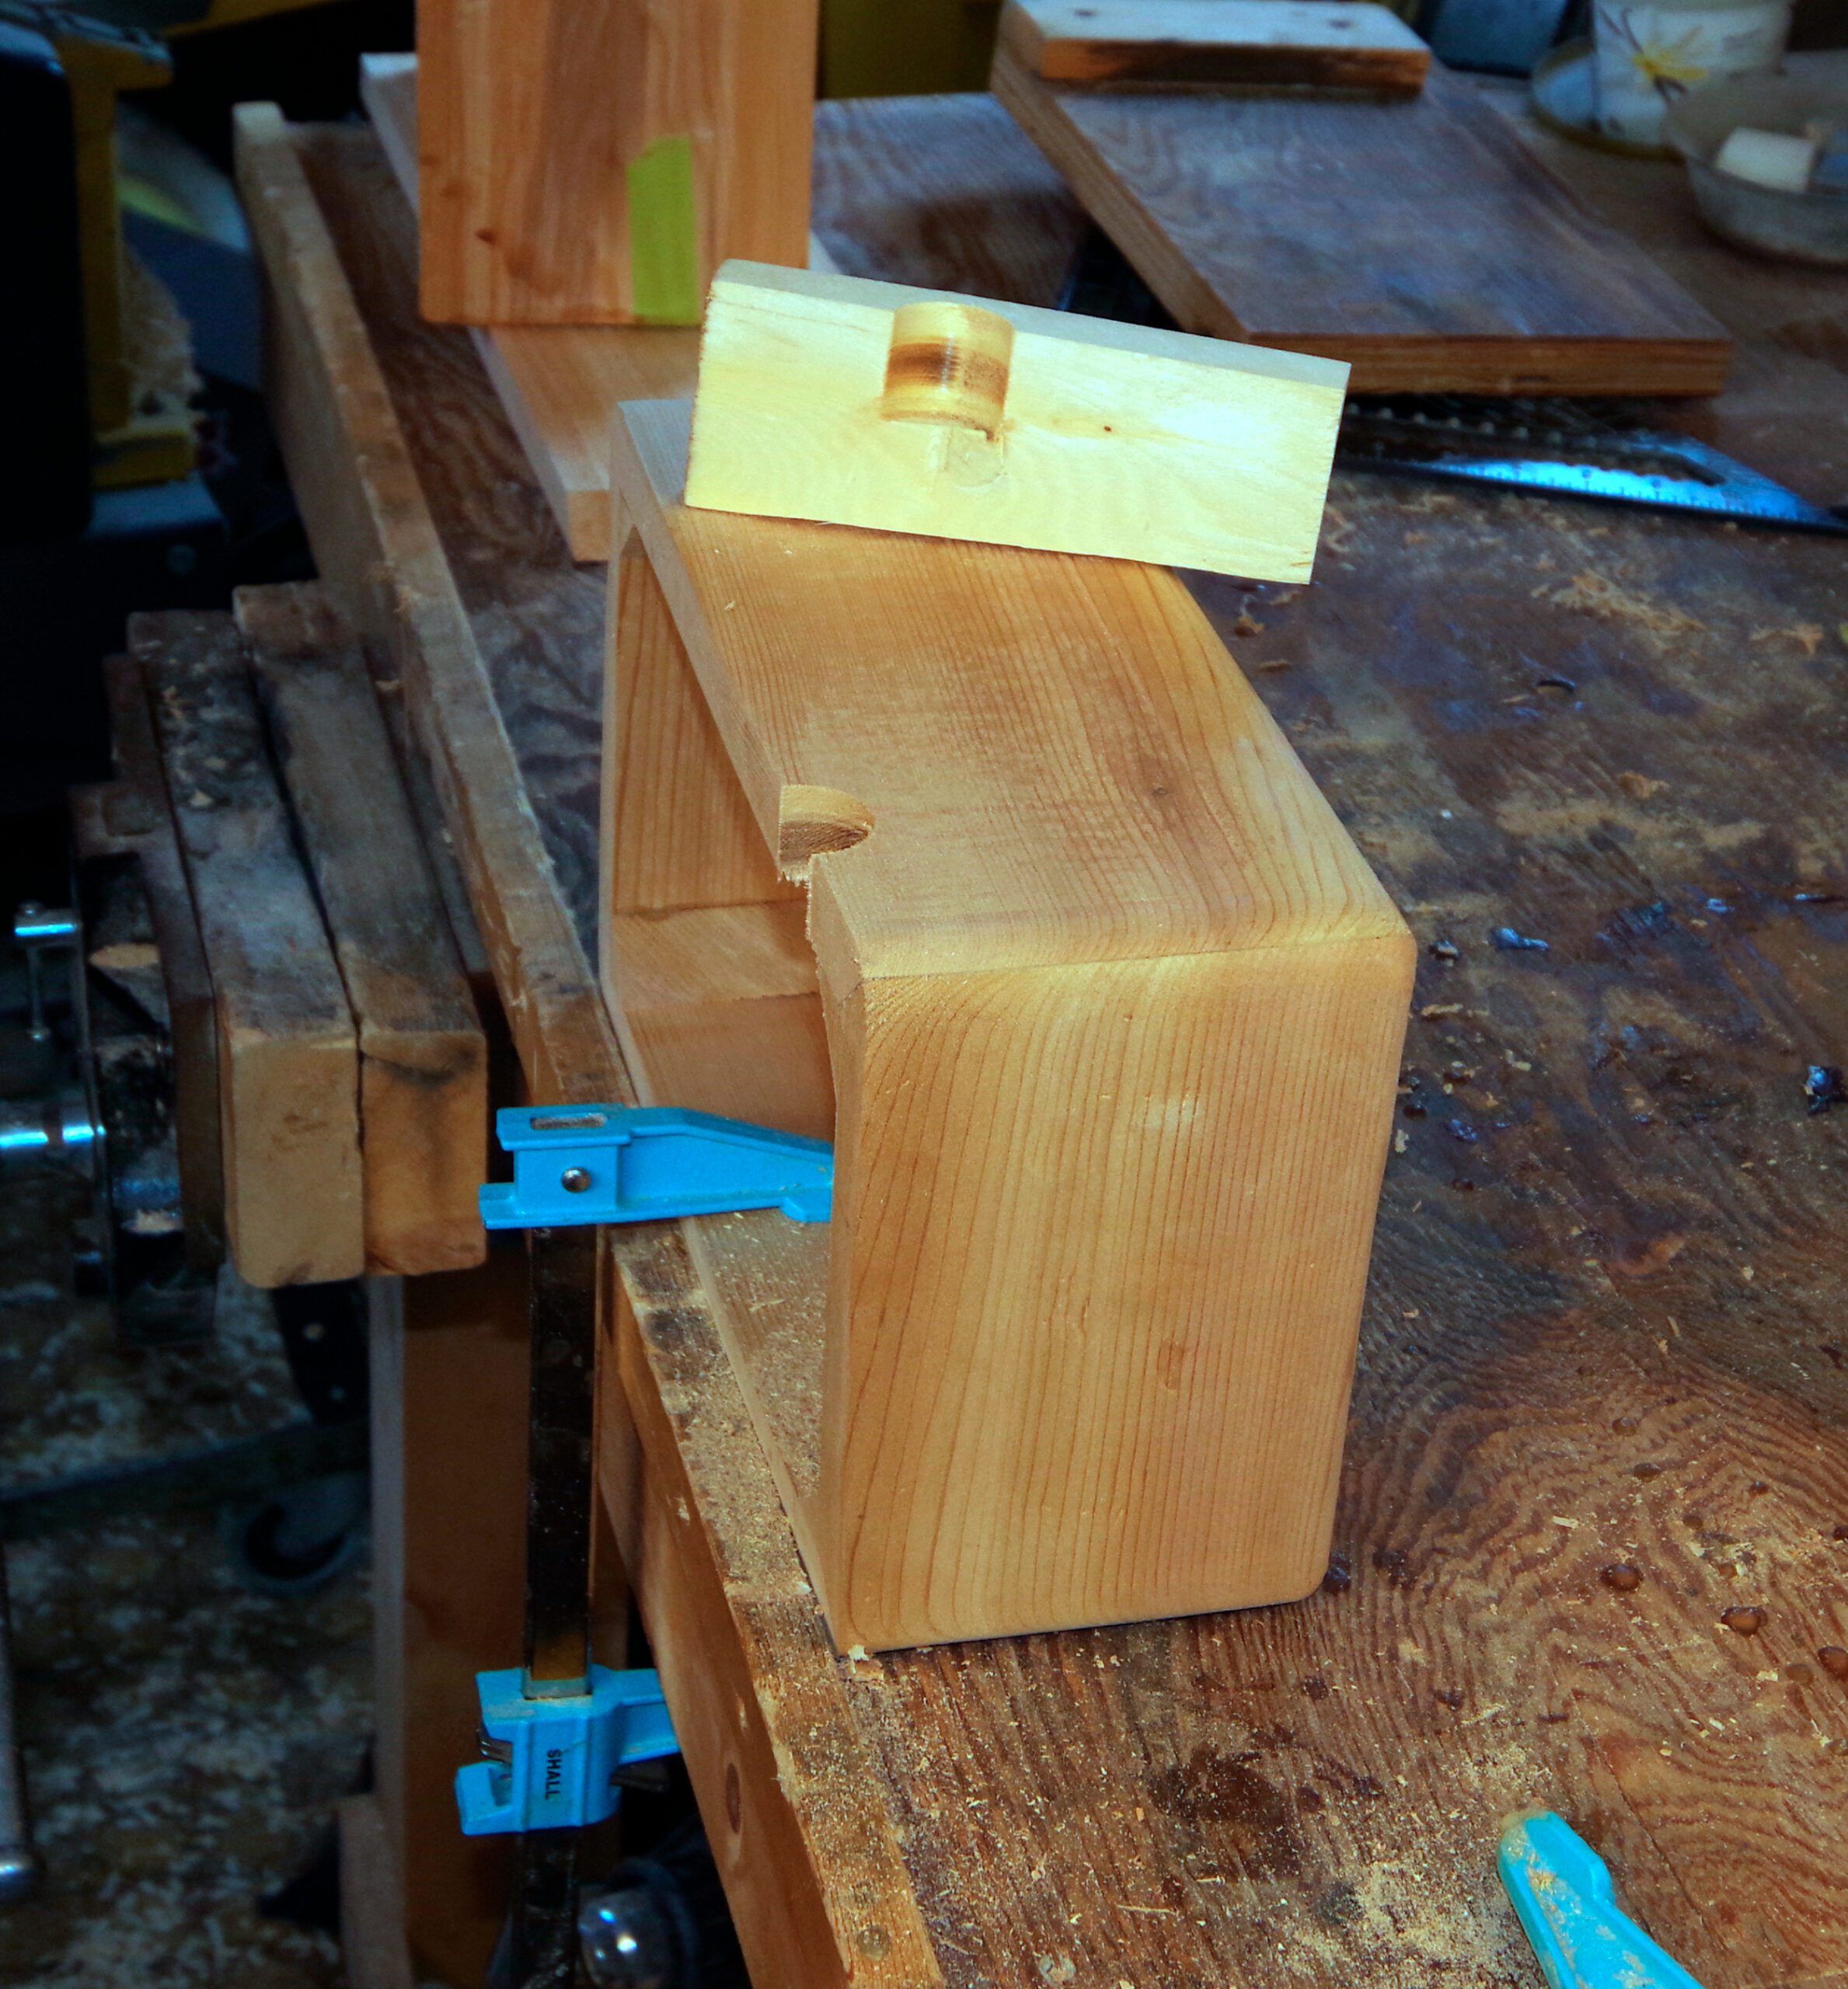
Clamp the box firmly to something stable and drill about halfway through from one side. Now flip it over and finish from the other side. This avoids tear-out as the drill breaks through. Next you need to drill the drain holes. Where these go will depend on where the box will be fitted. They need to be as close as possible to the lowest point when the box is fitted. What we want is to cut a half circle in the edge, but how do you cut half a hole? There is a simple trick. Clamp a piece of scrap to the edge where you want the hole and then drill down the join between the box and the scrap.
Round the Corners
The final step is rounding the corners and making the cut-out for the cowl. The quickest and easiest way to get nice even rounded edges is with a router. A table router is great, but one of the little palm routers will do the job fine—it will take a bit longer. If you have neither, a block and sandpaper is perfectly okay.
Sanding
The last job is to sand everything smooth and round the edges. If you have a router, use a 1/4 or 3/8 round-over bit to get nice even curves, but this can also be done with either a power sander or by hand. The box is now finished.
Coat Inside with Epoxy
Giving the inside a couple of coats of epoxy will make it last a lot longer. Once it is fitted you will not be able to refinish the inside, so it has to last. Without UV exposure, epoxy lasts pretty much forever.
Install Deck Pipe
The completed vent is now ready to mount, but we still need to install the deck pipe. How you do this will depend on what sort of deck you have and whether there is a headliner. What we want is to fit a length of 4-in. PVC drainpipe through the deck. It needs to stand at least three inches above the deck, have at least 1-in. clearance below the top of the box and fit flush on the inside. Bond it in with a good adhesive sealant. A word of caution here: If you have a balsa-cored deck, drill the hole oversize and seal it with several coats of epoxy, don’t rely on the sealant to keep moisture out of the core.
Mount the Box
Finally mount the box on the boat by simply gluing it down with thickened epoxy or an adhesive sealant, give it a final sand and apply whatever finish matches your boat and screw the cowl in place. If you want to apply sealant around the cowl flange you can, but it should not be a permanent bond, you may need to remove the cowl at a later date.
The cowl I show in the finished project picture cost me $20 from Amazon. It comes in a range of sizes from 4 in. to 7 in., and is described as a Round Wall Vent Cap 304 Stainless Steel Outlet Cover Ventilation Systems for External Extractor, Dryer, RV or Wall Exhaust. They are solid enough to step on and 304 stainless will do. If you are worried they may show some corrosion spots over time you could give it a coat of spray lacquer. They are not going to be as good at keeping all the spray out as the traditional cowl, but for me the low profile shape that will not snag lines is worth those compromises.
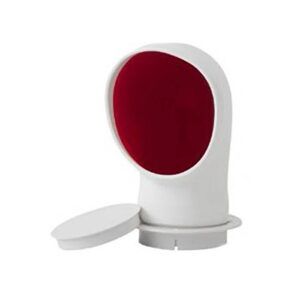
I have previously used the Sea-Dog plastic ones. They are around double the price, are more likely to snag lines and will pull out if they do since they are a push fit into a plate. If you want a more traditional screw in one in stainless you are likely to pay $150-$300!








Nice article, but you left out what is by far the hardest part, which is shaping the box to the camber of the deck.
Yes, but I will be including that in a future article on fitting all the projects to the boat. I need to be back at the boat to show the details and it is till snowing here!
I like that you used red cedar. I built a cockpit grating from red cedar 15 years ago. Many underestimate just how rot-resistant it is, with excellent economy, availability, and light weight.