


A reliable autopilot is great to have onboard because it gives you opportunities to rest your arms and/or eat while under way while still keeping an eye on things. So, when something doesn’t feel quite right with the auto pilot system, don’t wait to fix it. Practicing easy, preventative maintenance on a regular basis will prevent costly autopilot repairs—or replacement—later on.
My auto pilot is a Raymarine TS4000+ Autohelm with SeaTalk links. Although I have a sailboat, the same unit has been a very popular choice for power boats with a wheel type steering, such as large cruisers and trawlers. Other autopilot brands and models use a similar closed, self-contained wheel drive system and require the same care. Some auto pilot models use exposed external drive components, which makes servicing such as rinsing, tensioning and belt replacement much easier.
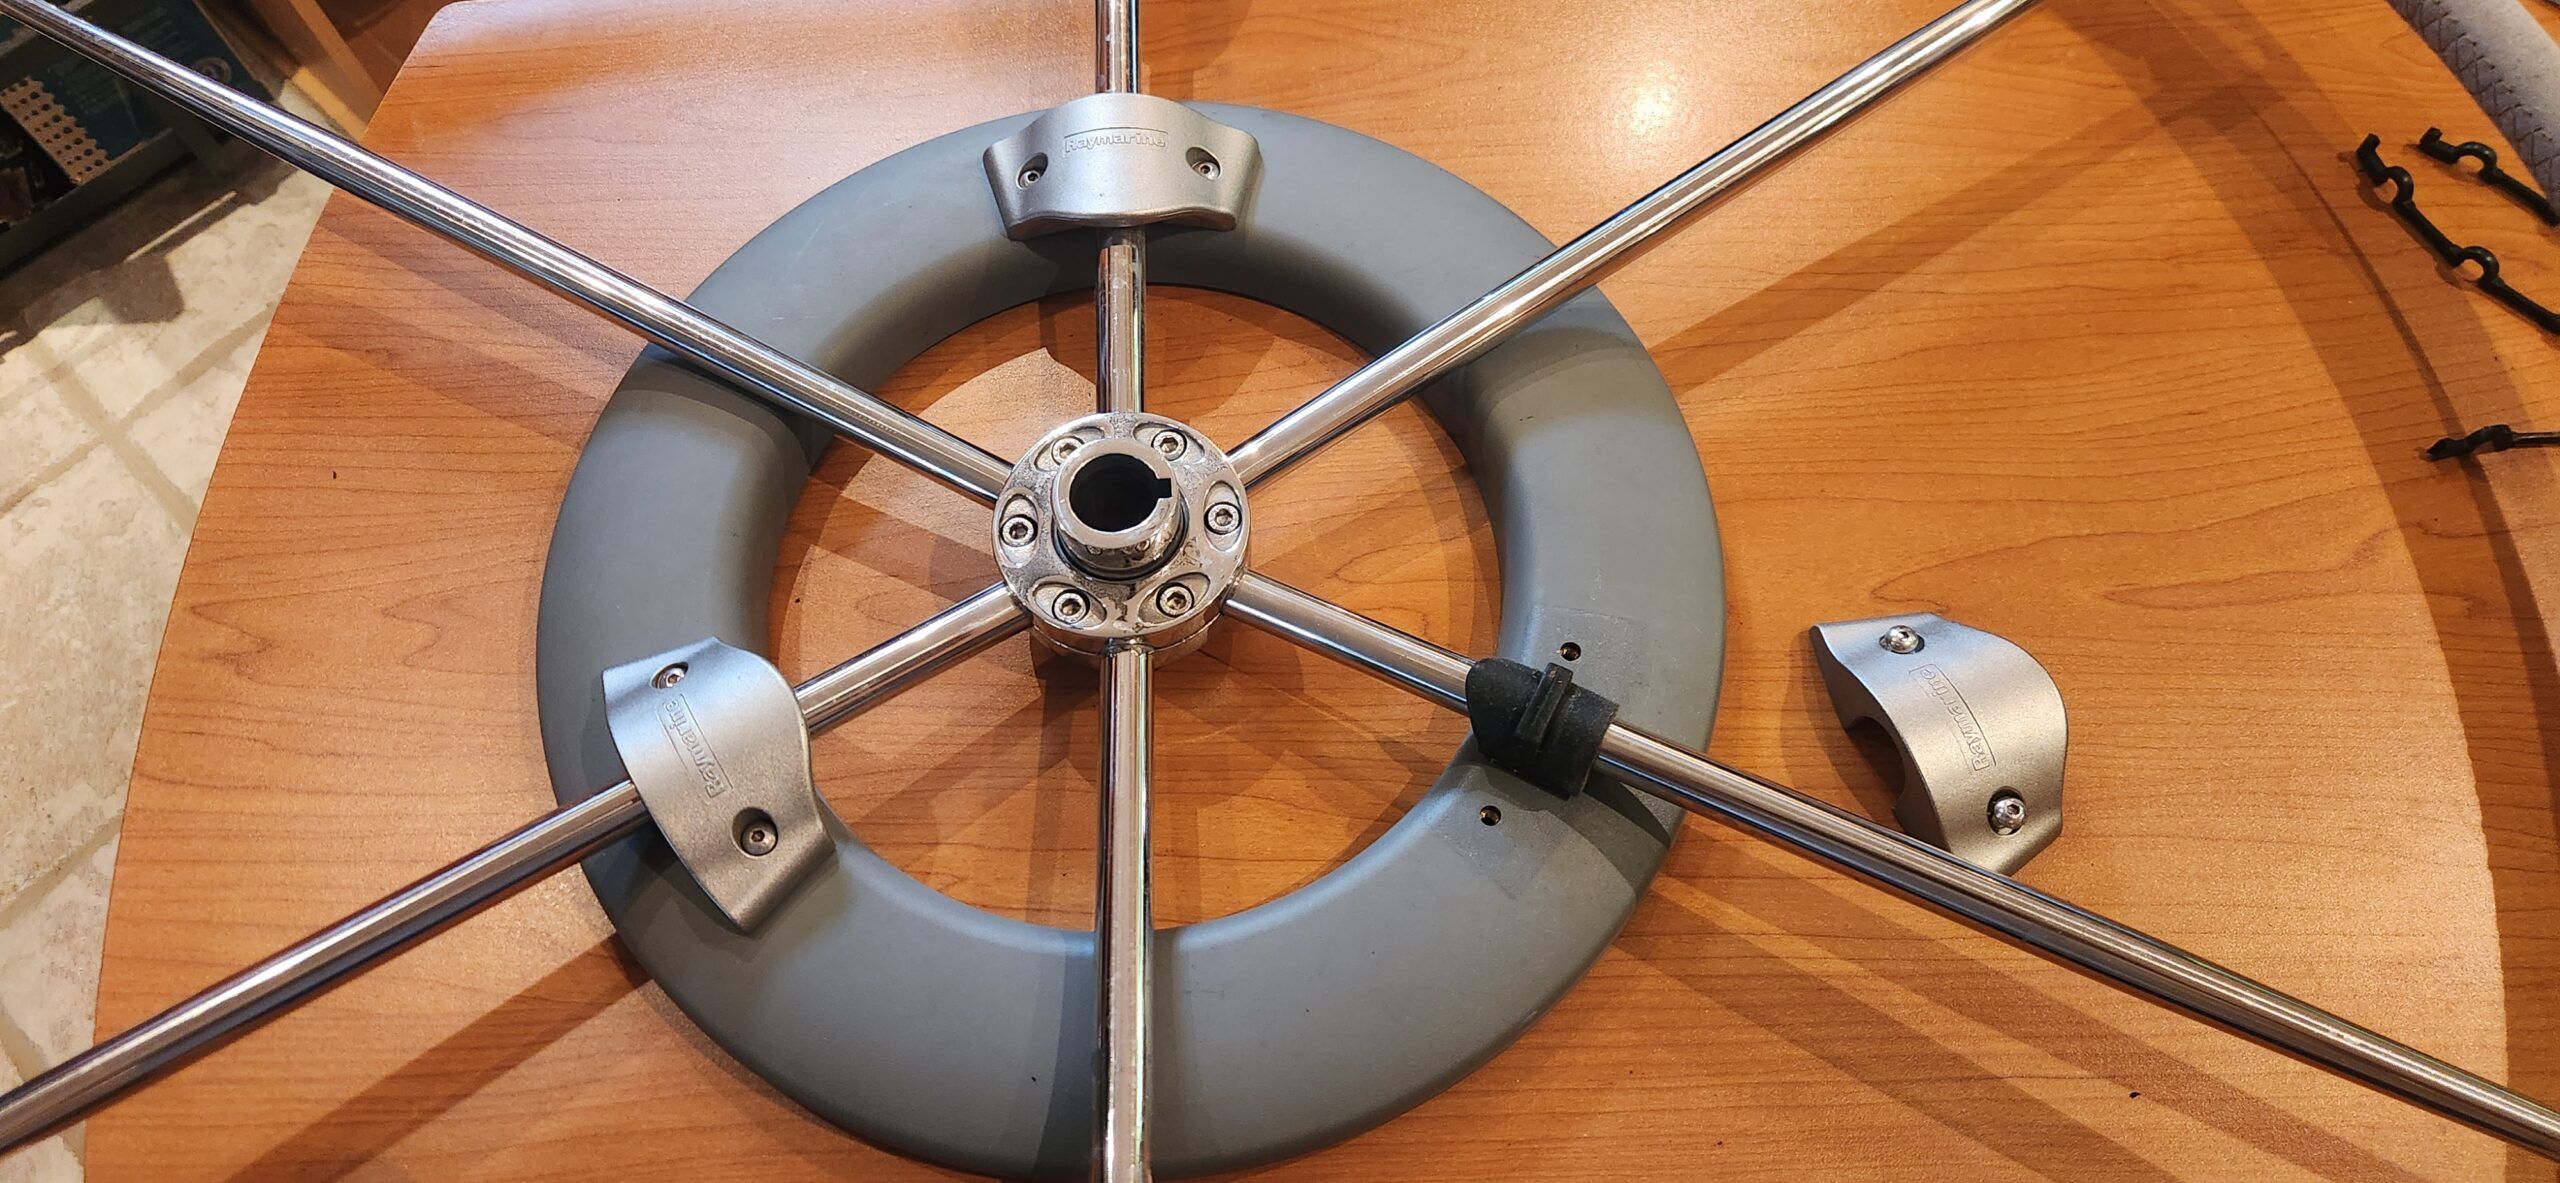
For the past few years my autopilot (wheel) drive unit has been making a swishing kind of noise when manually steering, which I always assumed was normal. Plus, the drive engage handle always seemed to get loose when not engaged. I had gotten into the habit of using an Allen key, which I kept readily on hand at the helm, to tighten the handle every once in a while. I’d accepted this as the reality of normal wear.
However, in the last few weeks, when the autopilot was engaged, it did not take much for it to get off course, especially under power, and it made constant erratic and noisy course corrections. It was also getting sluggish and unreliable when performing an auto tack single-handed.
So, with bad weather in the forecast for the next few days, I decided it was time to give the drive unit a little love and took the whole wheel home to take it apart and service it.
1. Remove the Unit from the Wheel
Despite what some people may have told you, you need to start by removing the whole unit off the wheel. I was told to simply grab the motor and pull and the back half of the unit would simply pull/pop out. So, of course, I did that and, to my horror, most of the bearings flew out and I ended up hunting them down on my hands and knees. Lesson learned!
2. Identify the Issue
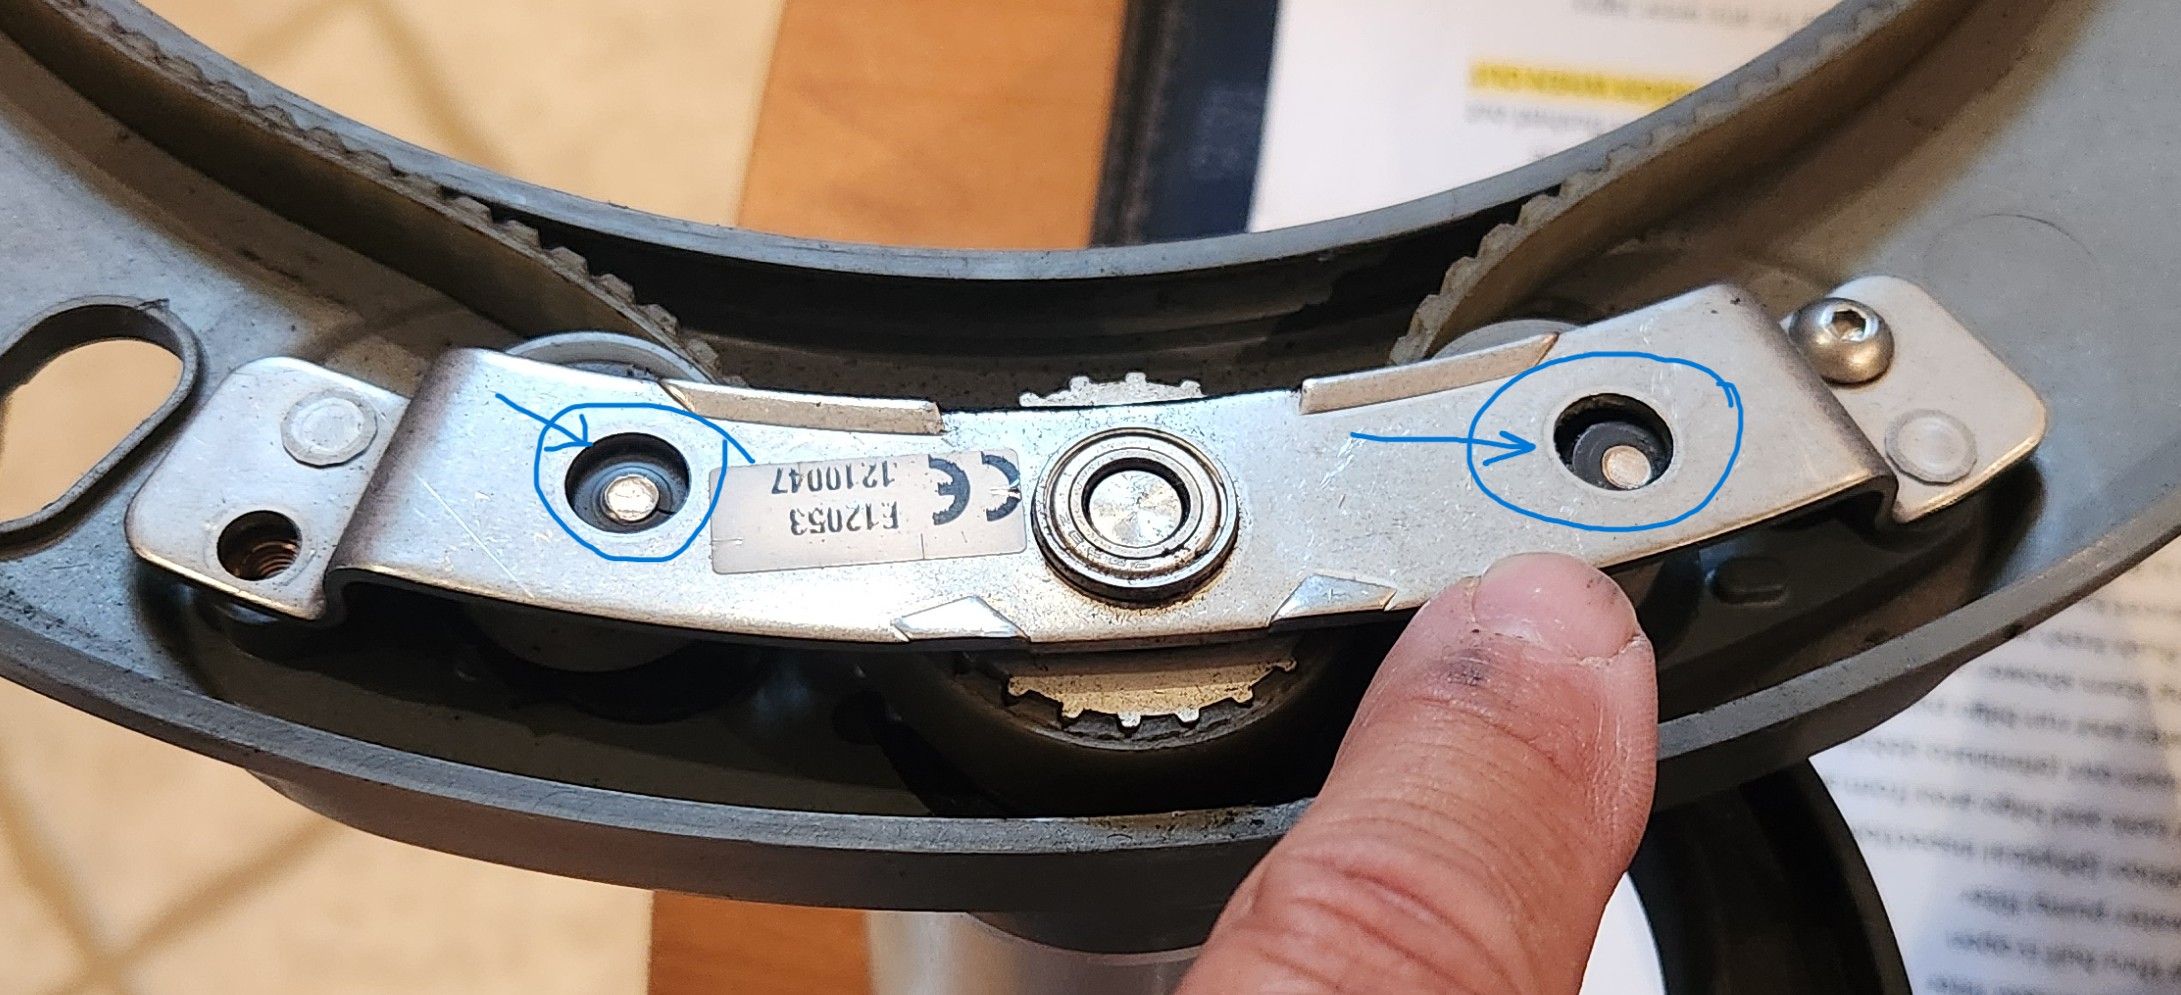
Once I had the unit open however, the cause of the problem was evident. One of the retaining plate screws was completely out and loose inside the drive unit (which explains the noise) and the other screw was so loose, it barely held the engage and tensioning cams properly centered in place in the retaining plate.
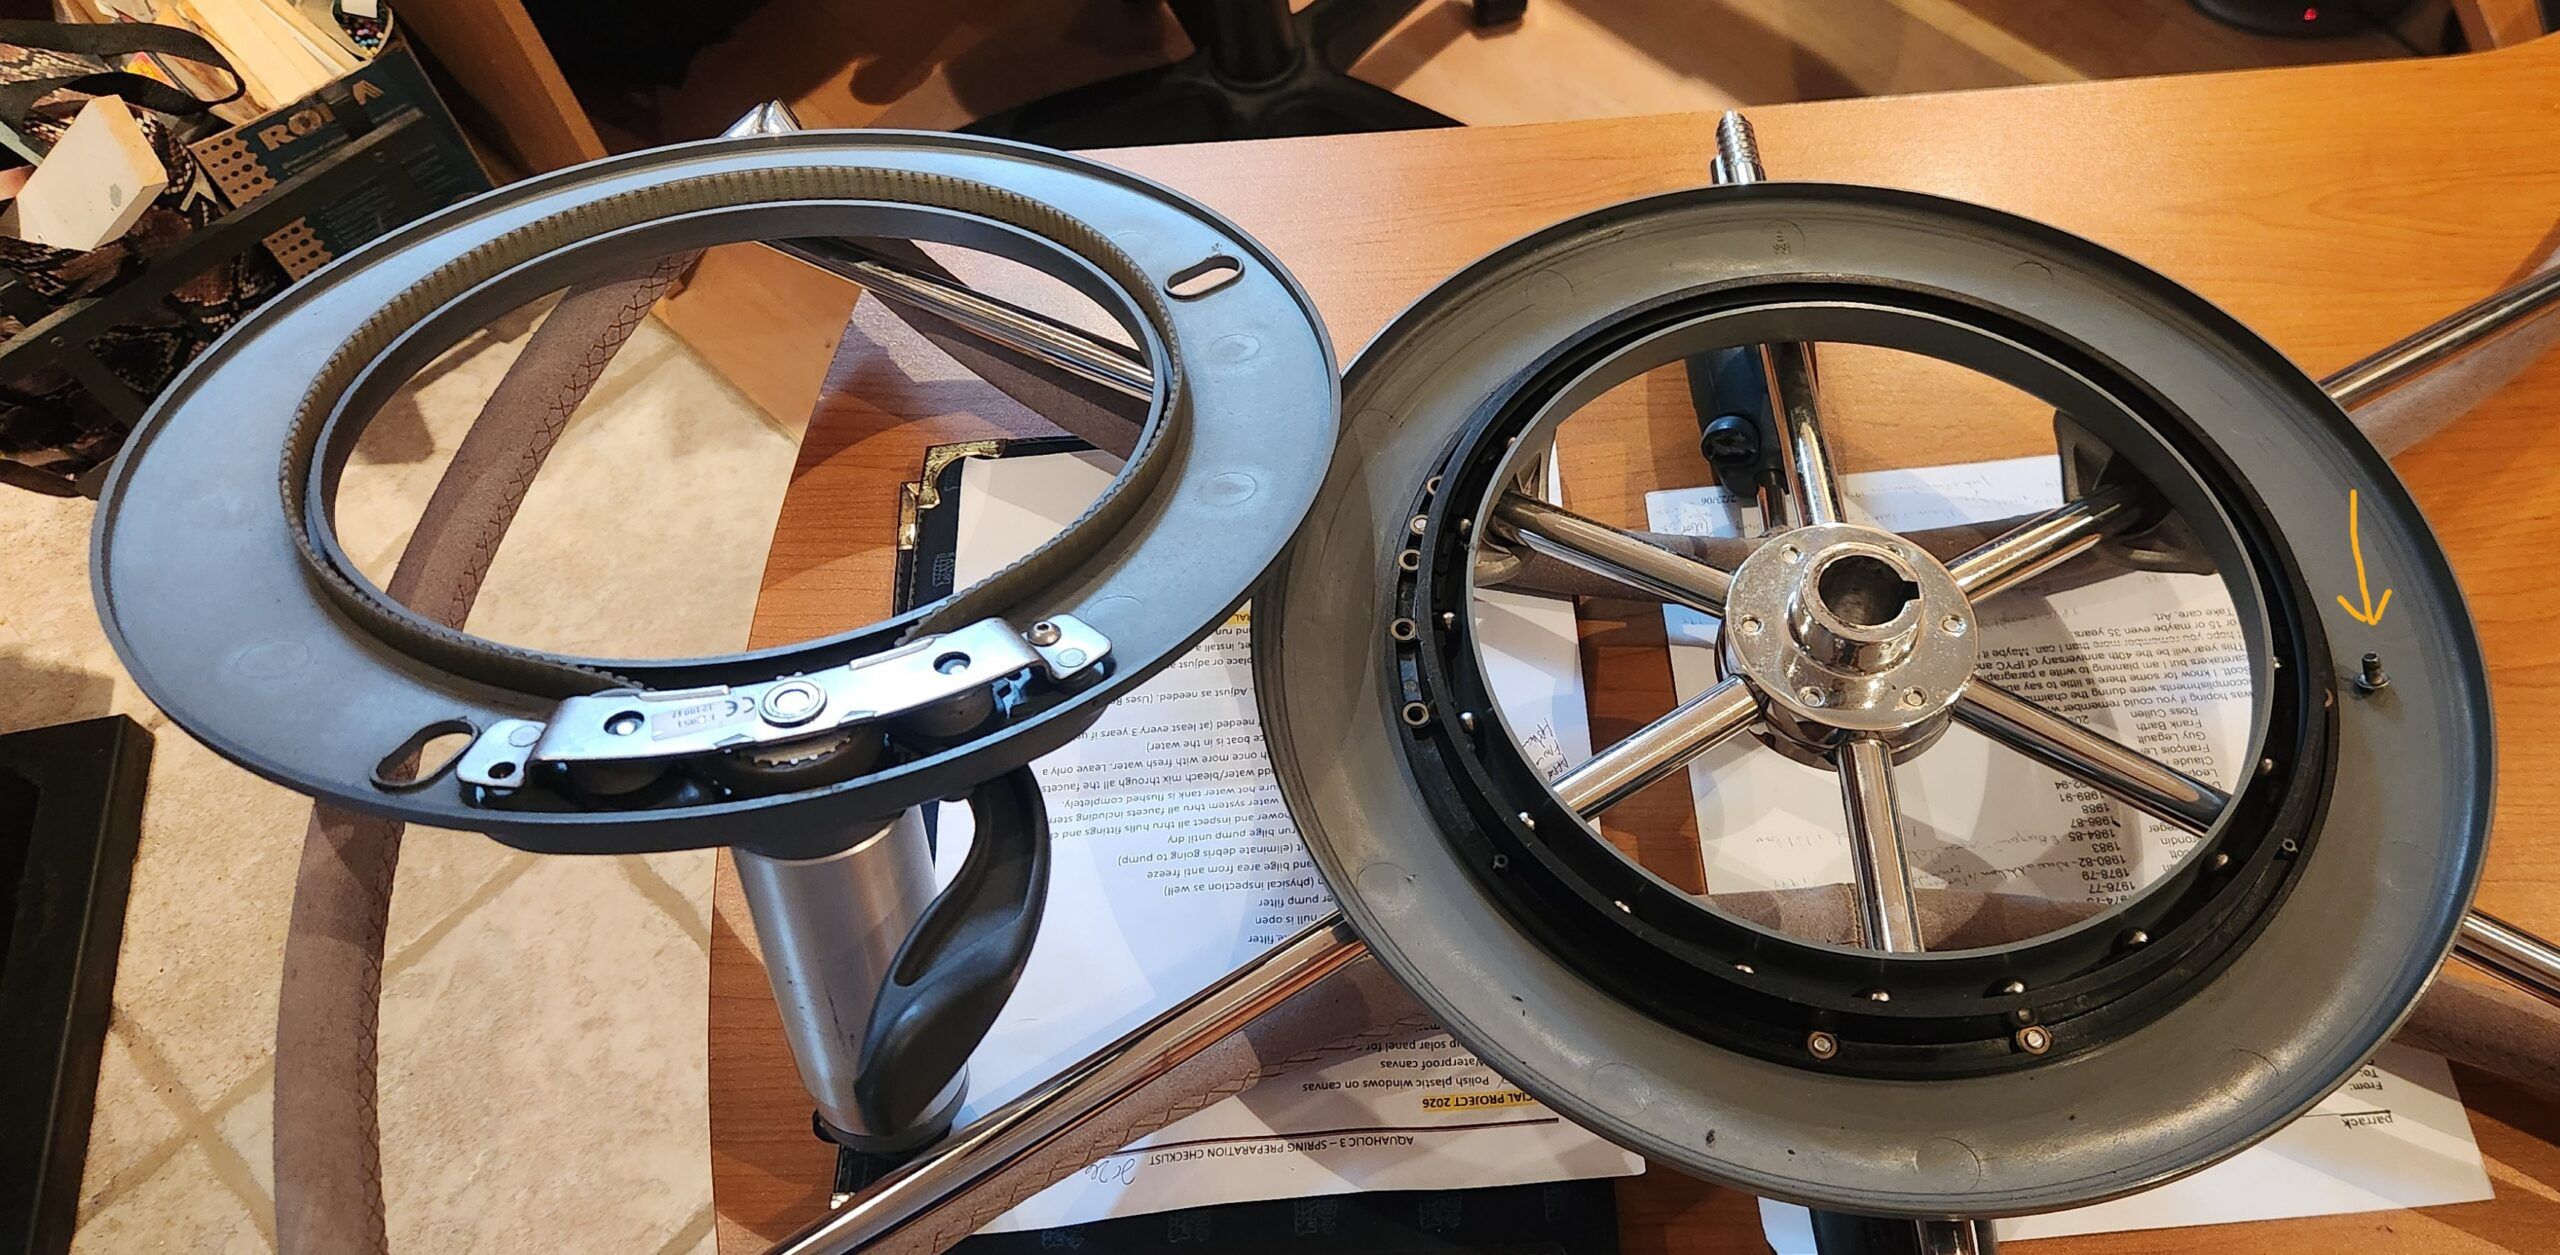
The inside, including the ball bearing races, were also very dirty and dusty and in need of cleaning. So, in the end, popping the back cover off instead of removing the drive from the wheel and opening the drive properly, turned out to be a blessing. It forced me to take everything apart and learn how to clean and reassemble the unit, including reinstalling the intricate ball bearing races. I admit that took me a few minutes to figure out and thanked myself for taking pictures every step of the way.
3. Clean Components
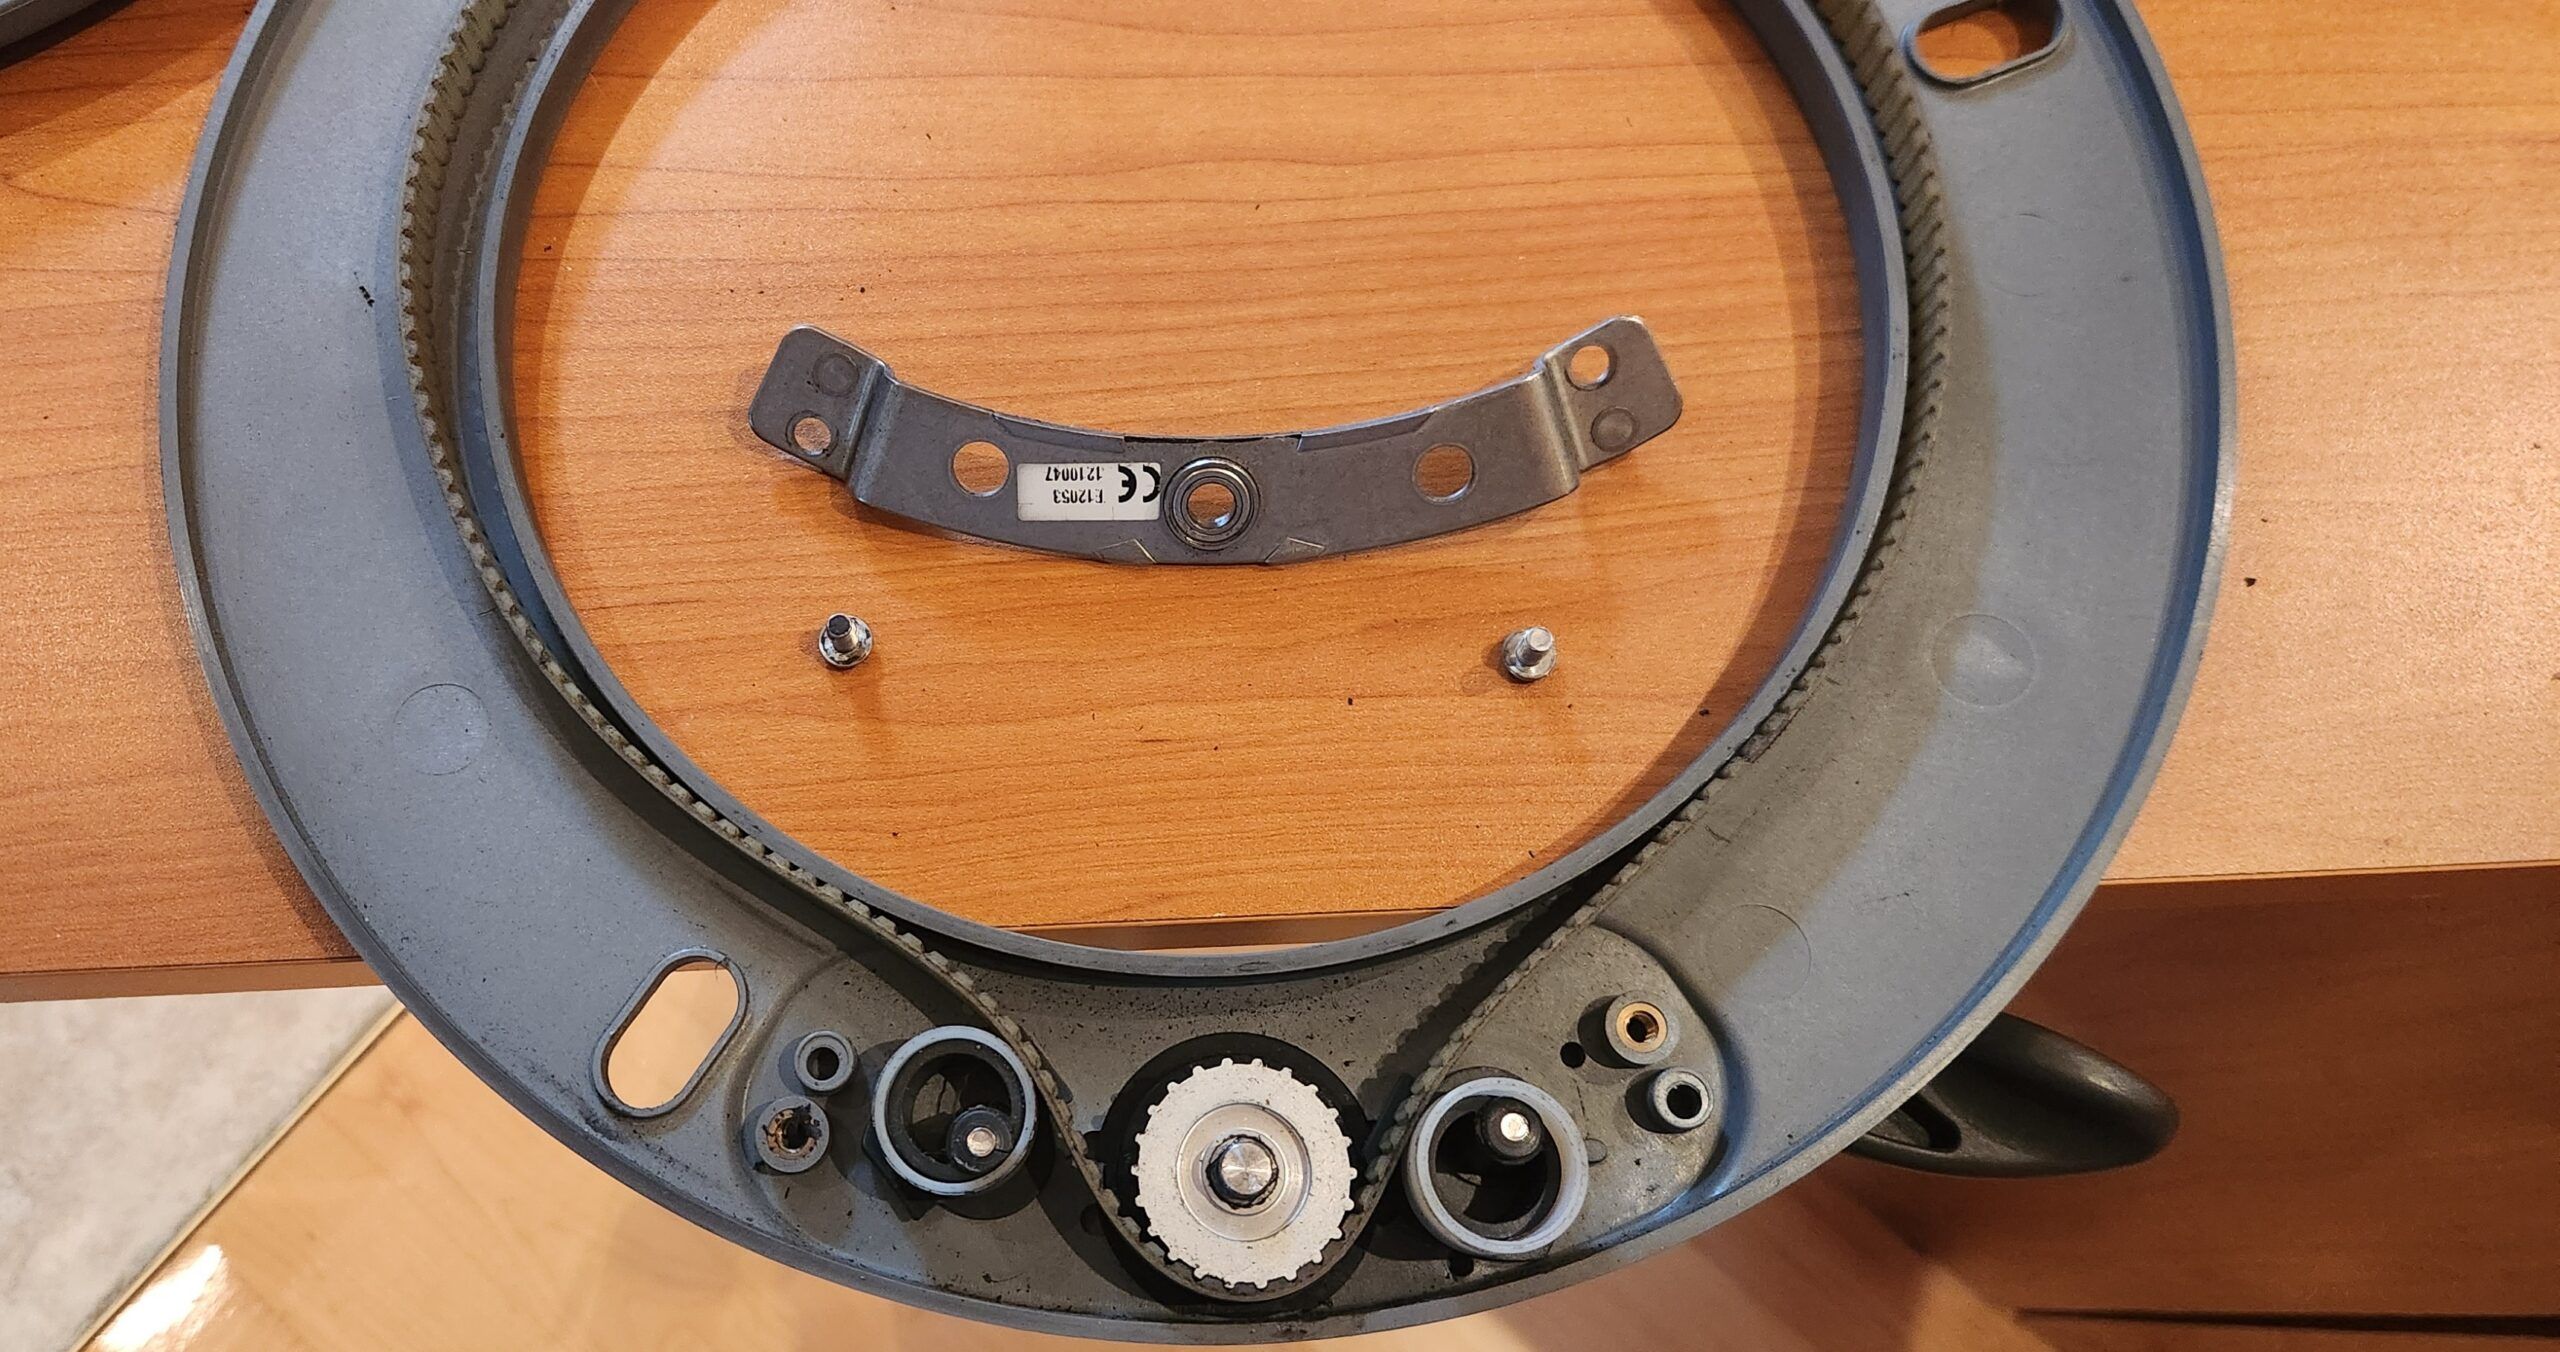
Removing the front half of the drive off the wheel was essential to be able to reassemble the whole unit. It also provided the opportunity to clean every part in fresh water. The bearings were put inside a plastic container with soapy dish water and shaken, rinsed and then laid onto a towel to dry. All the other components were cleaned under running fresh water only.
NOTE: Do not use any solvent or detergent while cleaning. A sponge, an old toothbrush and plenty of fresh water is enough. If using soap is necessary, use a mild liquid dish soap and rinse thoroughly. Also, very important, DO NOT USE ANY KIND OF LUBRICATION.
4. Reassemble Ball Bearing Races
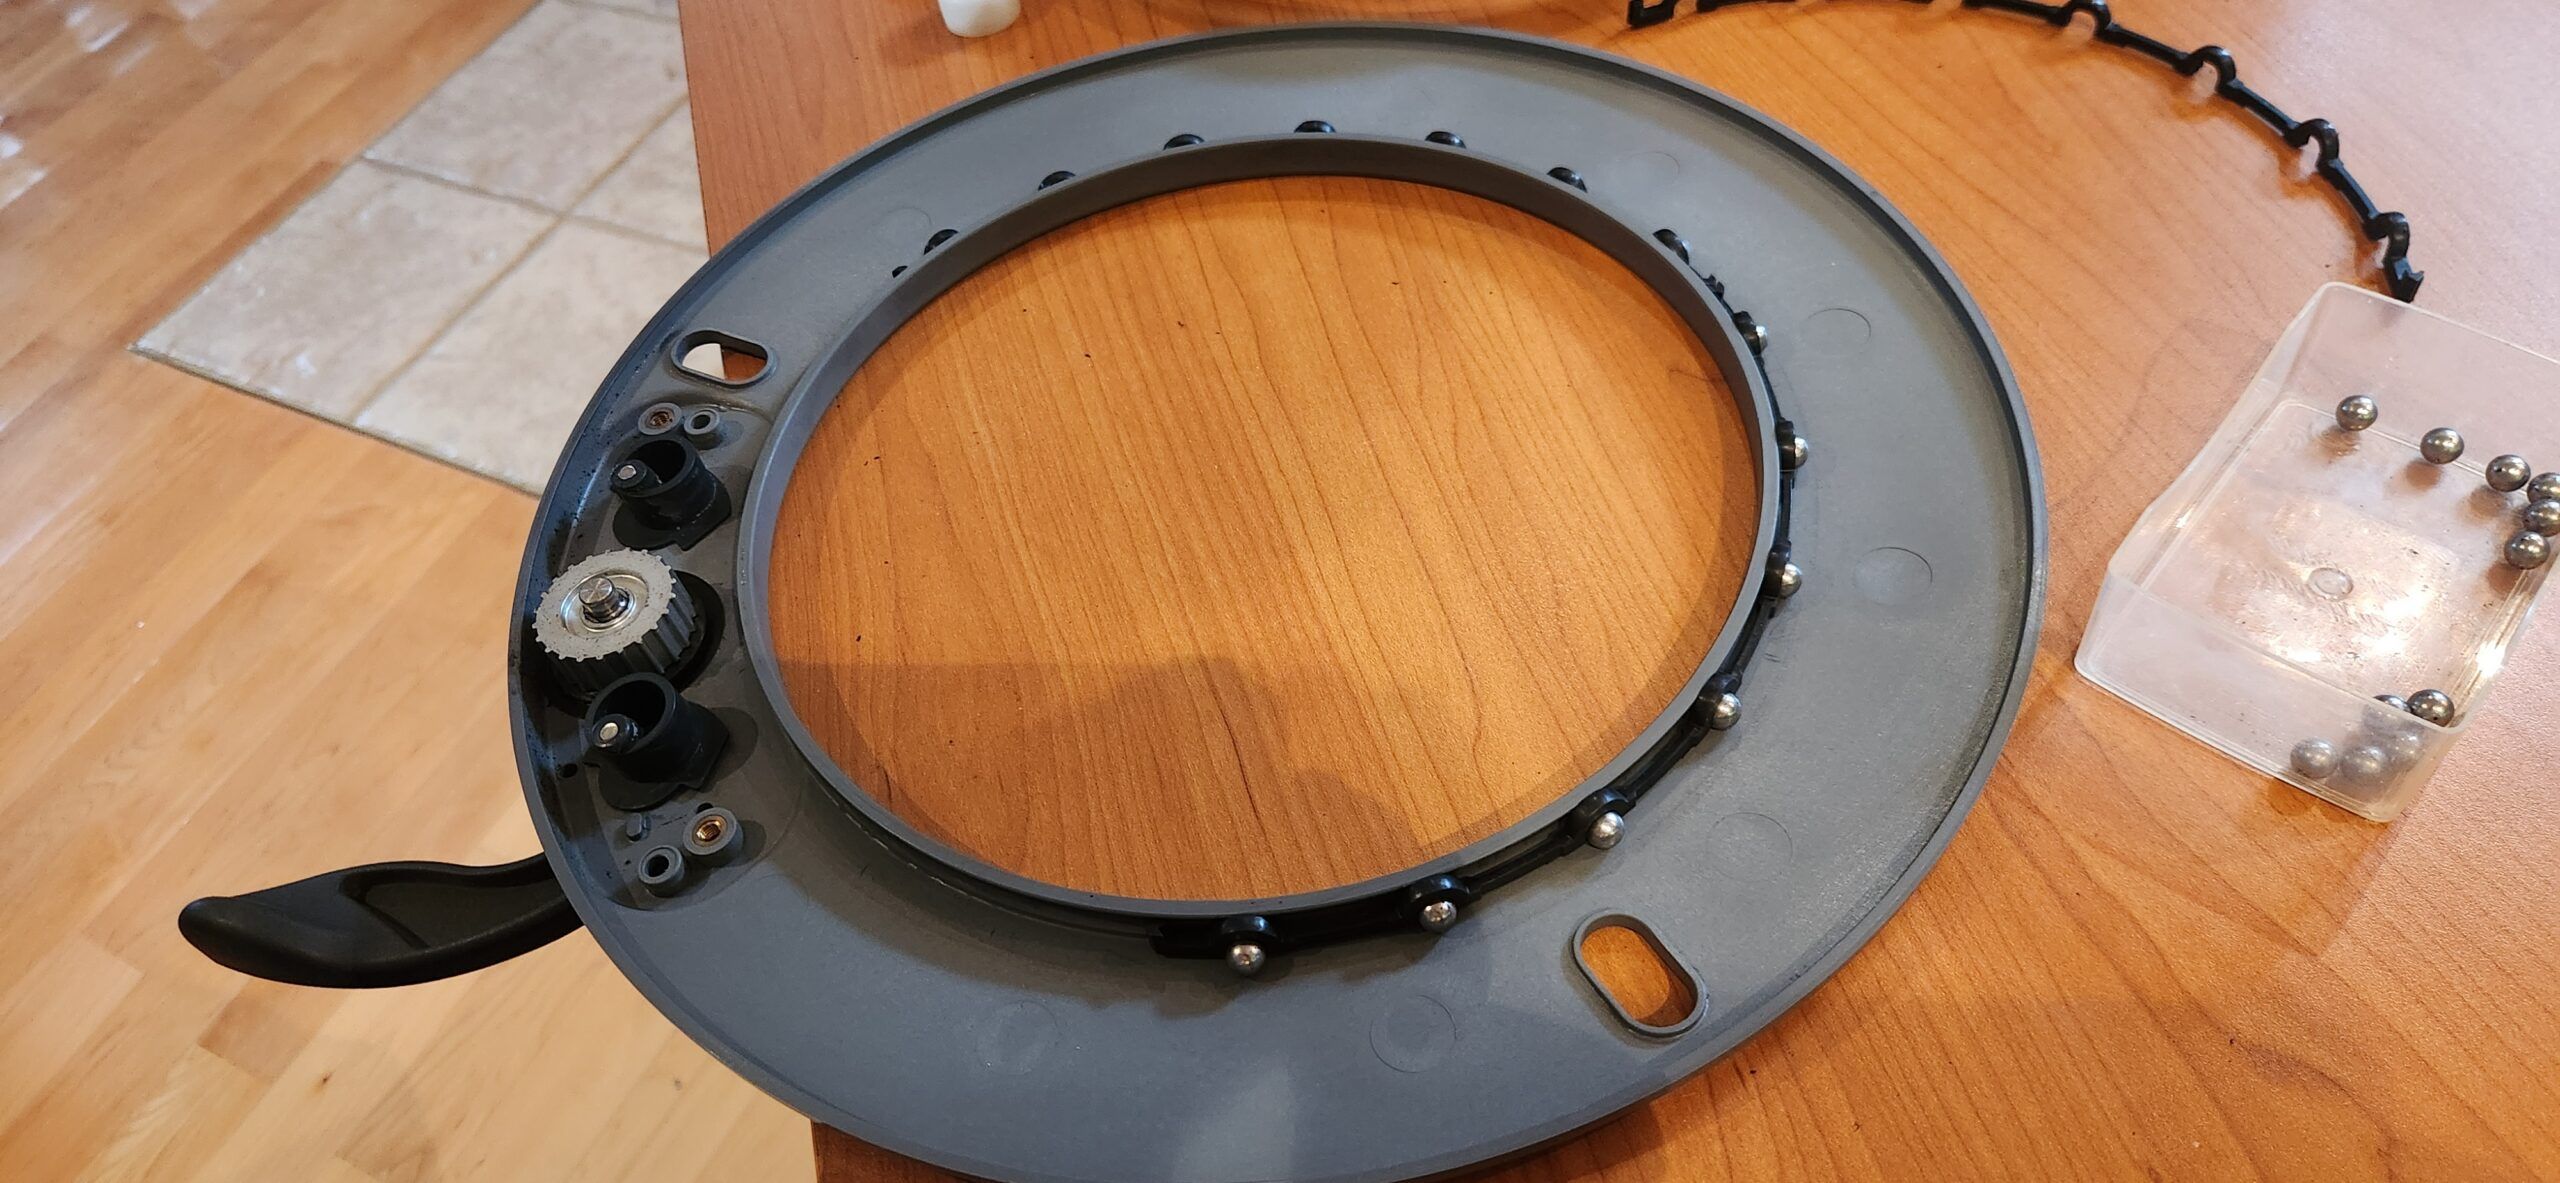
After cleaning and drying everything, now came time to reassemble the ball bearing races. This did require some steady hands and patience. With the retainer plate and drive belt removed, each of the three bearing retainer race strips are put in place, adding the ball bearings, one at a time, in each designated cavity.
Once each race is in place, the large black retainer ring must be gently snapped into place.
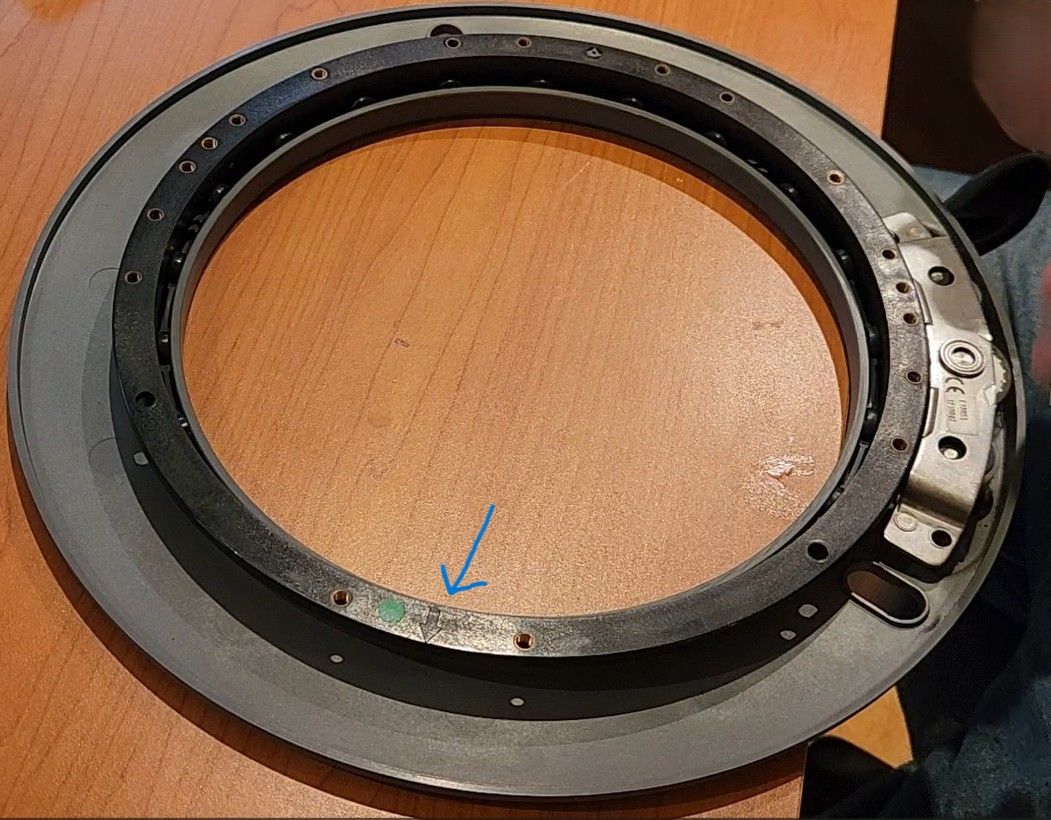
The belt, tensioning and engage cams are next to be installed, followed by the retainer plate and the infamous screws. Lastly, both halves of the drive are snapped back together matching the arrows, embedded into the components, to indicate where they align.
Avoid Problems with Simple and Regular Maintenance
The two oblong holes on the front half of the unit are fresh water rinsing ports. If you’re using fresh water, you should spray some water in these anytime you happen to be washing the boat with a hose. Simply use a fresh water hose and spray inside these ports while rotating the wheel a few times. I suggest doing this at least once per month.
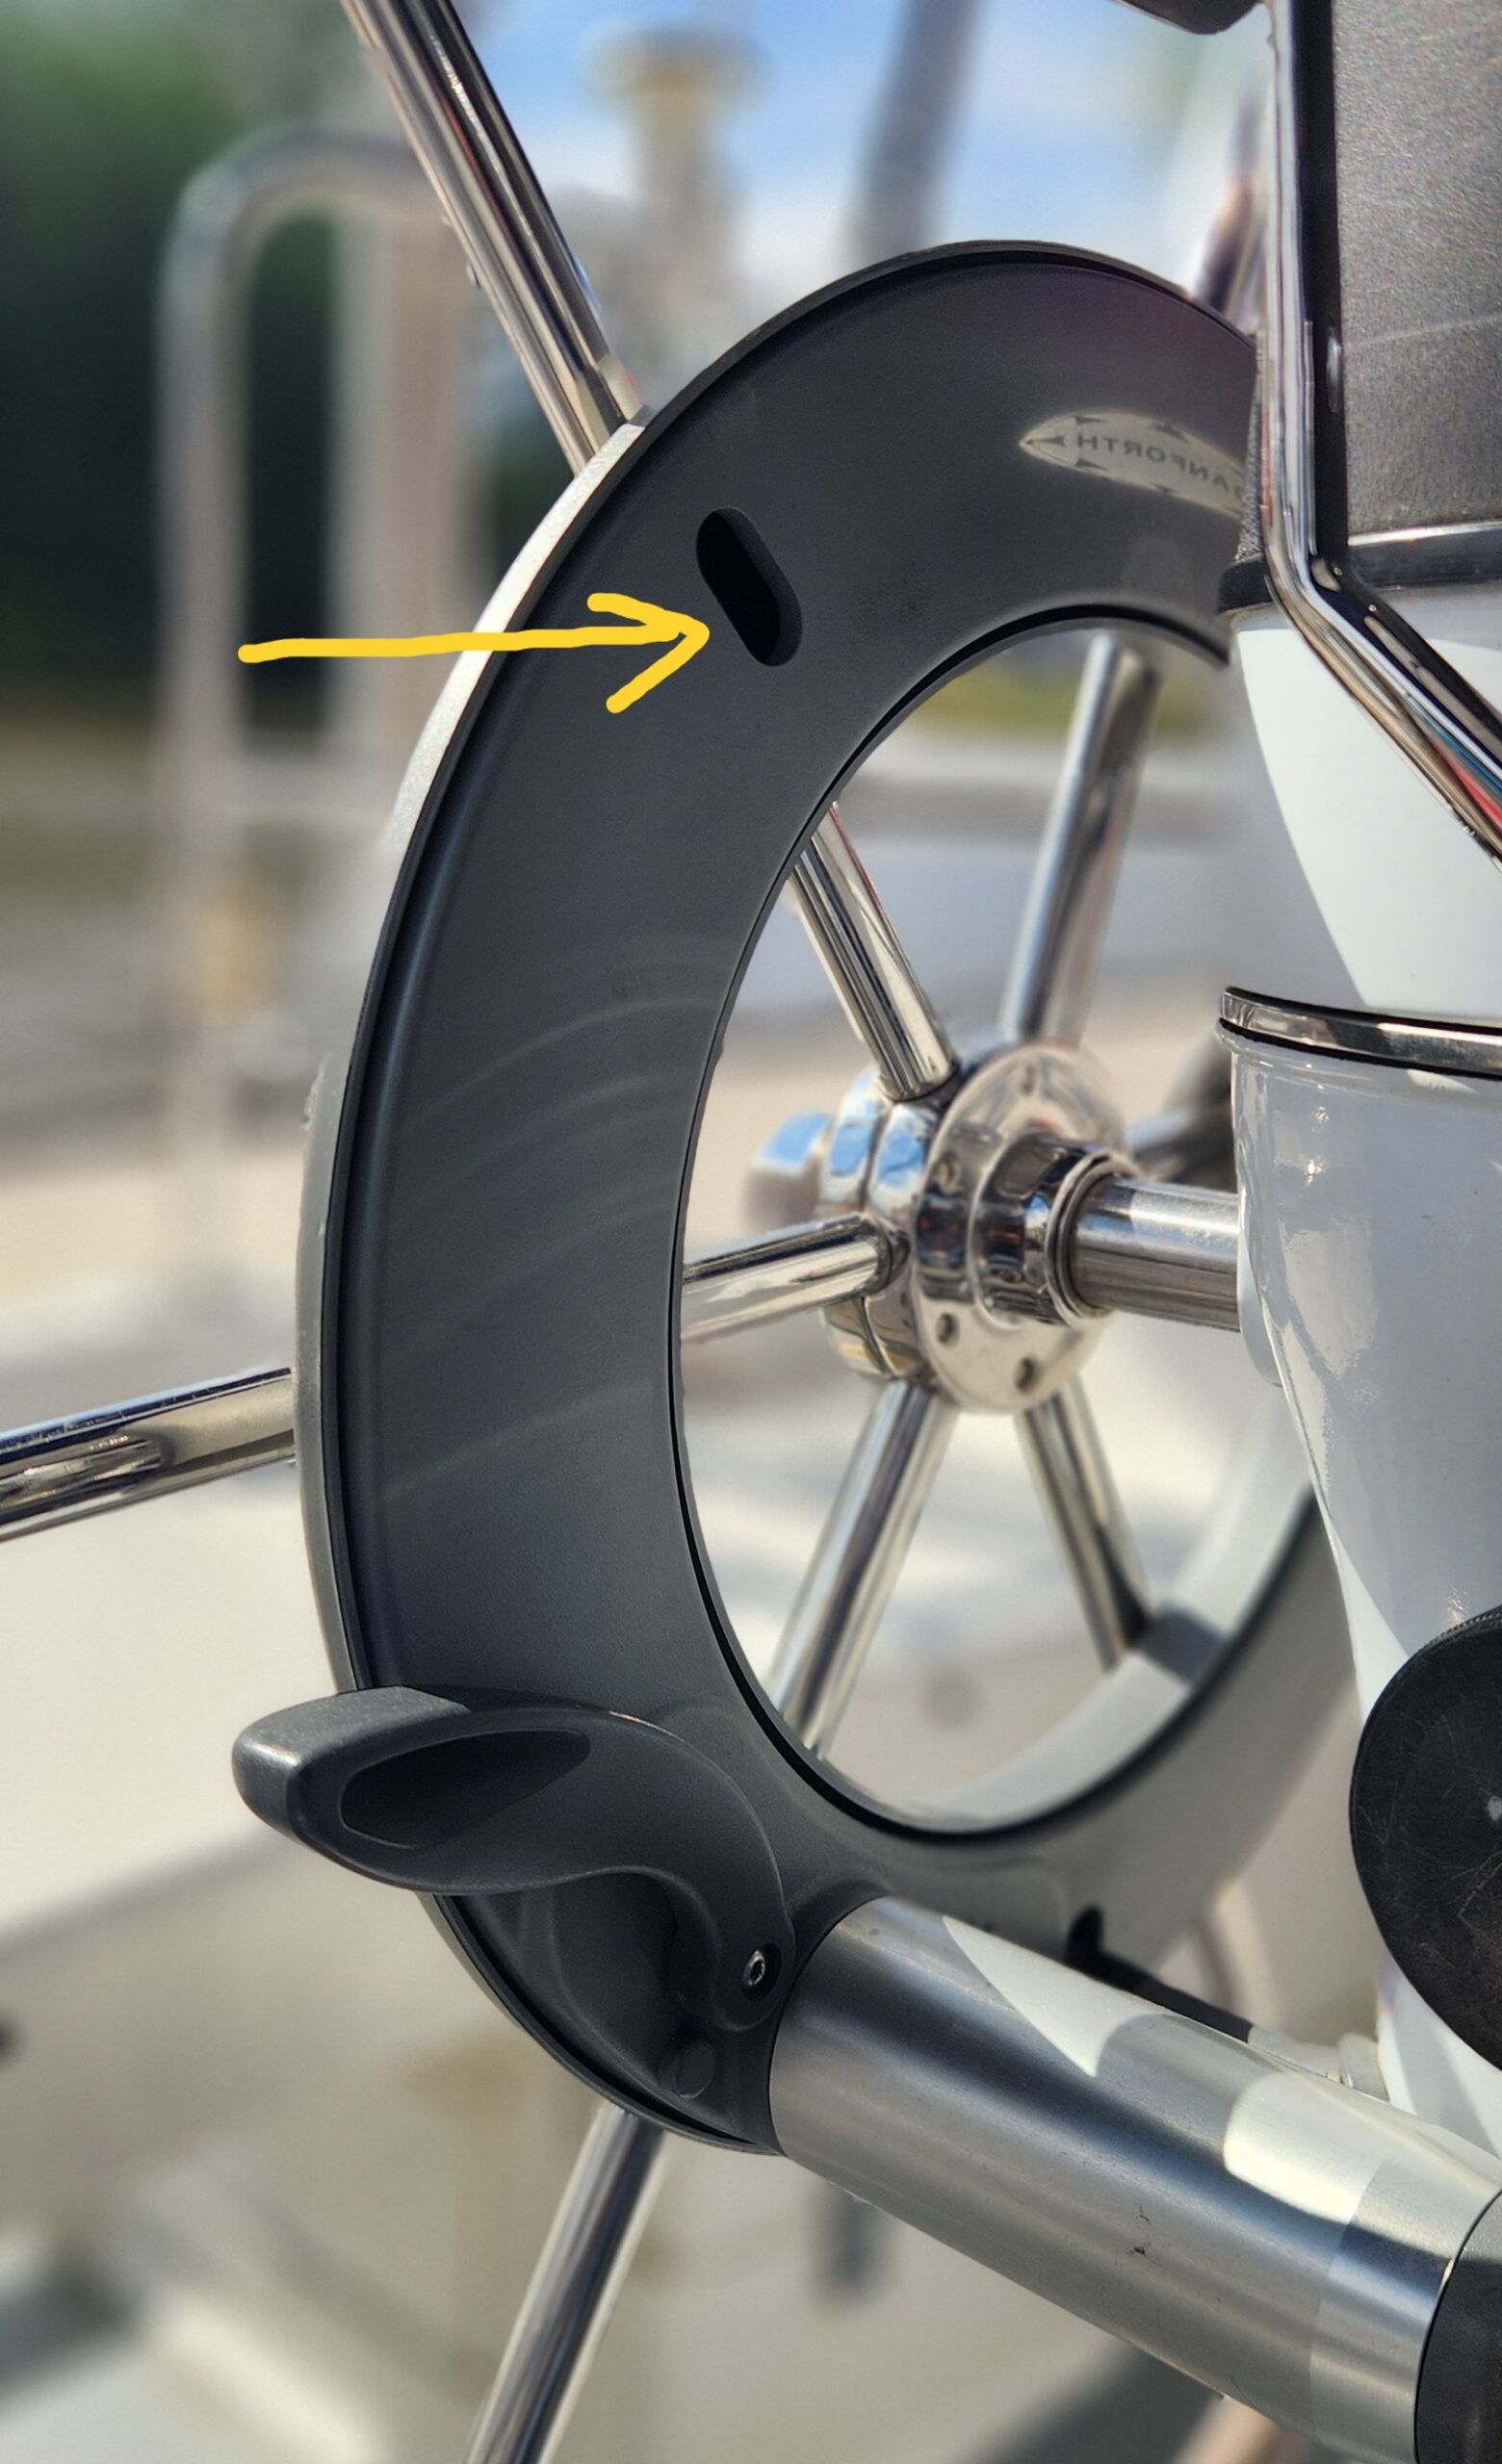
If, however, you are in saltwater environment, it is highly recommended you rinse the drive as often as you rinse all your other components to reduce the abrasive effects of salt on all moving components.
Once a year, I would remove the wheel drive and open it for inspection and a good (fresh water only) cleaning. This is an easy 15-minute task that is well worth your time as any worn or perhaps loose screws can be addressed before any damage happens.
Improved Performance
Once the servicing and maintenance was completed, I was amazed at how much the performance improved. There is no more noise from the loose screw, no more swishing sound from the dirt and dust grinding away and the performance is back to new. Best of all, however, is that the auto tack function is now reliable and a pleasure to use again.
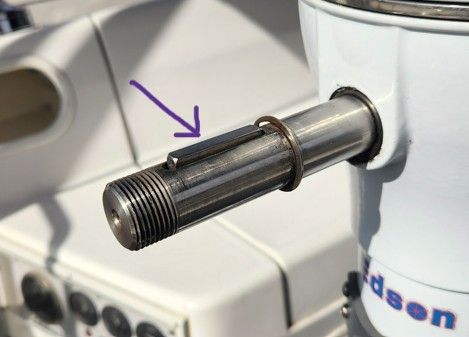
One last note or warning for those that may have never removed their wheel. Be careful when removing the wheel because there is a “key” that can easily fall out and get lost when removing the wheel. If the key is not snug into its slot, you can apply a little bearing or winch grease to help hold it in place.













Just went through doing some maintenance on mine! In my case the clutch was disengaging. As an often single hander that’s def a problem
Check the transmission cable as well, making sure it properly adjusted and tightened. Also for sure, proper fluid level is important.
Oops I was responding to another comment on transmission issues
YES YES YES, and do quickly before the bearings expand. Open it completely and rinse with Dawn dishwashing soapy water lots and lots of times. Then rinse with lots of fresh water. Repeat if necessary.
If the clutch disengage, it is most likely the tensionner that is too tight. Untighten it a few clicks and see if that helps. Adjust as needed.
Good instructions. I had similar problems, including the plastic mounting studs the screws go into breaking off (I forget the repair; I recall tapping and making some small bushings).
I also recommend getting a spare belt. It’s not breakage; eventually, simple wear will result in slippage. They’re cheap.
Thanks Drew always appreciate your feedback.
Perfect timing! My steering froze today, with the rudder in a moderate turn to port. Fortunately I was not far from my harbor and a very capable friend was able to tow me back (awkward with the rudder frozen in a turn!). I checked everything I can get to- chain sprocket in the pedestal and quadrant at the rudder head, so I will pull off my wheel with the Raymarine autopilot to service before turing the problem over to the boatyard. Thanks for the clear instructions and video!
Glad you had help getting back safely. Thanks for reading and sharing.
I have tried generic replacement belts. They slipped – I tightened them and they broke within weeks. The original grips the drum much better and appears to handle the tension better.
Hi Gerard, yeah forget generic belts. They don’t last and are made of weaker material. The original is more expensive but will last much much longer.
Great article
Thanks T! I really appreciate you reading PS and taking time to comment. You can also check out the YouTube video I made to go along with this subject.
OOPS. think I lubed mine? Should I disasimble clean and reassimble? Think I used sylicone spray.