

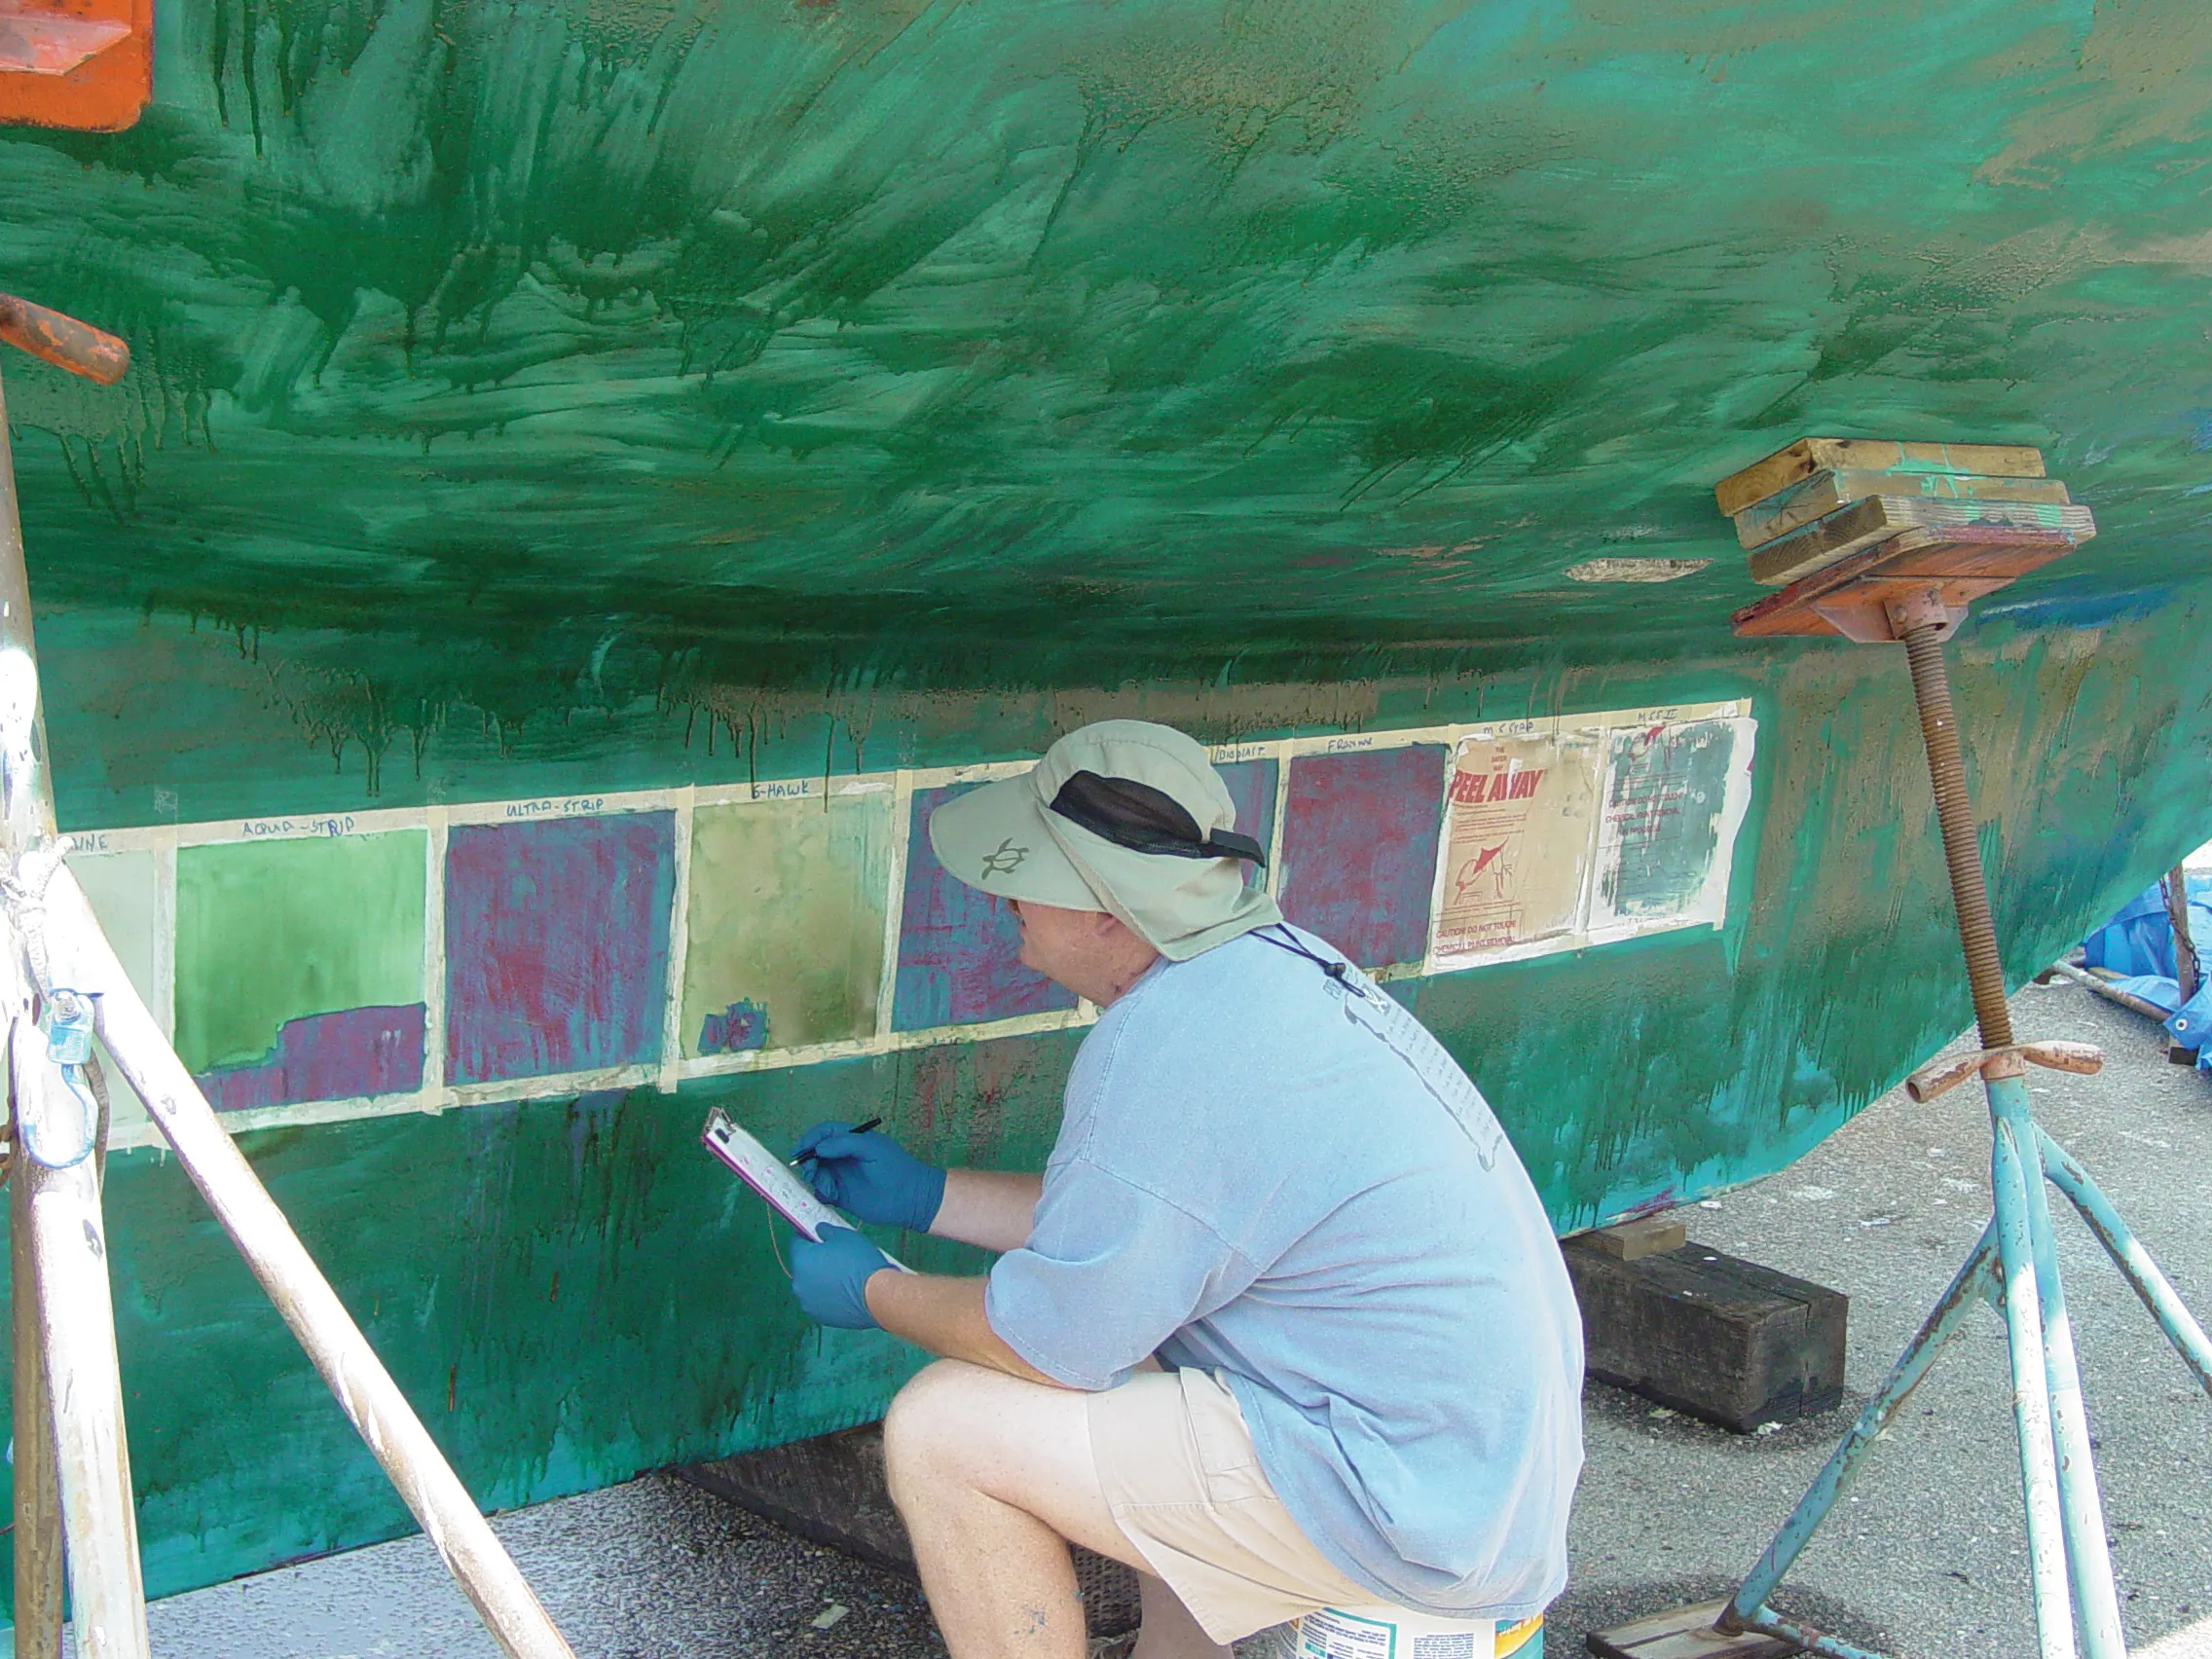
Tempis fugit . . . times a-waistin’ . . . fast flies the irreparable hour . . . However you choose to use your scarce time, we’ll wager that you’d rather not spend it removing bottom paint. If you are an owner of an older boat with a decade of accumulated hard bottom paint that is flaking and cracking, now is a good time to start weighing your options for removing the old paint. Should you do it yourself, or hire the professionals—or a bit of both?
In past reports on removing bottom paint and barrier coats, we’ve explored various methods to do the job safely. But more recently, in the light of our depleting youthful vigor, a diminishing number of do-it-yourself boatyards, and the need for personal protection against fine particles and organic vapors, our enthusiasm for a do-it-yourself approach has steadily waned.
Although the substantial cost involved in renewing a bottom can be daunting, keep in mind that money and labor invested now will make subsequent bottom jobs faster and cheaper, so there is a residual benefit. Provided you have access to a do-it-yourself yard, are serious about personal protection, and don’t overextend the periods between reapplying bottom paint, your next decade of antifouling jobs could be do-it-yourself jobs.
Removal Methods Testing
As I recover from my own five-week long do-it-yourself paint removal project, I am reminded of a report by Ralph Naranjo, a former boatyard manager, marine safety expert, and Practical Sailor editor-at-large. Ralph undertook a comprehensive test of coating removal methods and products (see “A Smorgasboard of Tools Required for the DIY Epoxy Barrier Coat Removal”). An excerpt from that report appears below (“Is It Worth It?”), along with Ralph’s guide for estimating the amount of time required for any boat bottom project (“A Mathematical Decision-maker”). The DIY work calculator first appeared along with Ralph’s report on Soda blasting, “Soda Blasting 101.”
Seeking Professional Help
Not long after Ralph’s report, we went back into the boatyard and followed the bottom restoration of a Bristol 35.5 owned by the publisher. The Bristol, however, got the royal treatment, as the owner handed the project over to local professionals. The work and materials tallied in the table below are detailed in the report “Bottom Paint Makeover.”
DIY Boatyards vs. Do-it-for-me Boatyards
If you are still in the water as you consider these options, we also have two helpful boatyard reports for those still choosing a yard “Do it Yourself Boatyards,” and “Do it For Me Boatyards.” Hopefully, you are already out sailing, and the next haulout is from your mind. But if you have decided to finally “bite the bullet,” as Ralph puts it, I hope these reports can help. If you have specific questions about removing, choosing, or applying bottom paint, or if you have a boatyard to recommend, you can email the editors here.
Note: The professional repair bill for the Bristol 35.5 First Light included a new barrier coat and paint (see “Bottom Paint Makeover”). The original prices have been updated to reflect 2026 prices.
BOTTOM RESTORATION TIME, MATERIAL, & COSTS
JOB / MATERIALS TIME / QUANTITY RATE* AMOUNT
BOTTOM PREP AND PAINT: LABOR
BOTTOM PAINT REMOVAL via sandblasting $2,000.00
SAND BOTTOM FAIR after blasting 6 hours $110.00 $660.00
PREP BOTTOM FOR PAINT (Solvent wipe, tape waterline and mask shaft, zincs, etc) 4 hours $110.00 $440.00
ROLL ON 1 COAT OF INTERPROTECT 2000 4 hours $110.00 $440.00
FILL PITS/VOIDS WITH EPOXY 3 hours $110.00 $330.00
SAND/FILL EPOXY SMOOTH AND PREP FOR BARRIER COATS 5 hours $110.00 $550.00
ROLL ON 4 COATS OF INTERPROTECT 2000 BARRIER COAT 16 hours $110.00 $1,760.00
ROLL ON 2 COATS OF INTERLUX MICRON CSC ANTIFOULING 8 hours $110.00 $880.00
BOTTOM PREP AND PAINT: MATERIALS
INTERLUX INTERPROTECT 2000 GALLON KITS 5 gallons $183.00 $915.00
INTERLUX MICRON CSC GALLON 2 gallons $365.00 $730.00
INTERLUX WATERTITE EPOXY FILLER 1 liter $156.00 $156.00
MASKING TAPE, ROLLERS, RAGS, GLOVES, ETC. N/A $100.00 $100.00
INTERLUX 216 AND 333 THINNERS 1 gallon $105.55 $105.55
NEW BOOT STRIPE: LABOR
TAPE AND SAND BOOT STRIPE; RETAPE; WIPE HULL CLEAN 5.5 hours $85.00 $467.50
BRUSH ON 1 COAT INTERLUX BRIGHTSIDE POLYURETHANE 3.25 hours $85.00 $276.25
SAND, CLEAN, AND BRUSH ON SECOND COAT 3.5 hours $85.00 $297.50
RETAPE, SAND, CLEAN AND BRUSH ON THIRD COAT 3.5 hours $85.00 $297.50
NEW BOOT STRIPE: MATERIALS
TAPE, BRUSHES, 220-GRIT SANDPAPER N/A $30.00 $30.00
INTERLUX BRIGHTSIDE POLYURETHANE 1 quart $34.99 $34.99
GRAND TOTAL $10,470.29
* Prices include tax
Is It Worth It?
At the conclusion of the paint removal ordeal (two full weeks), I asked myself, “Is this scale of commitment really what your typical DIYer should tackle?” The answer? An uncertain “maybe.”
The job certainly can be turned over to pros and is a prime candidate for media blasting, but many yards don’t want the airborne residue associated with the process. Tenting the boat or moving it into a building adds expense. And when all is said and done, the epoxy barrier coat is pretty immune to baking soda and may require blasting with a more aggressive grit that can tear into the gelcoat as well as remove the barrier coat.
The slow and arduous combo of chemical stripping and sanding used to rid Wind Shadow of 26-year-old barrier coat left the gelcoat intact and provided an even surface over which to reapply the same epoxy system that had endured for over two decades.
Is It Time for a Peel?
Now that more and more barrier-coated boats are reaching the end of the paint’s lifespan, owners will be looking for answers about what to do next. If there is a significant amount of interlaminate blistering in addition to barrier-coat blistering, it may be time for a “peel.” This even more aggressive approach cuts all the way down to FRP laminate, removing barrier coat, gelcoat, and the pocked first layer of FRP laminate.
Once the offending surface has been cleared away, the remedy is to re-laminate whatever schedule of material was removed. The new composite skin incorporates vinylester or epoxy resin, and the complete job includes re-fairing the surface, barrier coating, and finally bottom painting the underbody—a job that dwarfs the efforts bestowed on Wind Shadow, and one that will require professional intervention.
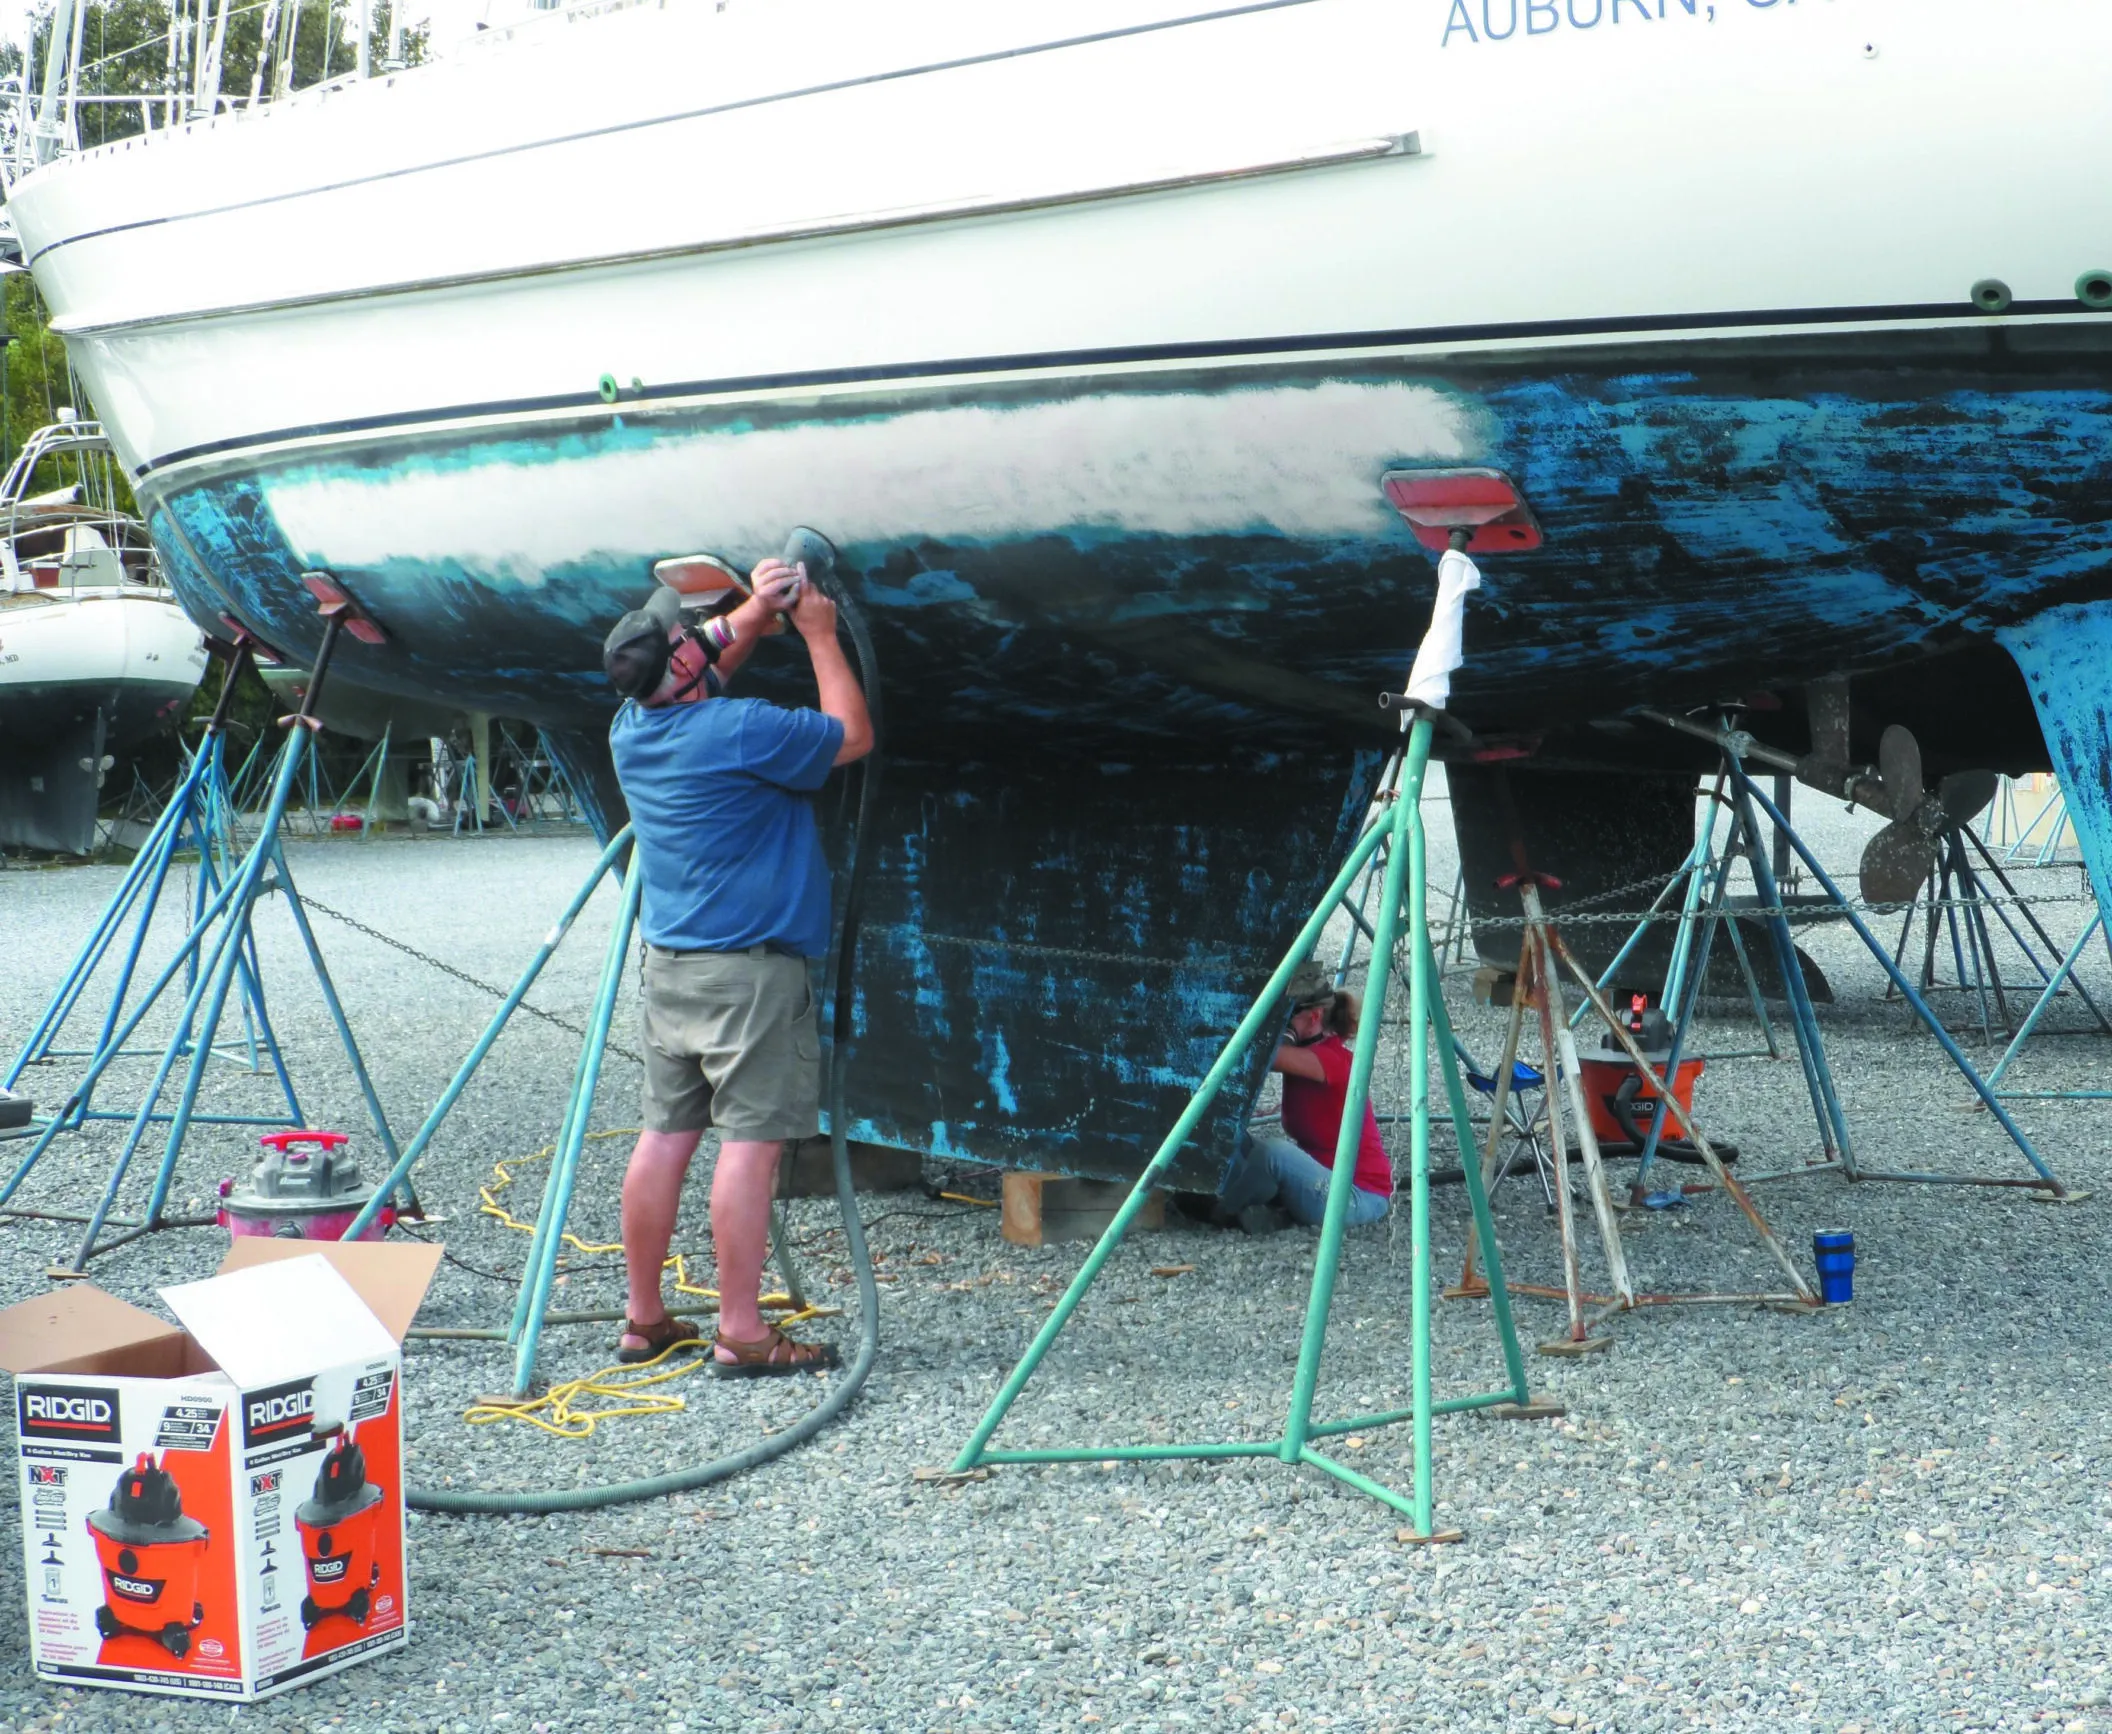
Evaluate Skill Level and Costs
Those considering such a project as removing barrier coats should first evaluate their skill level, and then weigh the labor-hours and cost of the project versus what it would cost to have a professional do it. In my case, removal options included subcontracting a soda blasting, which would cost $2,500 and would only rid the hull of antifouling paint, not the failed epoxy barrier coat. A heavy-grit media blasting to remove the epoxy—along with much of the gelcoat—was considered too aggressive for this project, although we did use it in a subsequent bottom job on another test boat.
Professional Rates
Leaving the whole job to the pros would’ve been pretty costly: A “peel” or blast approach and the followup fairing, resurfacing, epoxy barrier coats, and bottom paint would run about $10,000-$15,000. Rates, of course can vary by region.
In 2015, we paid just under $8,000 to strip and refinish a Bristol 35.5 in Connecticut, and just under $5,000 to strip and refinish the bottom of a 30-foot Yankee 30 in Florida. The 2026 price for the same Connecticut service on the Bristol 35.5 is around $10,500 (see table above).
Both were media blasted (soda-blasted in Connecticut, wet-abrasive blasted in Florida). In each of these two project, the paint and barrier coat removal accounted for $2,000 of the total cost.
Mathematical Decision Maker
So, how much work is it, really?
Step 1: Time How Long It Takes To Scrape
An easy way to compute the do-it-yourself labor commitment involved is by timing how long it takes to scrape clean two 1-square-foot patches. The first is in the center of the least well-adhered paint; the second is in the midst of an intact portion of the bottom. Dry scrape each section with a thin-bladed putty knife and a sharp drag-type scraper, noting the time it takes to remove about 90 percent of the coating.
Step 2: Estimate Total Easy-to-Scrape Versus Hard-to-Scrape Areas
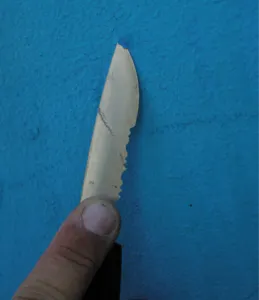
Next, estimate the percentage for the bottom that should be dubbed easy to scrape paint versus areas where the antifouling is stuck like glue.
Step 3: Calculate Wetted Surface Area
Finally, you need to roughly calculate the square footage of wetted surface area (WSA) that comprises the underbody.
This is by no means an ordeal that requires advanced geometry. It’s a rudimentary calculation that requires only three bits of information (waterline length [Lwl], maximum waterline beam [Bwl] and draft [T]).
Formula
The user-friendly formula (WSA = Lwl x (Bwl + T) applies to most heavy displacement cruising hulls. Multiply by 0.75 for medium-displacement vessels and 0.5 for light-displacement boats. This oversimplification of wetted surface calculation would provoke a scolding from David W. Taylor, William Froude, and other dons of naval architecture, but for a paint removal estimate, it works just fine.
Finally, take the results of the calculation and divvy it up according to the proportion of easy versus difficult regions of paint removal. For example, if only 15 percent of the bottom is cracked and peeling, and the removal time per square foot in this region is 30 seconds—as compared to four minutes per square foot in the well-adhered section—the ratio is by no means encouraging. Applying the ratio to the wetted surface calculation drives home the level of paint scraping required.
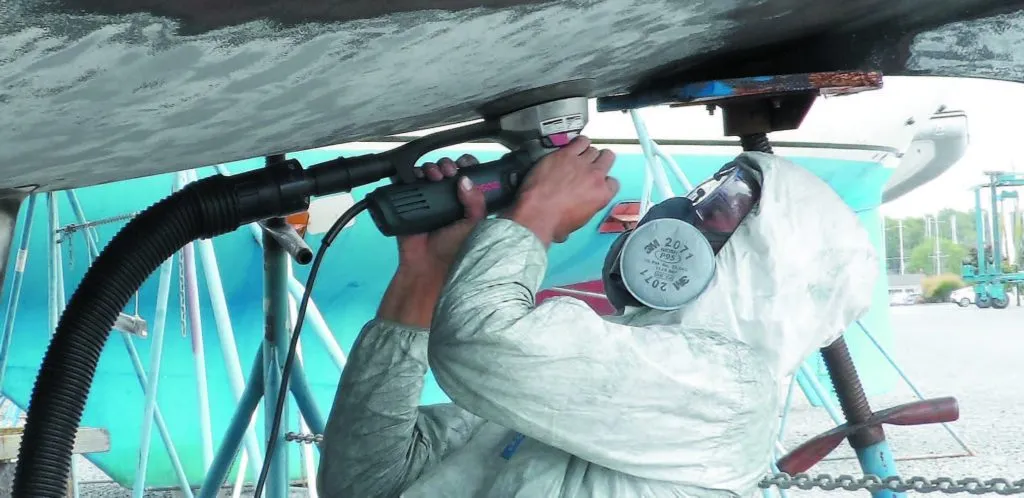
How to Use the Formula
Let’s assume that the vessel has a 30-foot waterline, 6-foot draft, a waterline beam of 10 feet, and is a medium-displacement vessel. Our fuzzy math for a medium-displacement sailboat fills in the WSA equation as follows: WSA = 30 x (10 + 6) (.75), and the result is 360 square feet.
Next comes the all-important apportionment of easy versus difficult paint removal. In this case, 85 percent falls into the tough-going regime that equates to four minutes of toil per square foot (0.85 x 360 x 4 = 1,224 minutes of misery).
Add in the easy scraping (0.15 x 360 x 0.5 = 27 minutes), and the result is 1,251 minutes, or just under 21 hours of serious scraping. This is unequivocal arm-in-action time, and the ride to the boatyard, coffee breaks, and chats with sistership owners, stops the clock.
Other Uses for the Formula
This method to estimating work on the hull bottom could also be applied to a topside or deck project. Just be sure include some awkward work areas in your “sample” panels for estimating the total time required. Removing paint in some areas—cockpit corners, or near trim—can require two to three times more work than flat areas of the hull, and this needs to be taken into account.
Bottom Line
Chemical paint removers, a large crew, or true friends can soften the blow, and so can a more deteriorated surface. If 70 percent of the bottom paint has a cornflake-like look, it will allow a thin bladed putty knife to effortlessly separate it from the hull skin, and a very different labor picture arises. Run the numbers, and you’ll find that in this scenario, 9.3 hours of toil would strip away the residue. In short, it’s not the bad spots you need to worry about, it’s where the paint looks good that causes all the problems. This is why procrastination rules, and we tend to postpone bottom paint removal in favor of spot prepping and feathering in the bad spots. At some point, it’s time to bite the bullet and tackle what’s been pushed down the road.
This article was published on June 1, 2022, and has been updated.

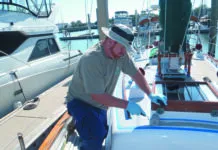







I did this job over two months late last year on my new-to-me Nor’West 33. I’ve sworn to leave boating before I ever do it again!
I had my 1982 Sea Sprite 34 “glass-blasted” several years ago. I was afraid that the glass would be too aggressive (no apparent blisters- just 30+ years of bottom paint flaking in a lot of places). The contractor was well-recommended (here in Maine), tented the boat from waterline down and under, operator in full air-supplied suit inside the tent, and did a fantastic job. In most all areas, the pre-existing barrier coat remained on the boat. The work was done on my property, so no boatyard rules to negotiate, but there was not a spec of residue left on site when the contractor was finished. I faired the very few gelcoat voids that were opened up by the blasting, as well as “battle scars”, then 4 coats of Interprotect, hard bottom paint over partially cured last coat of barrier, then two coats of ablative- 3 seasons later (with ablative renewals), no lifting or any other issues. Well-worth the expense!
I used to do wetblasting with recycled glass for a living, and I have never understood why sodablasting would be considered an alternative. I never hurt the gelcoat and completely removing the epoxyprimer has no purpose. It is possible, but takes souble the time (and cost). The hull is left just as smooth either way. Wet blasting with glass is the only way to go in my opinion. No dust, just the right amount of abrasiveness for the task, and if needed all the residue can be collected and disposed.
In all situations where mechanically powered sanding is to be done, a high quality sander with very good dust collection is an investment within long term returns. But, it only works as well as the dust extractor–the vacuum attached. The options for the vacuum are either an expensive system with high dust collection efficiency and down to potential HEPA ratings with an upgraded HEPA filter. Or, the same performance is available with a shop vacuum and the addition disposable paper bag liners and an upgrade to the standard pleated filter to high-performance or HEPA-rated fllter, both at very reasonable costs.The noise and cfm perform are very comparable at a fraction of the cost of the aforementioned commercial dust extraction systems.
I have owned four boats, all kept in the water and anti-fouled with 2-3 coats of self-polishing multi-season paint. I try to sail often, but none were cruised full-time. I would clean them in the water perhaps 1-2 times over the three years the paint lasted. Not more, because that would wear away the paint.
When the boat was hauled they gave it a good blast. I would then spend about 1-2 hours giving it a good overall scraping and sanding, focused on anything that looked remotely loose. But since these paints were self-polishing, a significant amount would be worn away. After the sanding, considerable areas would show the prior coats. There was very little accumulation.
As a result, in 40 years I have never had to strip paint, and the bottom stays smooth. On the other hand, if I put the boat up for the winter and applied fresh hard paint every spring, my story would be different. Keeping it in the water has been much easier (mid-Chesapeake Bay) and has stretched the sailing season, often to 12 months, though occasionally January is dodgy, waiting for that perfect day.
Cany you comment on the wisdom of putting a permanent copper barrier coat after doing all the work of blasting and fairing the bottom? It is supposed to last 15 years and is less damaging to the environment. Your thoughts?