

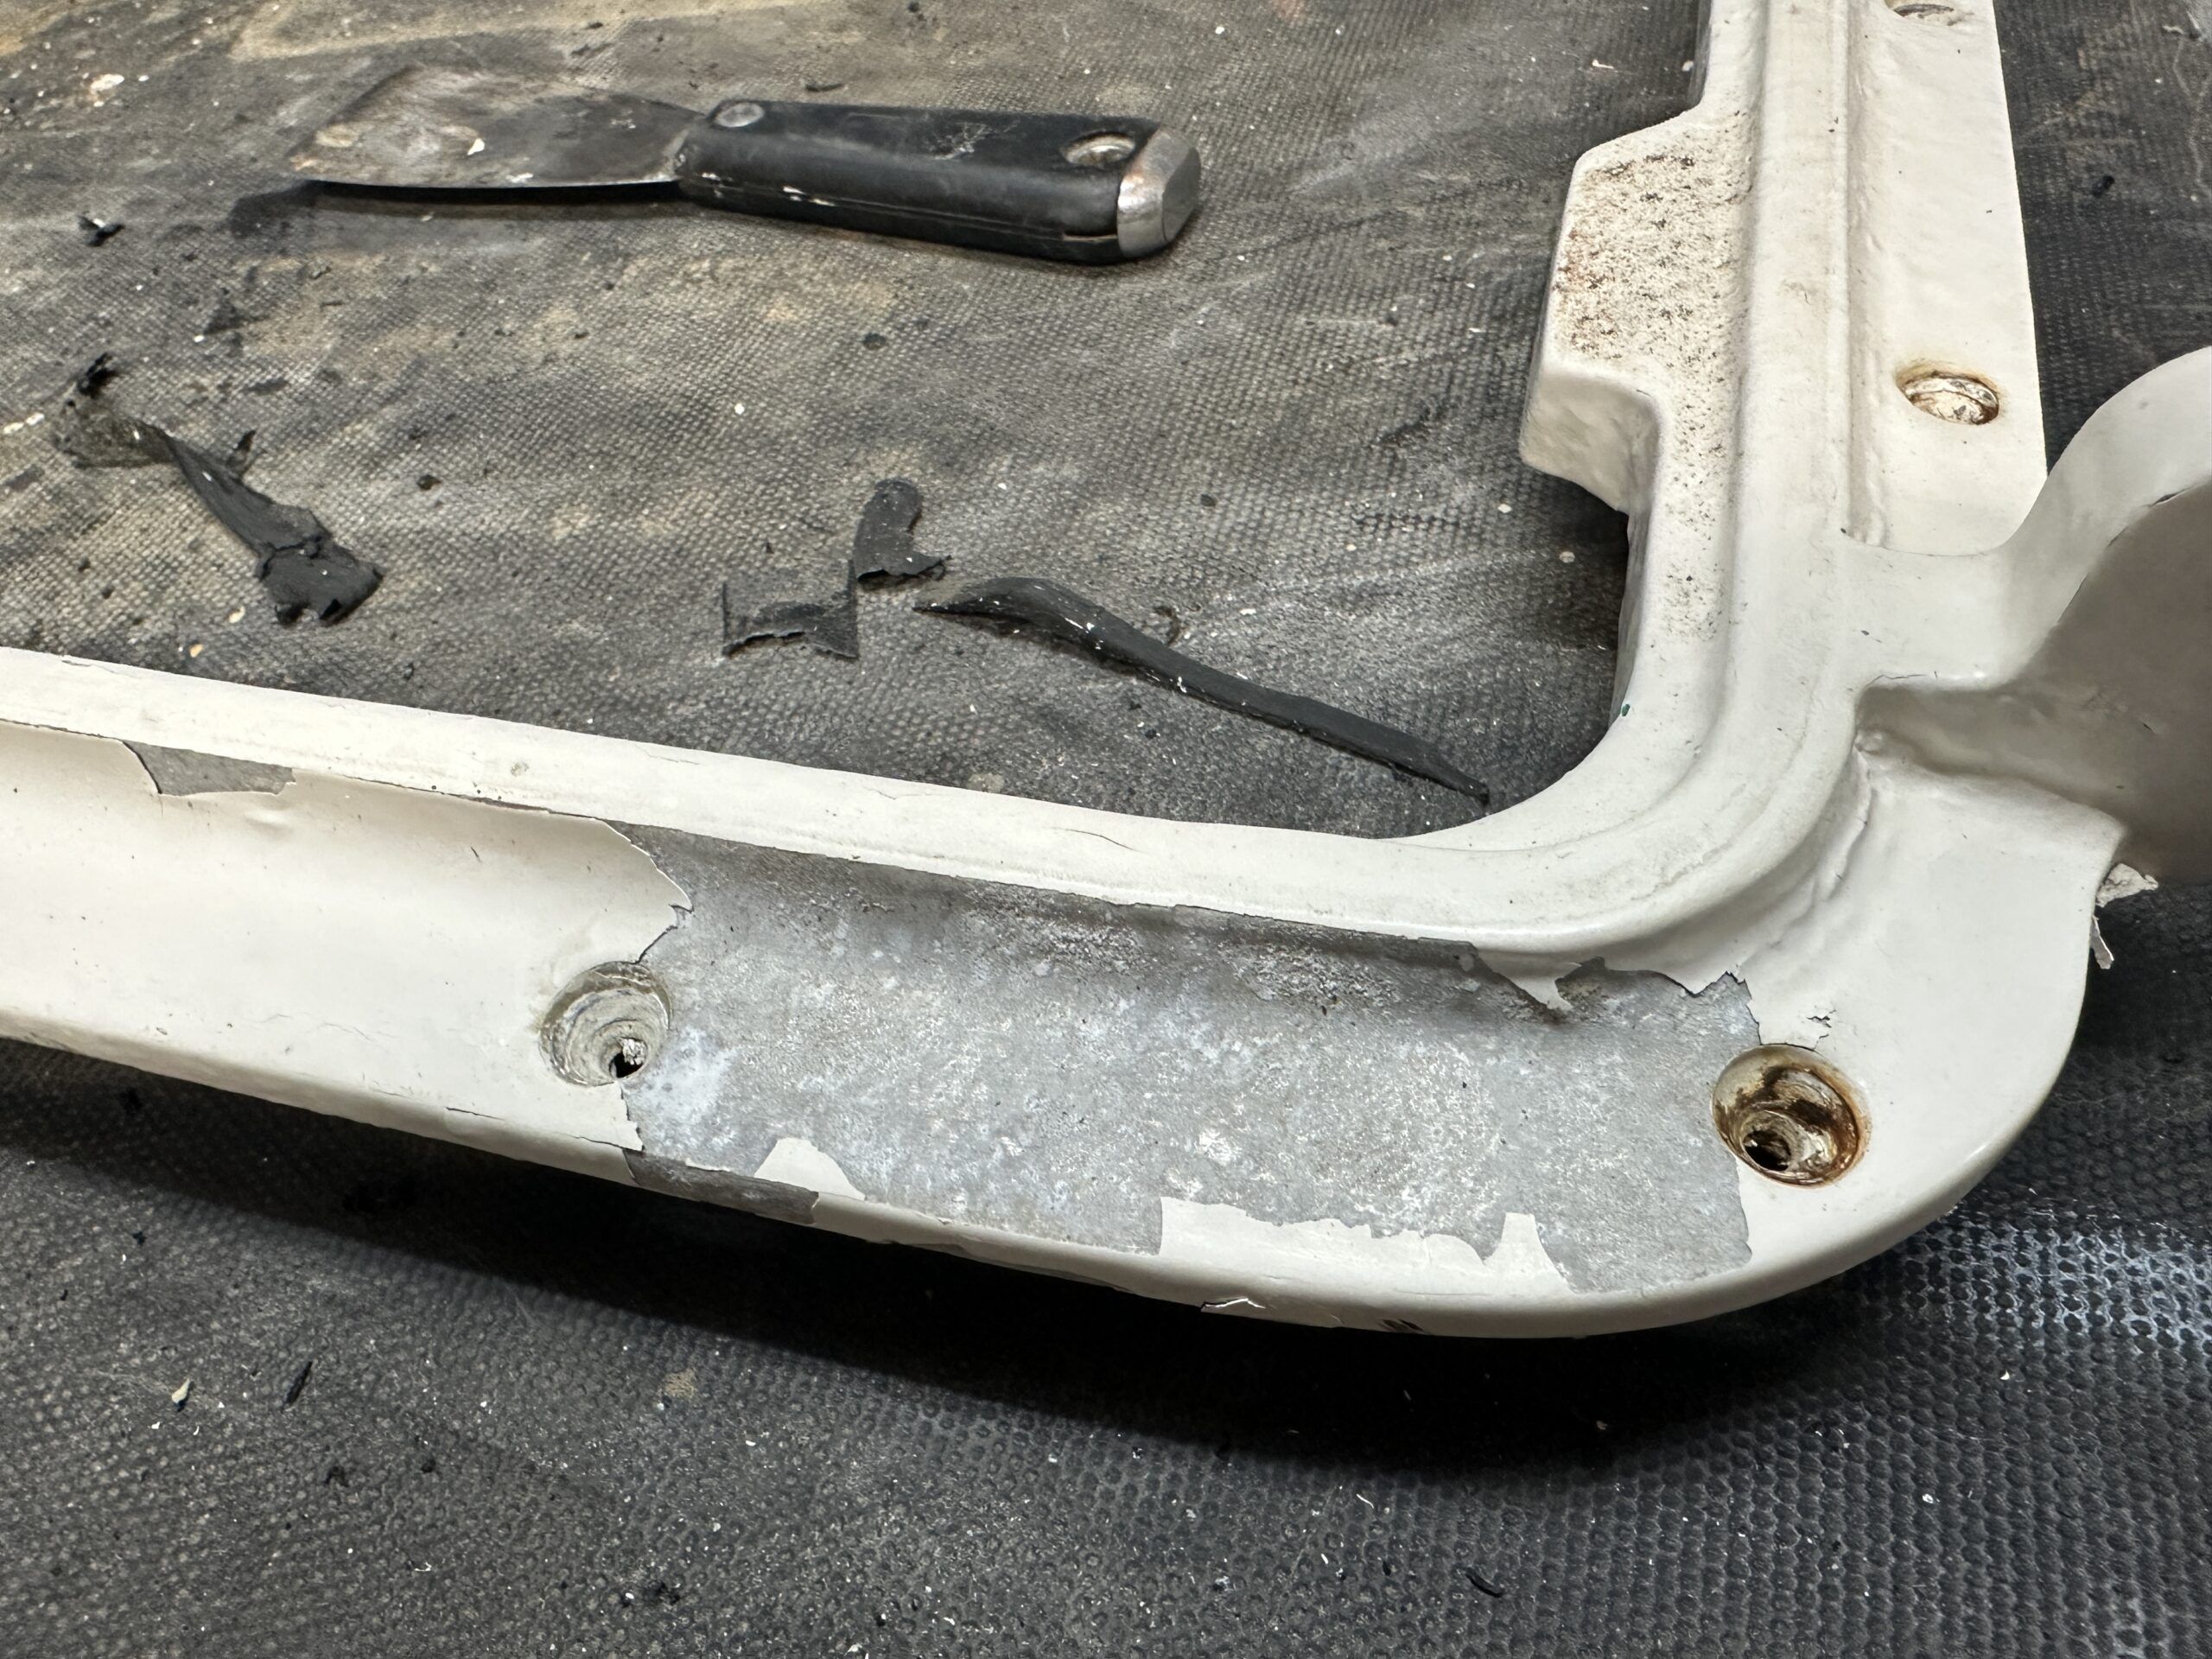
Many boats constructed during the heyday of production in the 70s and 80s, both power and sail, emerged from the factory with aluminum deck hatches. While some of those hatches were constructed in-house, many were from established hardware companies such as Lewmar and Bomar. Frame options included anodized aluminum, a powder coated finish, or simply painted—all with a clear or tinted acrylic lens. Styles included low and high profiles, the high profile with a significant lip to ensure a solid seal when waves sweep over the deck. While they weren’t designed to be stepped on, a quality deck hatch and lens could take that punishment when crew was scrambling about on deck.
However, years of sunshine, rain and sailing takes a toll. On this hatch, the anodized finish faded, paint and powder coating started to blister and peel, and the lens was scratched or cracked. The worst case scenario is when the hatch looks old and leaks as well. That’s when it is time for action! The question is whether to replace or refurbish? Finding a replacement with the exact profile of that old hatch at a price that’s affordable may be a challenge. This article will examine the refurbishing option.
START SLIDESHOW
Deciding on a Finish
The first step is deciding what you want the hatch frame to look like when finished. Just because it’s anodized at the moment (bare aluminum) doesn’t mean it must be re-anodized. The same can be said for a painted or powder coated frame. Once the frame is stripped, the options are yours. Both will allow a selection of colors and, in my humble experience, both are excellent and long-lasting finishes.
Usually the choice boils down to what’s available commercially near you. If neither is available near you, the option is to prepare and paint the frame yourself with some excellent modern marine finishes. Painting the hatch while it’s still on the deck may work. However, where the paint ends at the gelcoat will be the first the new paint will start to peal.
Commercial Finishes
Anodized
Anodized aluminum is aluminum treated with an electrochemical process that converts its surface into a durable, corrosion-resistant aluminum oxide layer. This finish is harder and more wear resistant than untreated aluminum. The anodization also makes the surface porous, allowing for penetrating dye, in a choice of colors, without the risk of chipping or peeling like paint.
Powder coating
Powder coating applies a dry, pigmented powder electrostatically to a surface, then cures it with heat to form a hard, durable, and decorative finish that’s tougher than conventional paint. It resists chips, scratches, fading, and corrosion while offering color options.
Removing the Hatch From the Deck
Once the finish decision has been made, it’s time to remove the old hatch from the deck. Keep in mind that the hatch was probably installed at the factory all those years ago and is going to be reluctant to come off. The adhesive/sealant has likely hardened and will resist removal. If the hatch is a retrofit by a previous owner, the adhesive/sealant may be extremely difficult to separate.
For the purposes of this article, I will refer to an adhesive/ sealant as simply a sealant.
- With the hatch open, have a look at the screws used to hold the frame to the coach roof. Most likely they will be Phillips head screws. Use the correct size screwdriver and resist the urge to use a power driver. Those screws have been there a long-time, set in sealant. Stripping the screw head with an incorrectly sized screwdriver, or an overpowered driver, will make removal far more time consuming. In some models the hatch lid will have to be removed to gain access to the screws on the hinged side.
- Check the interior side of the hatch. Is there a cosmetic trim ring that must be removed? On some rare installations the screws on deck are actually bolts, either fastened to the trim ring or with the nuts hidden behind the trim ring.
- Once all the screws holding the frame to the deck have been removed it’s time to tackle the frame itself. This is going to call for prying it up—carefully. The frame is aluminum, or an aluminum composite that is not particularly brittle, but it will only bend so far. Pick a corner near a hinge to start. This will be the strongest part of the frame—the thickest metal.
- With a wide, thin screwdriver or wood chisel, carefully force it between the frame and gelcoat. A hammer may be useful, but do not take huge swings—tap it in. You will hear the caulking start to separate—do not rush. Allow the separation to continue. The warmer the ambient temperature, the easier it is for the sealant to separate. In colder climates a carefully used heat-gun helps the process.
Prybars
Once you have initial separation in that one spot, insert a thicker screwdriver or wedge to hold that part of the frame away from the deck. Resist the urge to pry up on the tool. Prying up puts excess pressure on the outside edge of the frame, which is the weakest point. The goal is to get enough room between the frame and gelcoat in that one spot to slip an angled pry bar under the frame, preferably all the way to the inside edge of the frame.
Protect the gelcoat with a thin sliver of wood or similar flat surface. Gently place downward pressure on the prybar. All the upward pressure at the tip is going to be at the strongest point of the frame, where the flat surface meets the perpendicular edge. Again, you’ll hear the sealant slowly start to separate.
Using a boxcutter style tool, reach under the slightly raised frame corner and cut the sealant that you can reach. Insert wedges to keep that part of the frame up. Move the prybar along the frame as the sealant separates, carefully avoiding the areas that have screw holes in the flat surface. Those are weak points in the aluminum. Patiently work your way around the frame and it will come clear of the deck without damage to the frame or deck.
Cover the Opening
It’s going to take time to disassemble and clean the frame for professional refinishing or DIY painting. Be prepared to cover the opening to keep weather out. I use an appropriate size section of plywood, wrapped in plastic, weighed down with bricks.
Disassemble the Frame
Even if you plan to paint the metal frame yourself, the hatch is going to need disassembly. Hardware will need to be removed to gain access to all parts of the aluminum. Take photos as you go as a reminder of how it fits together. For professional refinishing, only the aluminum frames will be accepted.
Removing the Lens
The lens, plexiglass or polycarbonate (Lexan), can be removed by cutting along the top outside edge of the lens with a box cutter style tool. Pushing up from the bottom should release the lens. If not, slide the blade underneath the lens to cut the horizontal sealant.
Pry the lens out slowly, allowing the remaining sealant to stretch and release with a bit of time. With the lens out, now would be the time to consider replacing the lens if it’s badly scratched or crazed.
Just to be clear, plexiglass is an acrylic plastic, not to be confused with the polycarbonate commonly known as Lexan. Plexiglass has better optical clarity, is easier to work with and a bit more resistant to surface scratching.
START SLIDESHOW
Refinishing the Frame
Once clear of all hardware and the lens, the frame is ready for professional powder coating or anodizing. For the DIY sailor, now comes the sanding, priming and painting. If the hatch was previously painted, powder coated or anodized, the options are to sand or have the frame sand blasted. Most powder coating and anodizing companies provide that service as part of the refinishing.
There are also DIY sand blasting shops. The term “sand blasting” is really a misnomer. The specialists in that field will determine the appropriate aggregate for the task. From different grades of actual sand to walnut shells, the intent is to remove the covering material without doing damage to the aluminum.
Priming the Aluminum
If the goal is to refinish the frame yourself with quality marine enamel, preparing the surface with an aluminum compatible primer is essential. There is a plethora of specific primers aimed at aluminum available from local hardware stores. I like the Interlux Primocon Underwater Primer. Available as a brush-on only, I’ve had good success with this product. It sands very nicely with 220 or higher grit paper before a finish coat is applied.
Finishing the Frame
A quality marine polyurethane paint will survive for years and is easy to apply with a good brush. If available in your area, a two-part polyurethane survives even longer. Let the finished hatch dry. It will take a few days for the paint to chemically harden, able to resist scratches during re-assembly.
Gasket
If the frame is to be painted there is the option of retaining the original gasket and painting around it. This is not a particularly good option as the painted edge against the gasket will be one of the first places the new paint will start to separate from the frame. If the frame is going to professional anodization or powder coating, the hatch seal will need to be removed. On older gaskets it’s simply glued into place with specialized adhesive.
If a replacement gasket is required, you can search through marine or automotive shops to find the correct material. For the Bomar hatch in the accompanying photos the 12 mm round gasket came through a local marine retailor from Clean Seal Inc. of South Bend, Indiana.
Specific gasket glue is available from most automotive parts shops. This can be applied right out of the tube or dispensed and brushed on using an artist type small brush. This material dries quickly—read the label.
Installing or Re-Installing the Lens
The lens will have to be re-installed if the intent is not to replace it with new acrylic.
- Apply masking tape to the top and bottom surfaces of the lens to protect the surface. Leave the actual outside edge bare—clean of any old sealant. A replacement lens will have factory paper covering on both sides. Don’t remove the paper just yet.
- Place the lens in the frame and trace where the frame meets the lens on the underside.
- Remove the plexiglass and, using a sharp box-cutter type knife, carefully cut the manufacturer’s paper/plastic covering, or the masking tape you applied, an eight or sixteenth of an inch outboard of the traced line. This will keep the potential scratch from the knife from showing up once the lens is in place.
- Remove the paper/plastic from this outside edge. This is where the adhesive will be applied without making a mess of the rest of the plexiglass.
Sealant Options
Options for sealant are somewhat limited. Double sided tape provides an easy solution but does not address the space between the edge of the lens and the frame on the outside. Keeping in mind that the plexiglass is clear or slightly tinted, you will be able to see the tape from outside. If it’s not applied perfectly and does not cover the entire lip that will be holding the window, it will look odd. Also, a sealant of some type will still need to be applied to the gap between the edge of the plexiglass and the frame.
Over the years I’ve had success using the Sikaflex system designed for attaching plexiglass to a substructure (metal, gelcoat, wood). Sika has a fairly detailed PDF guideline on how to bond plexiglass to any substructure.
The recommended primer, Sika Primer 209D, is expensive and has a relatively short shelf life, which is an added cost. But keep in mind that there is no point in undertaking all this work just to have the new windows leak after a good thrashing to windward where the boat is going to flex and potentially break that seal. Plexiglass is notoriously difficult material to adhere to.
Sealant Application Steps
As a result of a comment posted by longtime Practical Sailor contributor Drew Frye—see “How to Replace Sailboat Plexiglass Windows: A DIY Guide“—instead of using Sikaflex to adhere the plexiglass to the frame on this particular task, I elected to use 3M Double Sided VHB tape. However, using tape may still expose inaccuracies in tape application through the clear or tinted plexiglass.
To solve this dilemma, and using a small brush, I painted the black Sika Primer 209D onto the now exposed lip and edge of the plexiglass. Don’t be sparing, but don’t apply so much that it runs off. This is the material you will be looking at through the clear or tinted Plexiglass once it’s installed. An even finish, two or three thin coats if necessary, will look better than one thick coat. This material dries very quickly.
- Before applying any tape or adhesive, pre-fit the plexiglass to the frame. There will be space between the plexiglass and the frame.
- Centre the plexiglass and use small spacers to ensure a centered lens. Once the tape or adhesive is applied it may not be possible to centre the lens.
- Application of the 3M tape can be to the aluminum frame or to the dry Sika Primer on the lip of the plexiglass. As contact with this tape is virtually an instant bond, the spacers should be in place before the lens can be dropped in. Using adhesive such as Sikaflex allows for a bit of lens adjustment before it sets up.
- Before dropping the lens into the frame, if you have a frame with bracing across the lens area as shown in the accompanying photos, don’t forget to remove the protective paper or masking tape on the underside of the lens, the side facing the frame! Once the lens is in place removing the factory paper or masking tape can be very difficult. Without the bracing, the protective paper or masking tape can remain in place until the project is completed.
- Next comes the messy part, filling the gap between the lens and the frame. I’ve never been a fan of silicone as a sealant or adhesive as it can prove to be very difficult to remove to a clean surface even with the specialized products designed for the purpose. My preference has always been Sikaflex. What you use is up to you.
- Applying the black Sikaflex 295UV (the UV is for Ultra Violet, a little more expensive than regular Sikaflex, but designed to withstand the sun) will get everywhere before you’re finished with this installation. Protect the workspace with a drop-cloth or taped down plastic sheet. If you’re concerned about your clothing, I would highly recommend a disposable “bunny suit”. Have plenty of disposable gloves available, you will be changing them regularly. A garbage can/bag is also handy for the contaminated material.
- Before applying a sealant, place weights on the plexiglass to keep it from moving in the frame. If using 3M double sided tape, the bond is nearly instant, the lens will not be moving. The black sealant, in this example Sikaflex 295UV, is to be applied to the gap between the plexiglass and the frame. The protective paper or plastic is still on the outside plexiglass, protecting that surface.
- If the old lens is going back in, apply masking tape to the lens and frame to protect those surfaces.
- Inject the Sikaflex 295UV into the gap between the plexiglass and frame, then, using a small spatula, wooden tongue depressor or best yet, a gloved finger, spread the Sikaflex evenly between the plexiglass and frame. The final appearance is your choice.
- There should be very little Sikaflex on the edges of masking tape or plexiglass. Once satisfied, carefully remove the masking tape, keeping it from touching anything before it goes into a garbage can or bag. Do the same with the protective paper or plastic on the window. Do not allow the Sikaflex to dry before taking this step.
- There may be a small lip where the tape and protective paper or plastic has been removed. This can be left as is or smoothed out using small pieces of paper towel dampened with solvent. This bead will set up within hours and finish the job.
Hatch Reassembly
At this point the top and bottom parts of the hatch can be reassembled. If the hatch design required removal of the opening lid to gain access to the hinge side screws holding it to the deck, don’t forget that. Assembly may have to take place on deck.
Installing the Refinished Hatch
The refurbished hatch can now be re-installed on the deck. Although the sealant between the lens and frame will be black, the sealant to the deck will most likely be white.
- Ensure that the deck opening is clean of the old sealant, especially if the old sealant was silicone based. If the gelcoat in this area is old and oxidized, it may be an idea to drop the hatch frame into place dry and apply masking tape to the outline of the frame. This will avoid having sealant getting stuck on the gelcoat where you don’t want it.
- Remove the frame.
- Apply a thick bead of the white sealant to the flat surface surrounding the hatch opening, inside the masking tape if that has been applied. Do not skimp on sealant.
- Insert sealant into all the screw holes as well.
- Drop the hatch frame into place and screw the hatch to the deck.
- Apply sealant to the threads of each screw. Each screw is a potential leak into the deck core, something you don’t want to have happen.
- Sealant squeezed out along the edge of the hatch and screw heads can be cleaned with small squares of solvent dampened paper towel.
- If masking tape was applied, remove from the deck and complete the project with some final touch-ups to the sealant.
- The most satisfying part of the project is next: removing of the protective paper of the shiny new lens, or the masking tape of a re-used lens.
And there you have it, a virtually new deck hatch at a fraction of the cost of replacement.
23-step process:
1. Examine the original hatch.
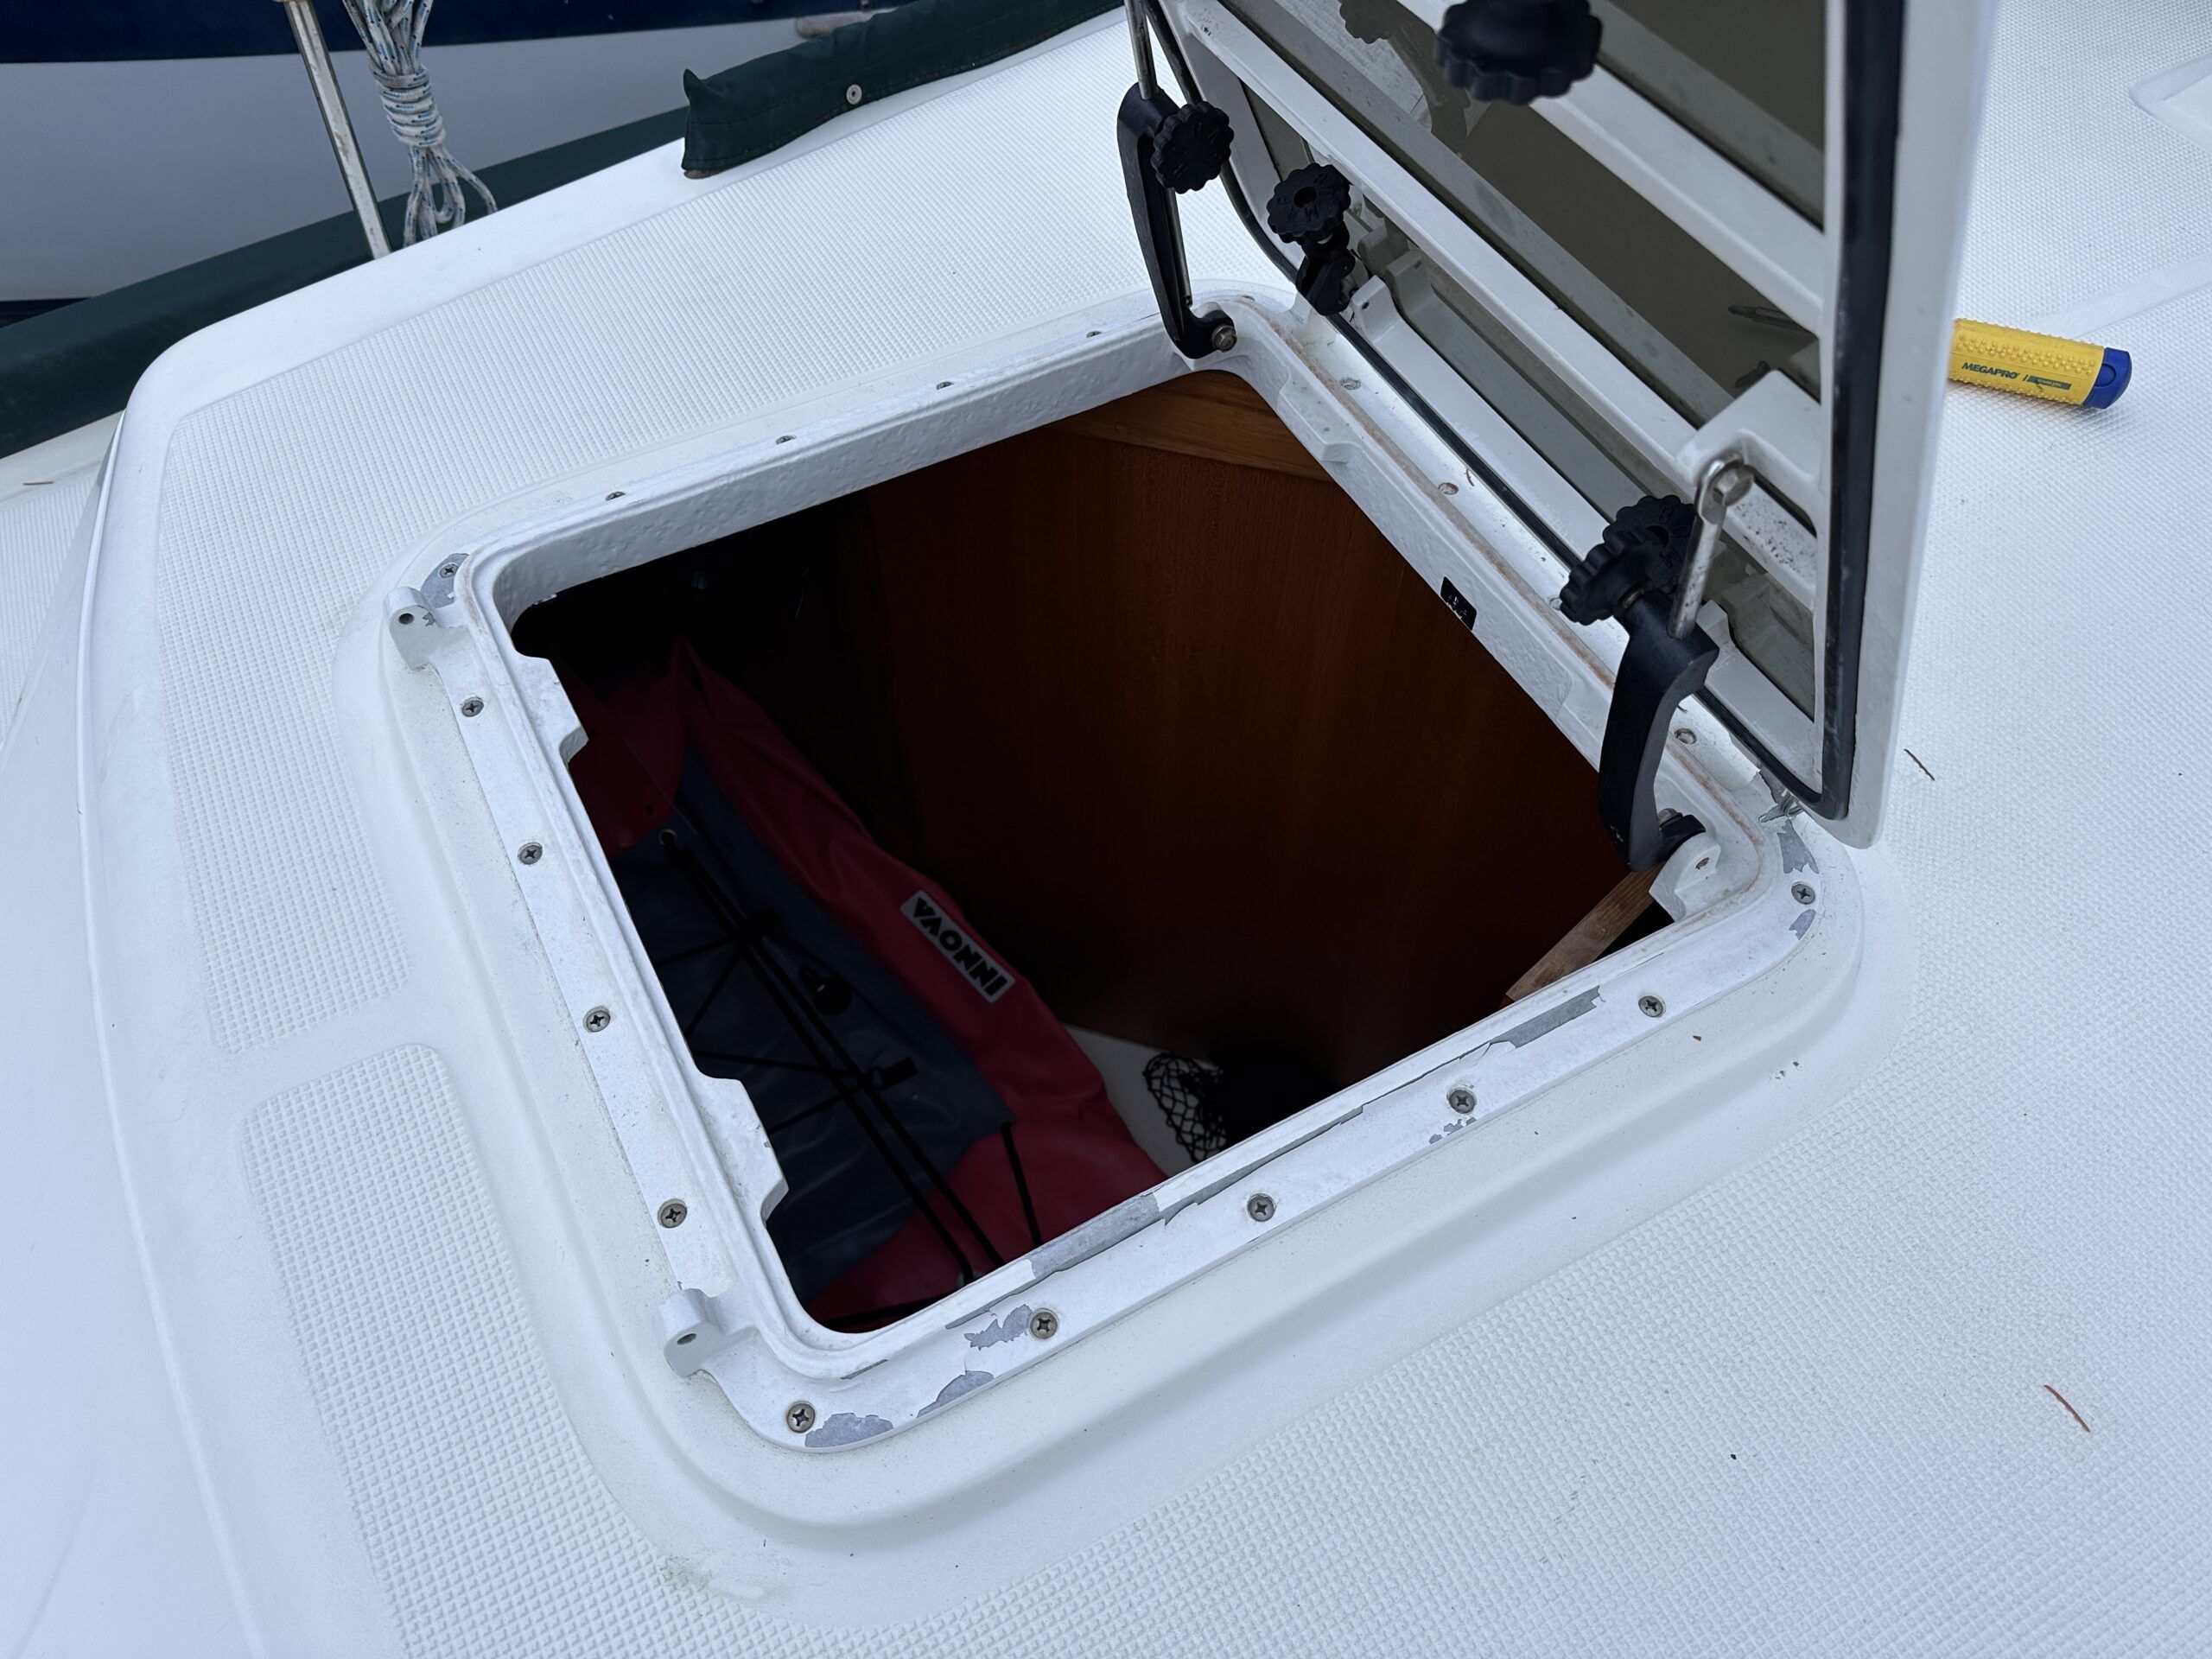
2. Gather tools.
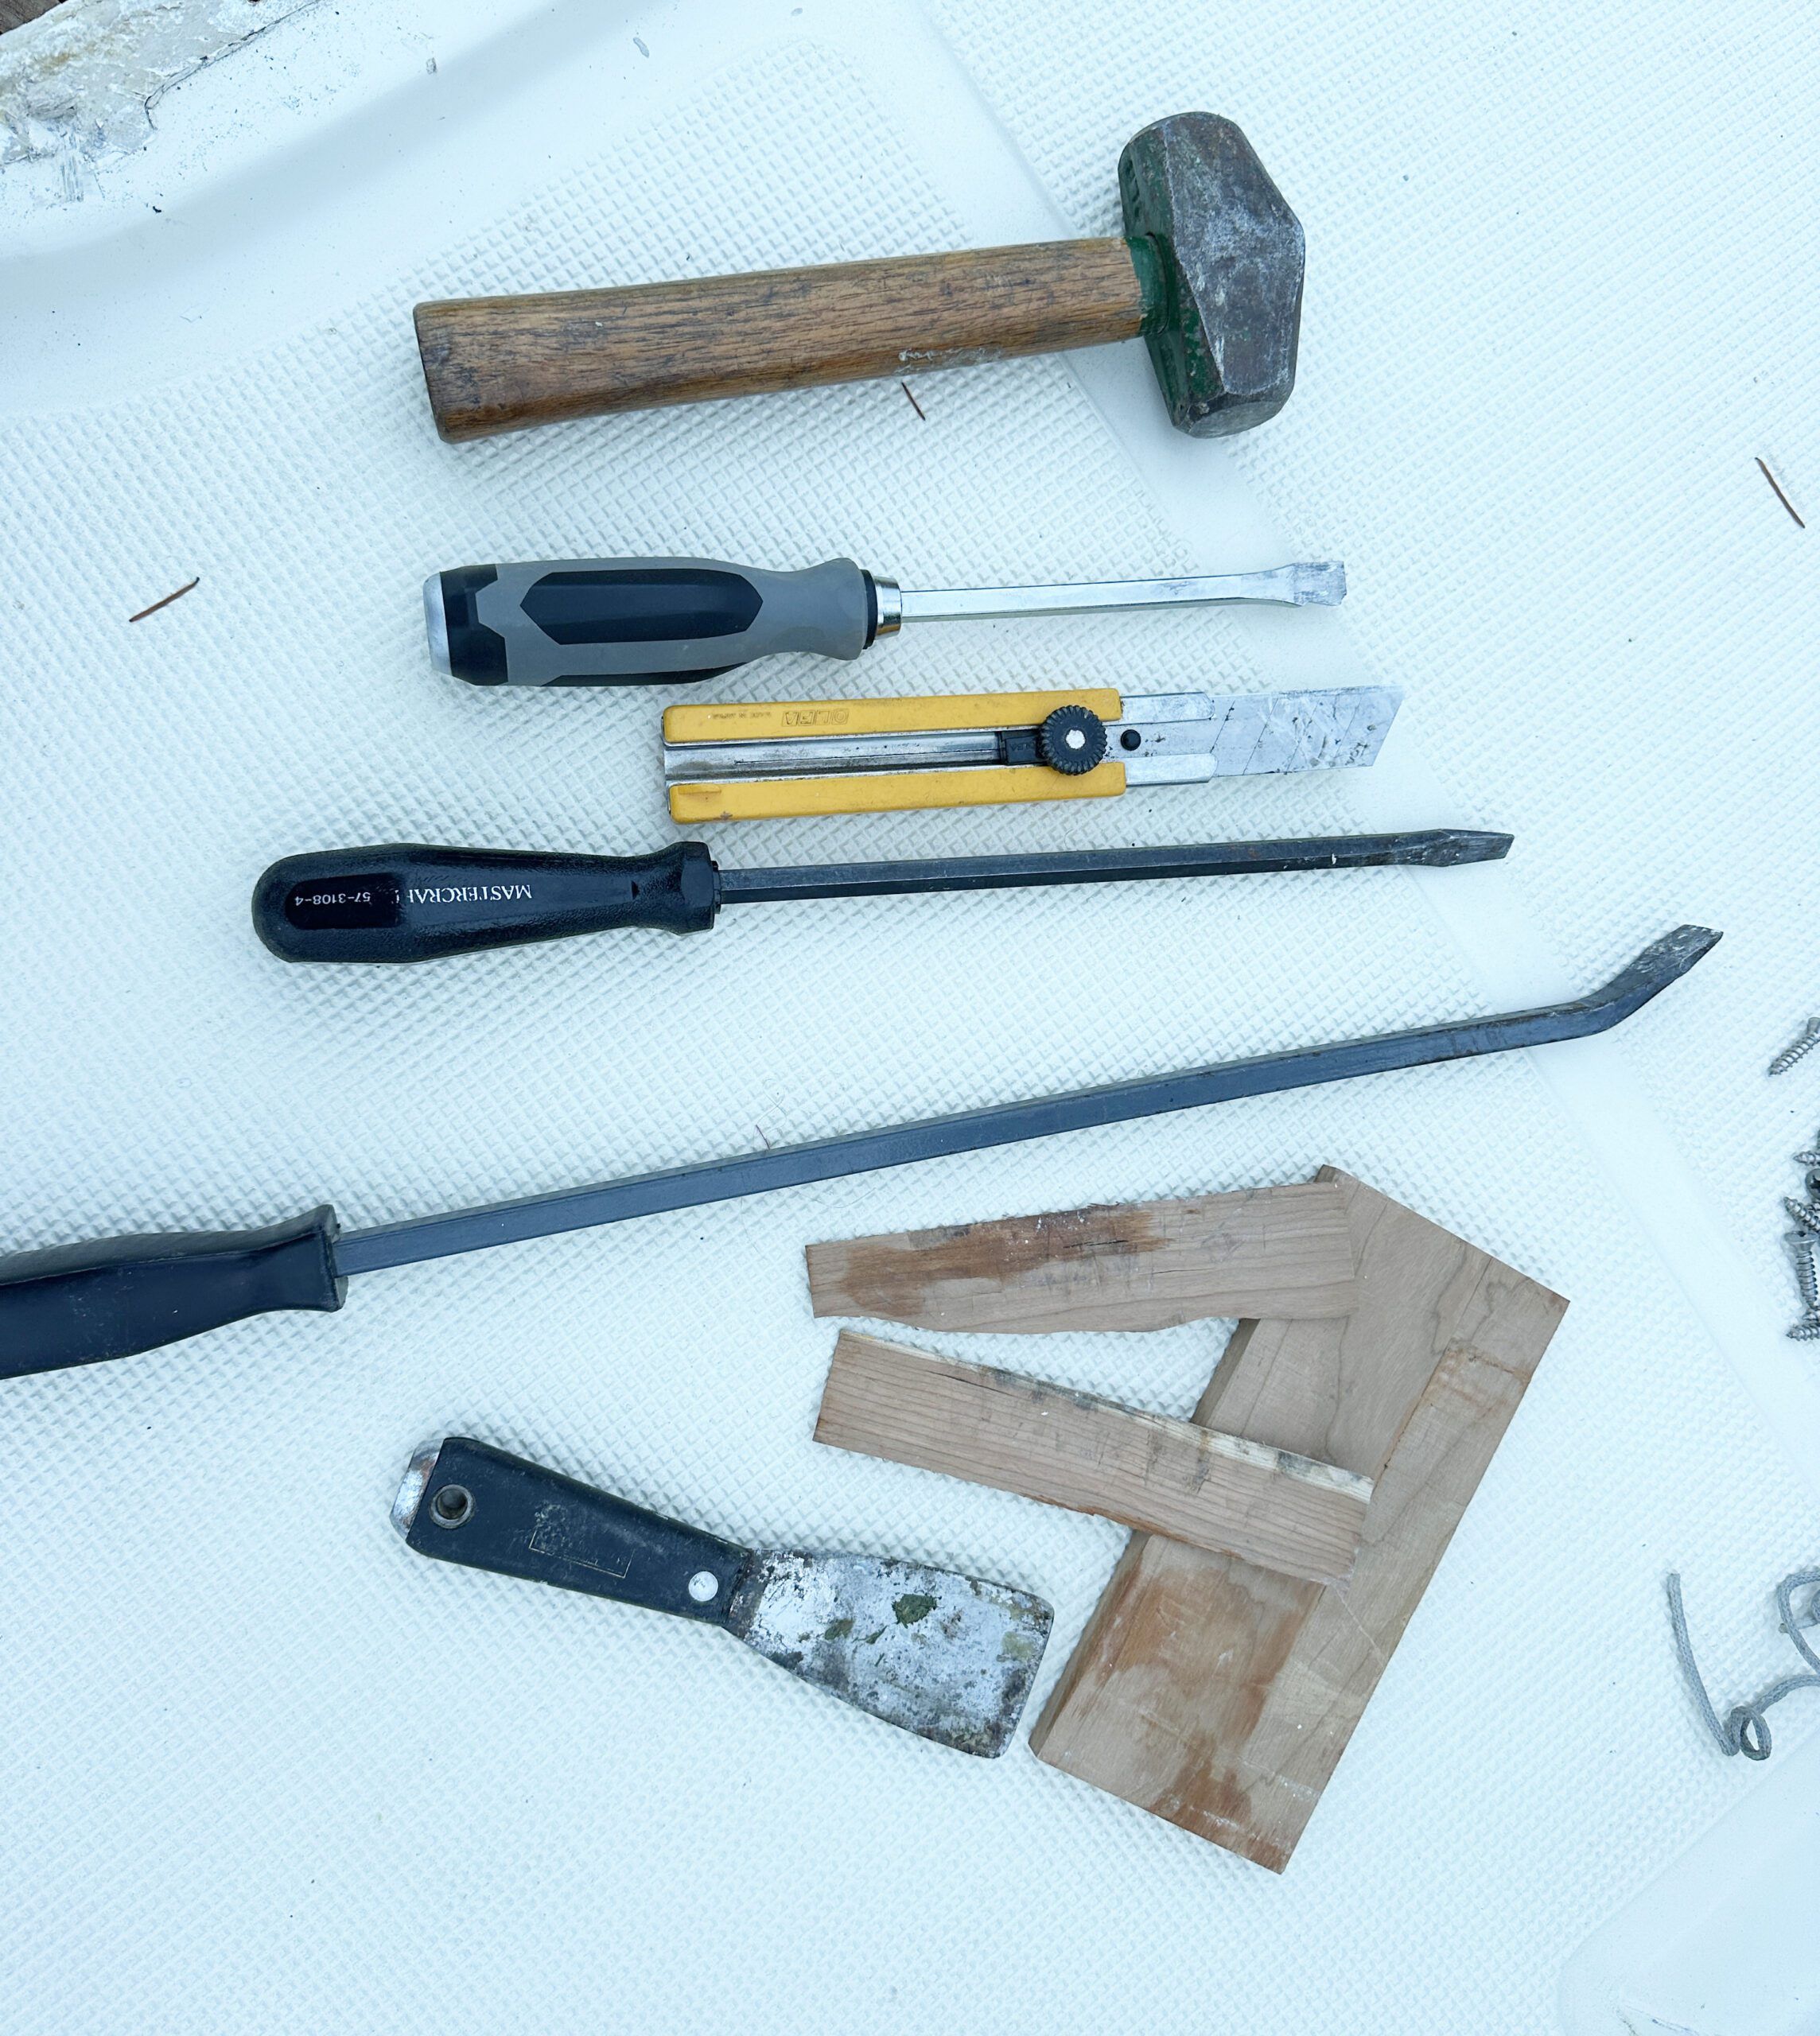
Tools required to remove the hatch from the deck include: hammer, screwdrivers, box cutter style knife, pry bar, thin wood strips to protect the deck, putty knife to remove old sealant.
3. Pry the edge up.
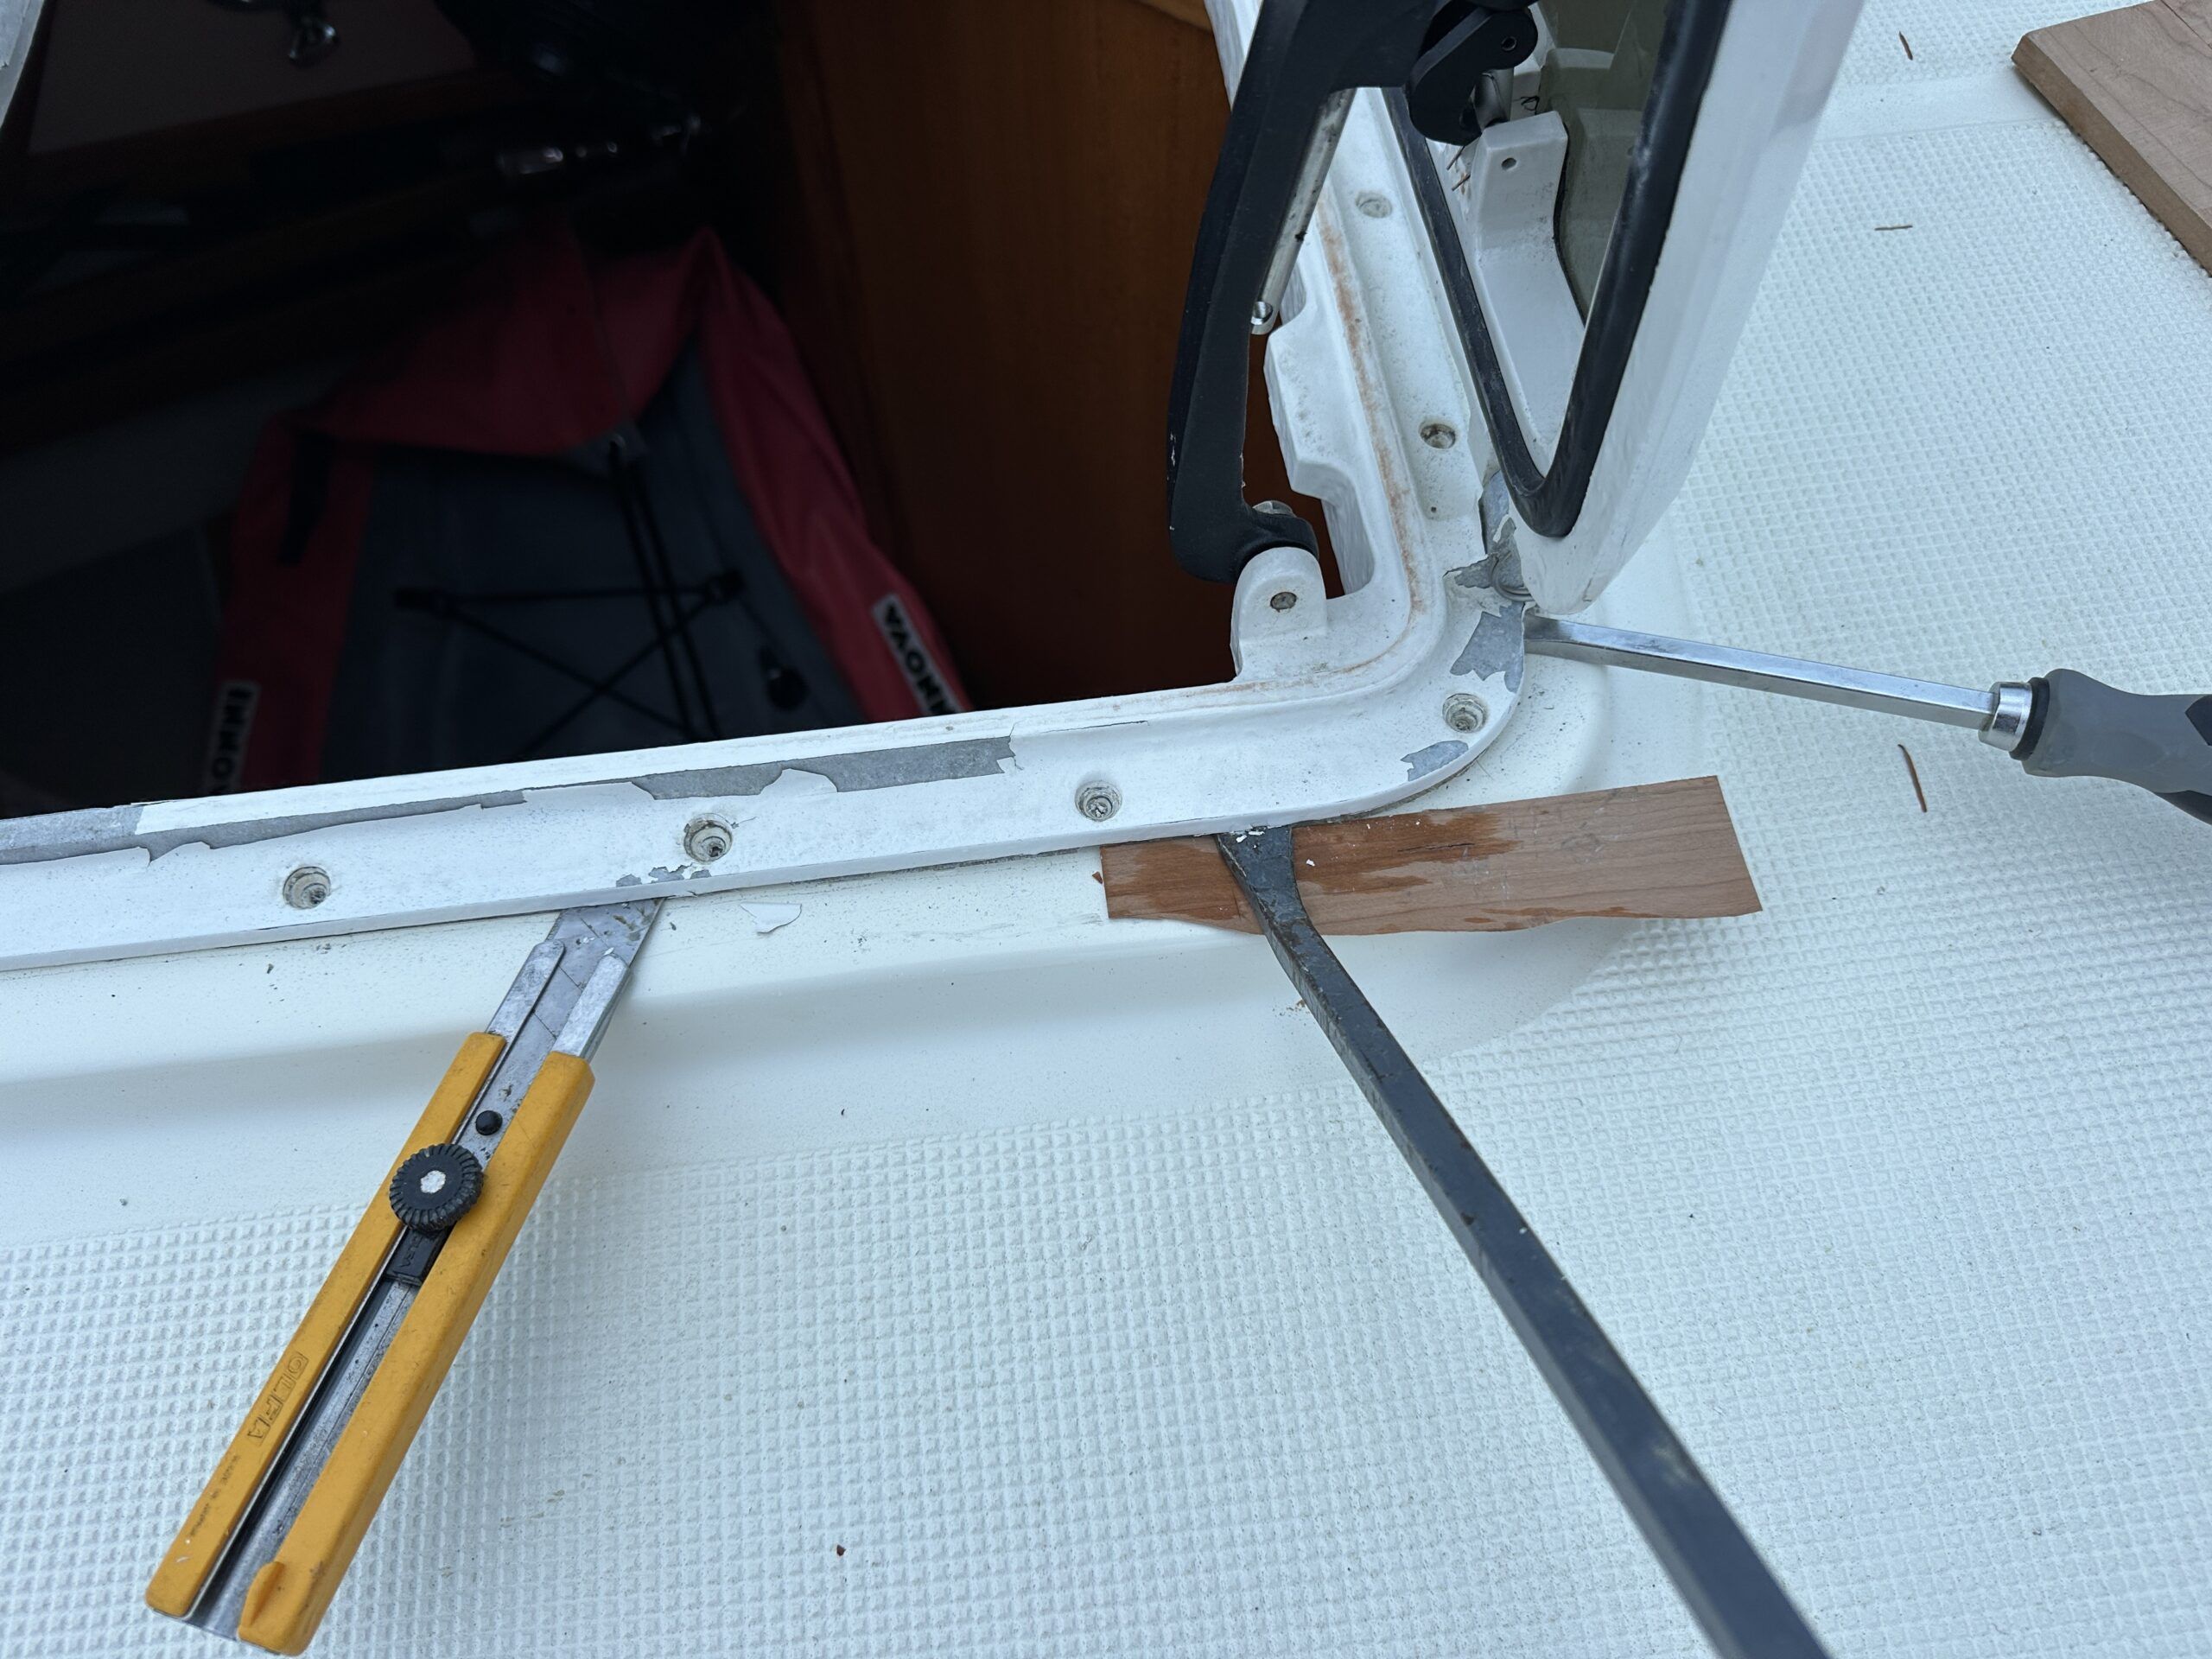
Insert the thin edge screwdriver under the frame near a hinge. Carefully drive the screwdriver in to create a gap. Do not pry up. Insert the prybar all the way under the frame to the inside edge, using wood strips to protect the gelcoat. Cut the adhesive with the razor knife.
4. The hatch is removed.
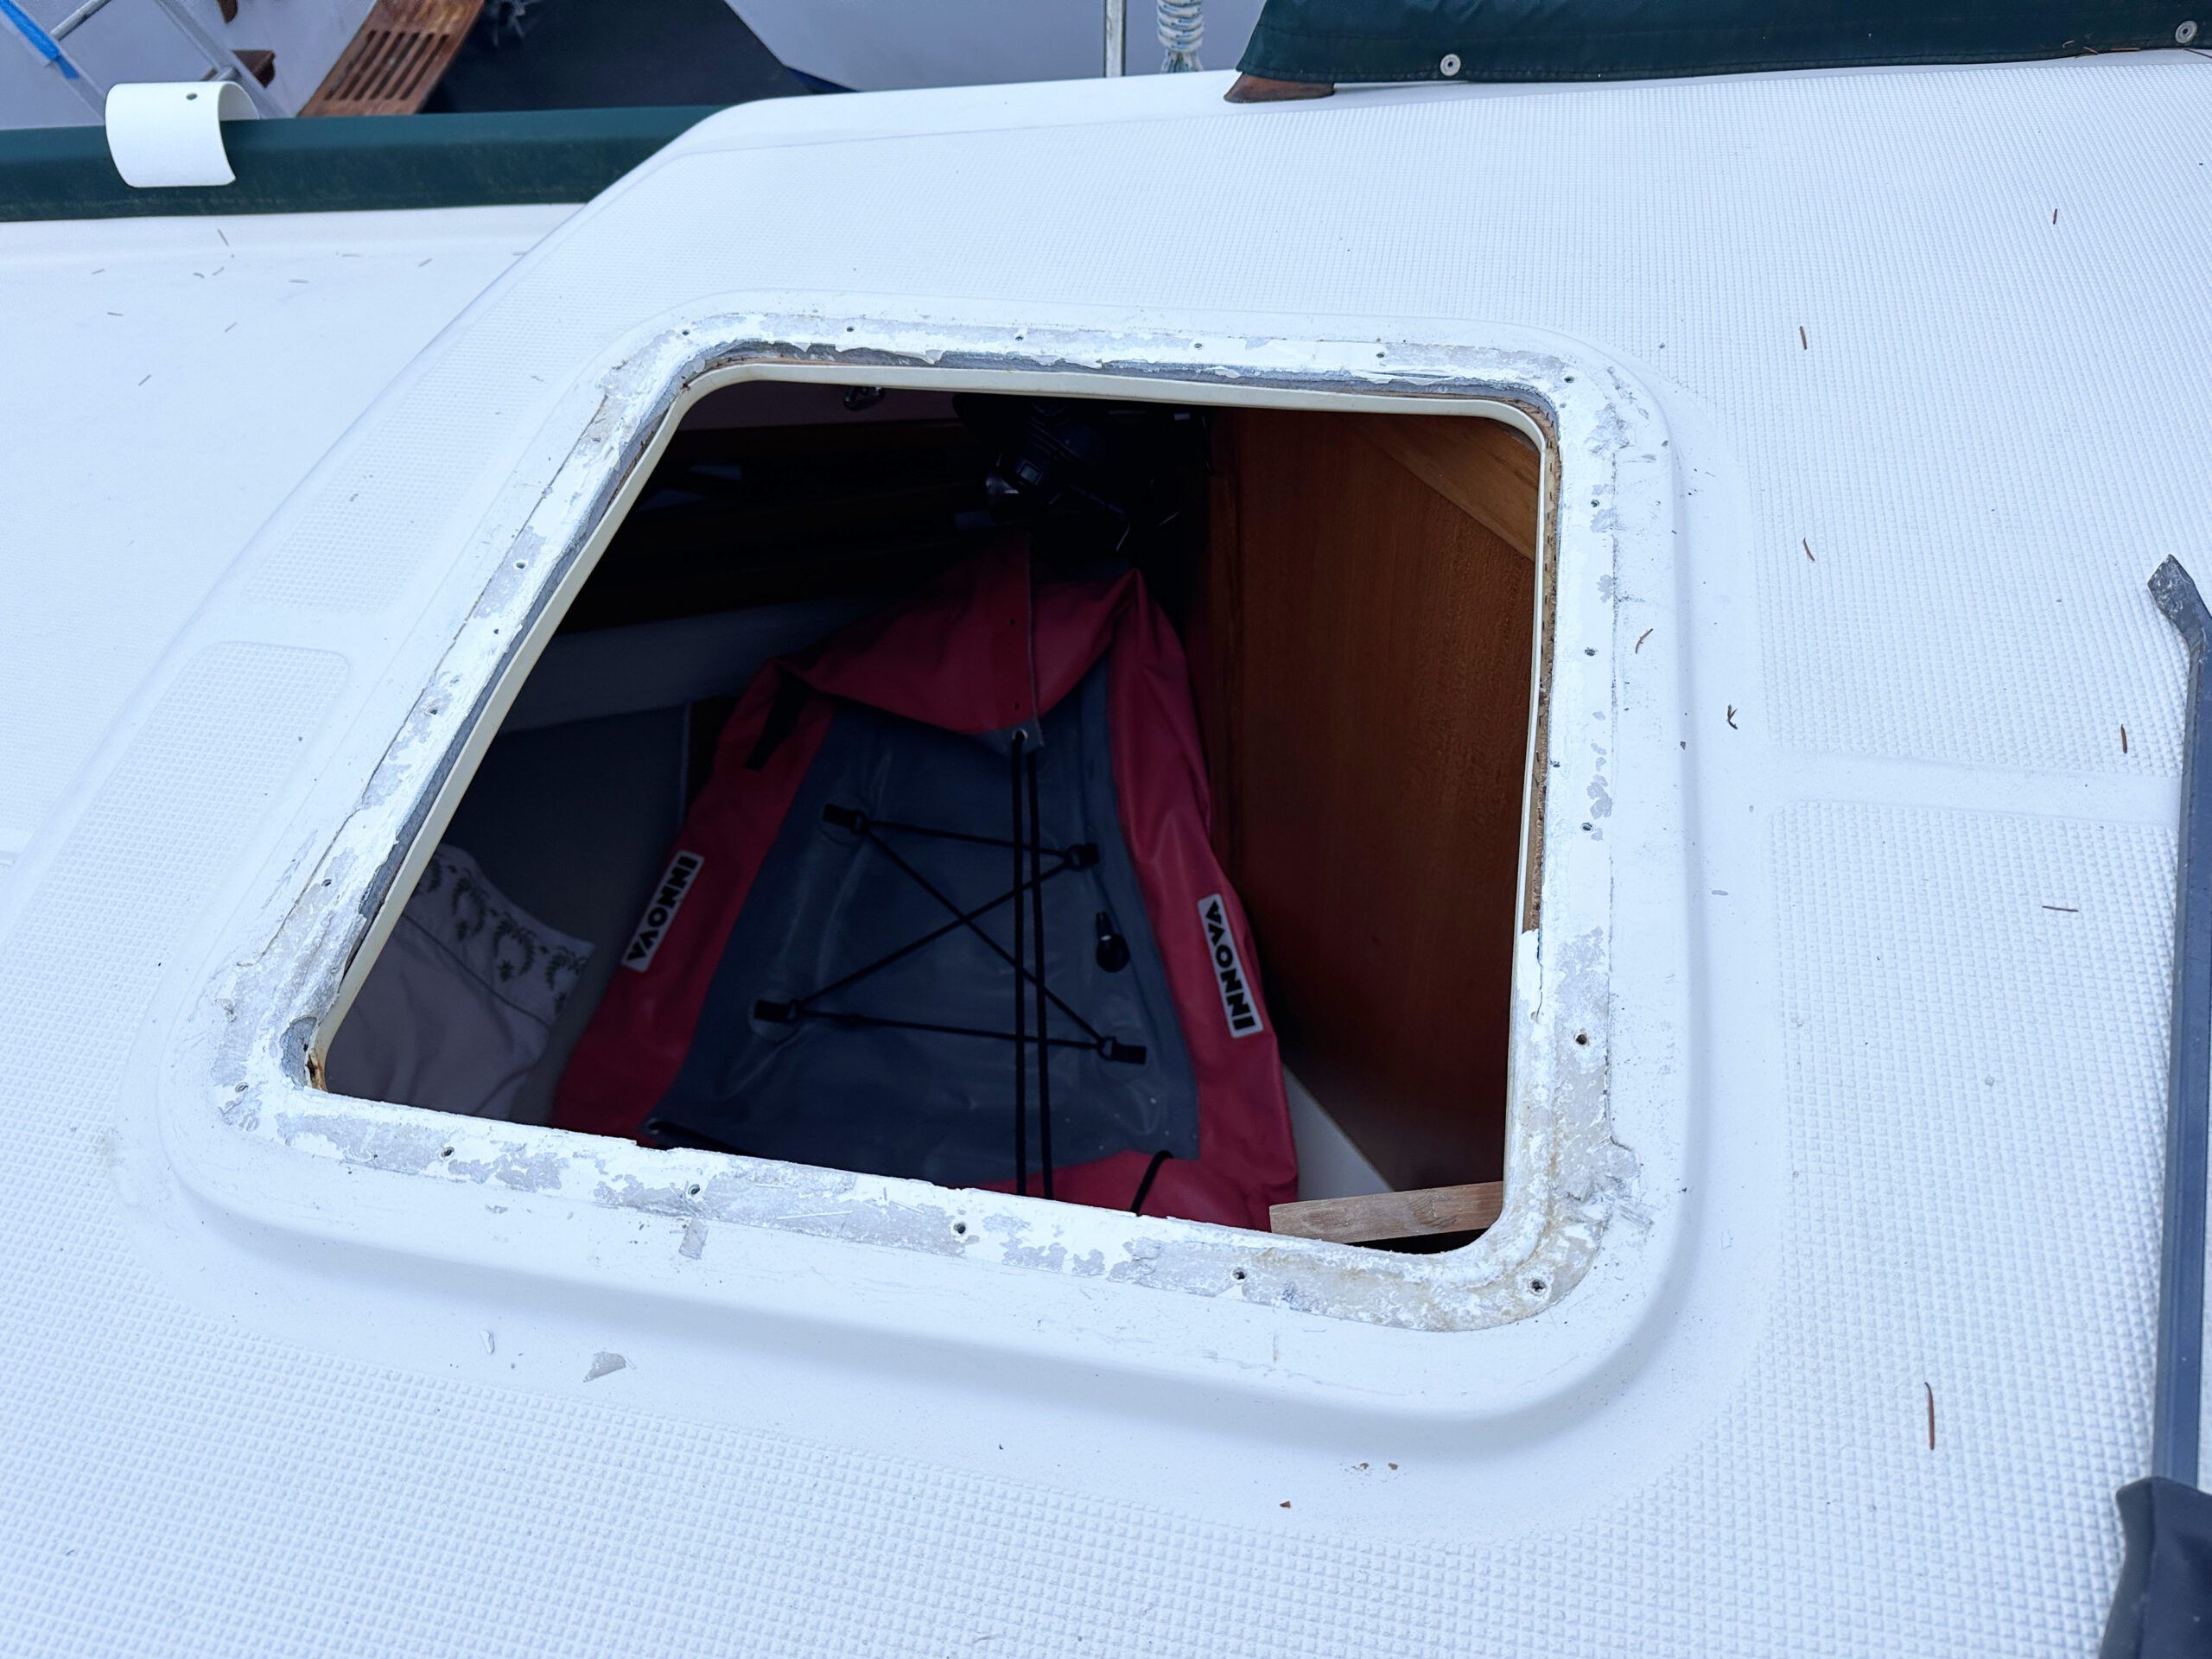
5. Cover the opening.
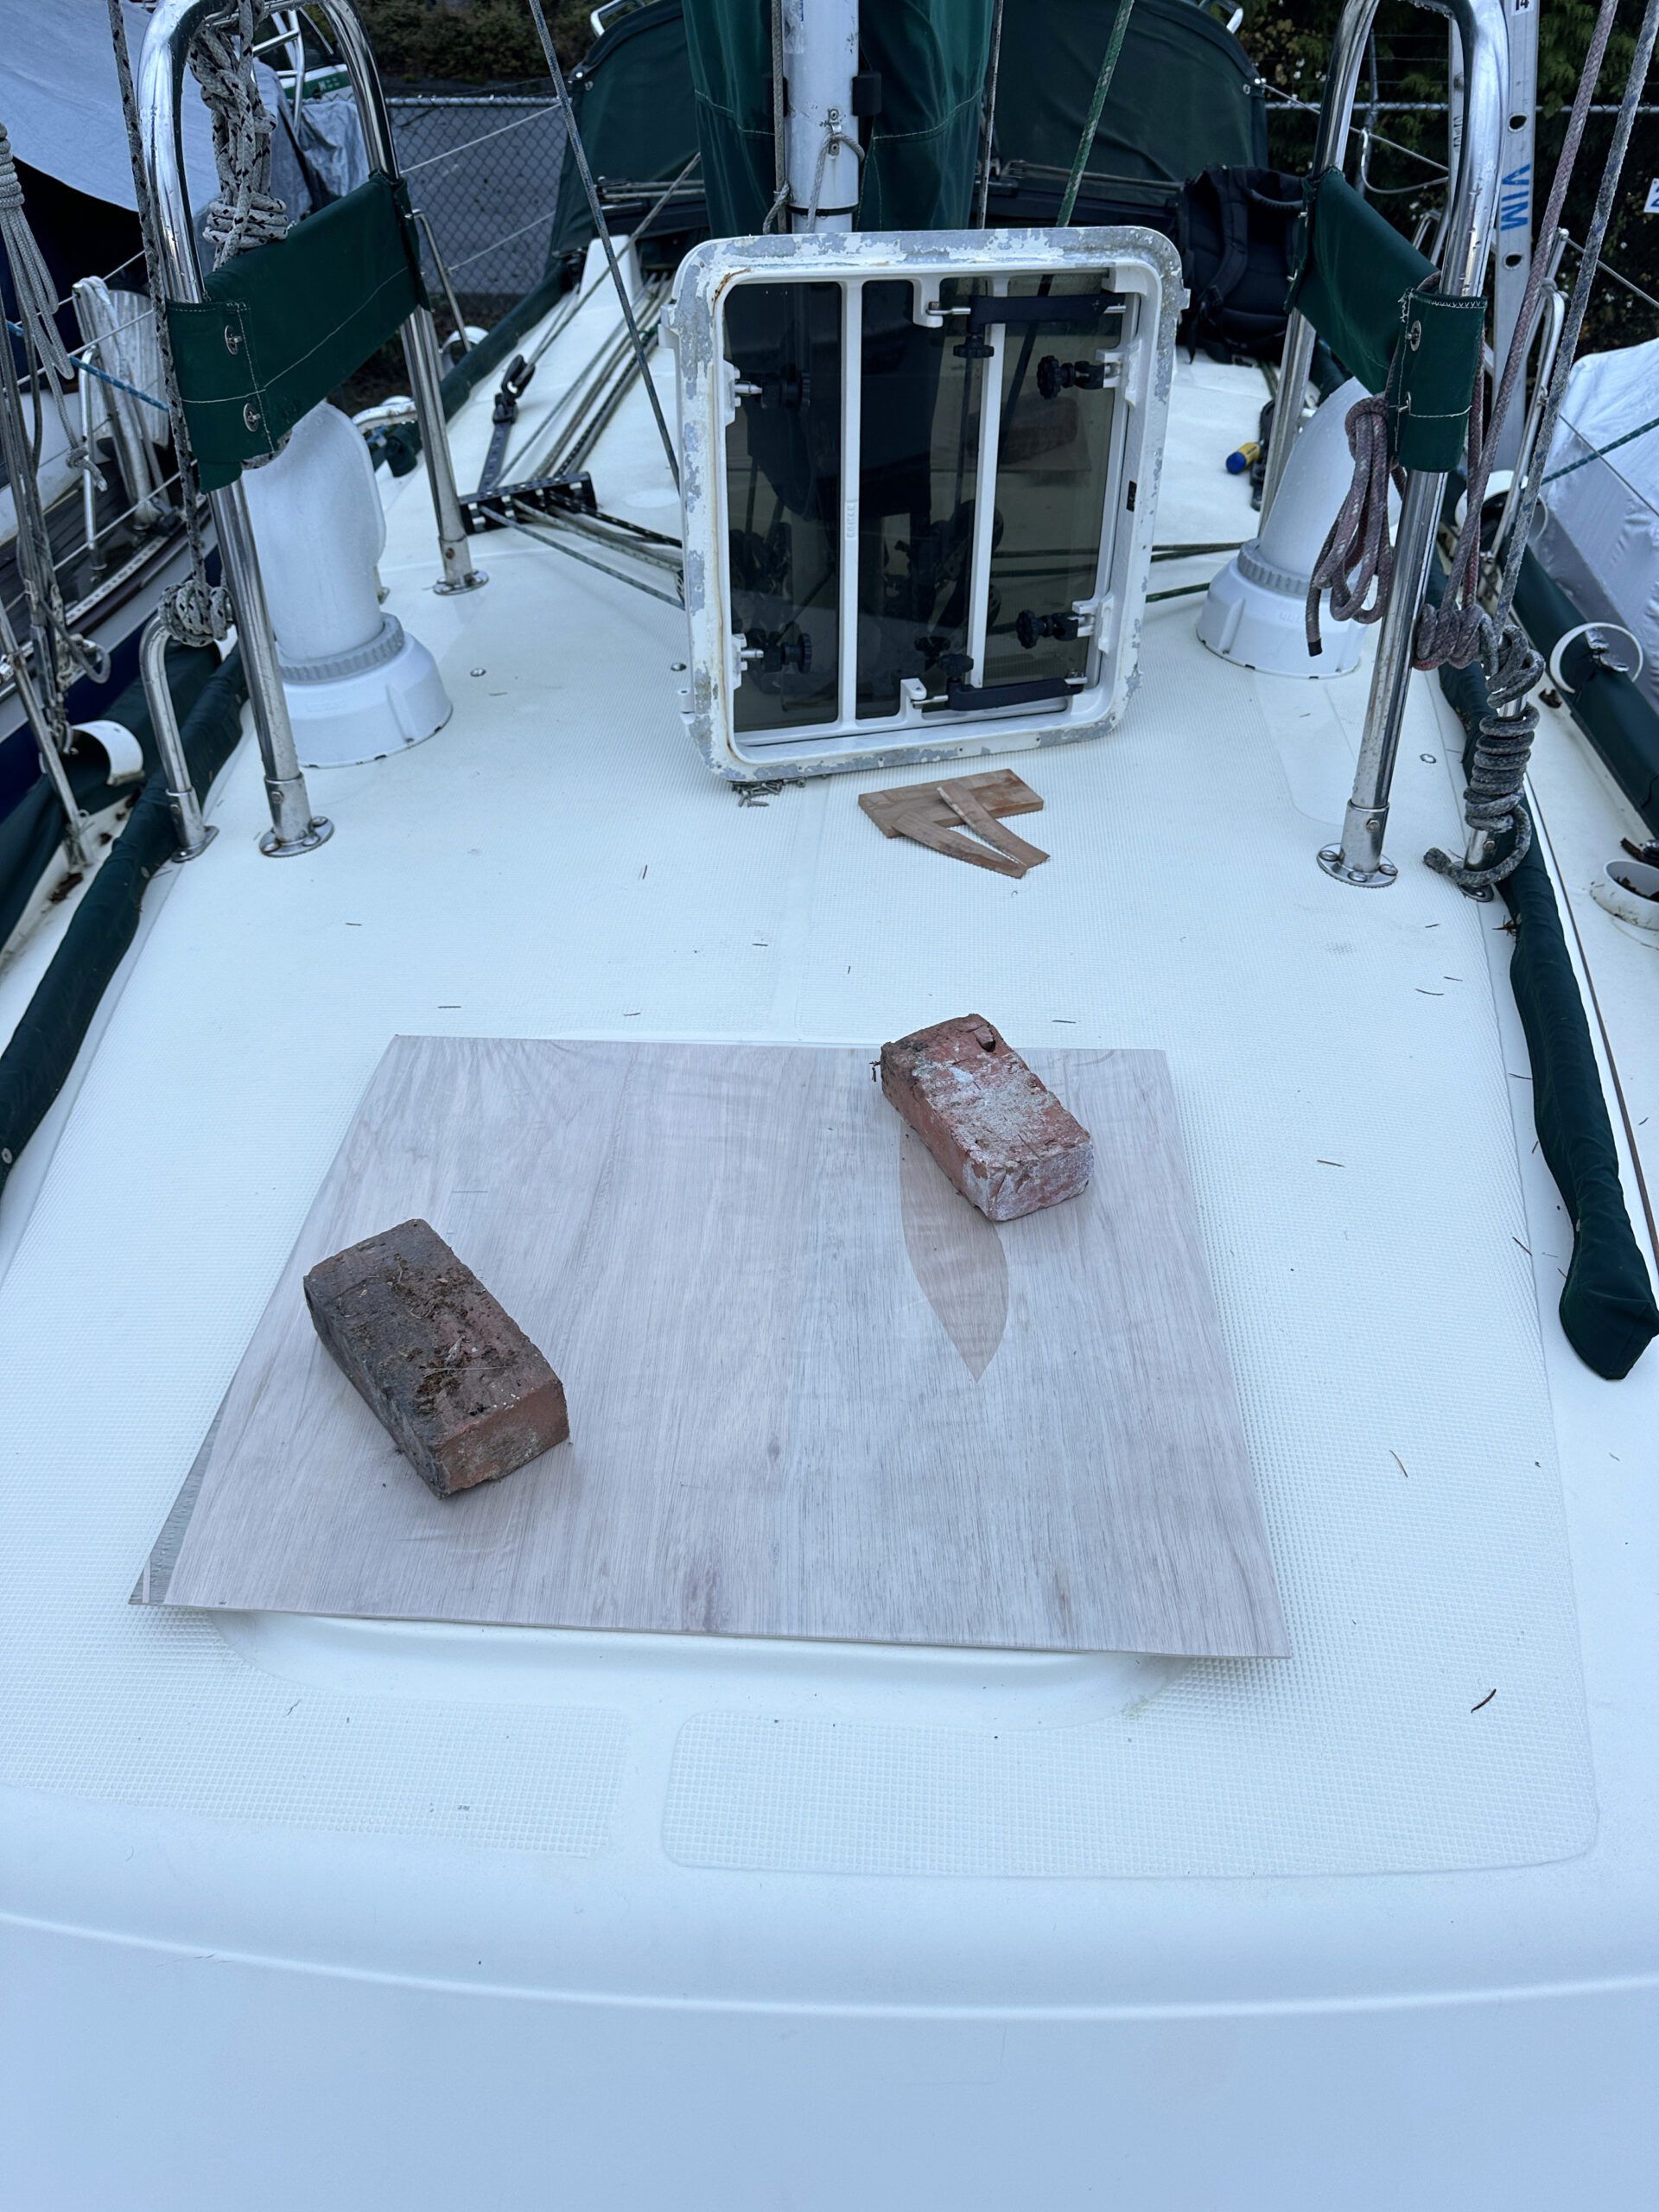
Cover the opening to protect the interior from the environment.
6. Cut adhesive filler.
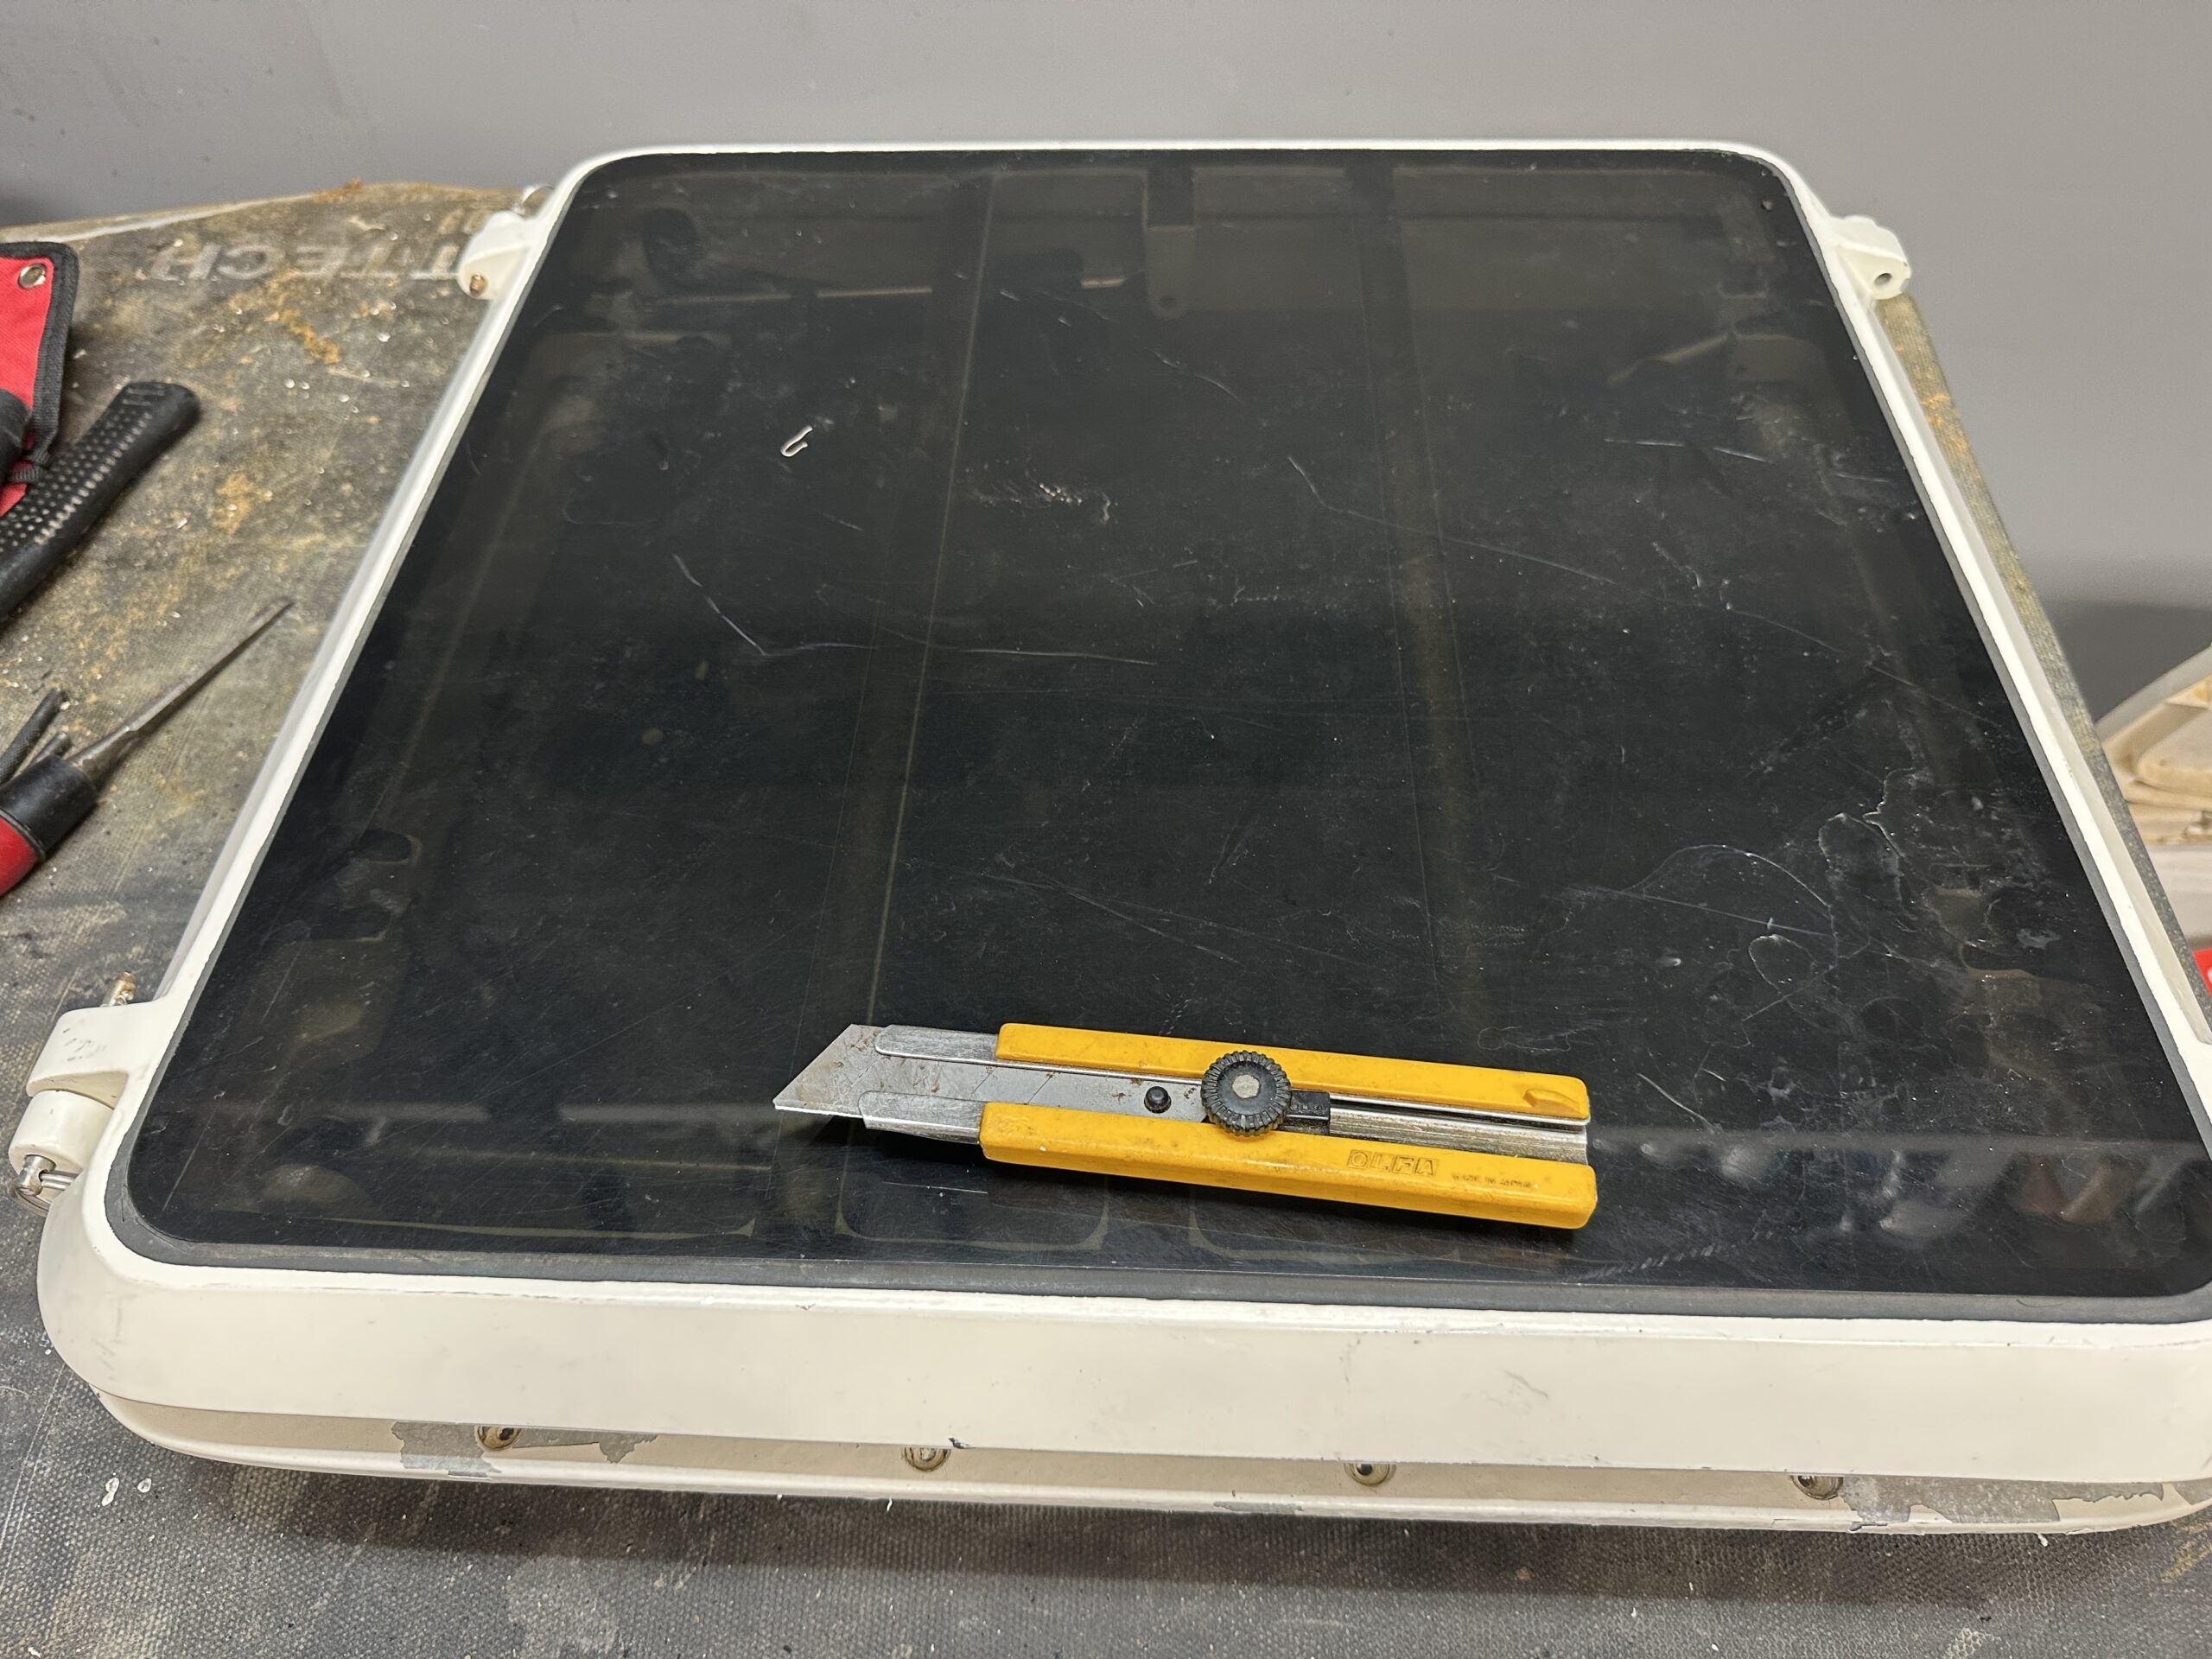
Use the box cutter to cut the adhesive filler between the lens and the frame. Push up from underneath and the lens will slowly release.
7. Remove the gasket for frame refinishing.
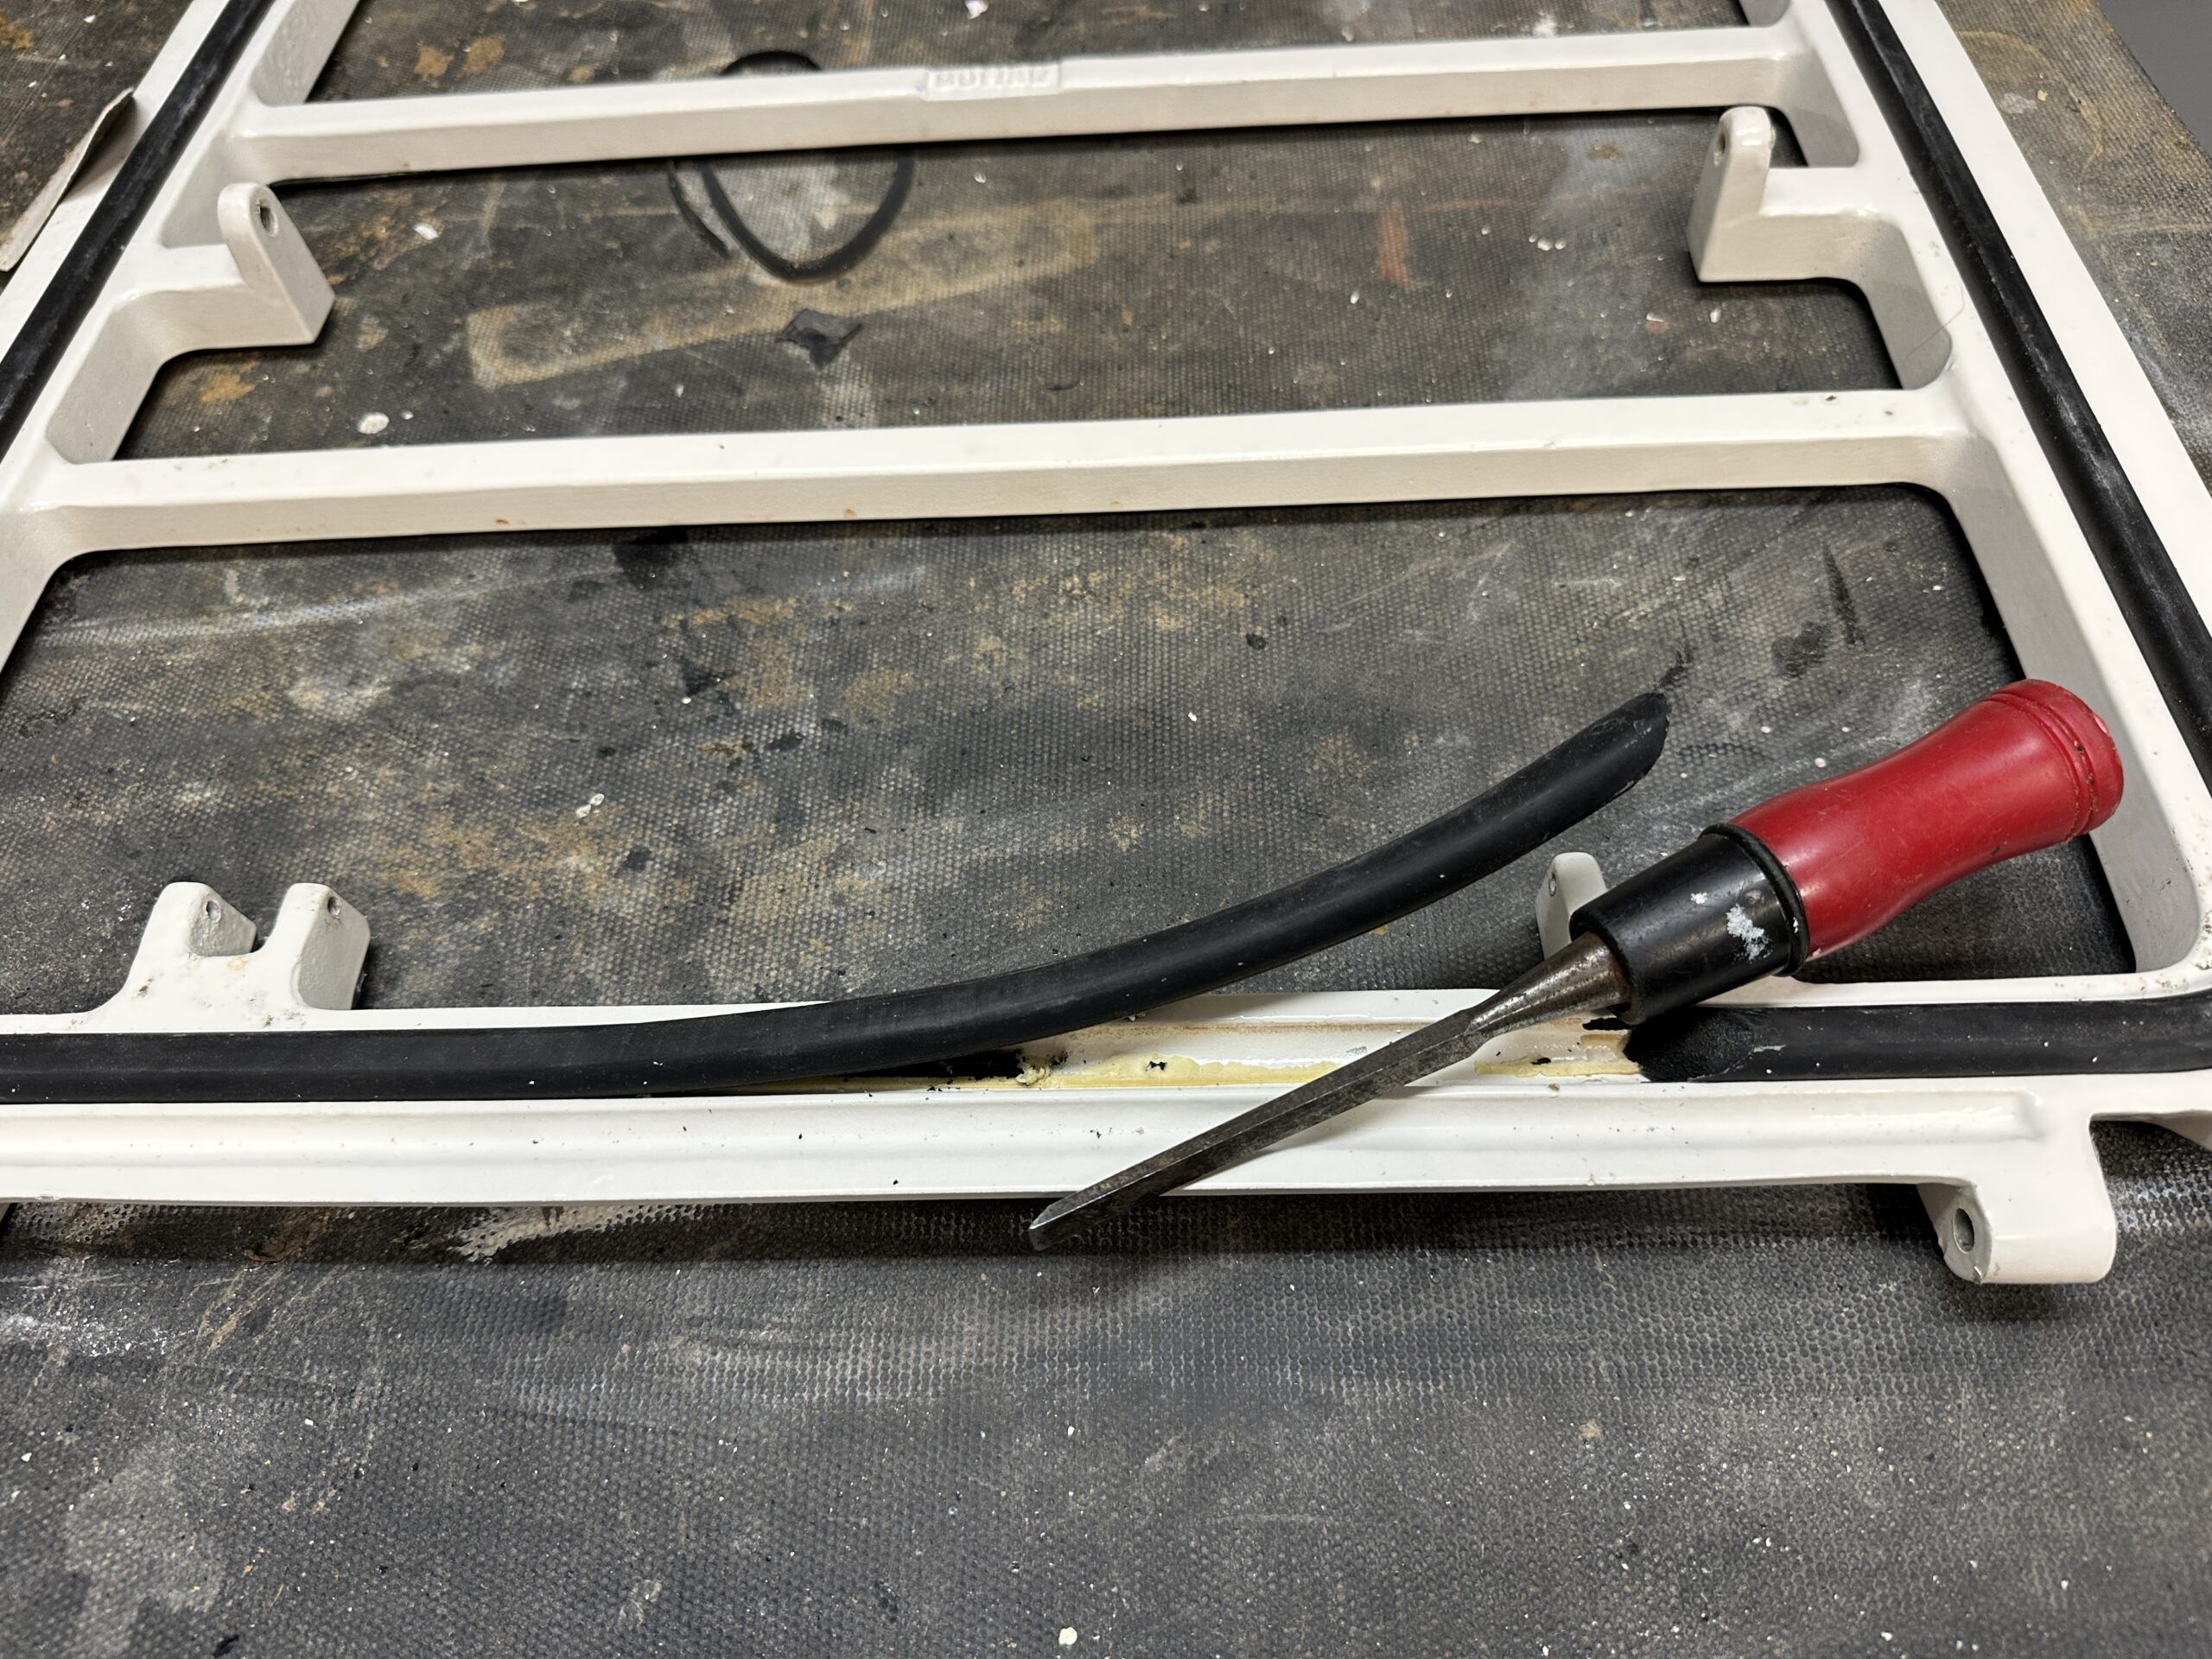
8. Sandblast loose paint.
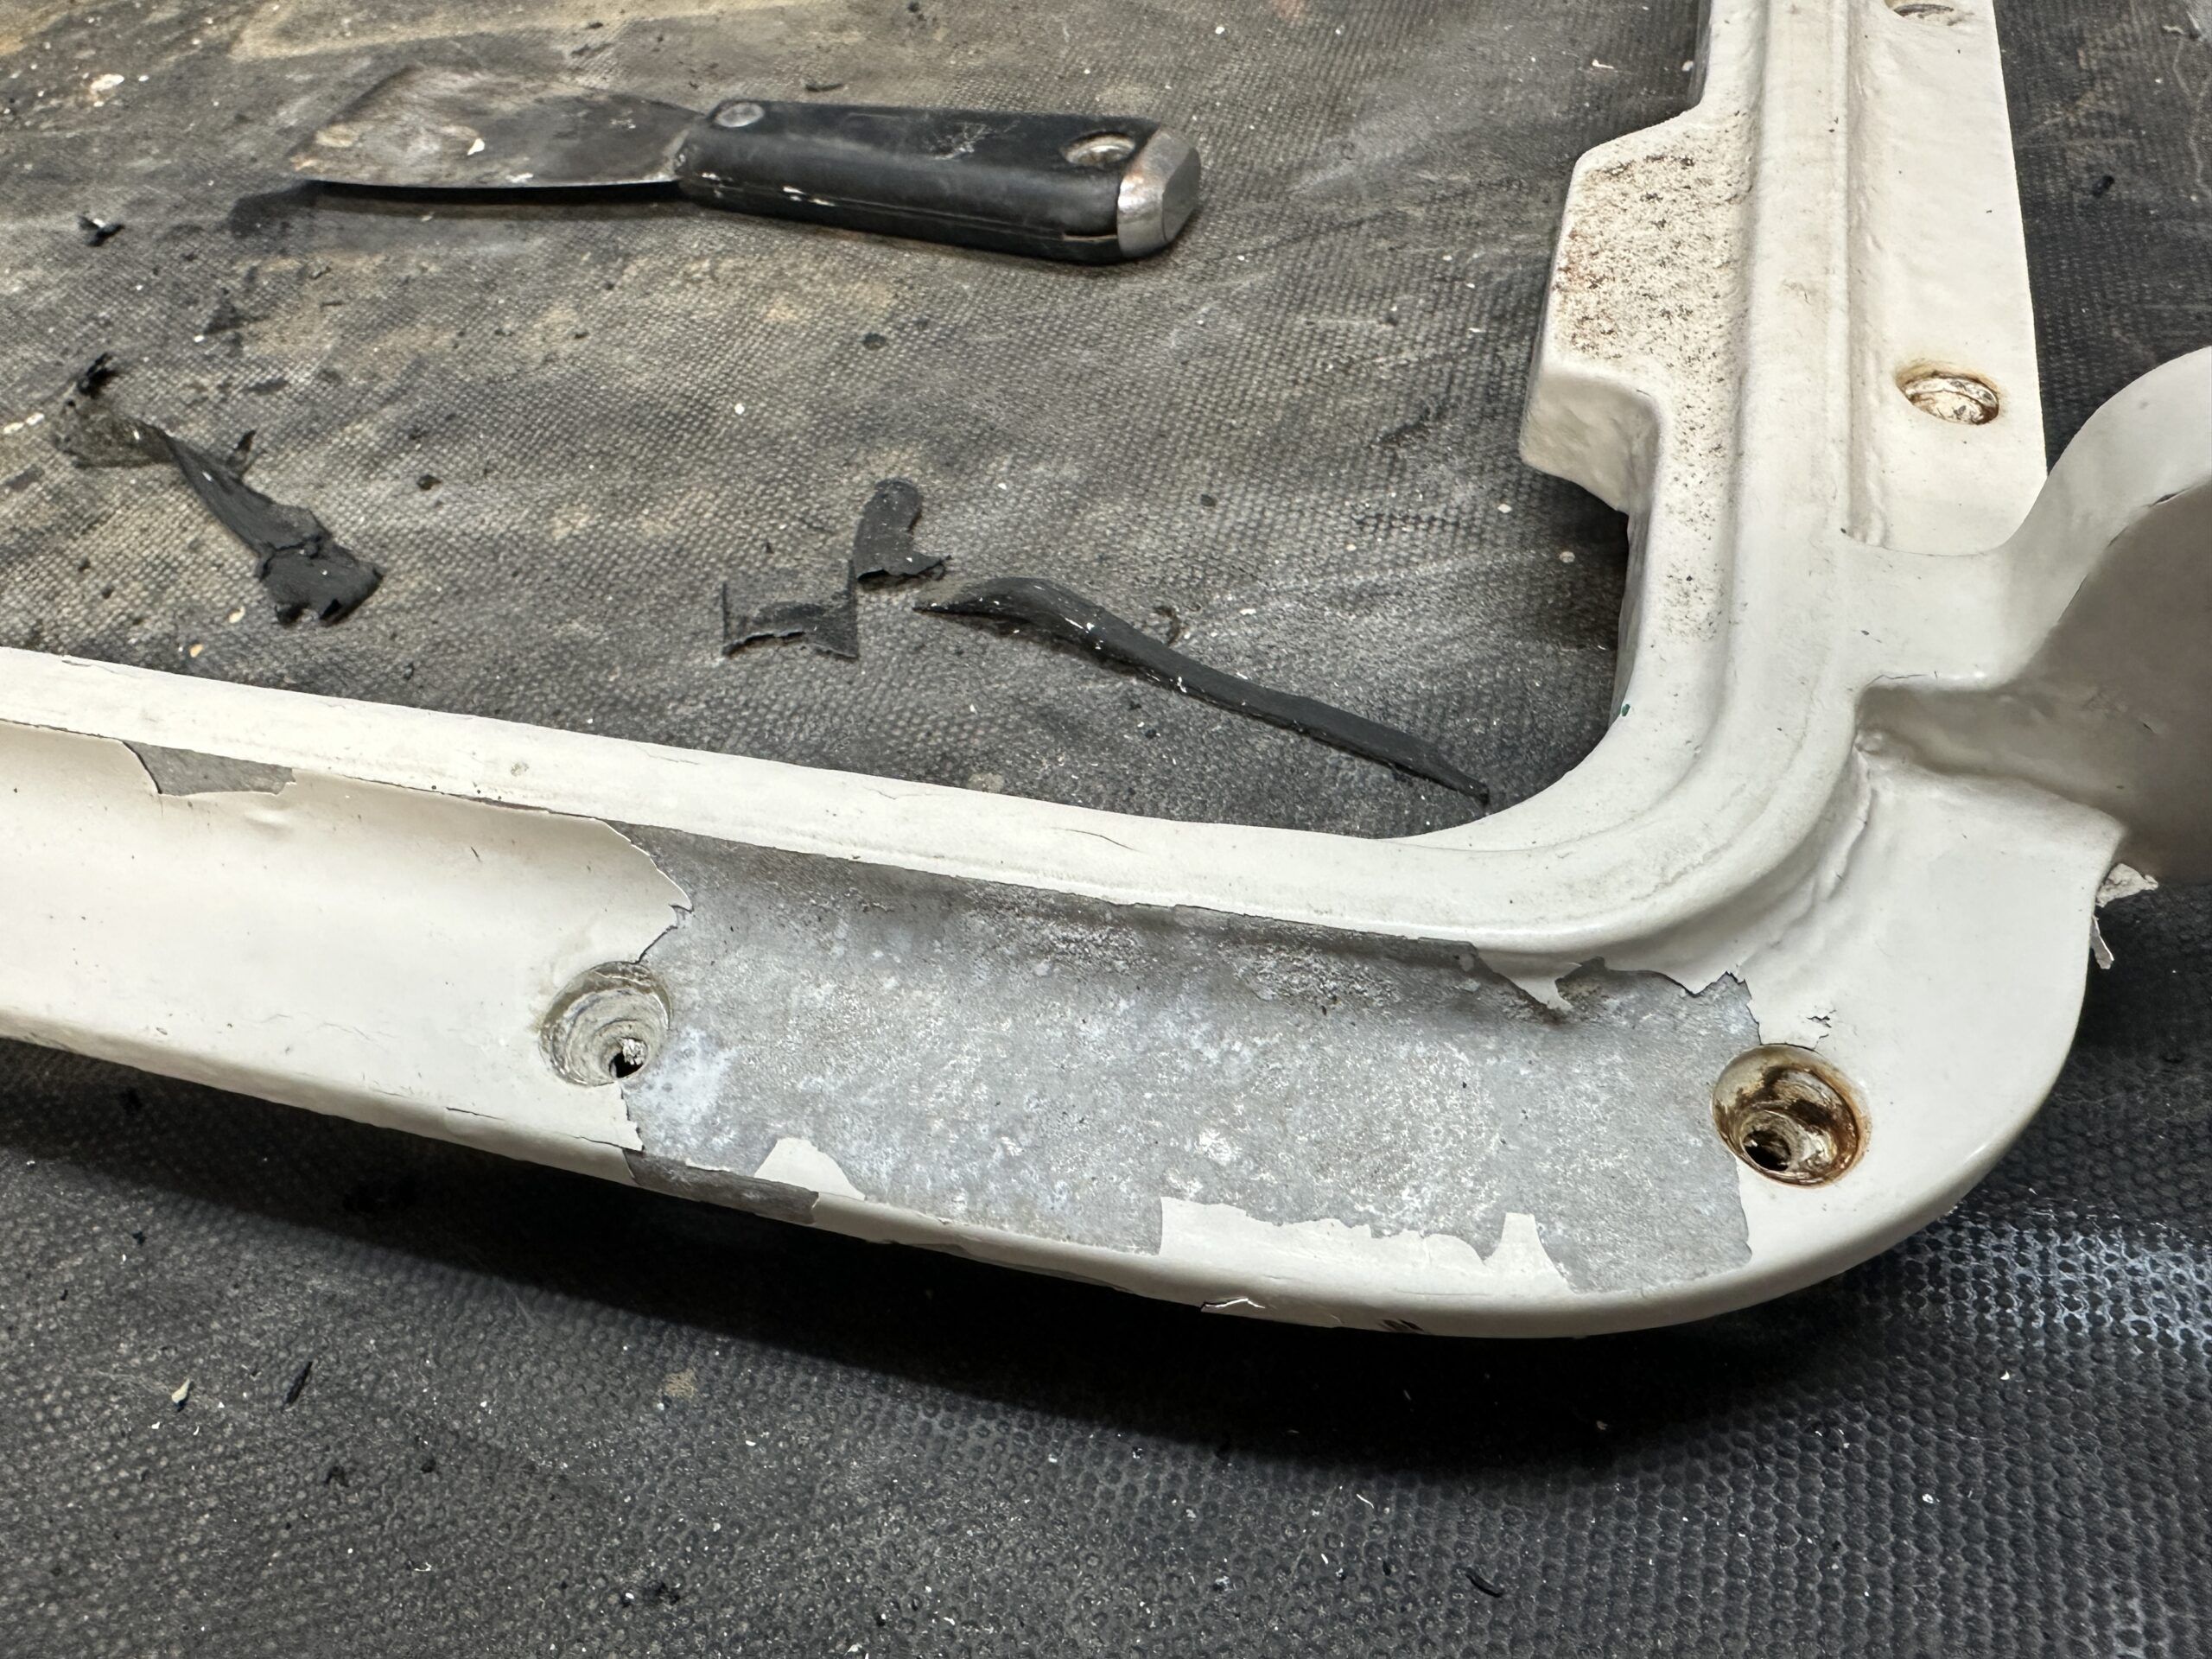
Most of this paint is loose or already pealed. Sand blasting is the most effective solution for removal.
9. Place lense in frame.
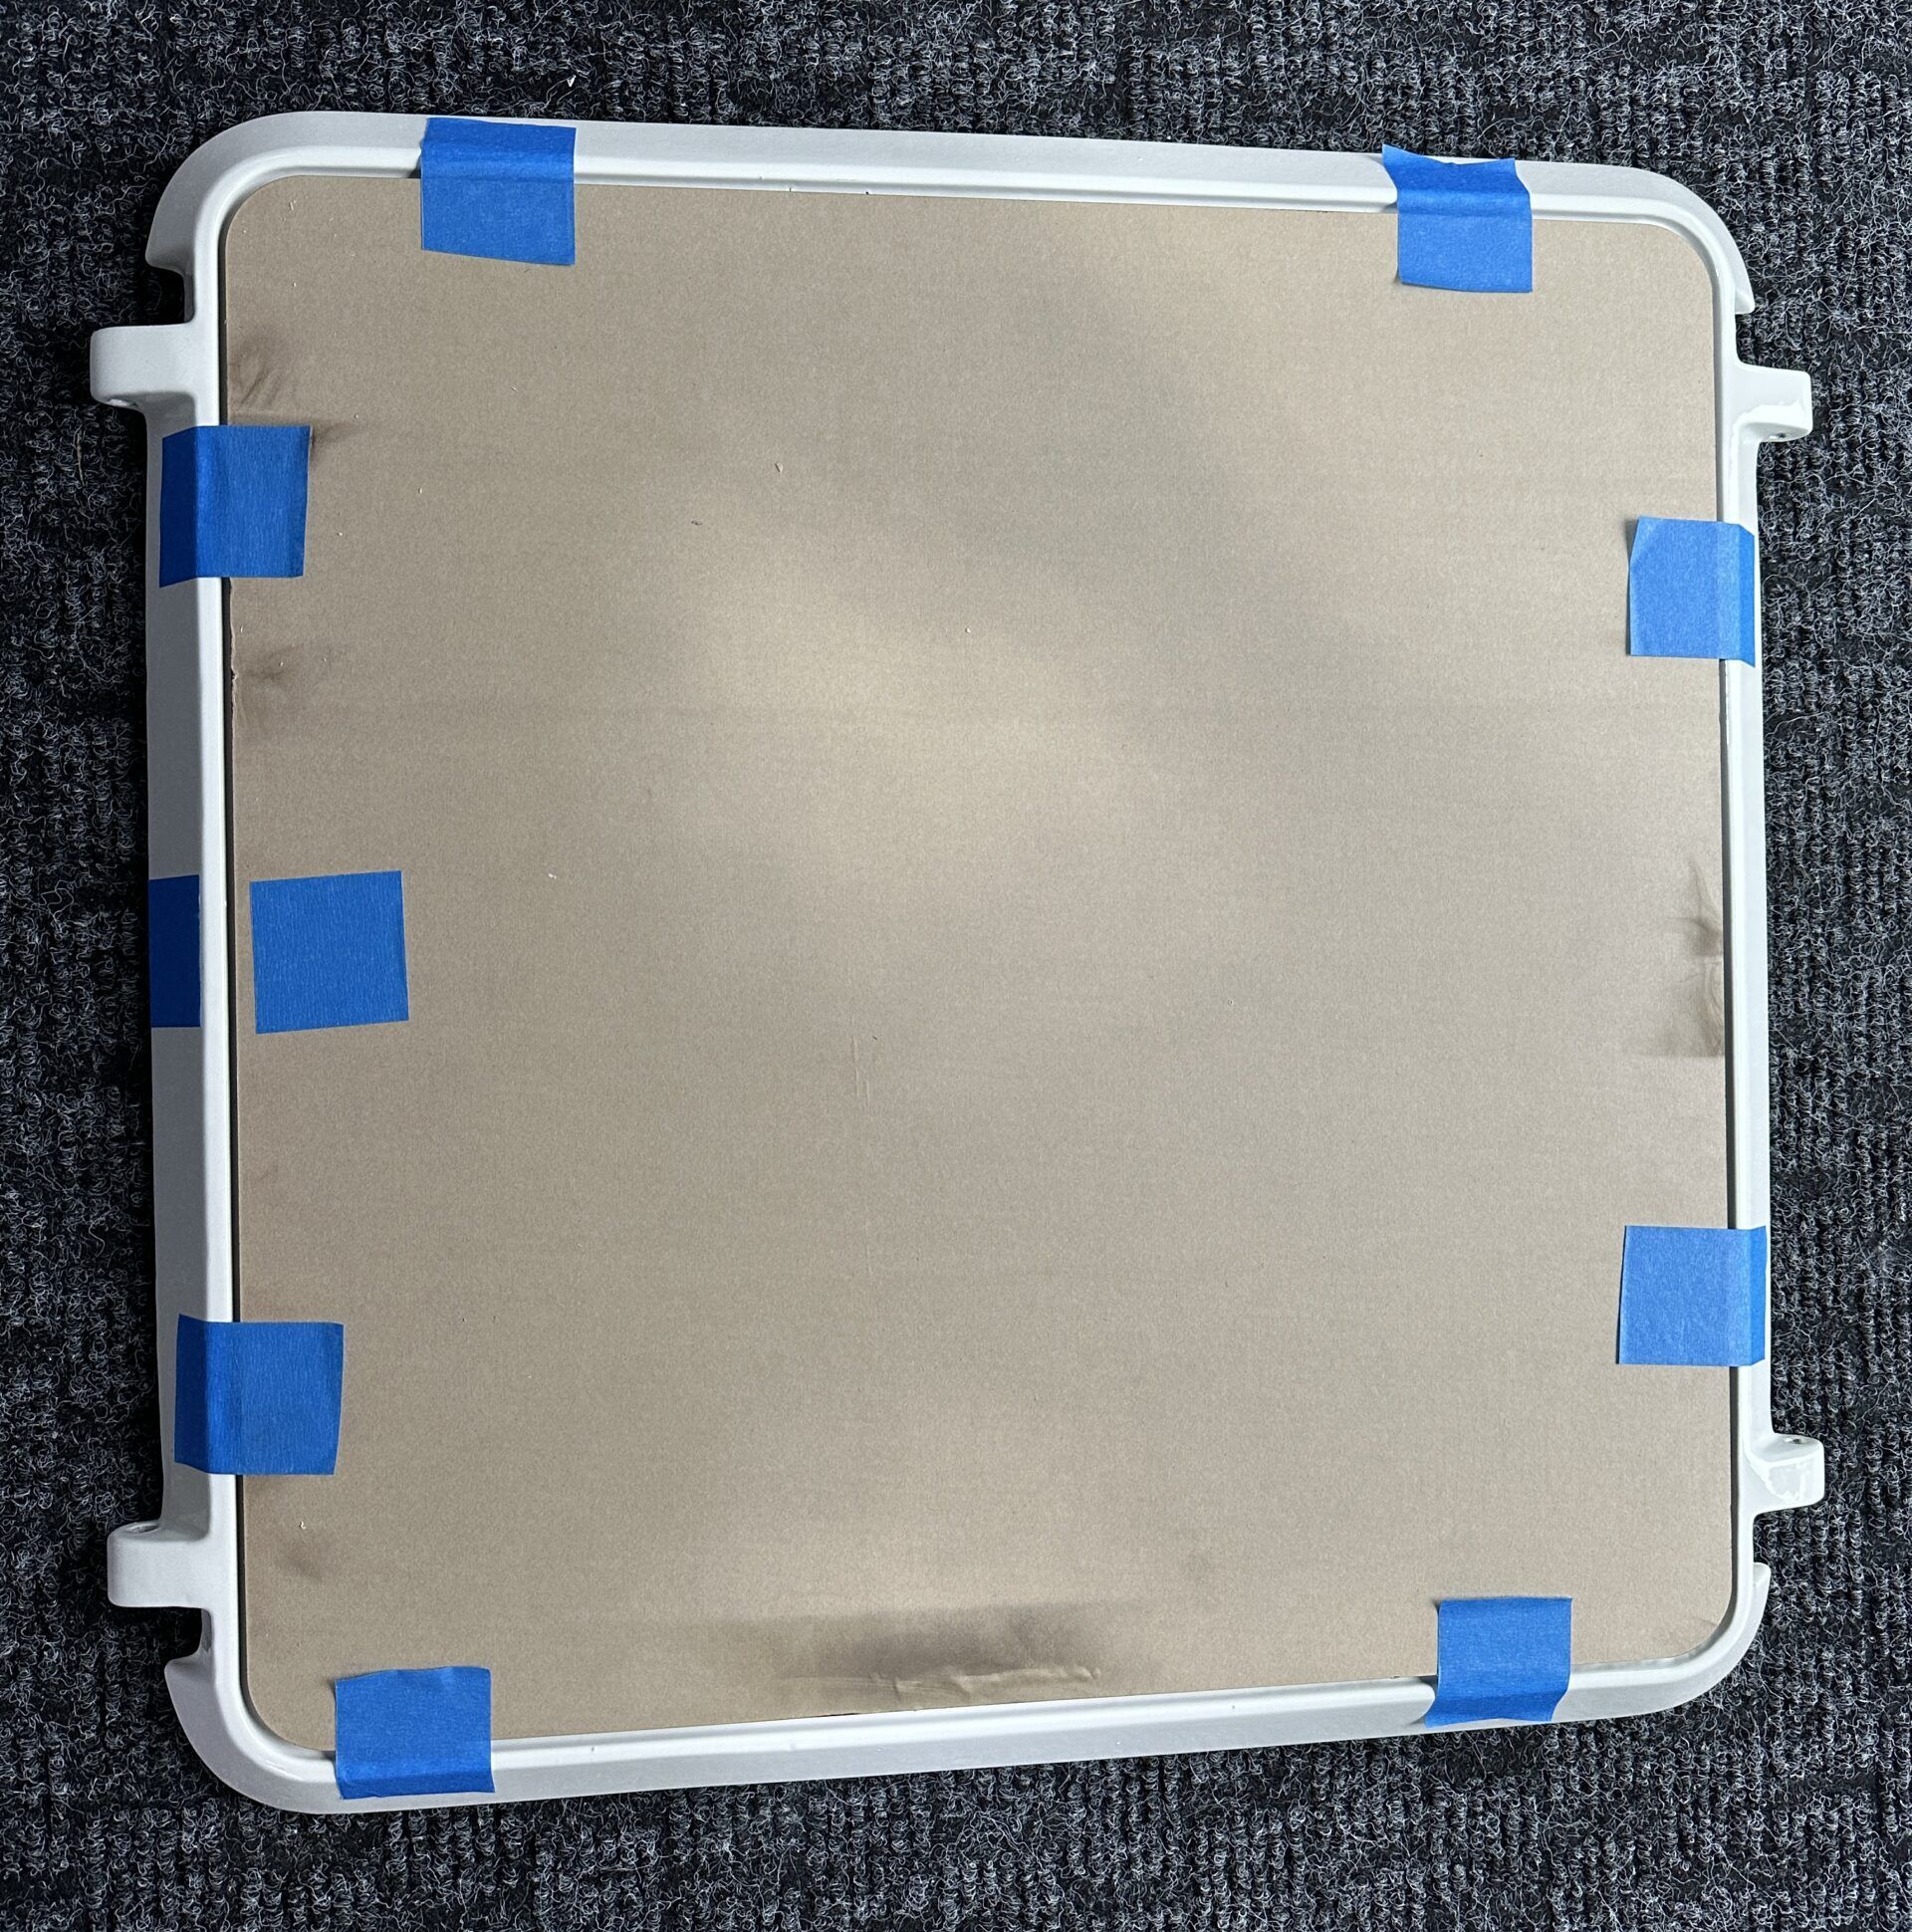
Place the replacement lens into the refinished frame and secure it with masking tape once centered.
10. Mark where lens meets frame.
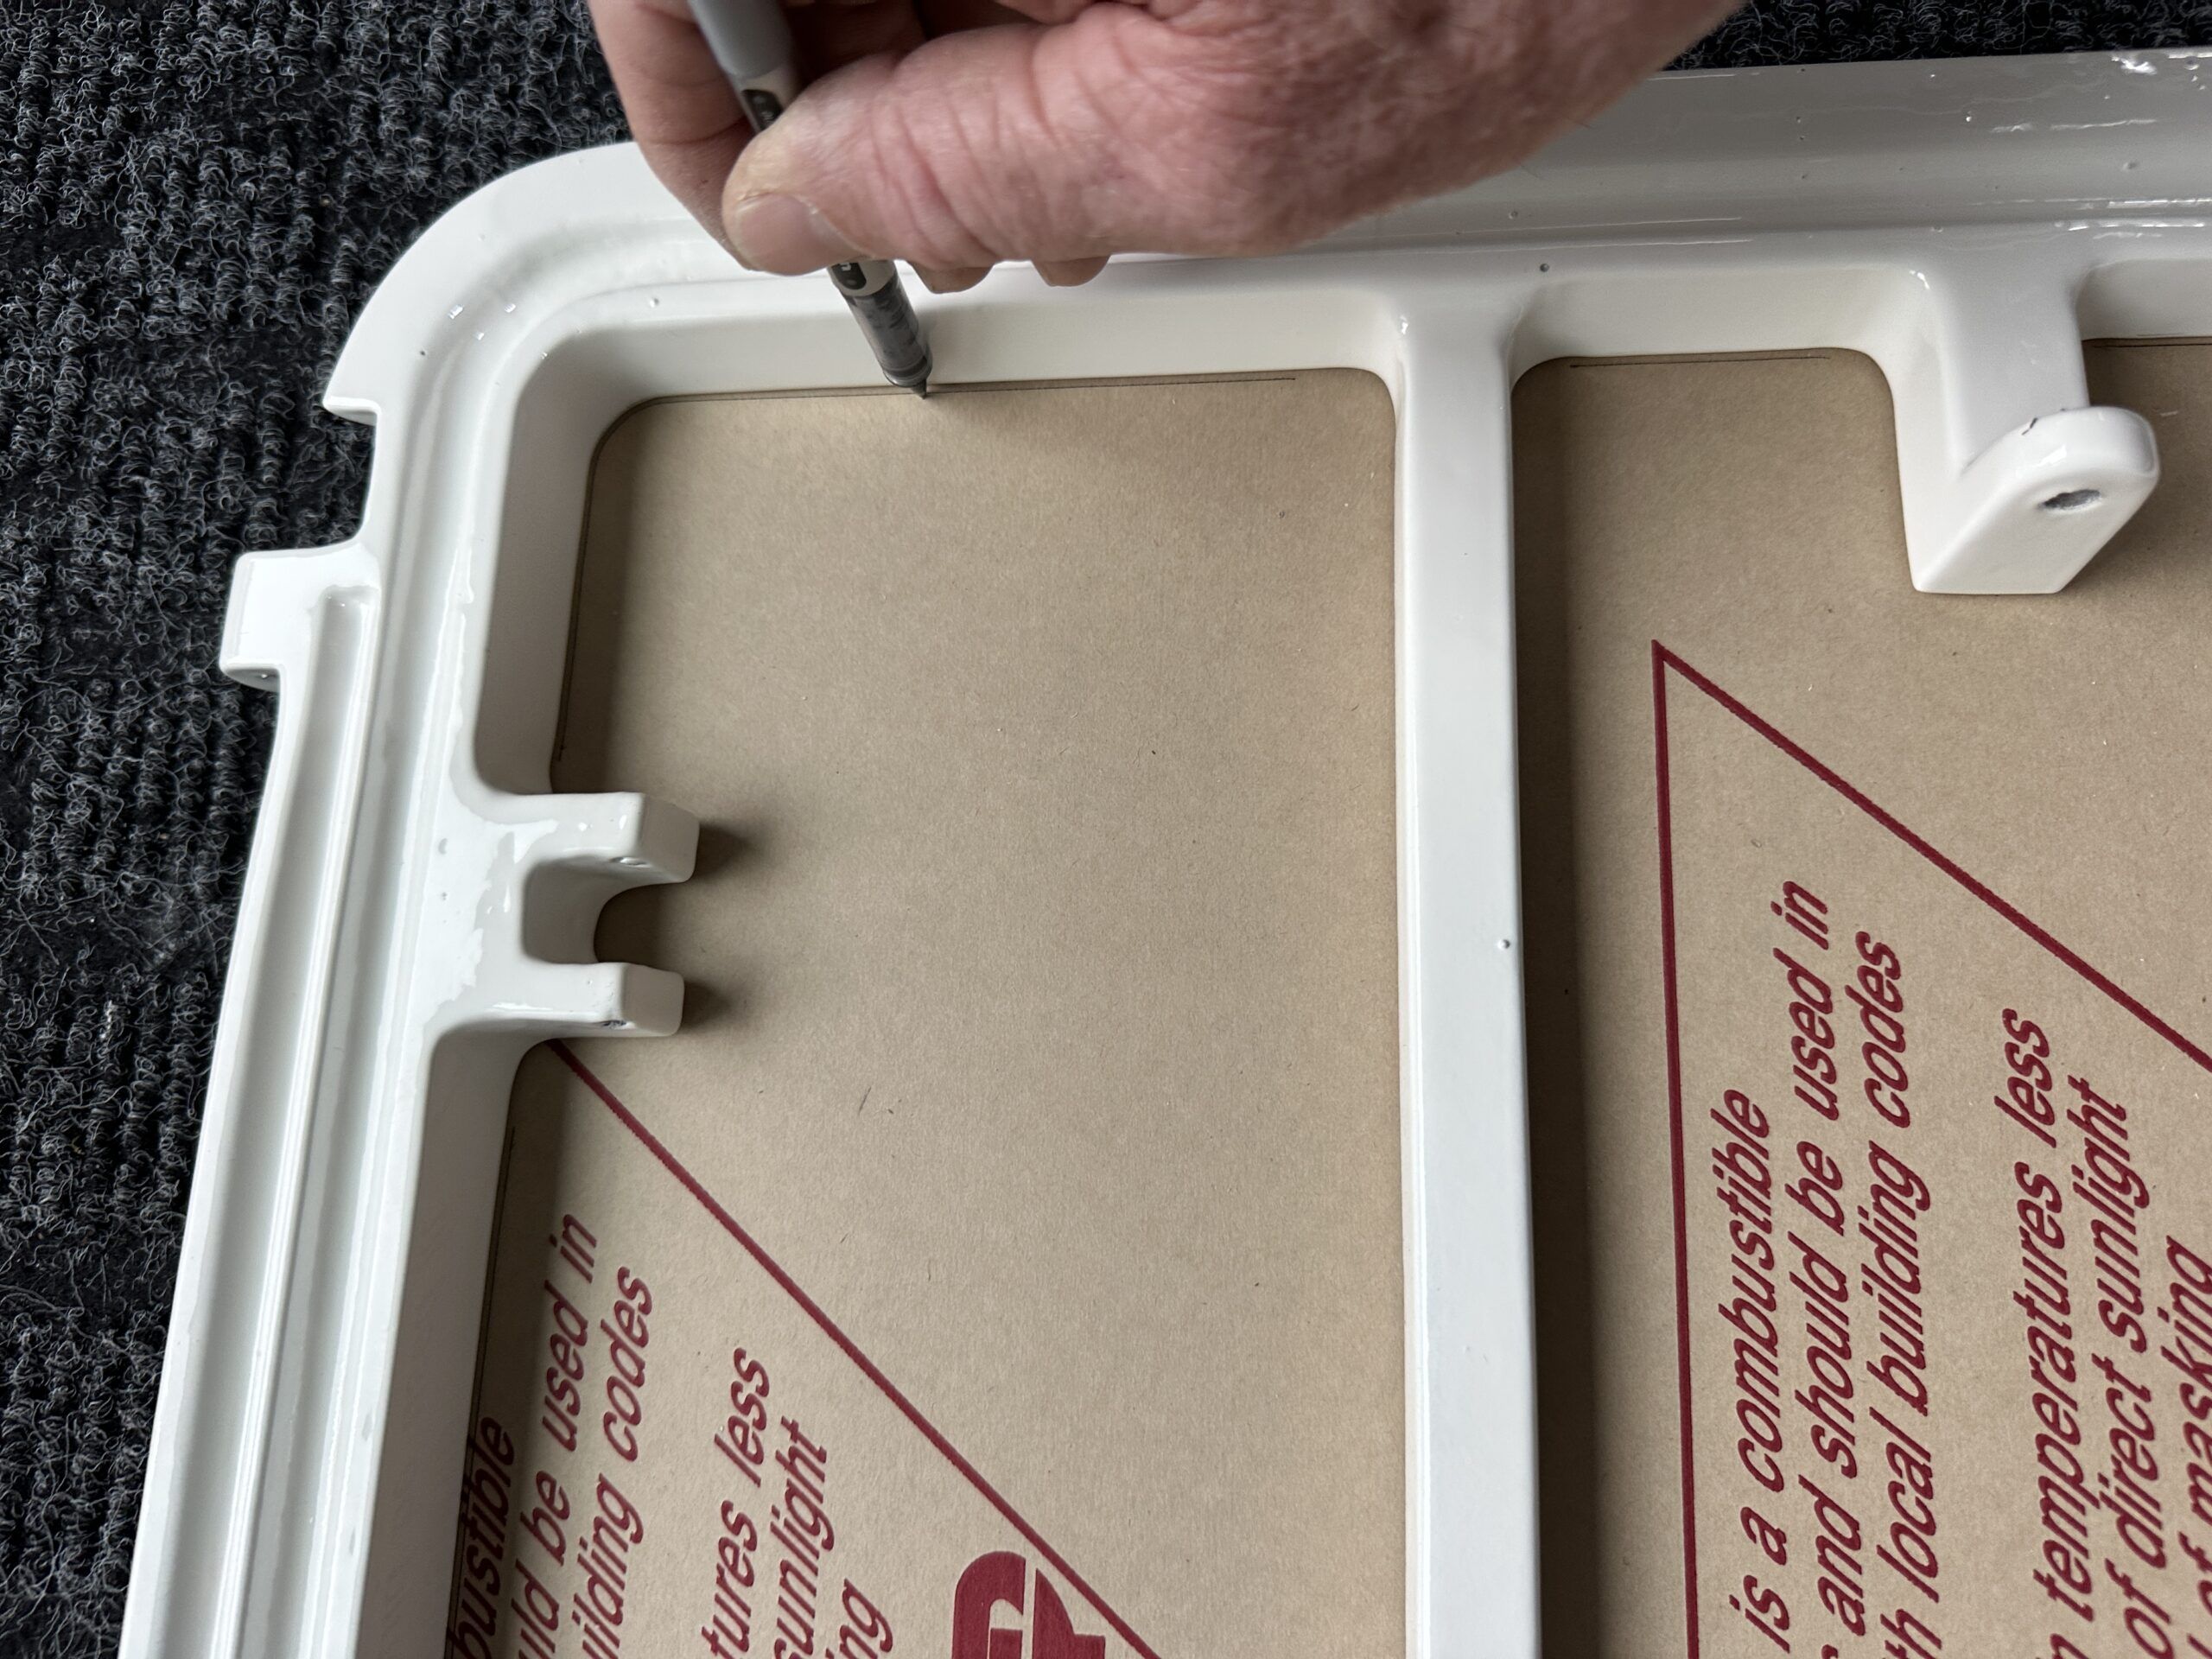
Roll the frame over and mark where the lens meets the frame.
11. Cut protective paper.
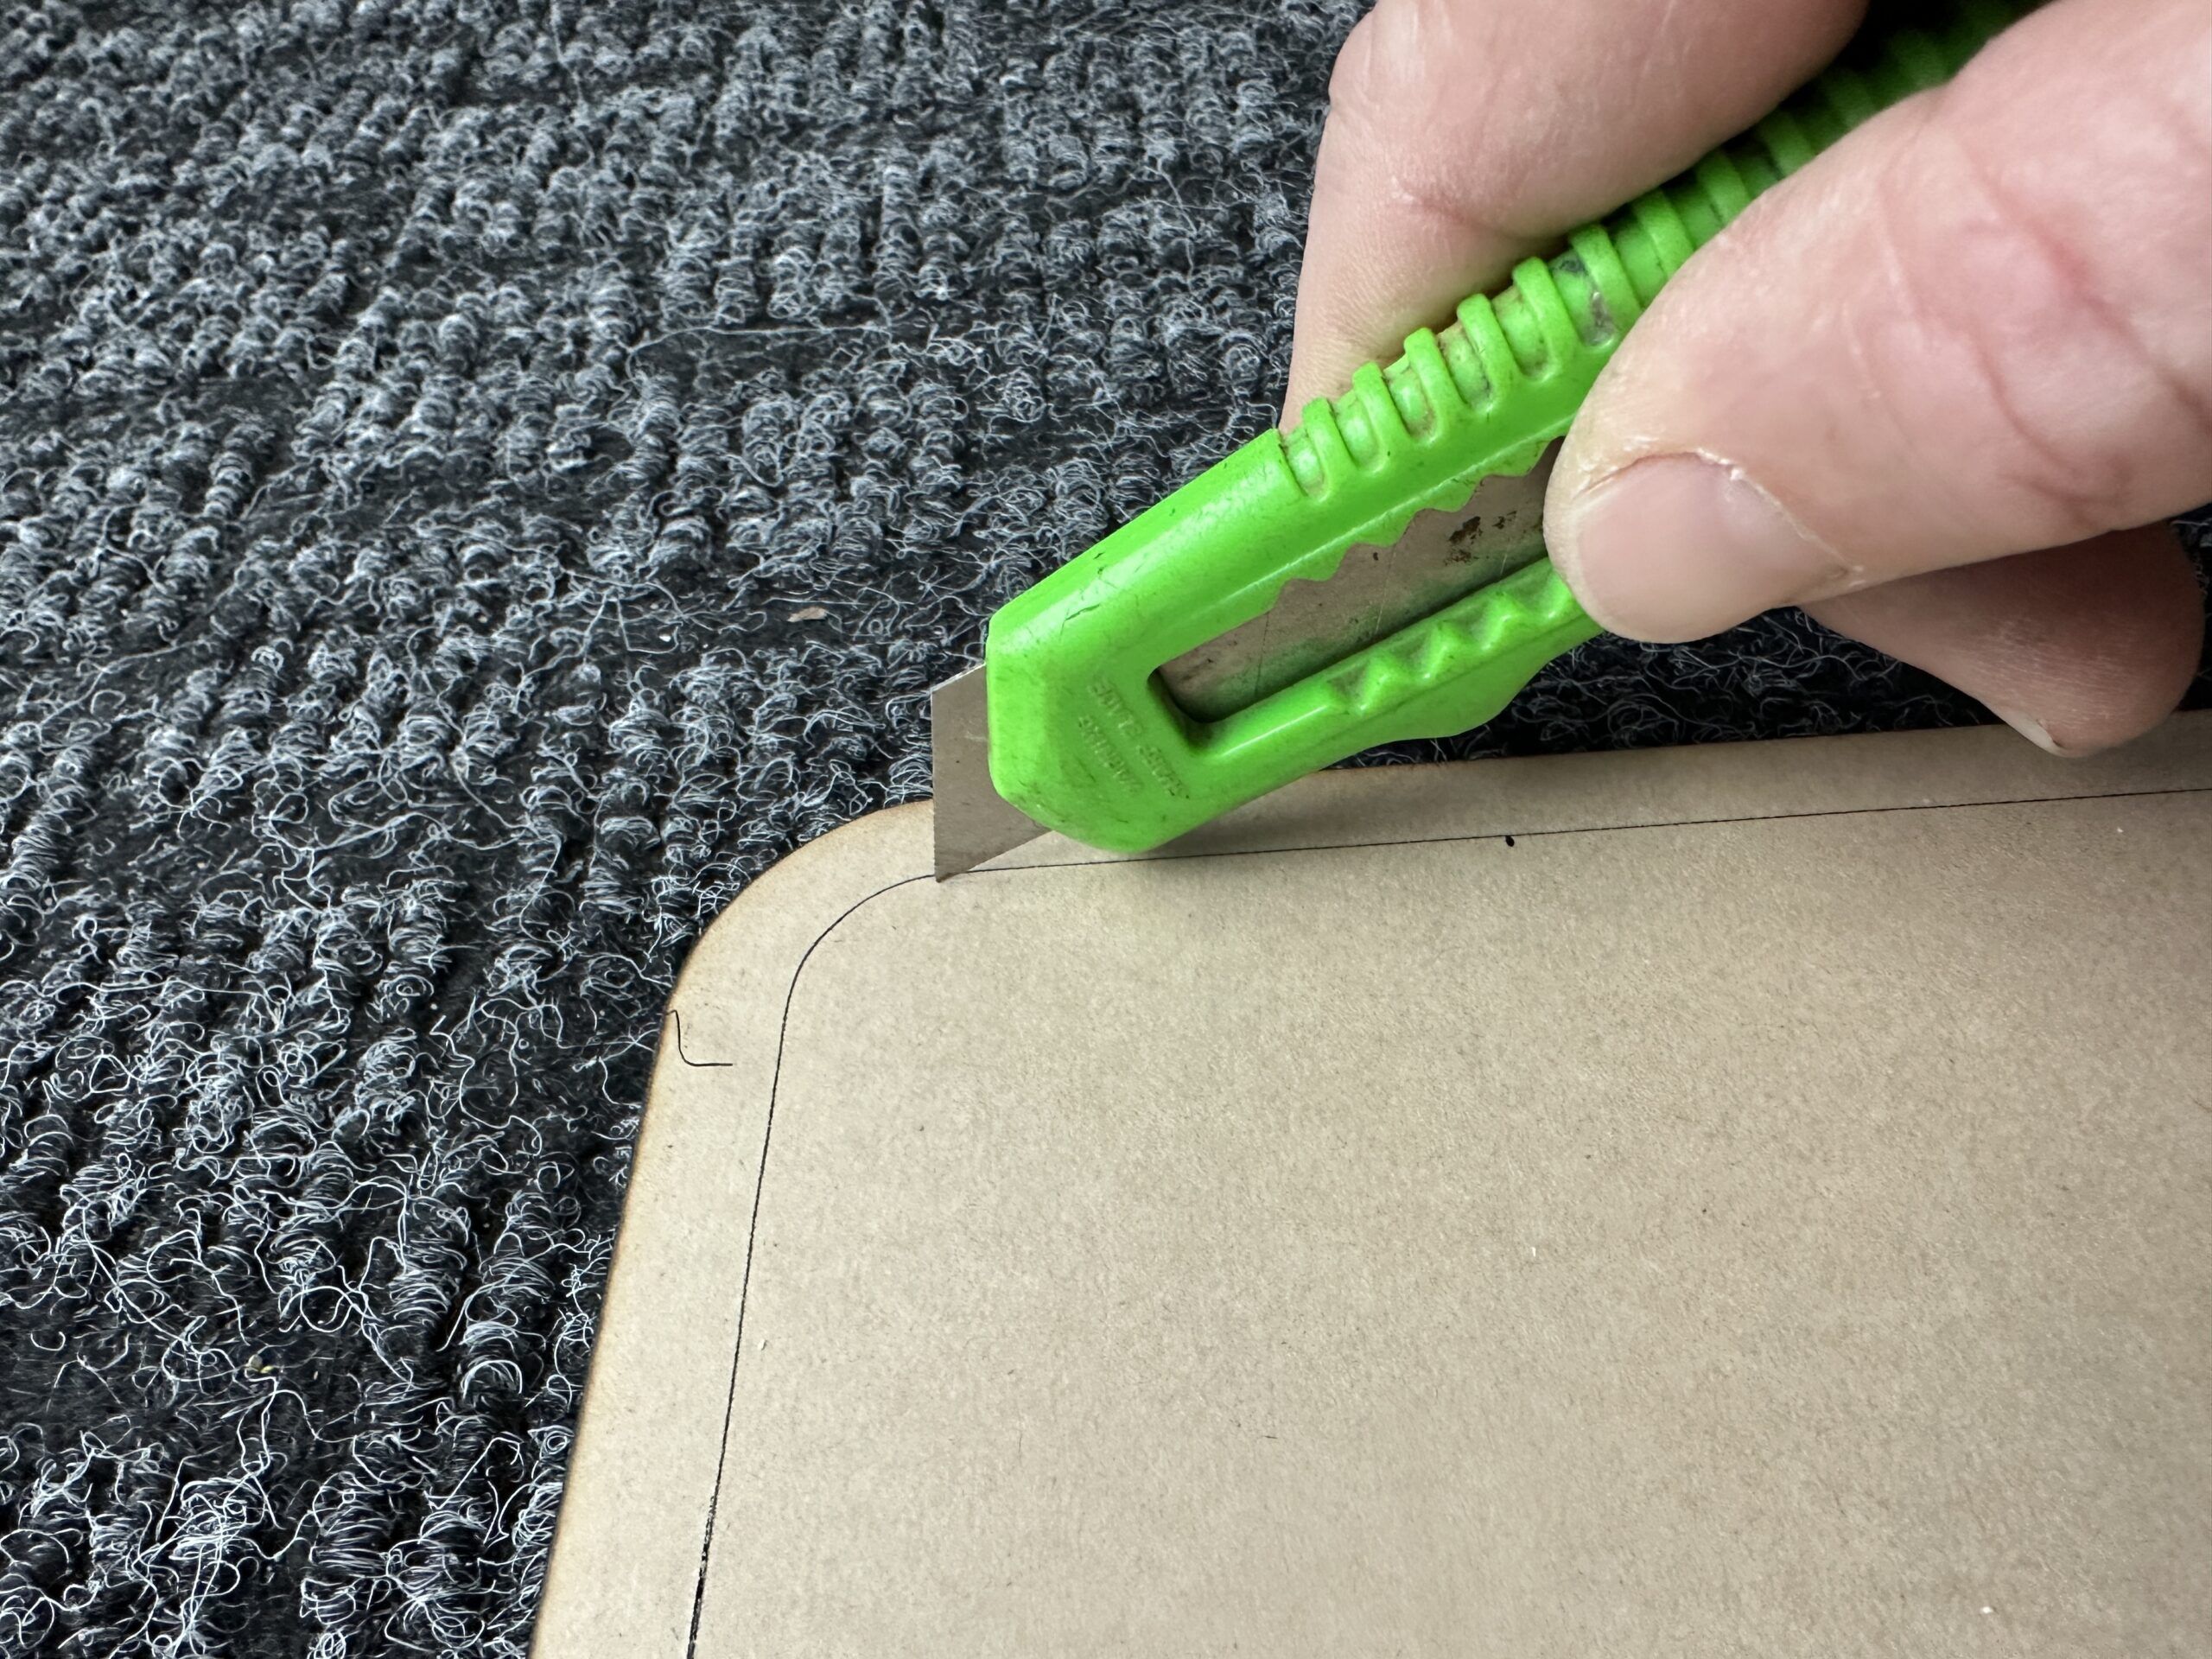
Using a sharp knife, cut the protective paper on that traced line.
12. Remove the outside edge of the protective paper.
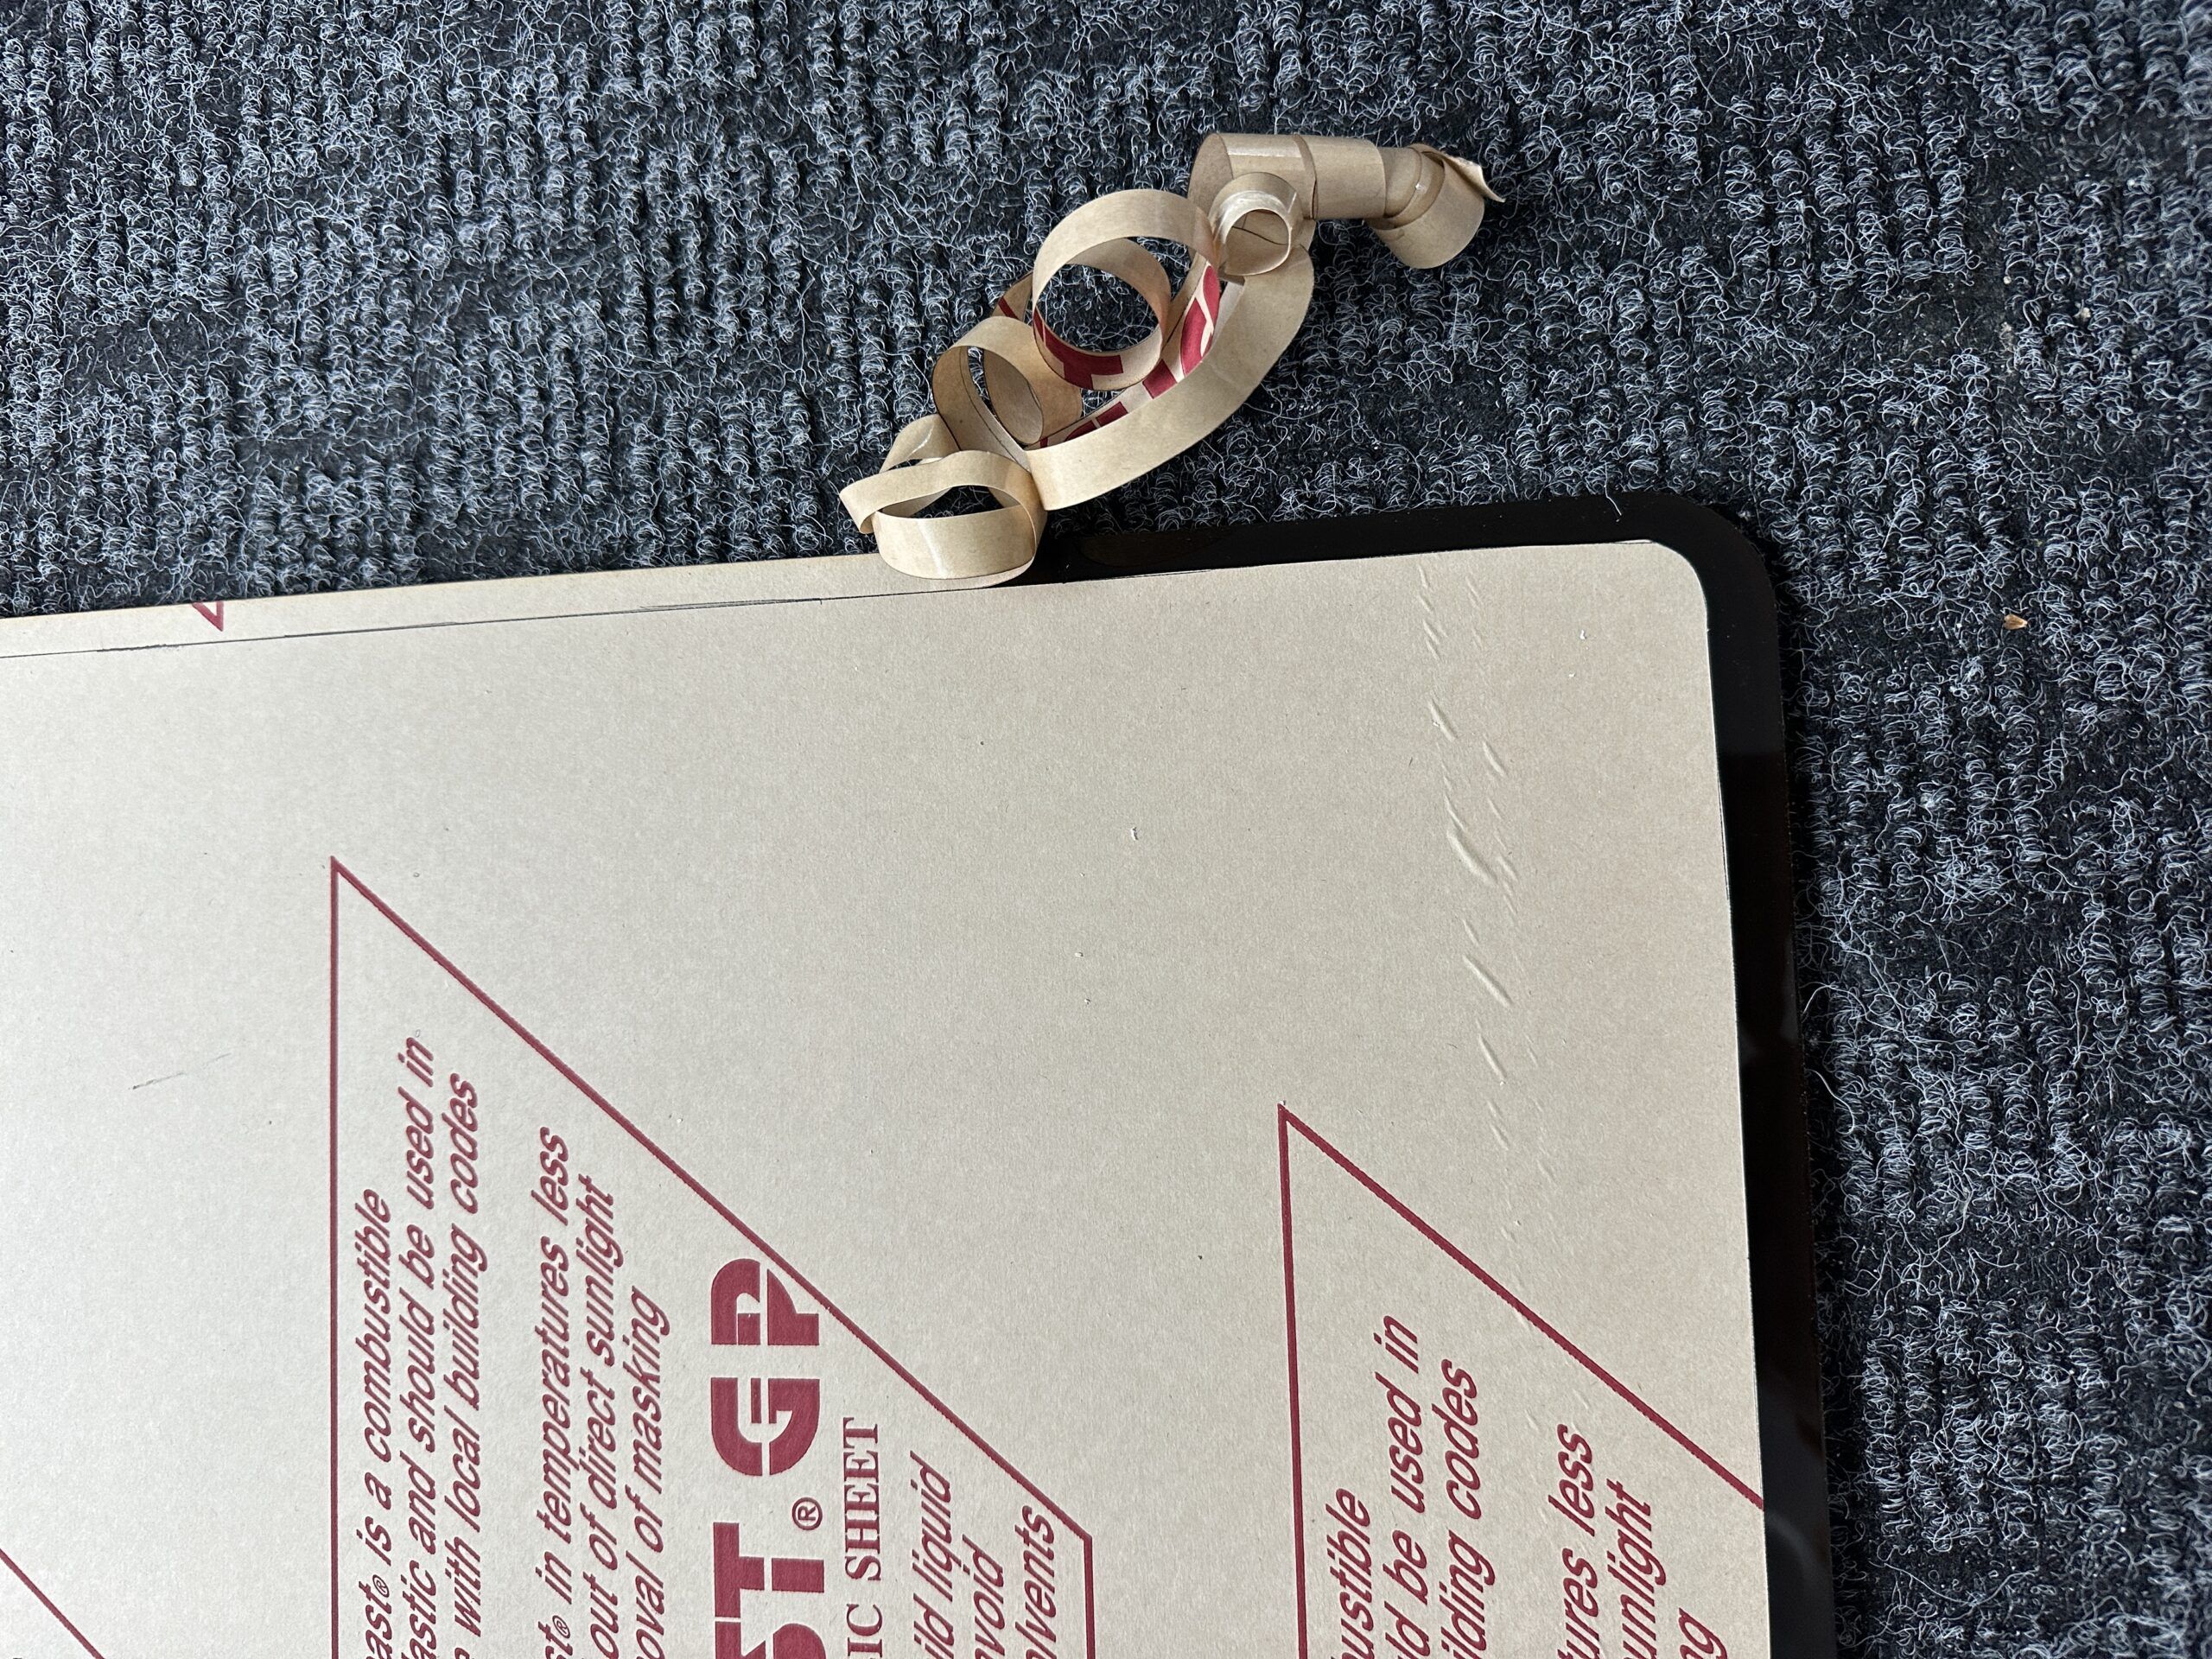
13. Rough up the exposed lip and edge of the lens with fine sandpaper.
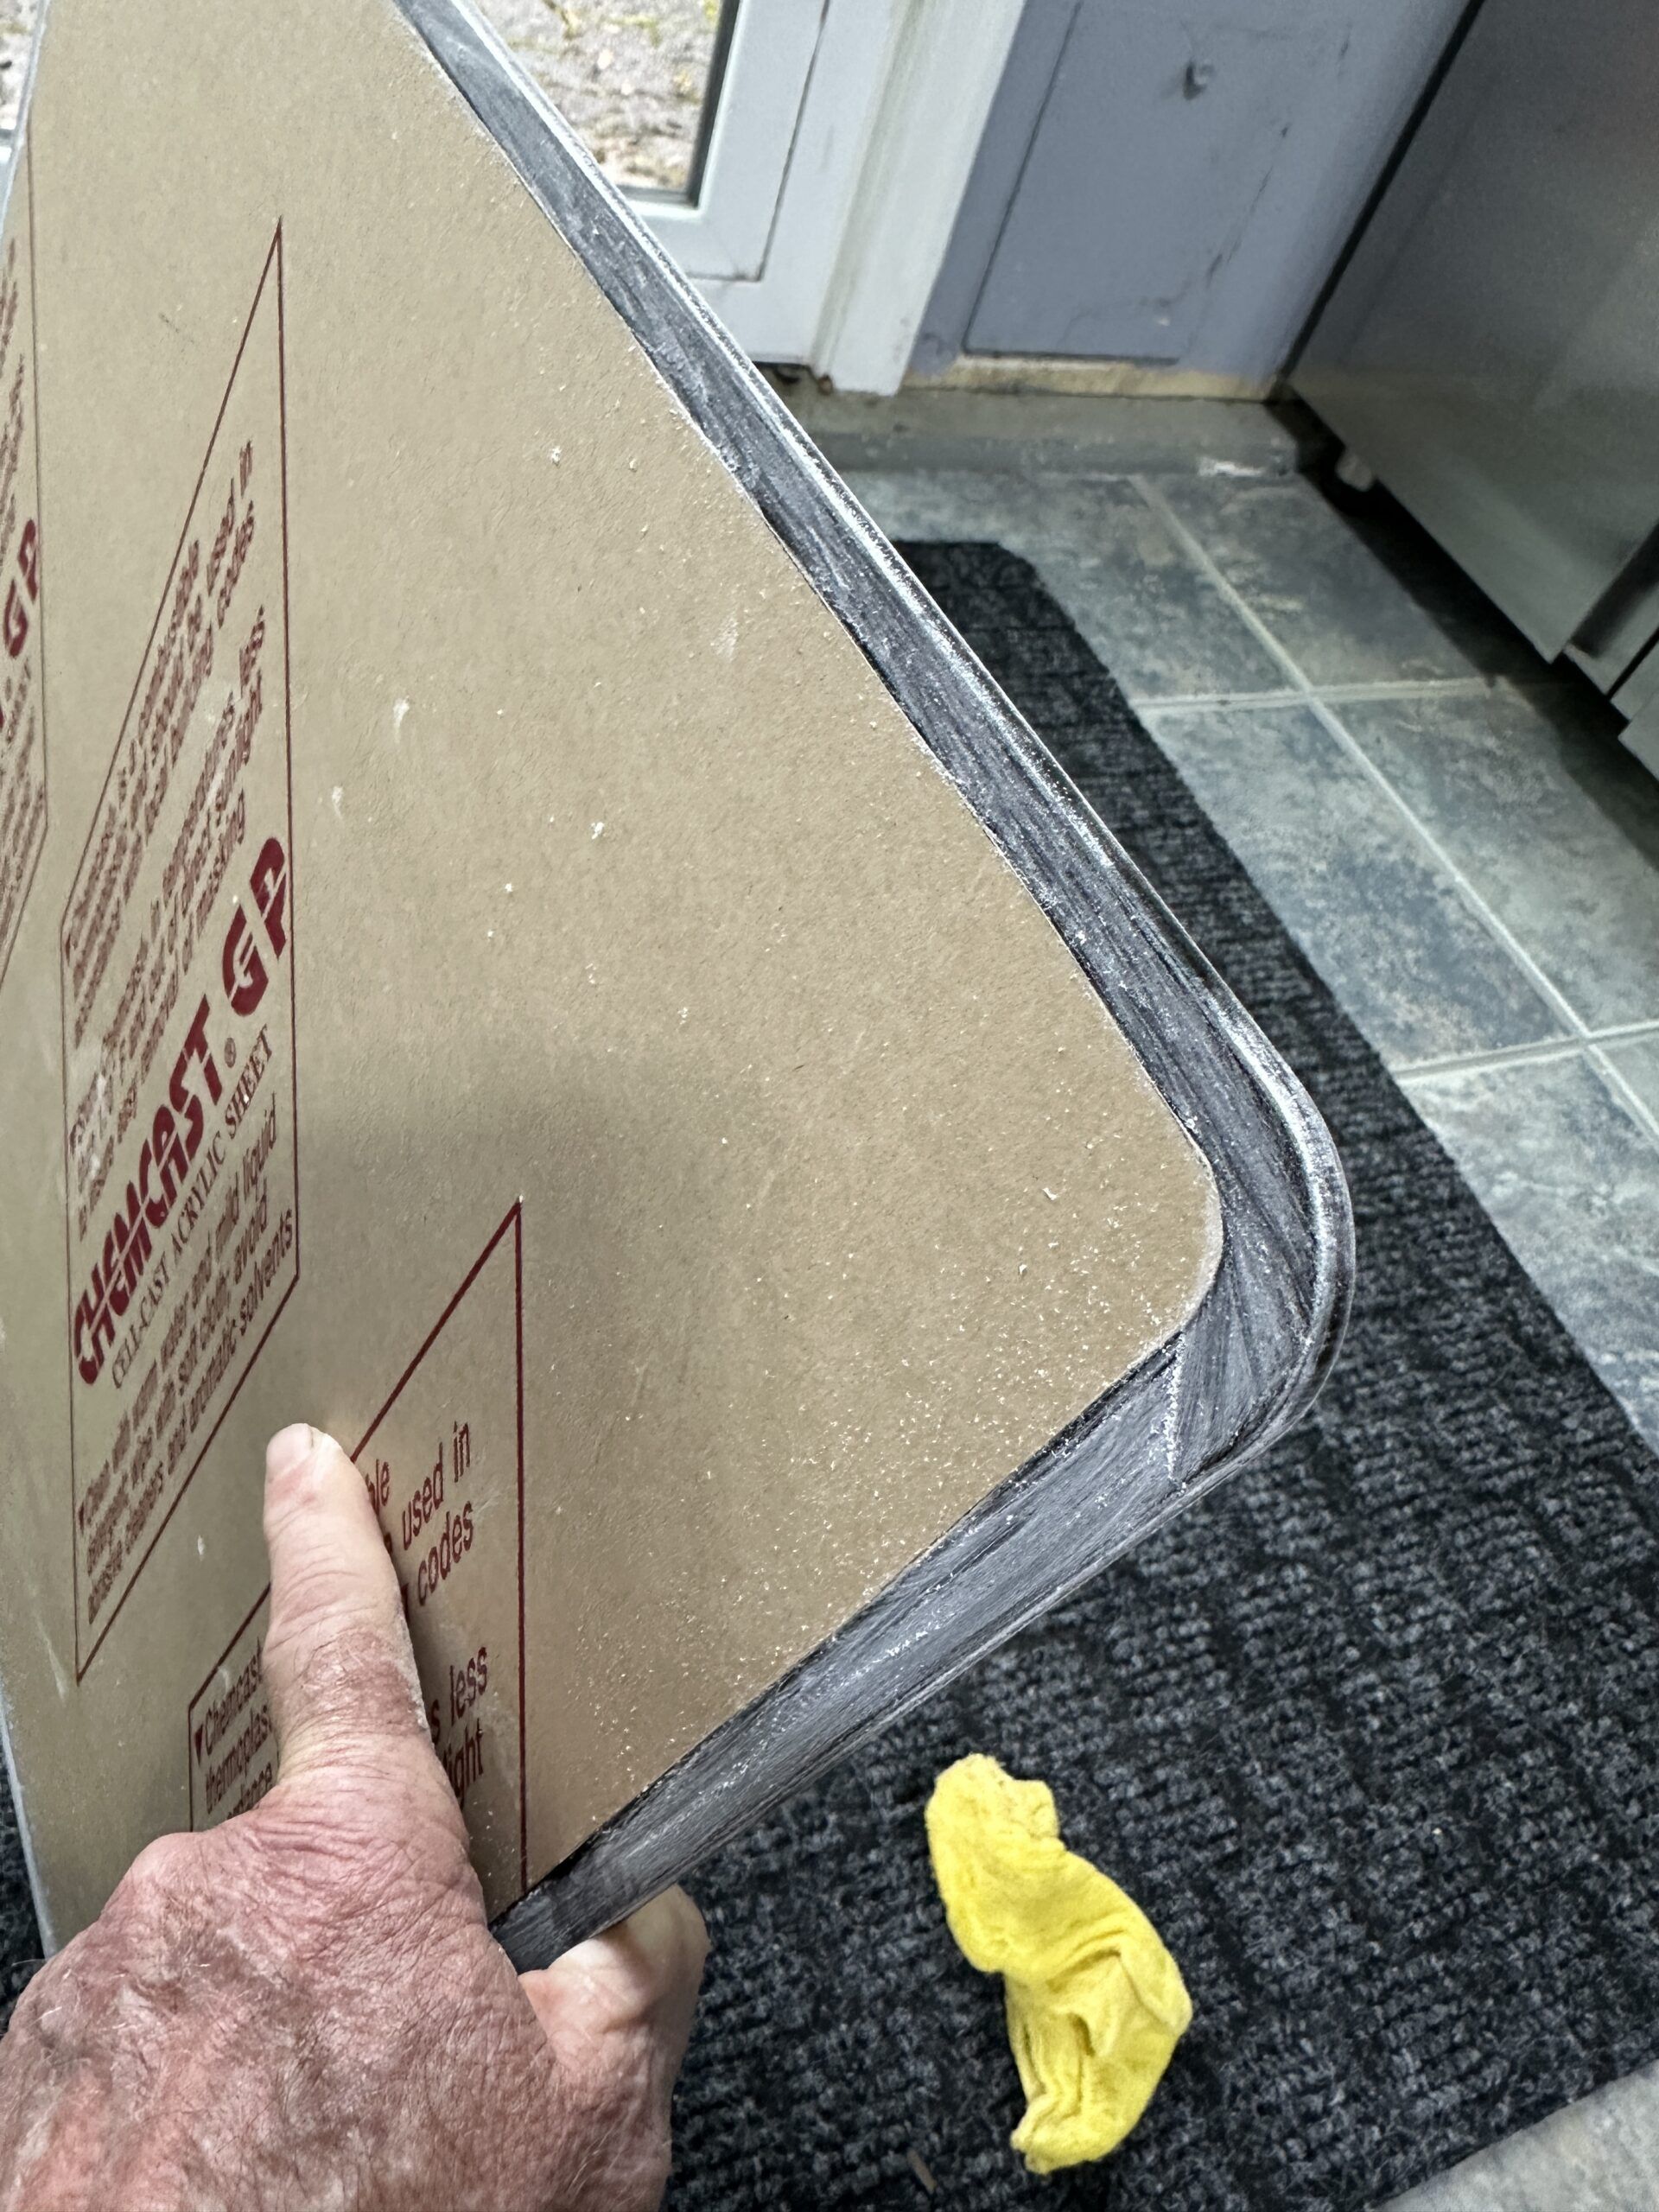
14. Apply primer.
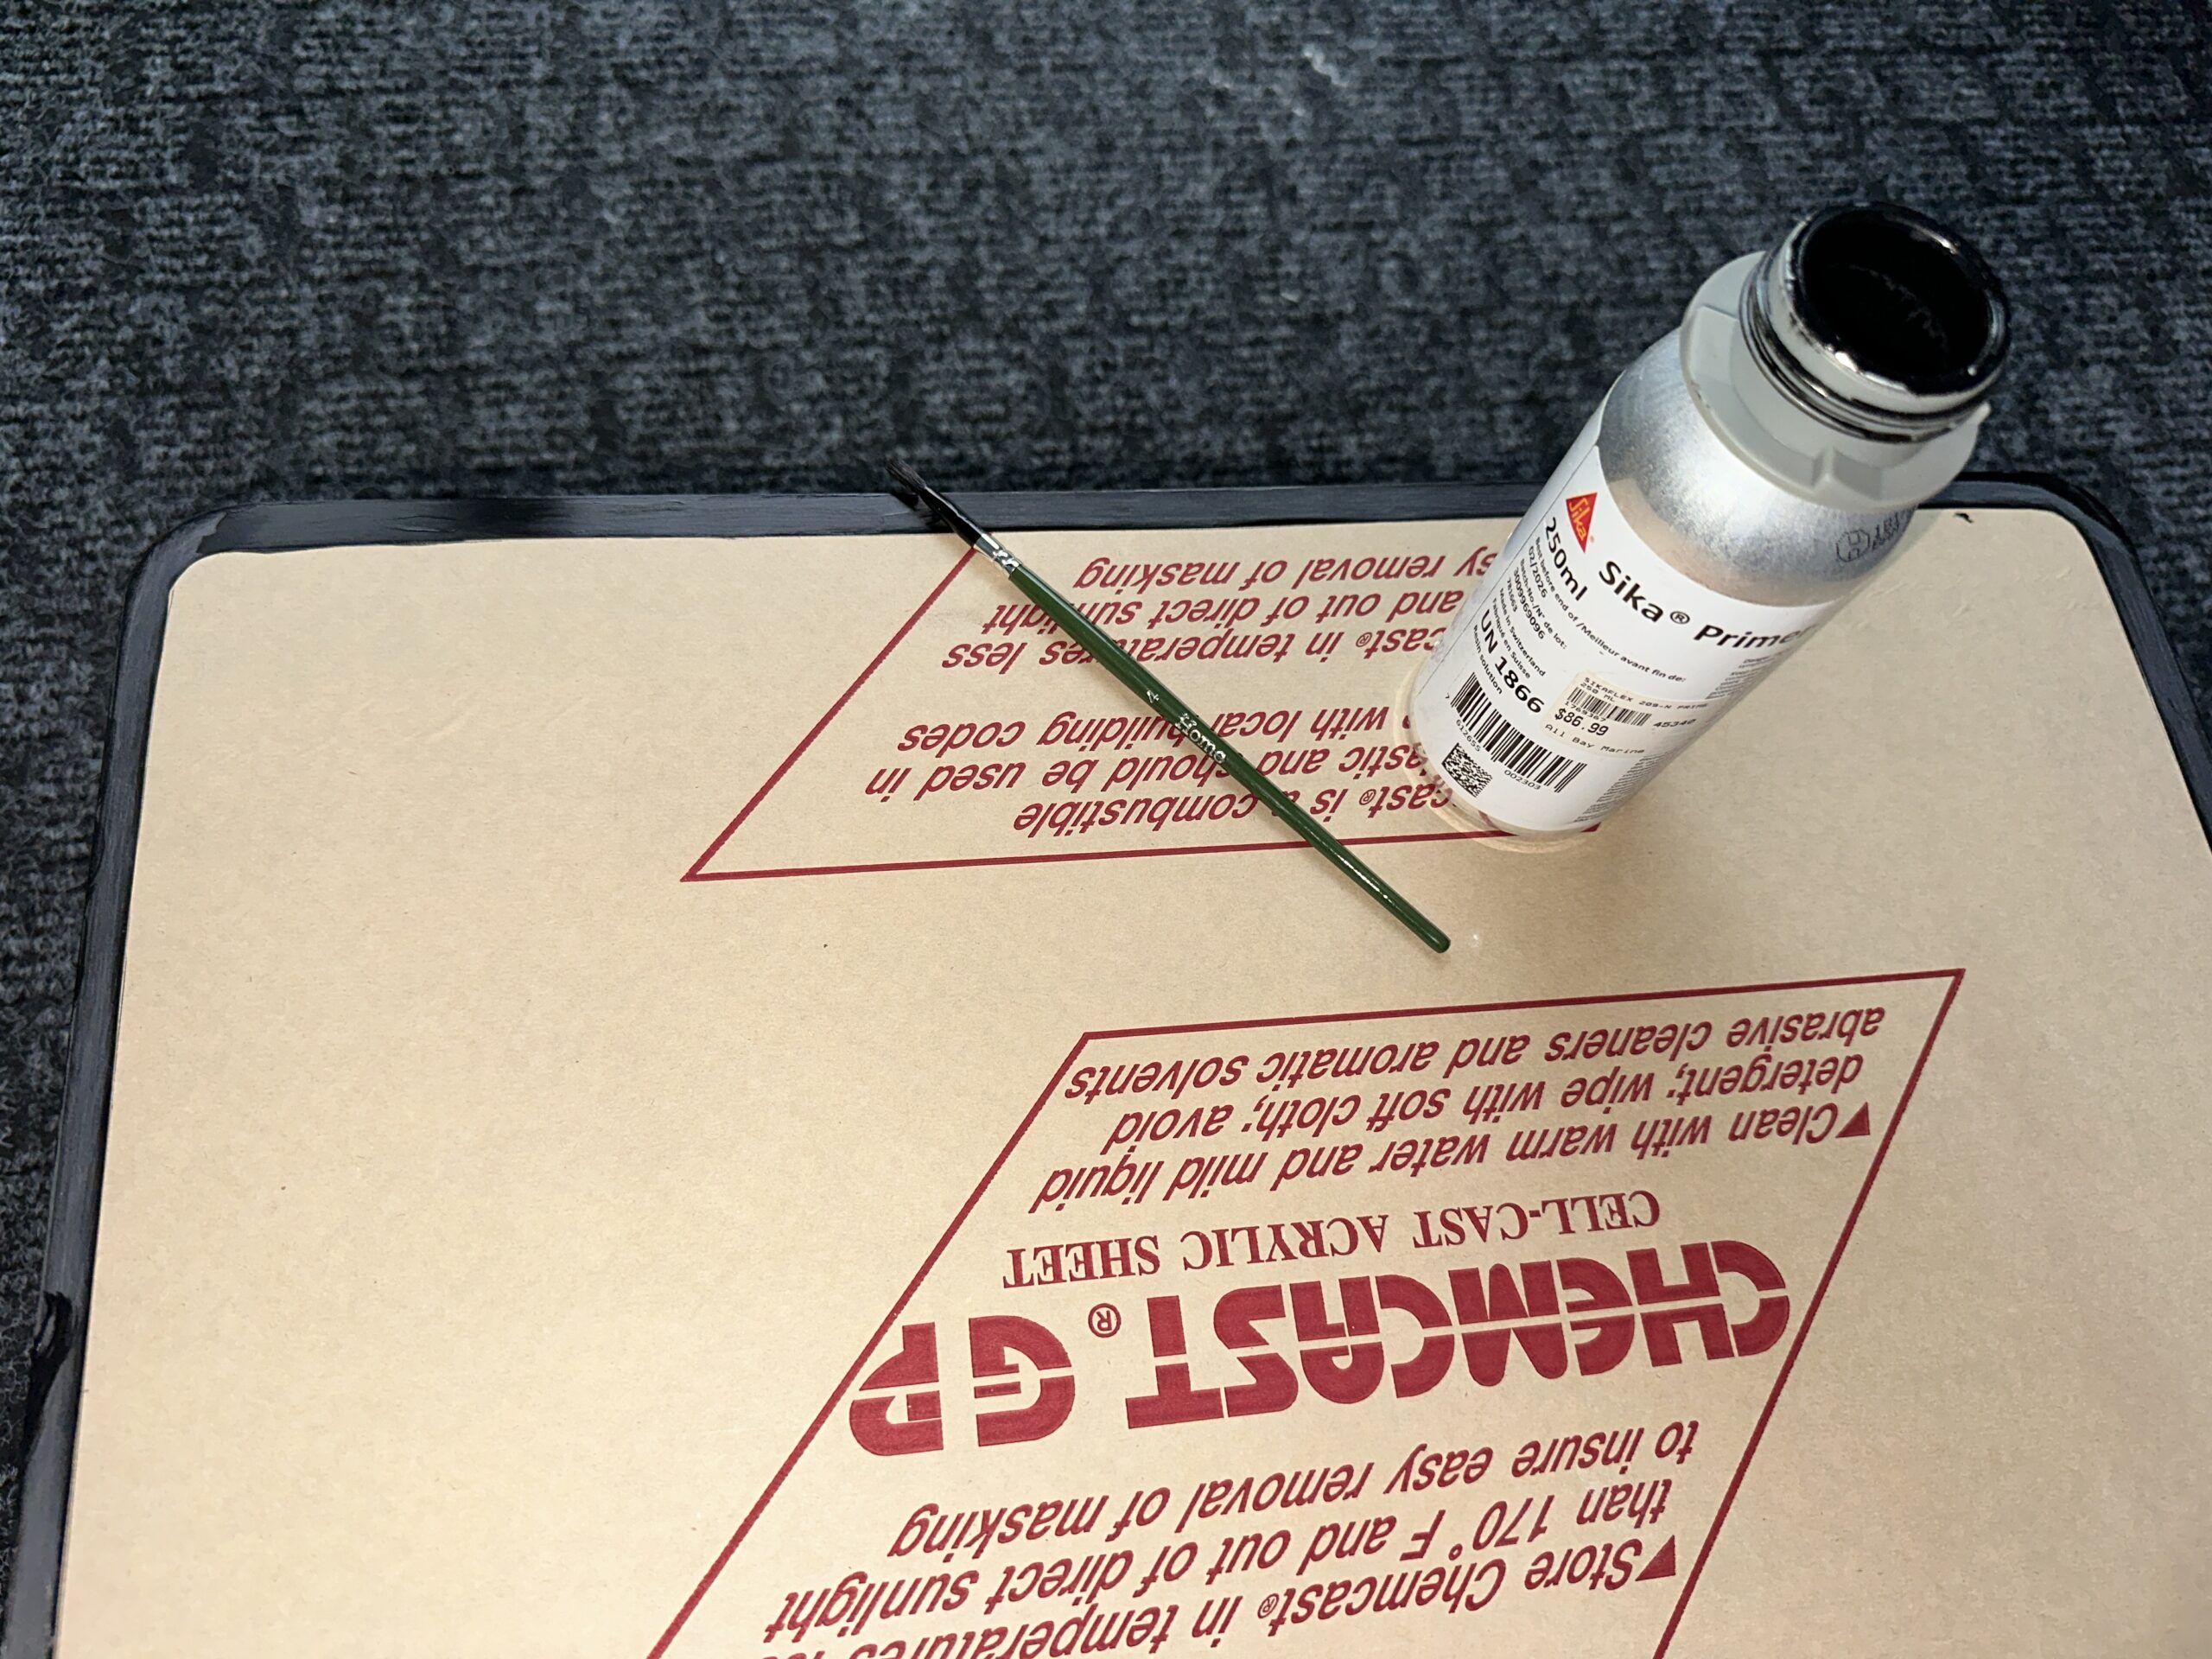
Apply the Sika Primer 209D to the exposed lip and edge ensuring an even coat. Note: This stuff dries quickly.
15. Apply double-sided tape.
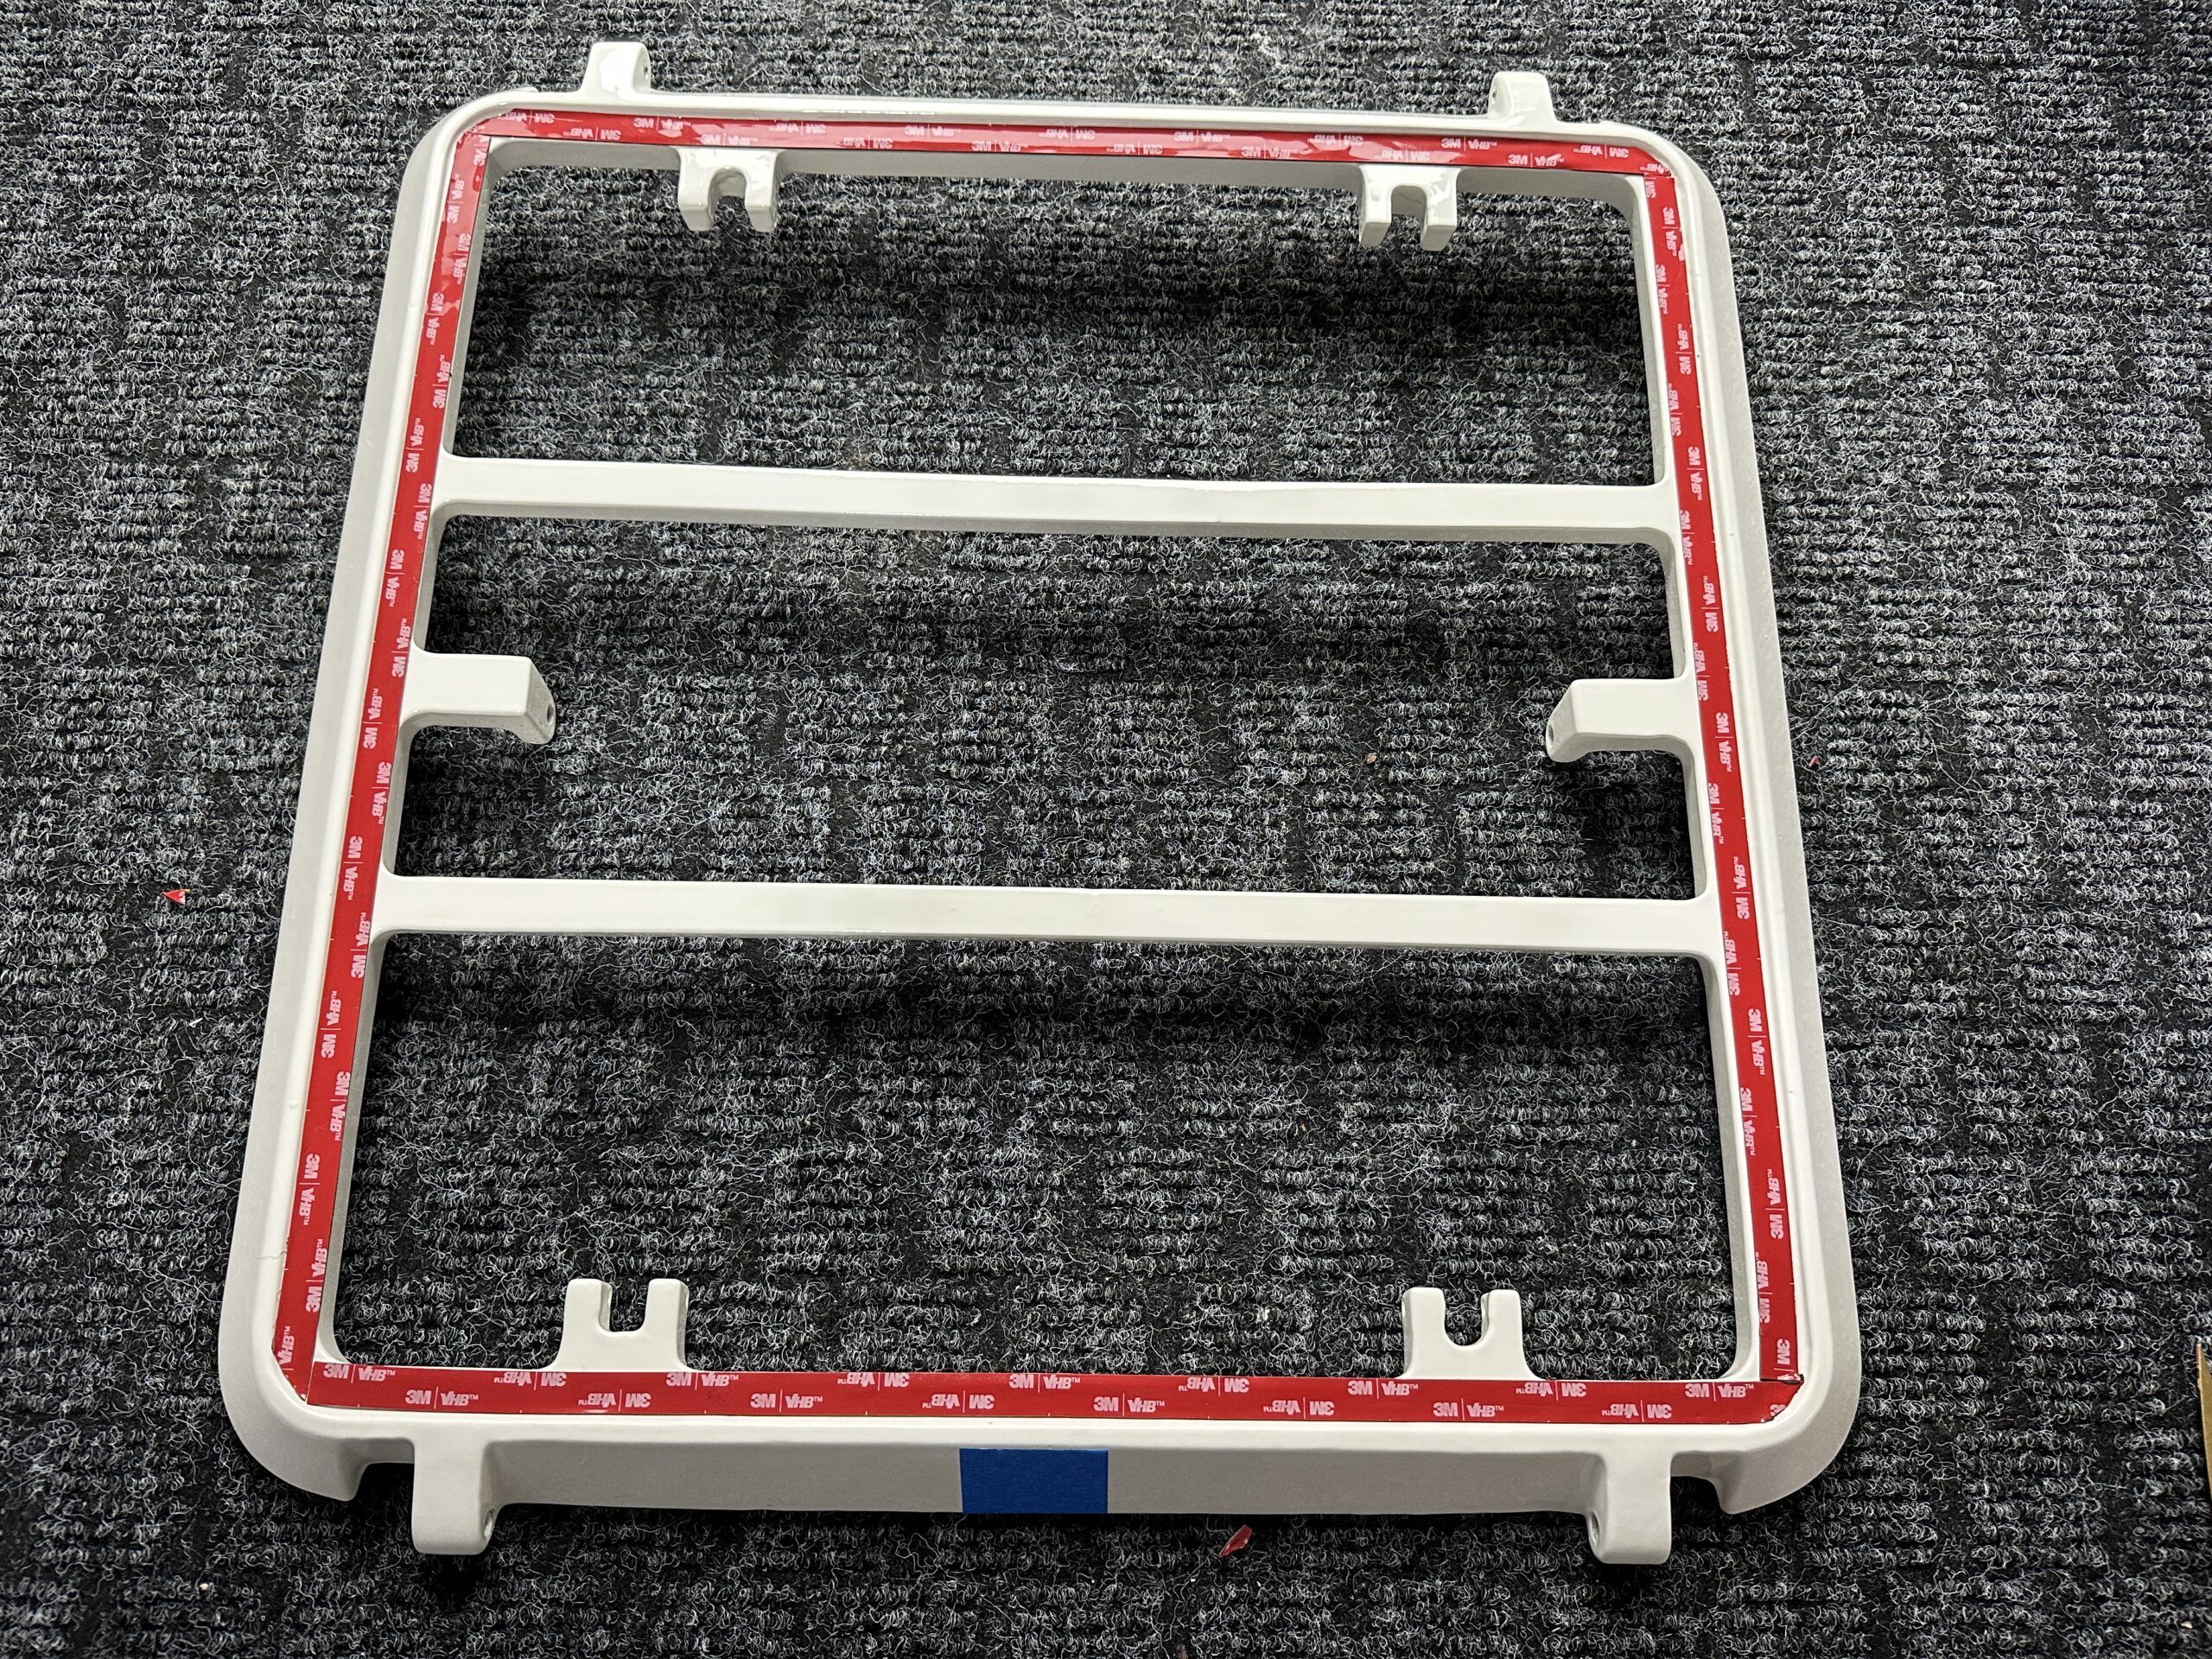
Apply the 3M VHB doubled sided tape to the frame, leave the exposed edge protective cover of the tape in place.
16. Remove protective cover, lower lens onto tape.
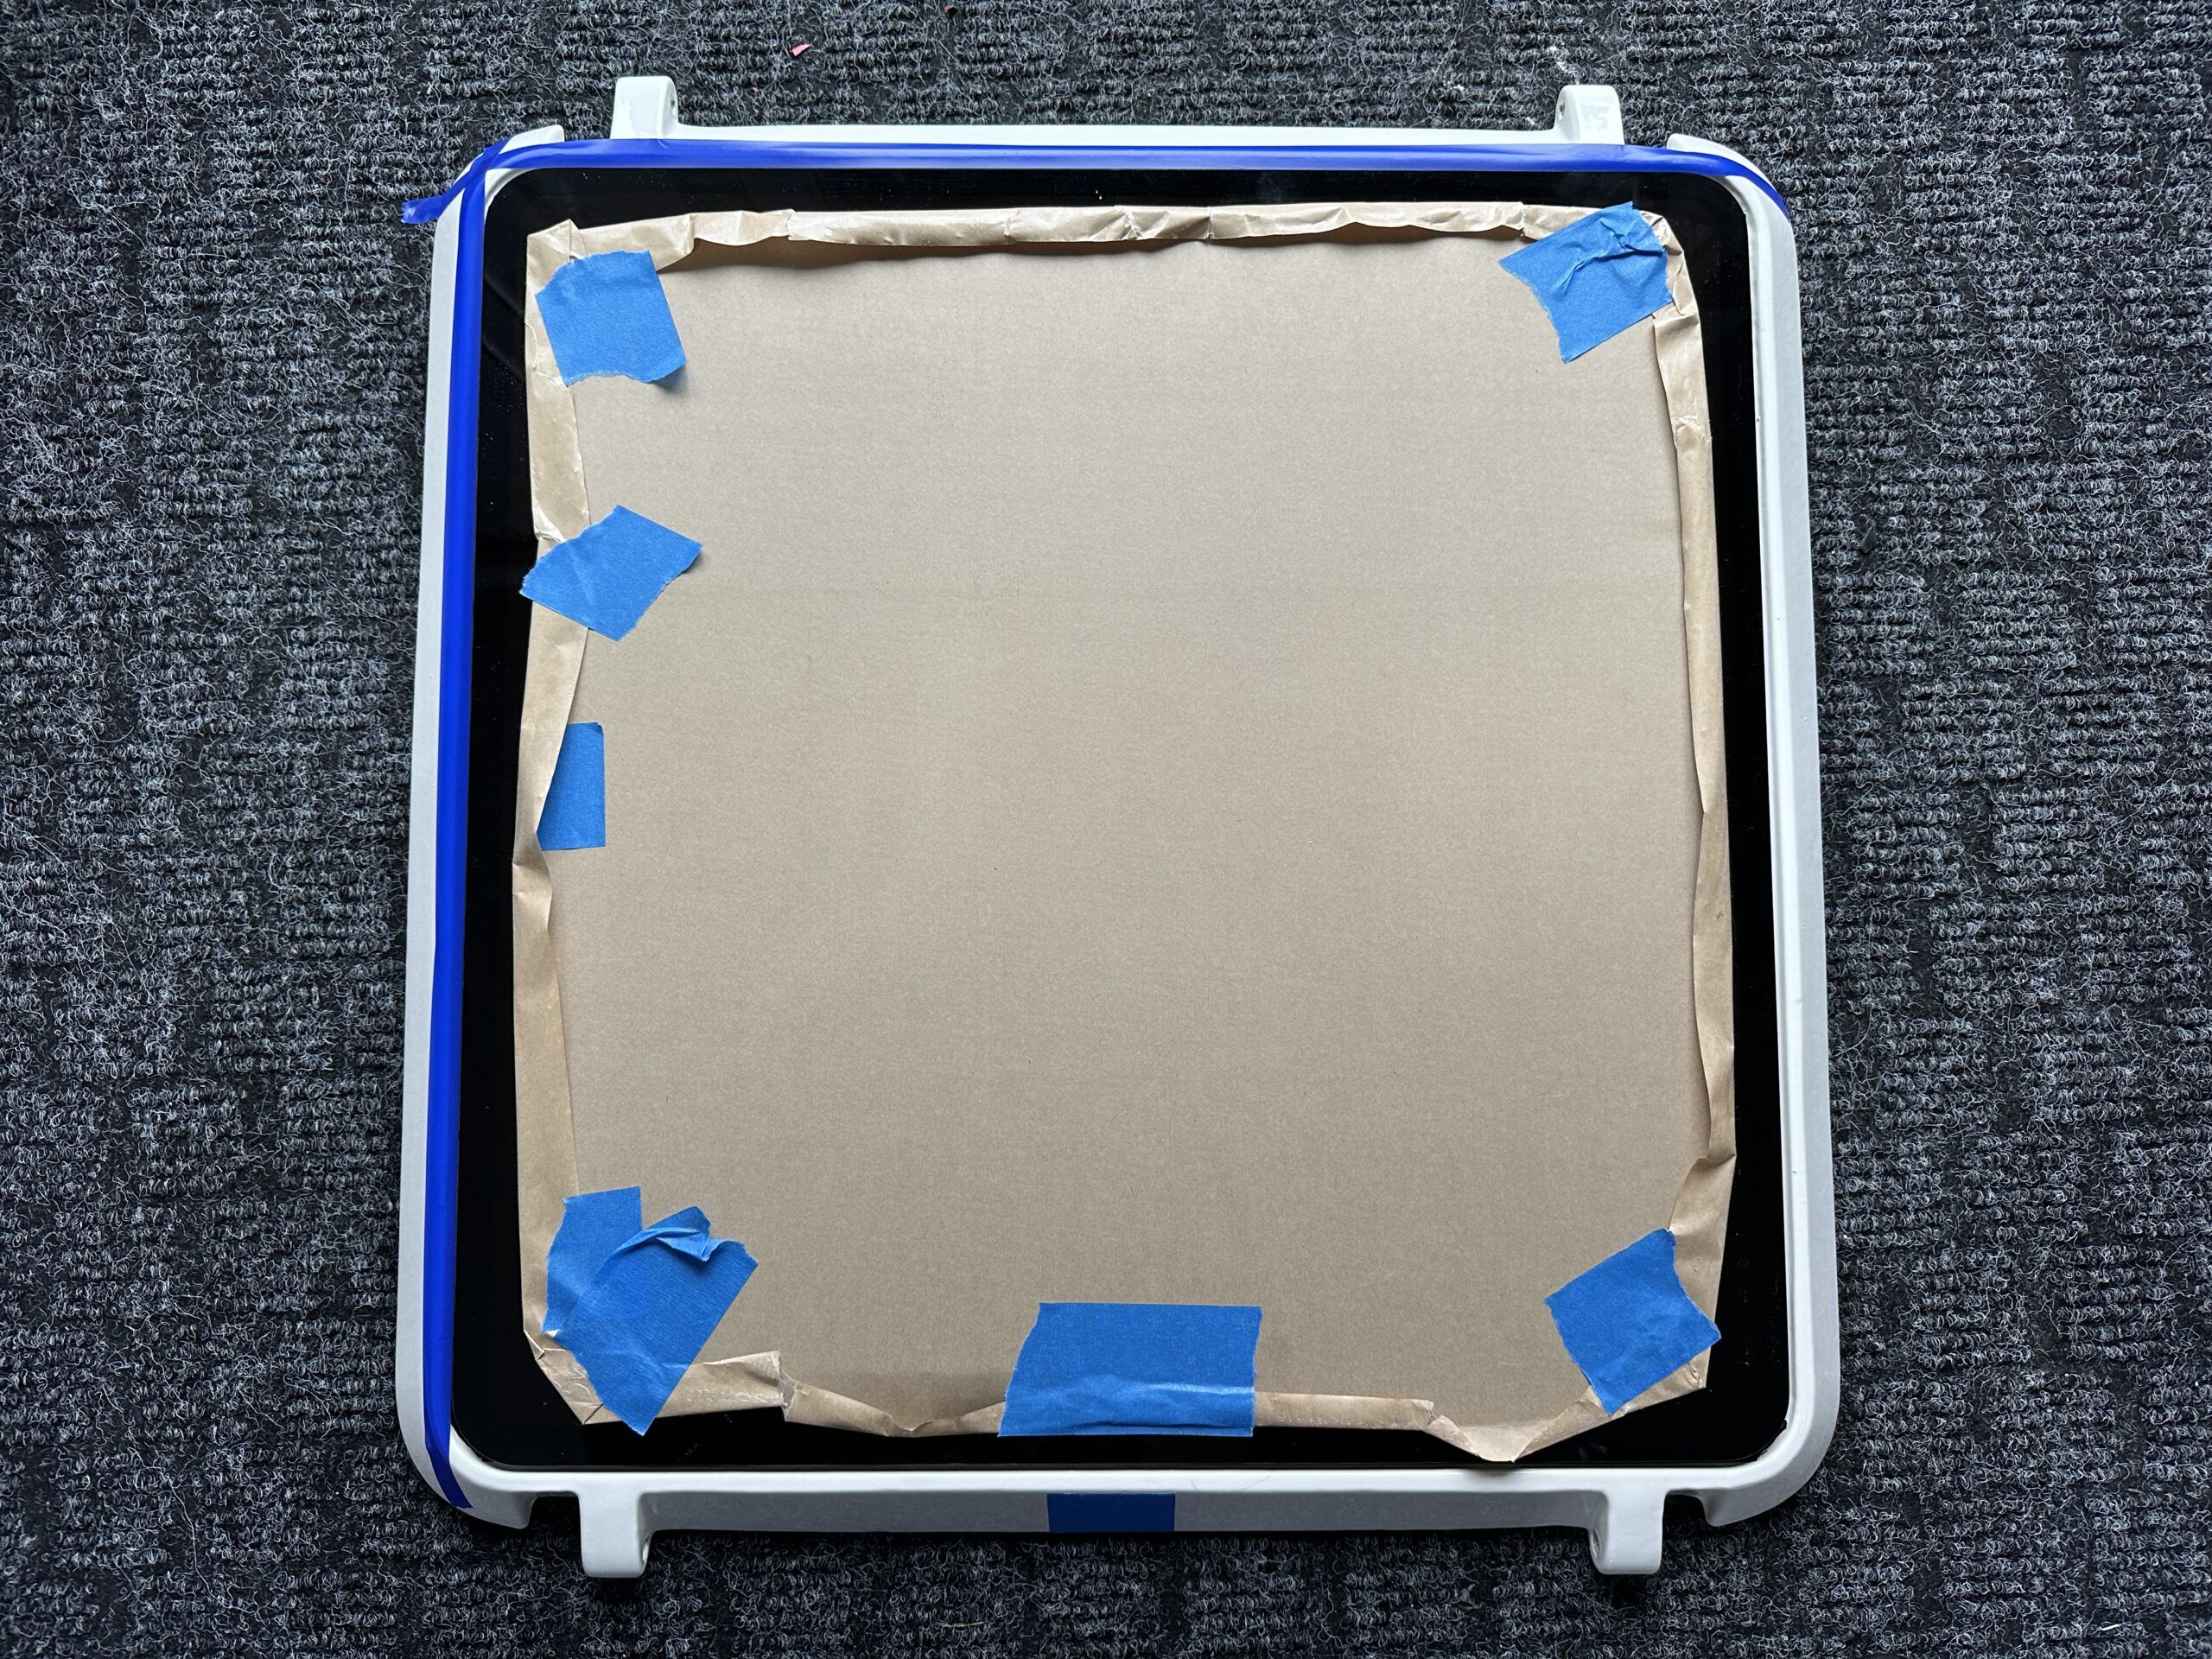
Mark where the lens is centered, remove the protective cover on the exposed 3M VHB tape. Carefully lower the lens onto the 3M tape. The adhesive is instant with no movement available after first touch.
17. Apply black sealant.
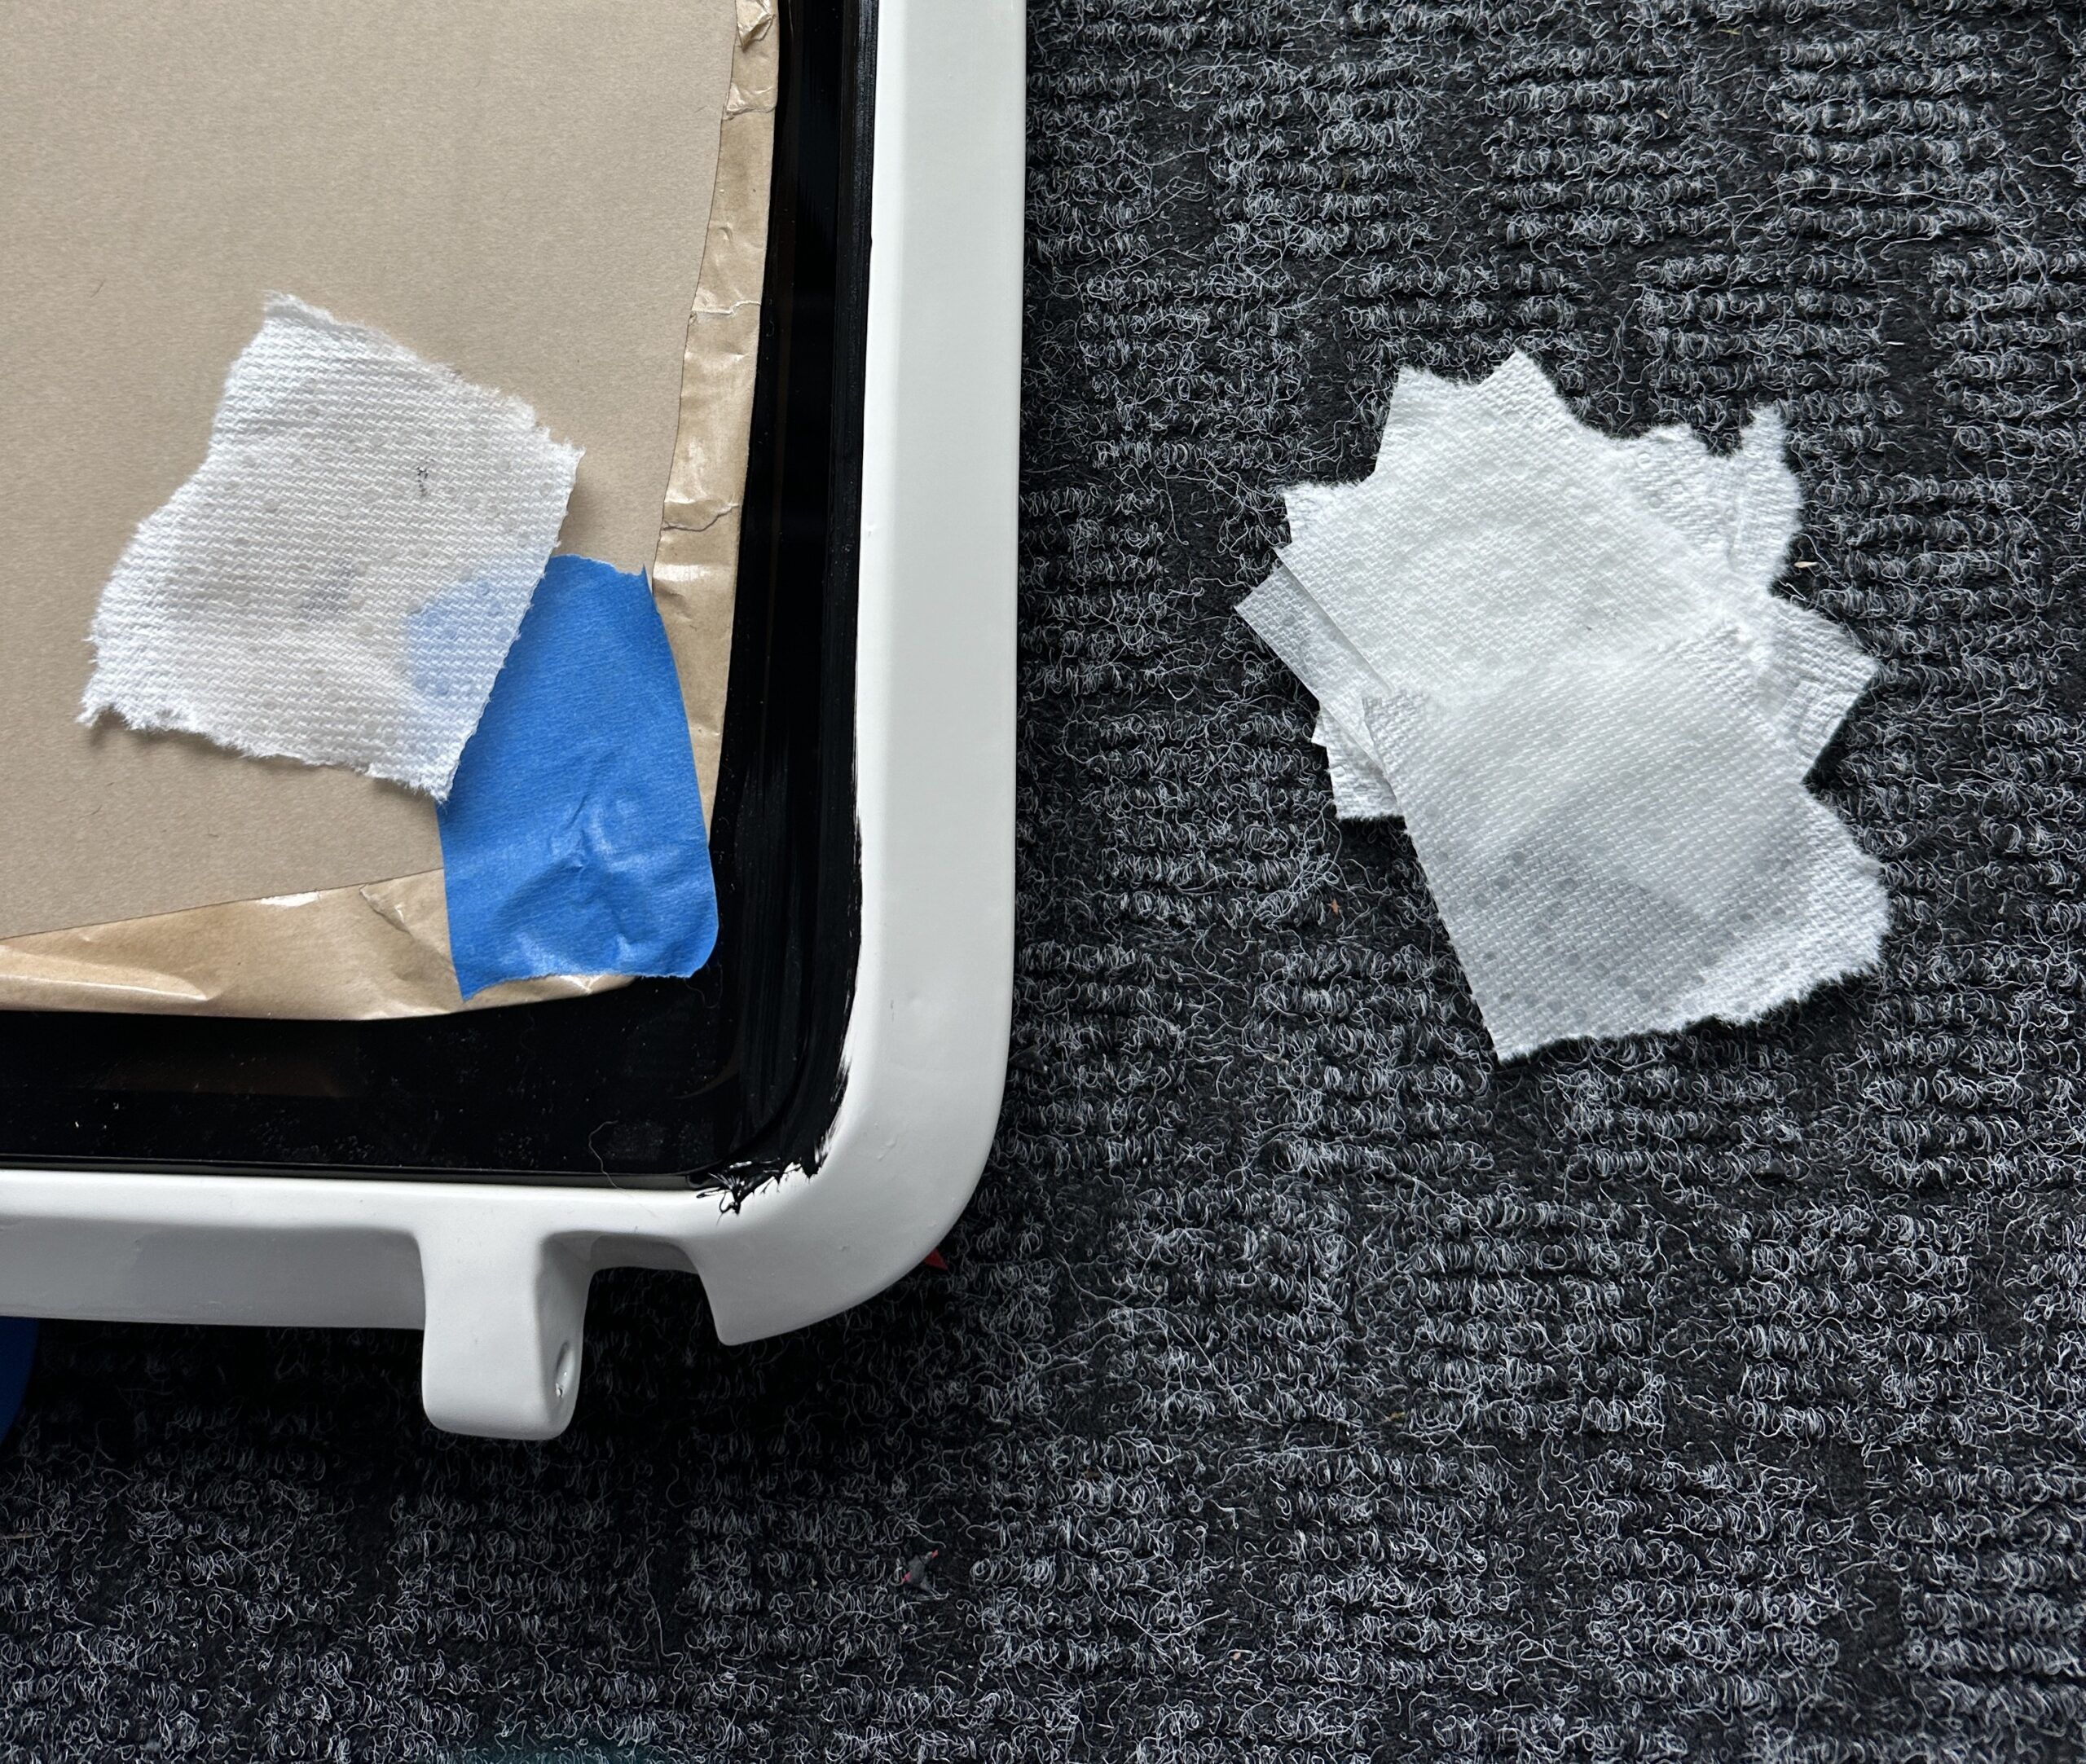
Apply the black sealant into the gap between the lens and the frame. Clean up the excess with small squares moistened with solvent.
18. Clean up old sealant.
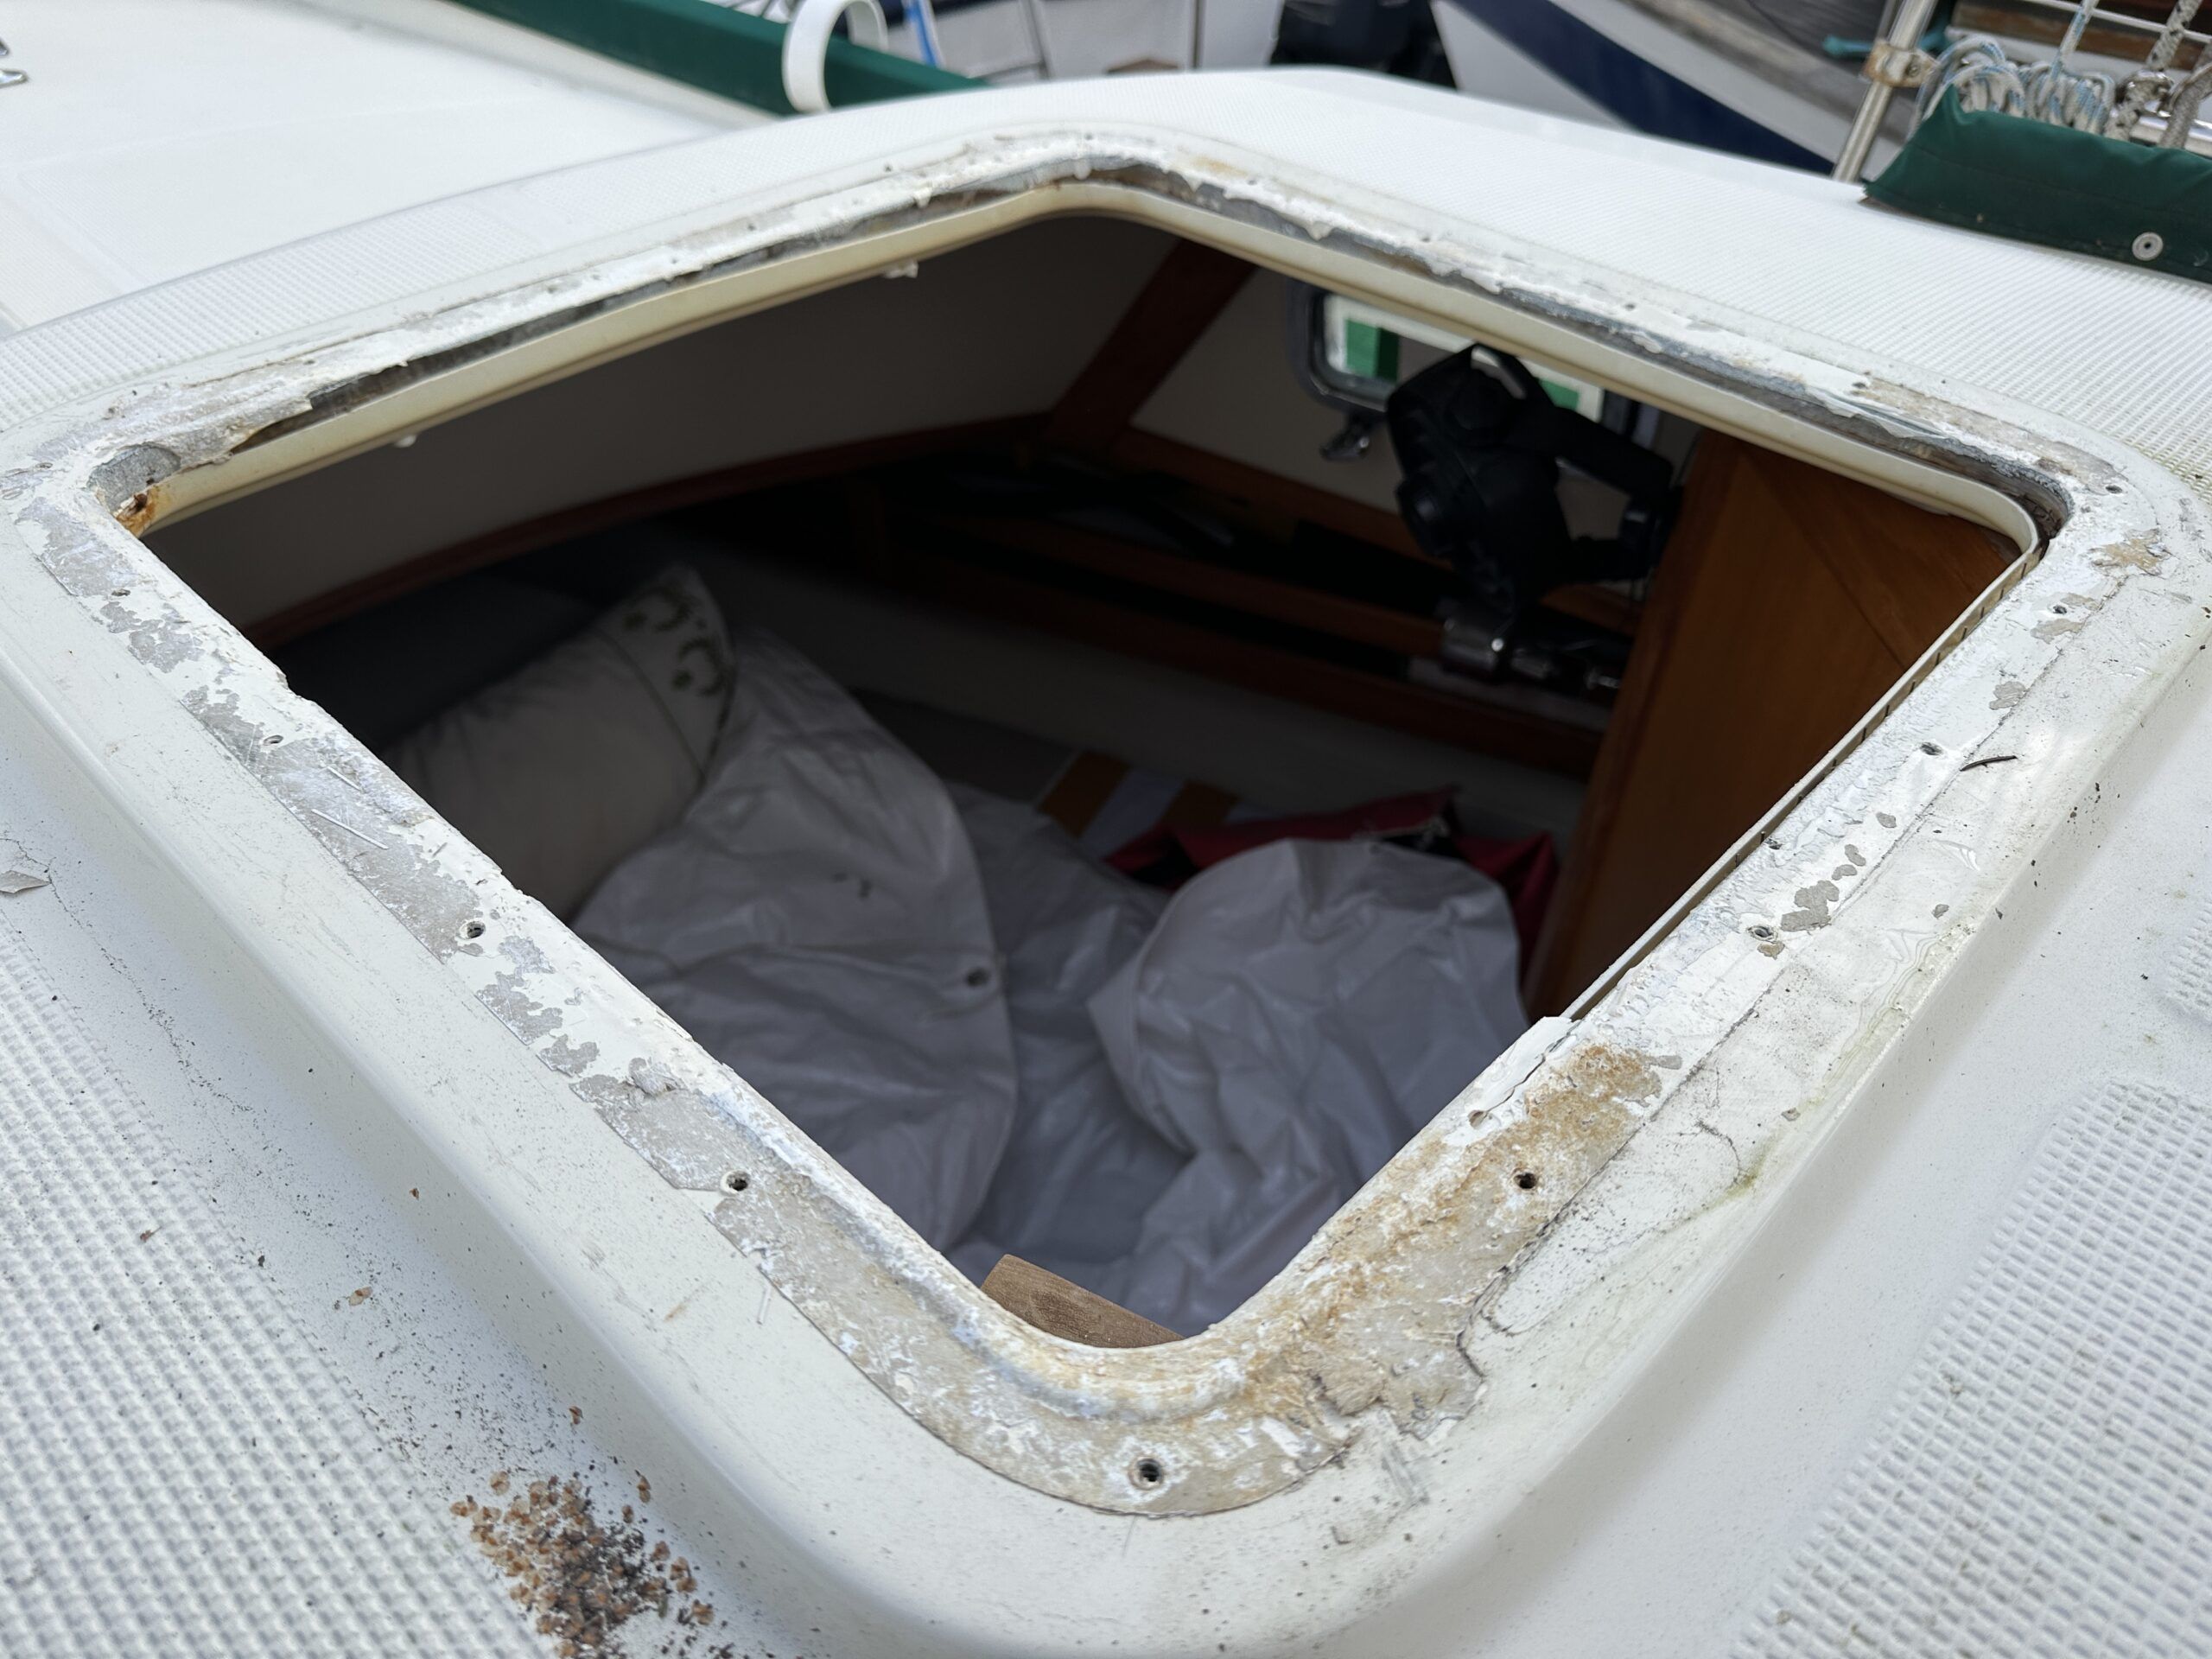
Back on the boat, clean up the old sealant from where the frame sits on the gelcoat. Putty knife and acetone work well.
19. The cleaned-up gelcoat.
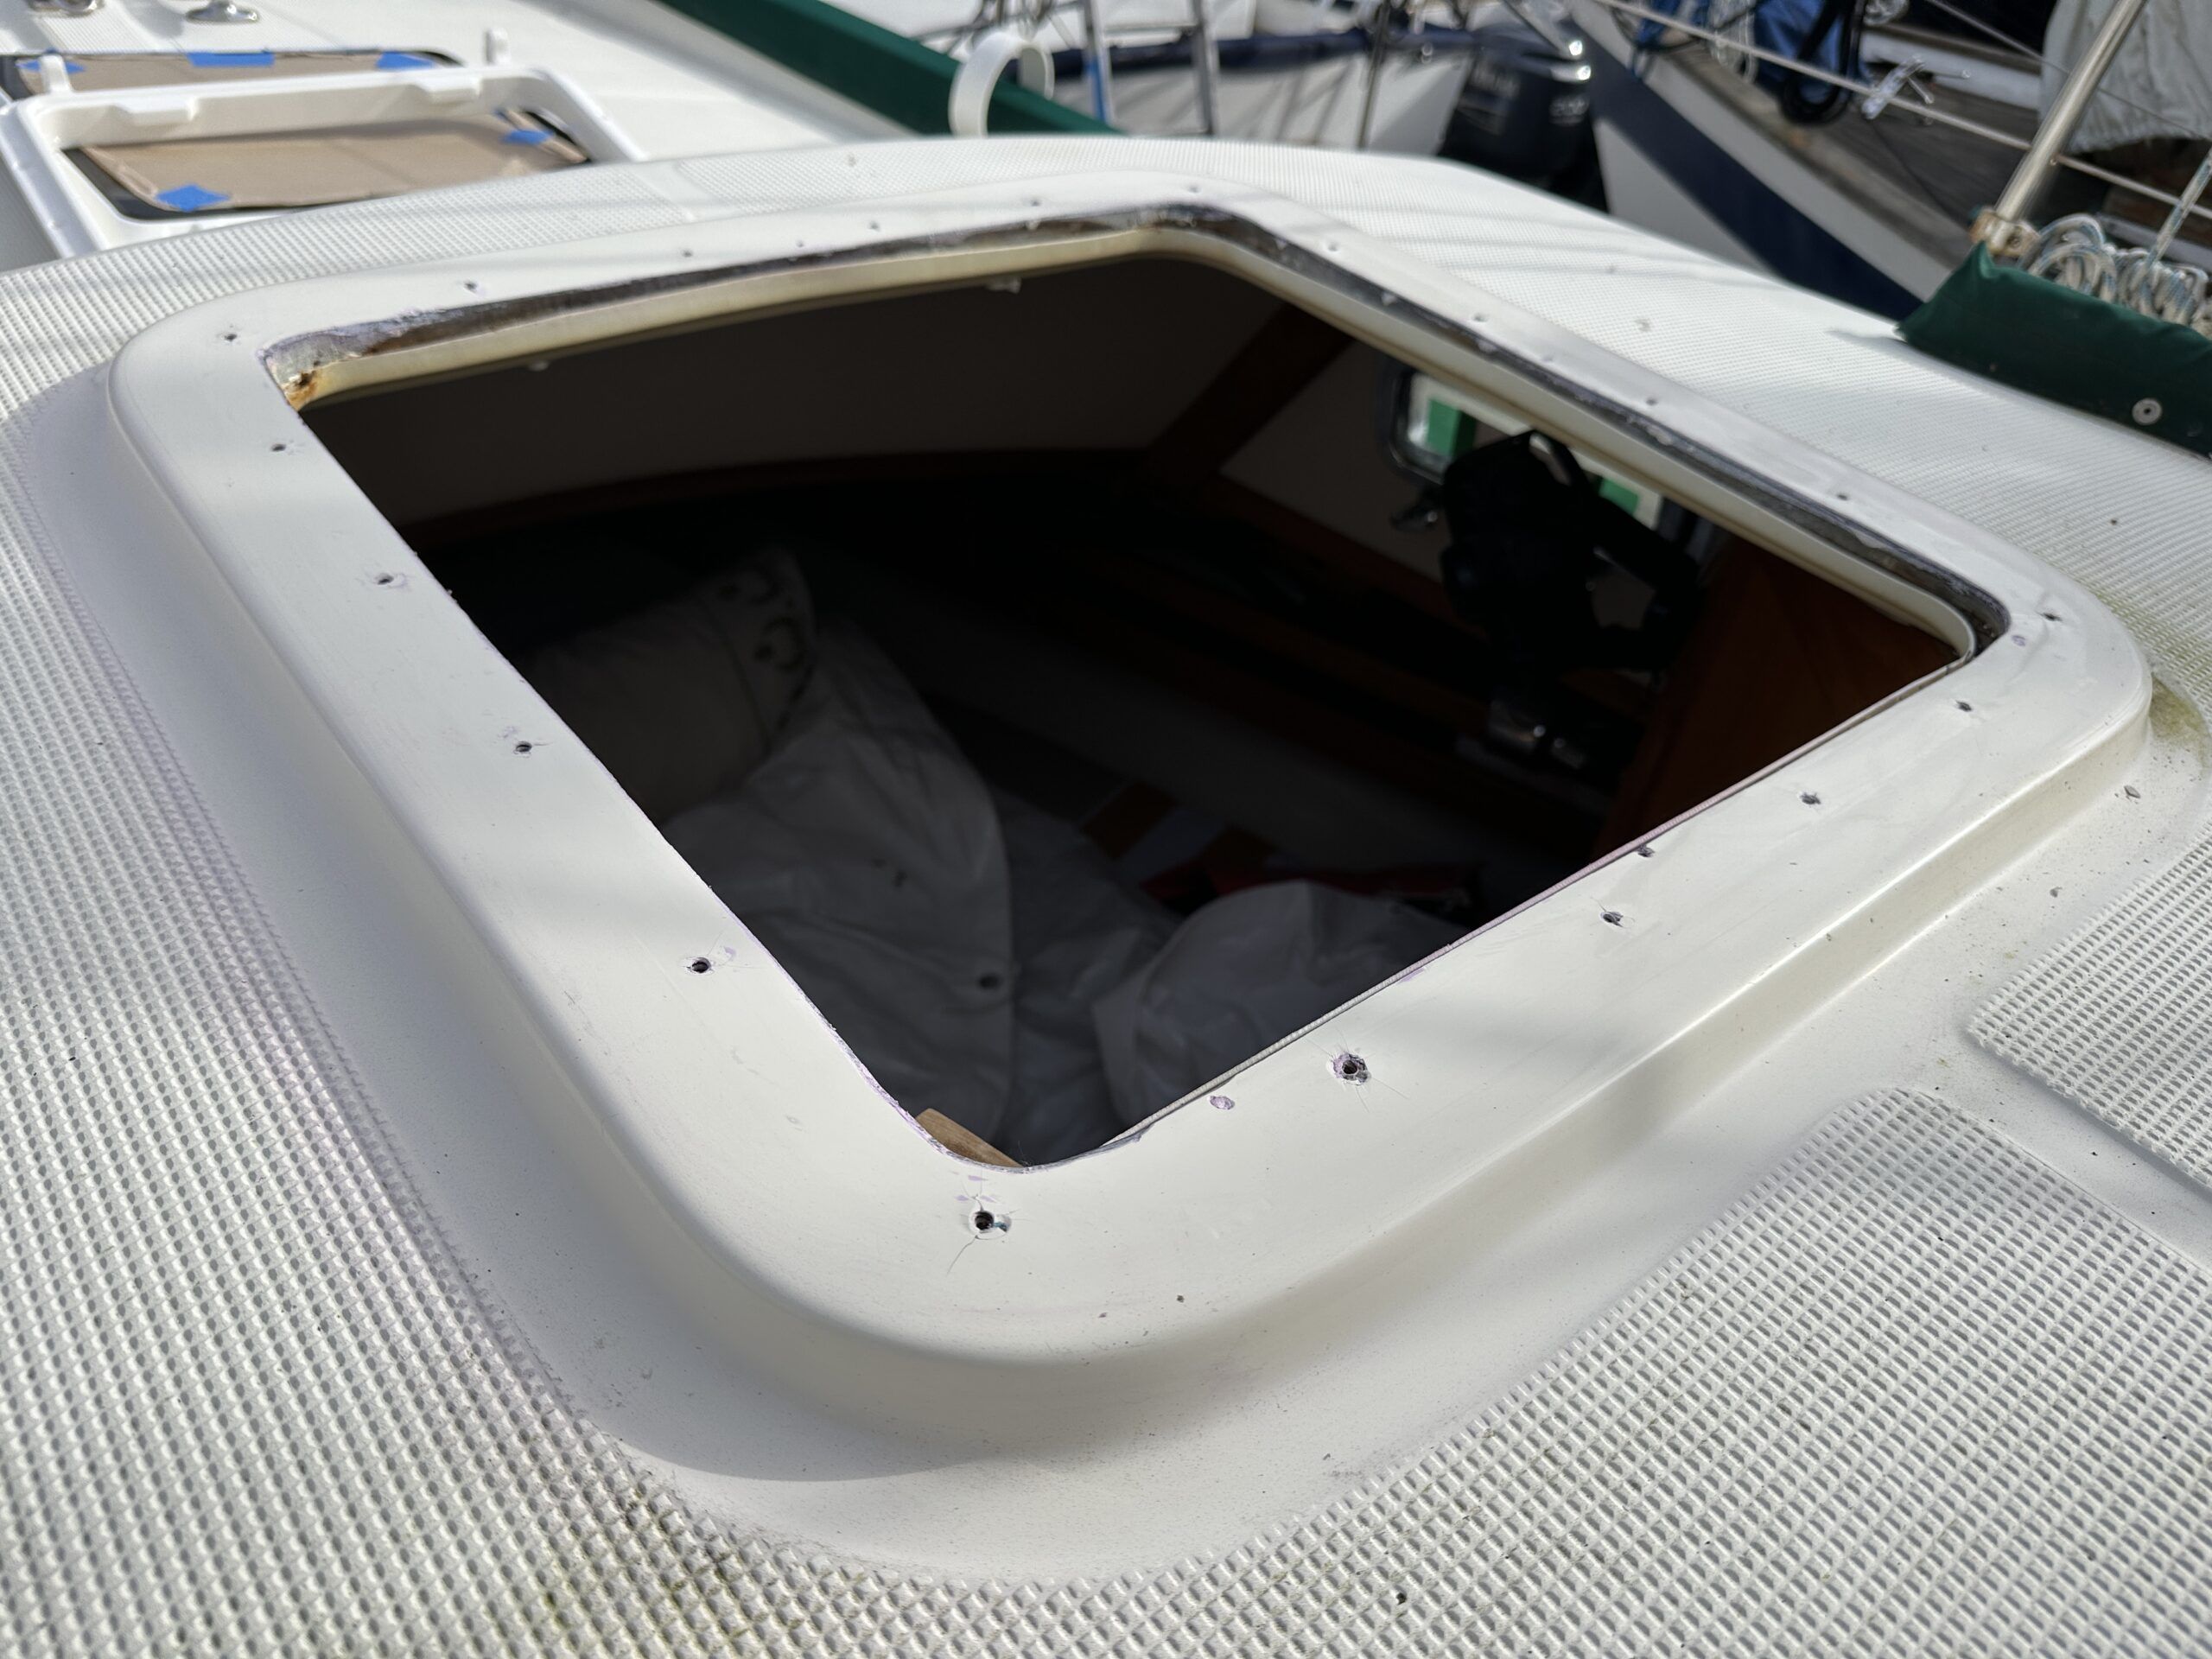
20. Bead Sikaflex onto gelcoat.
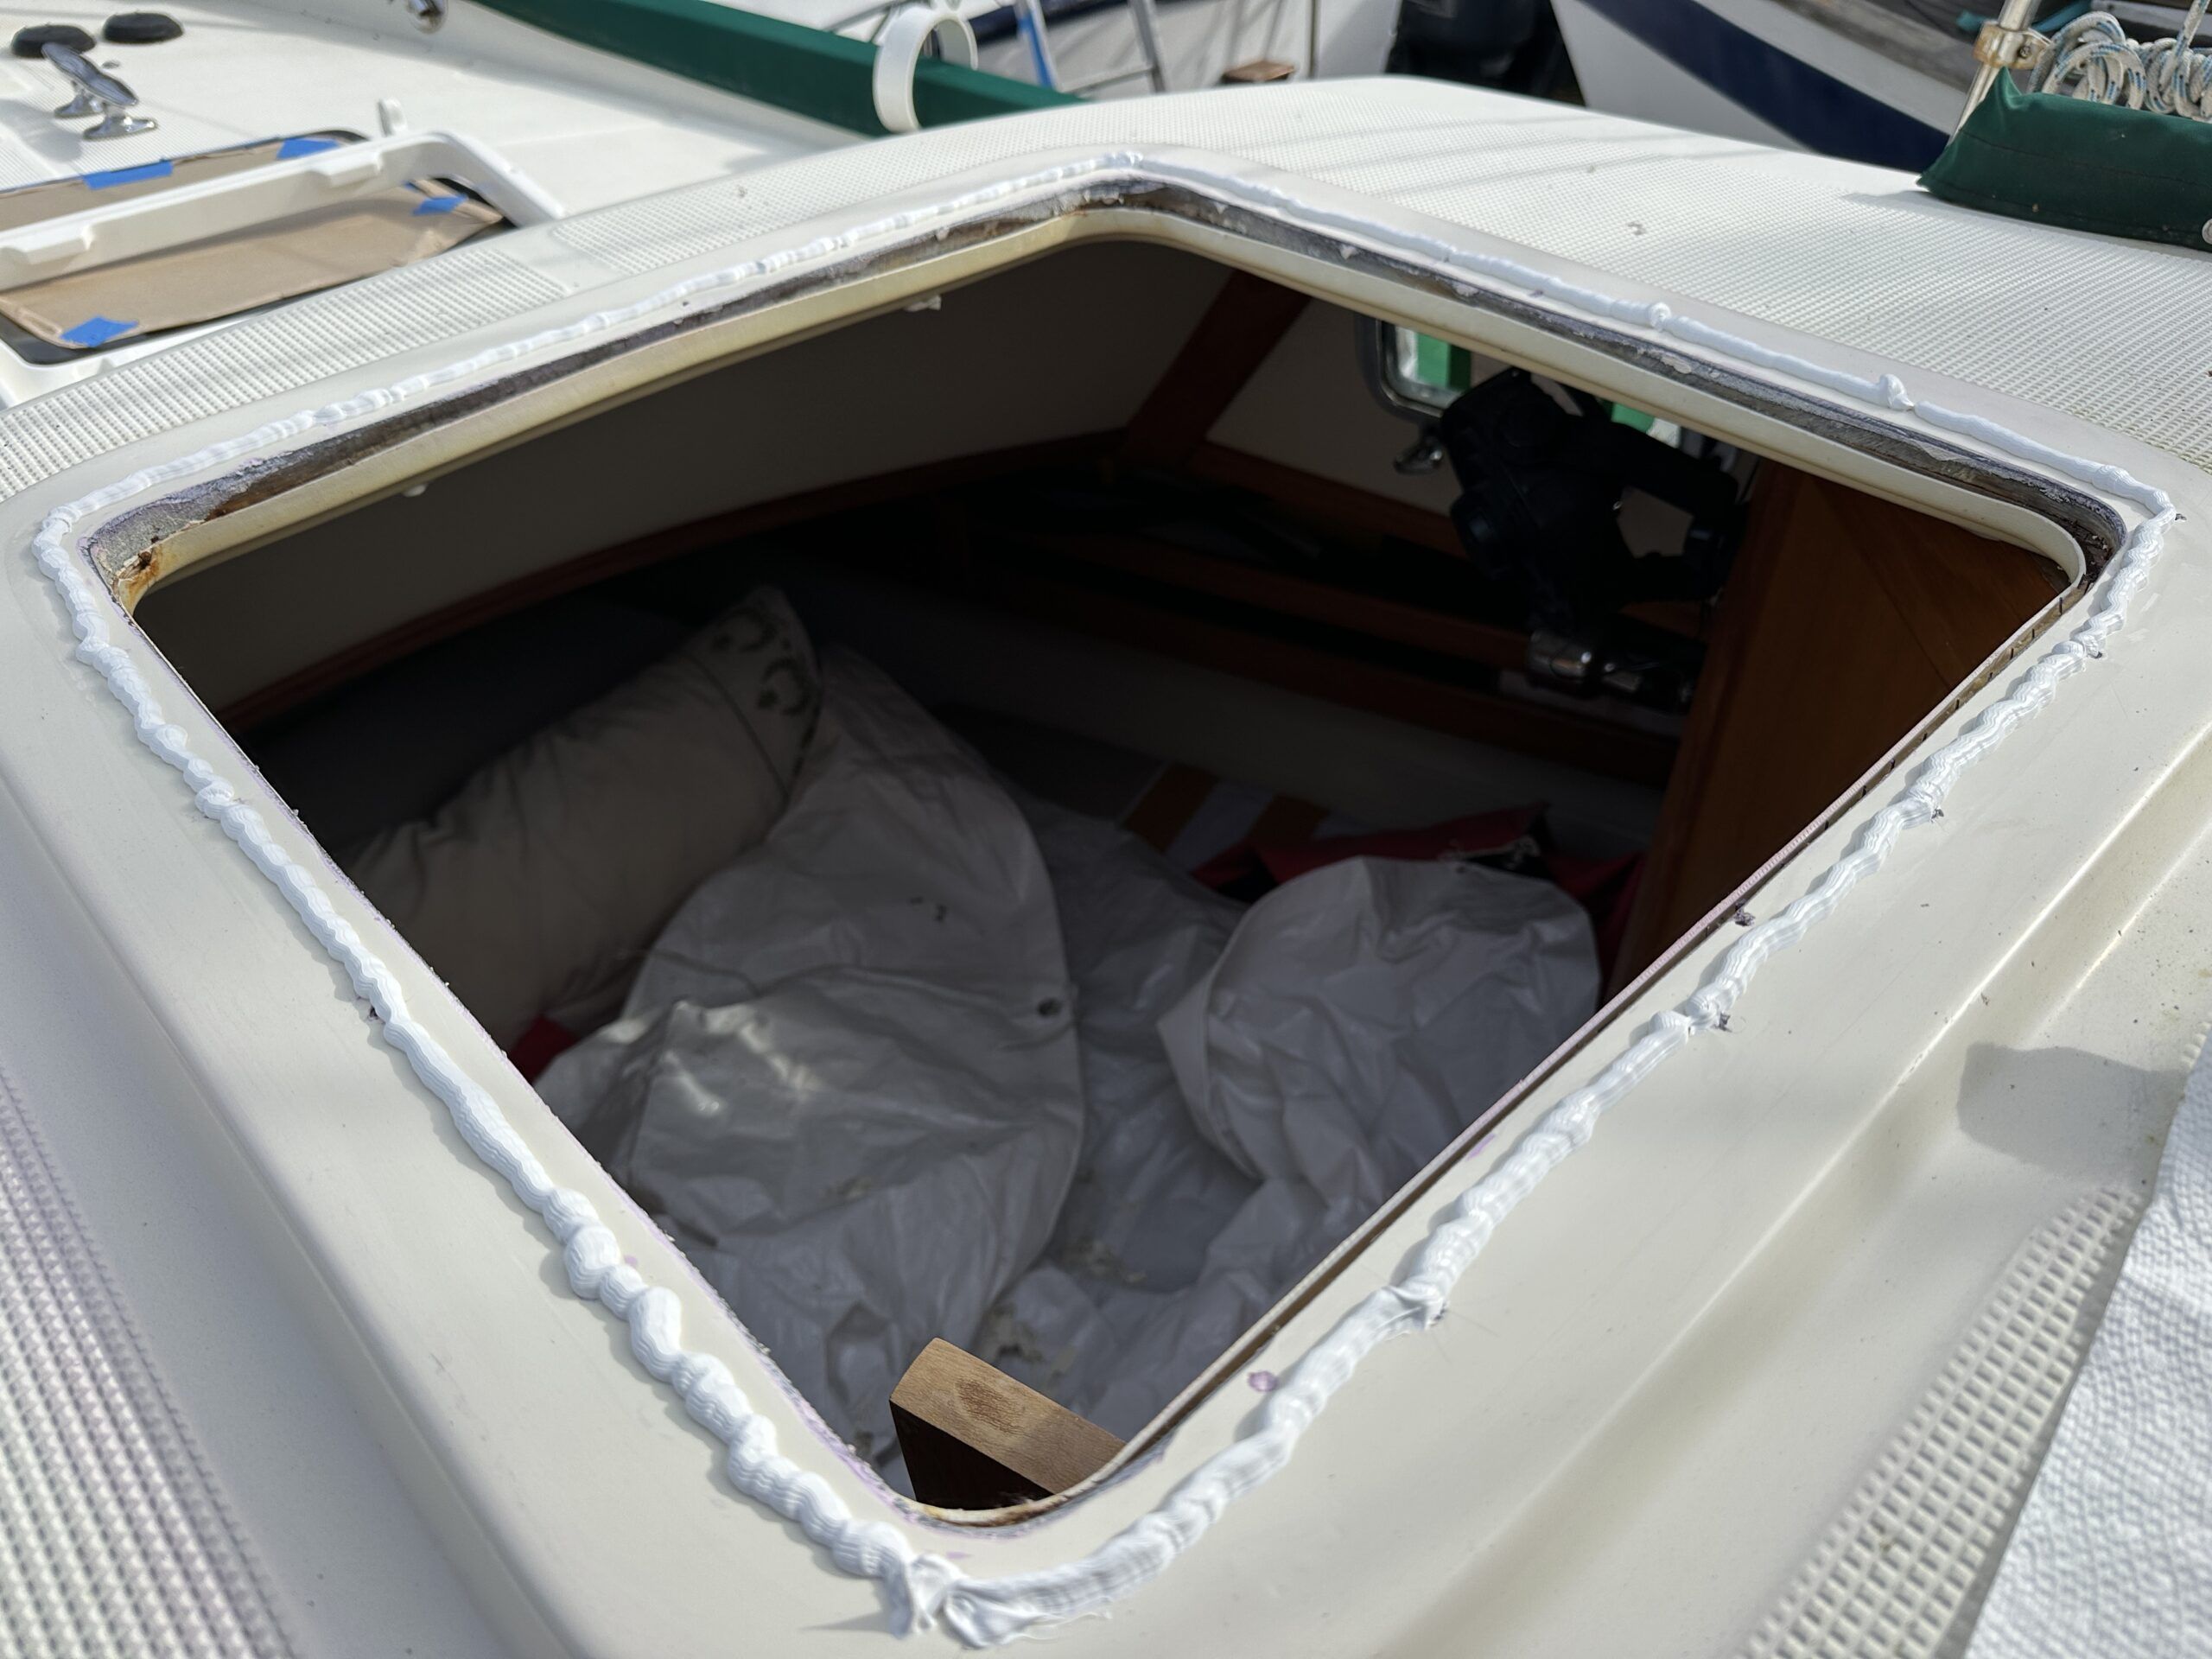
An appropriate bead of Sikaflex on the gelcoat. Be sure to inject the sealant into the screw holes as well.
21. Secure frame.
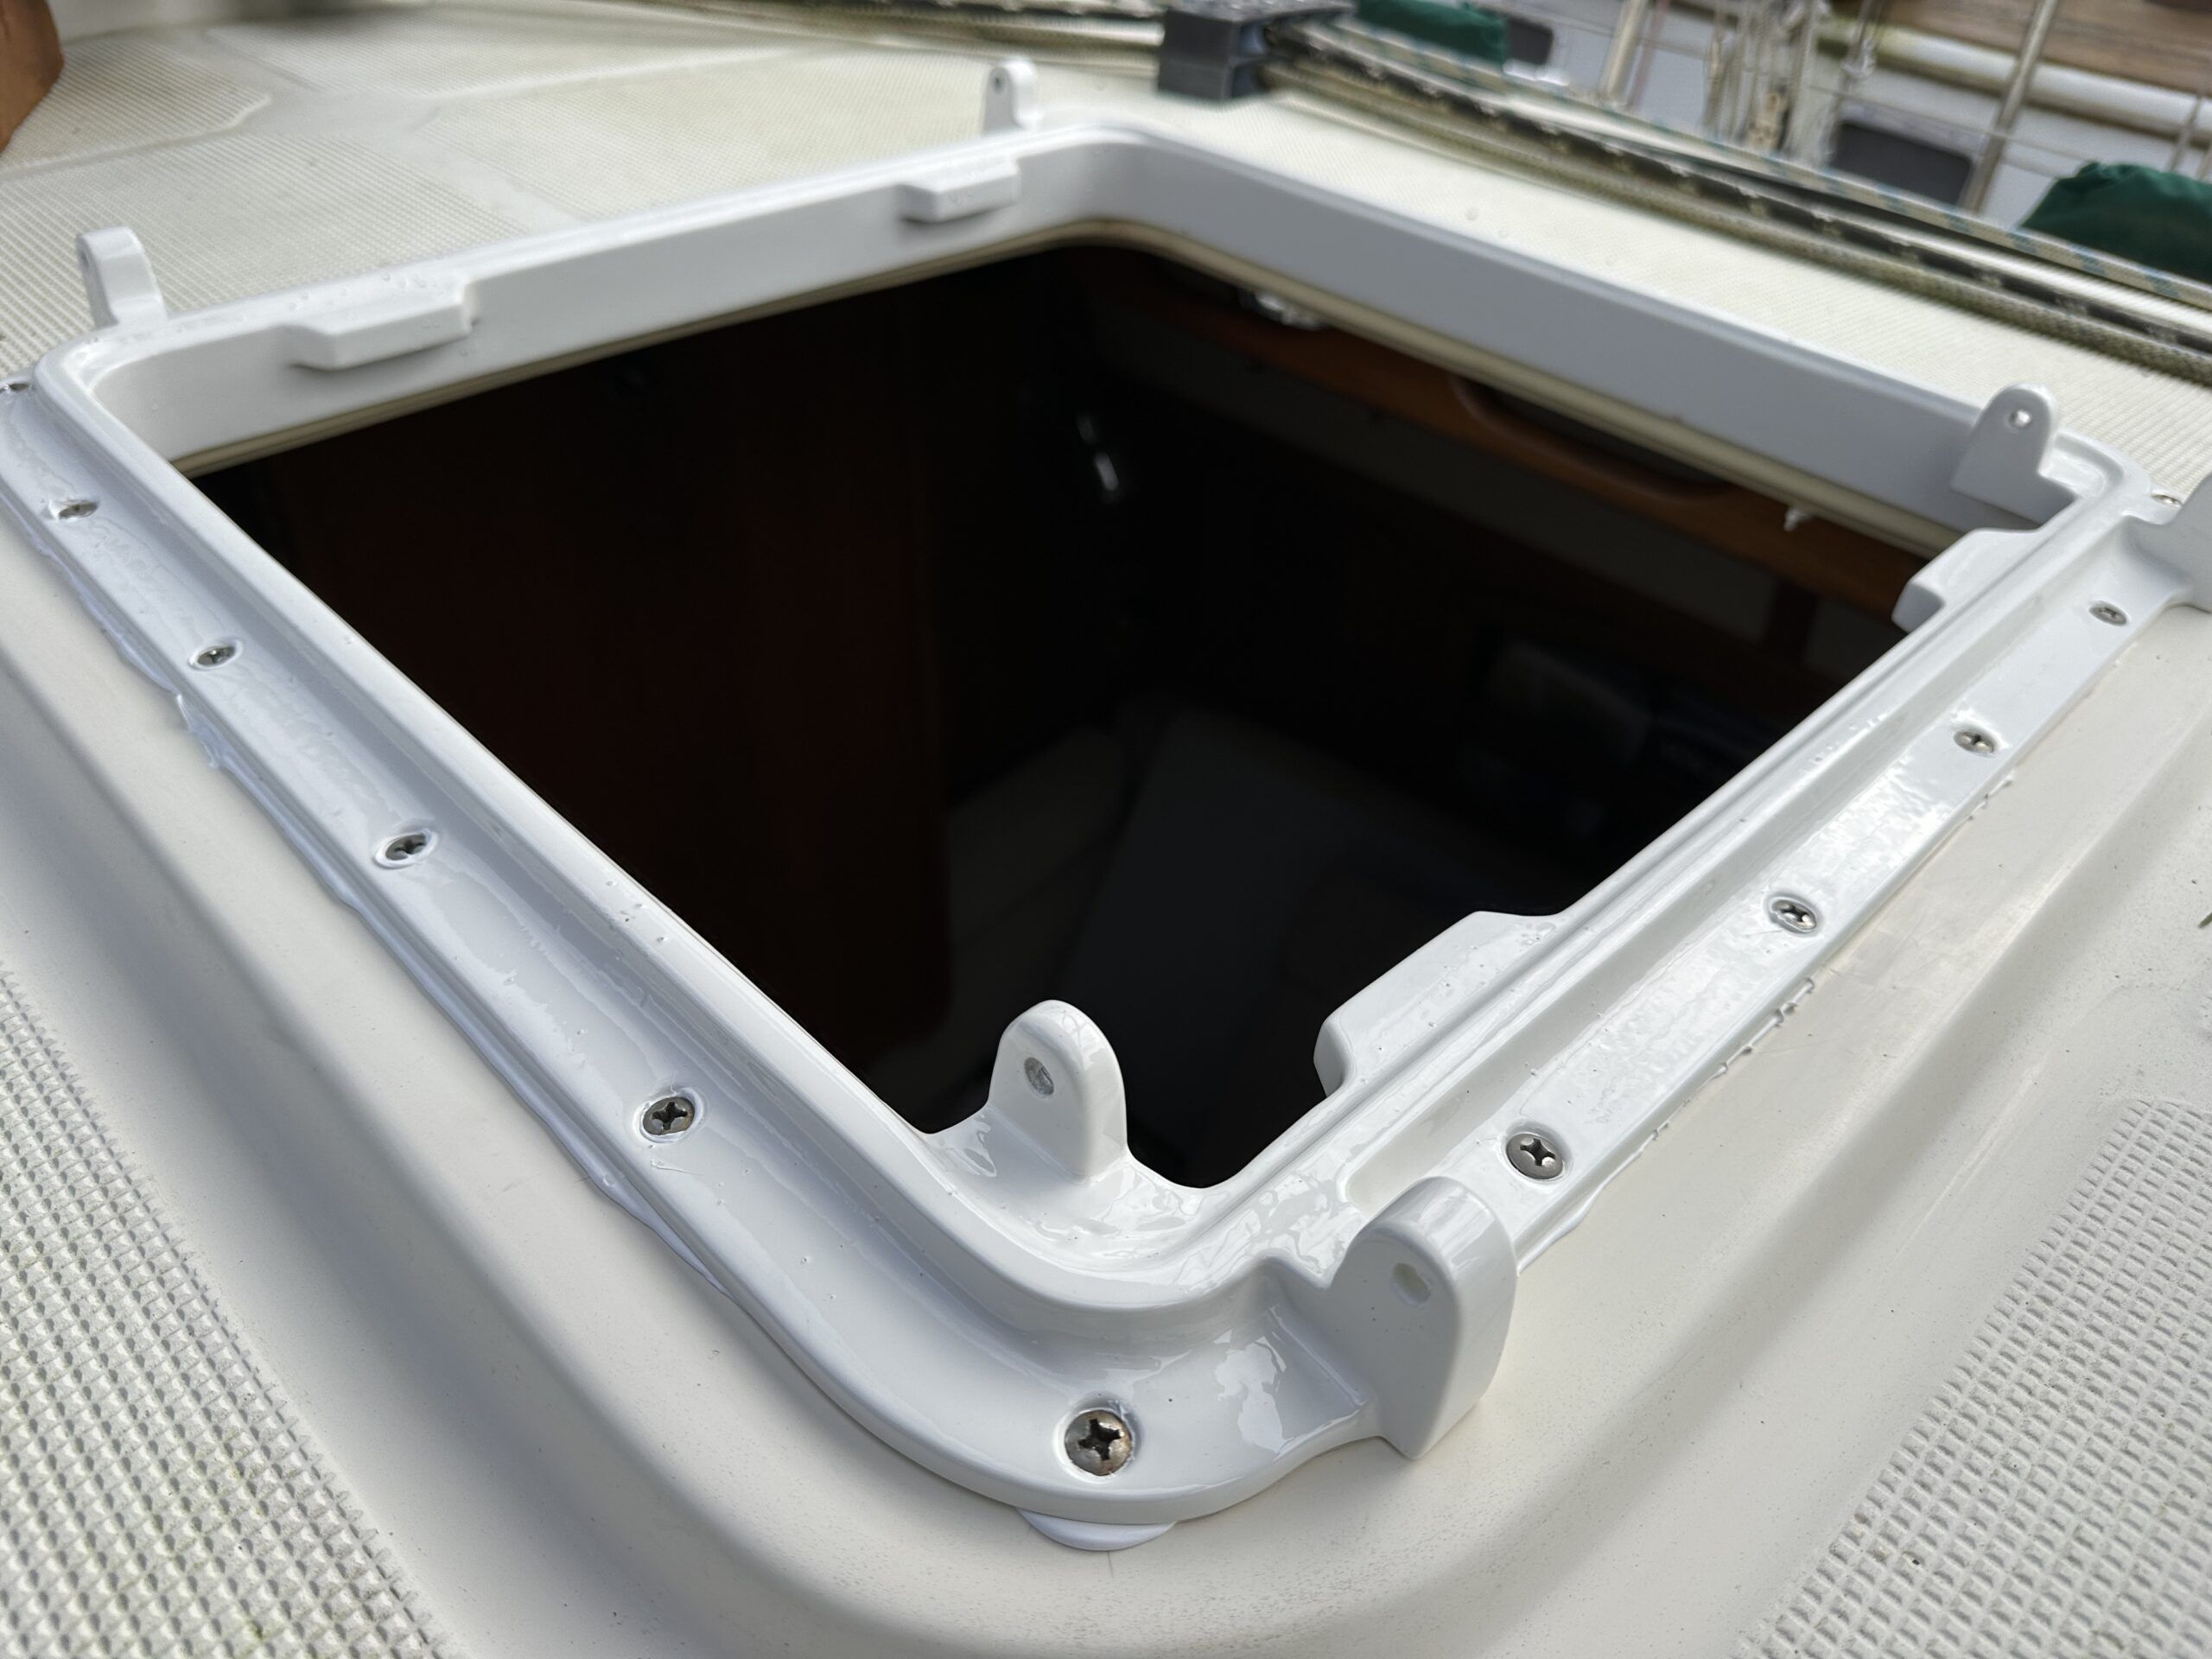
The frame back in place and secured with screws. Excess sealant protruding under the frame can be removed with small solvent-moistened paper towels.
22. Clean excess sealant.
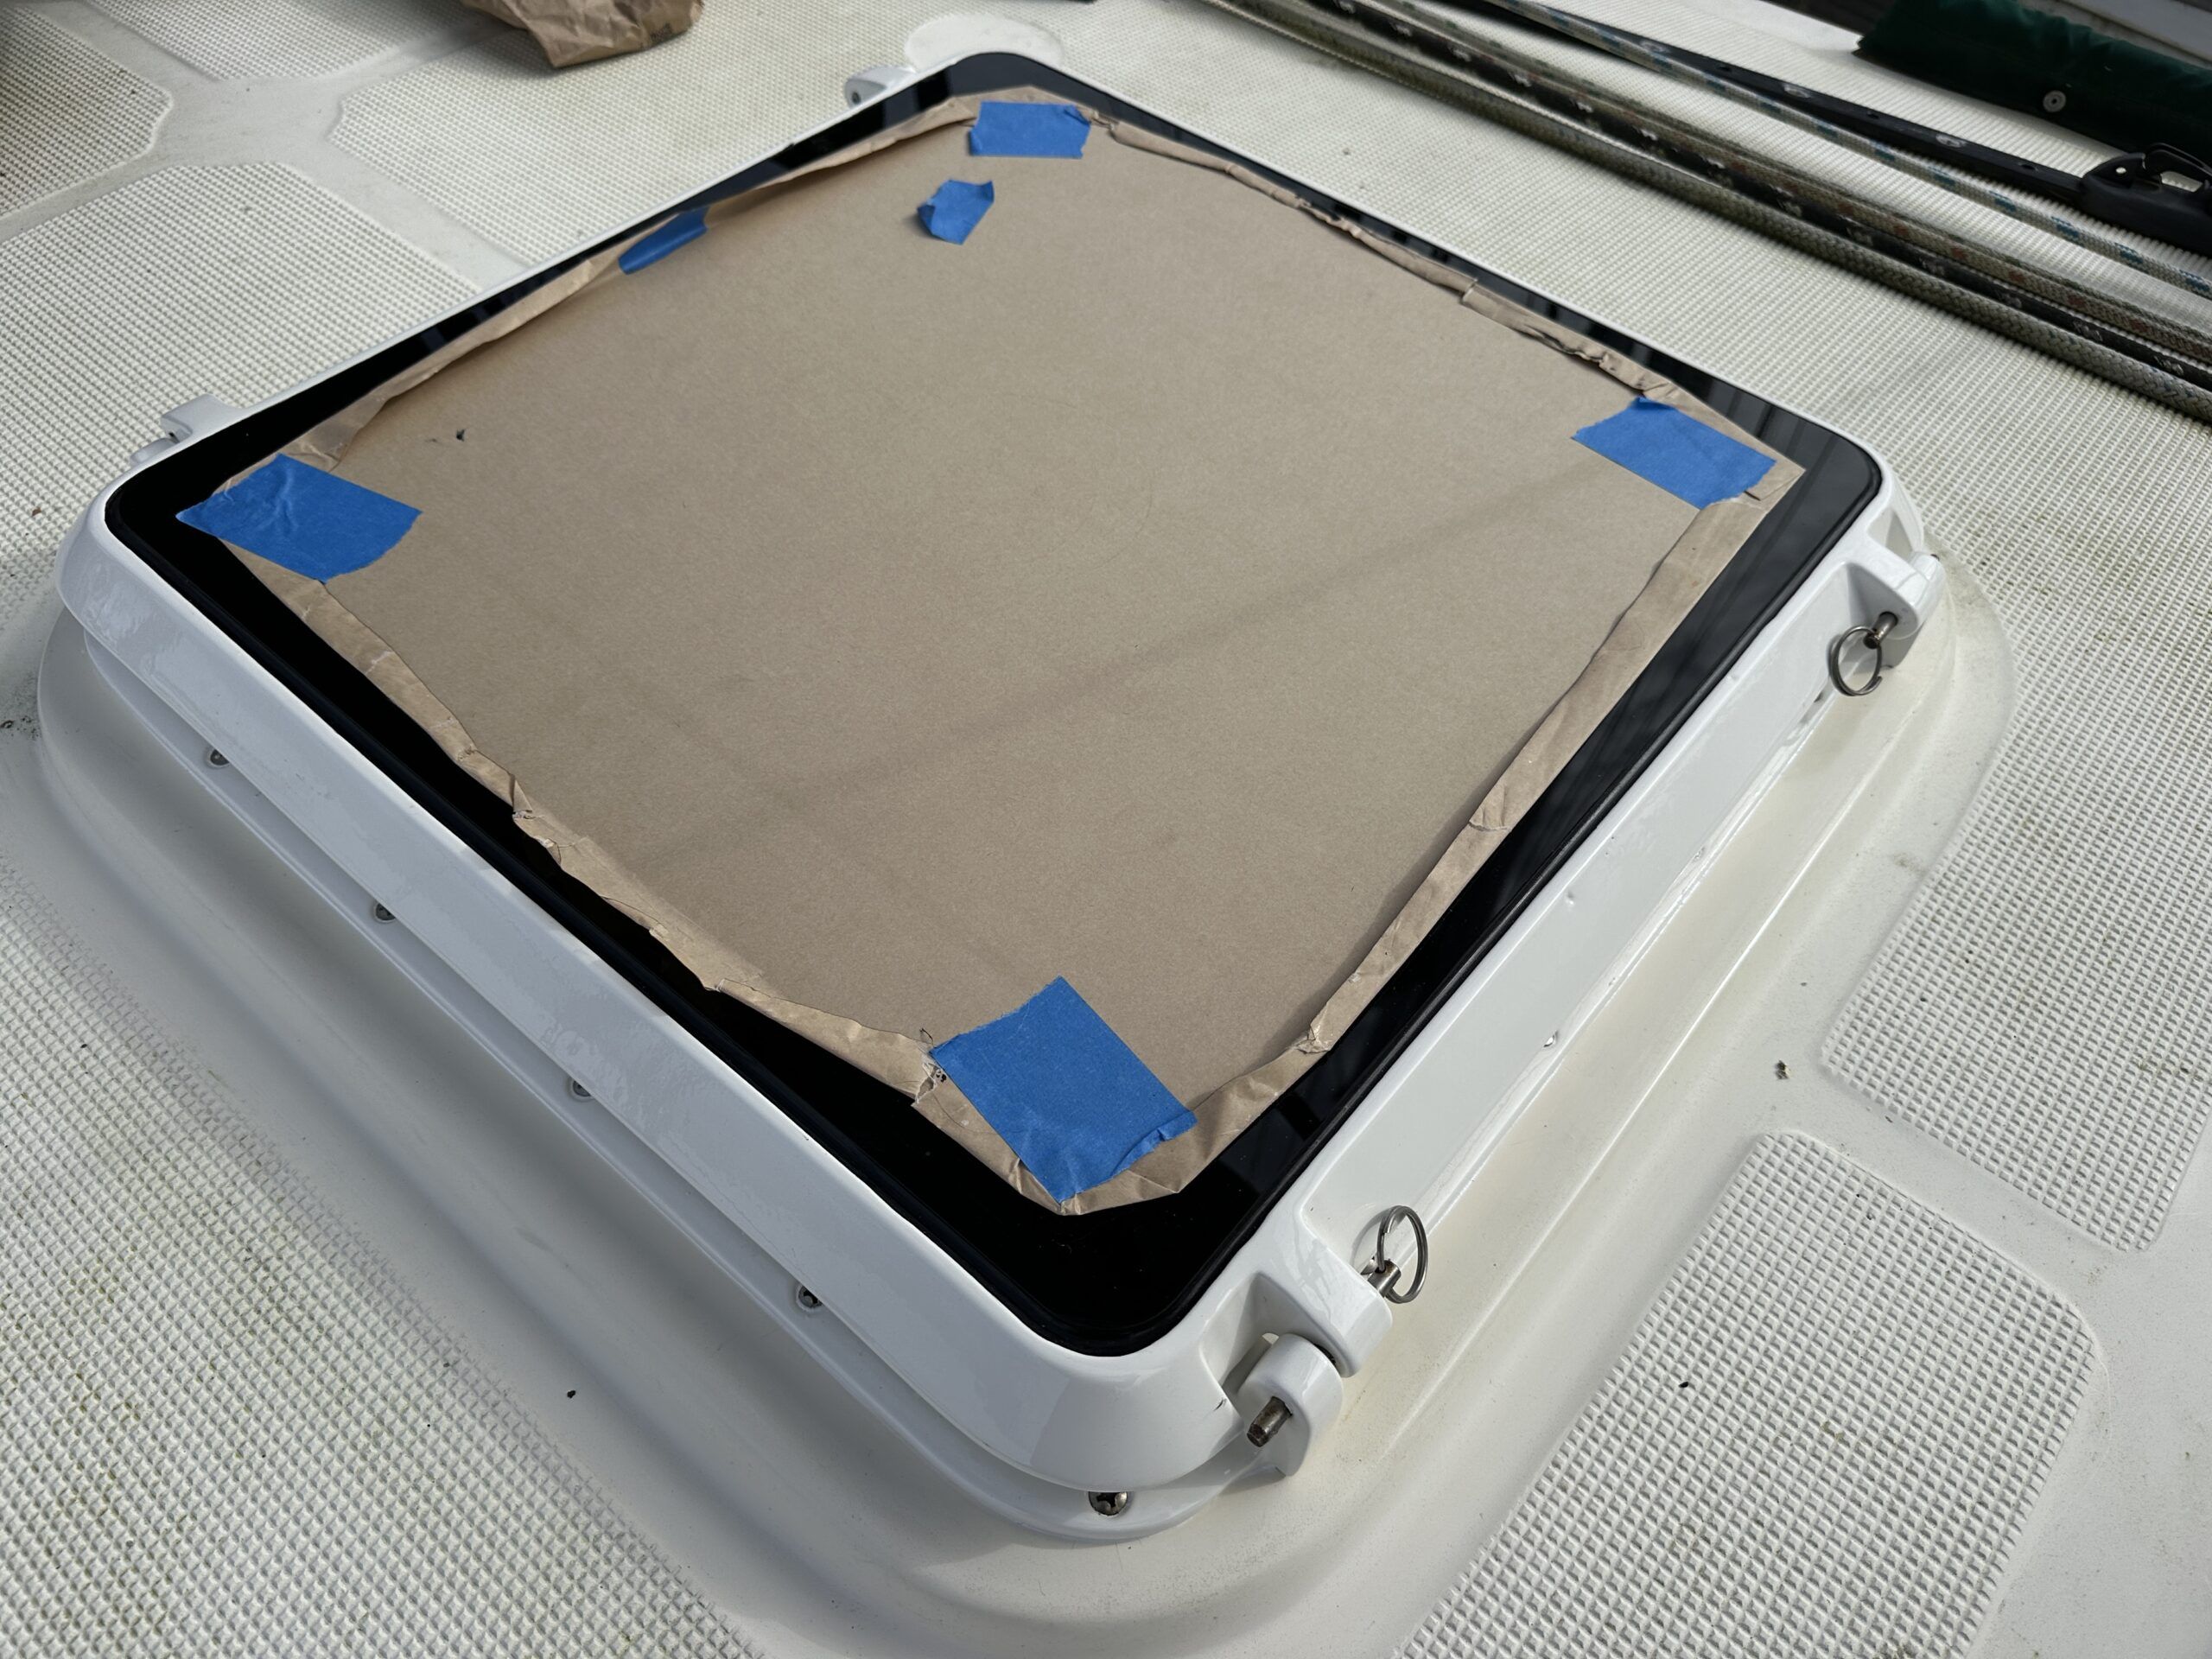
The excess sealant is cleaned up and the hatch lid secured back in place.
23. Remove protective paper.
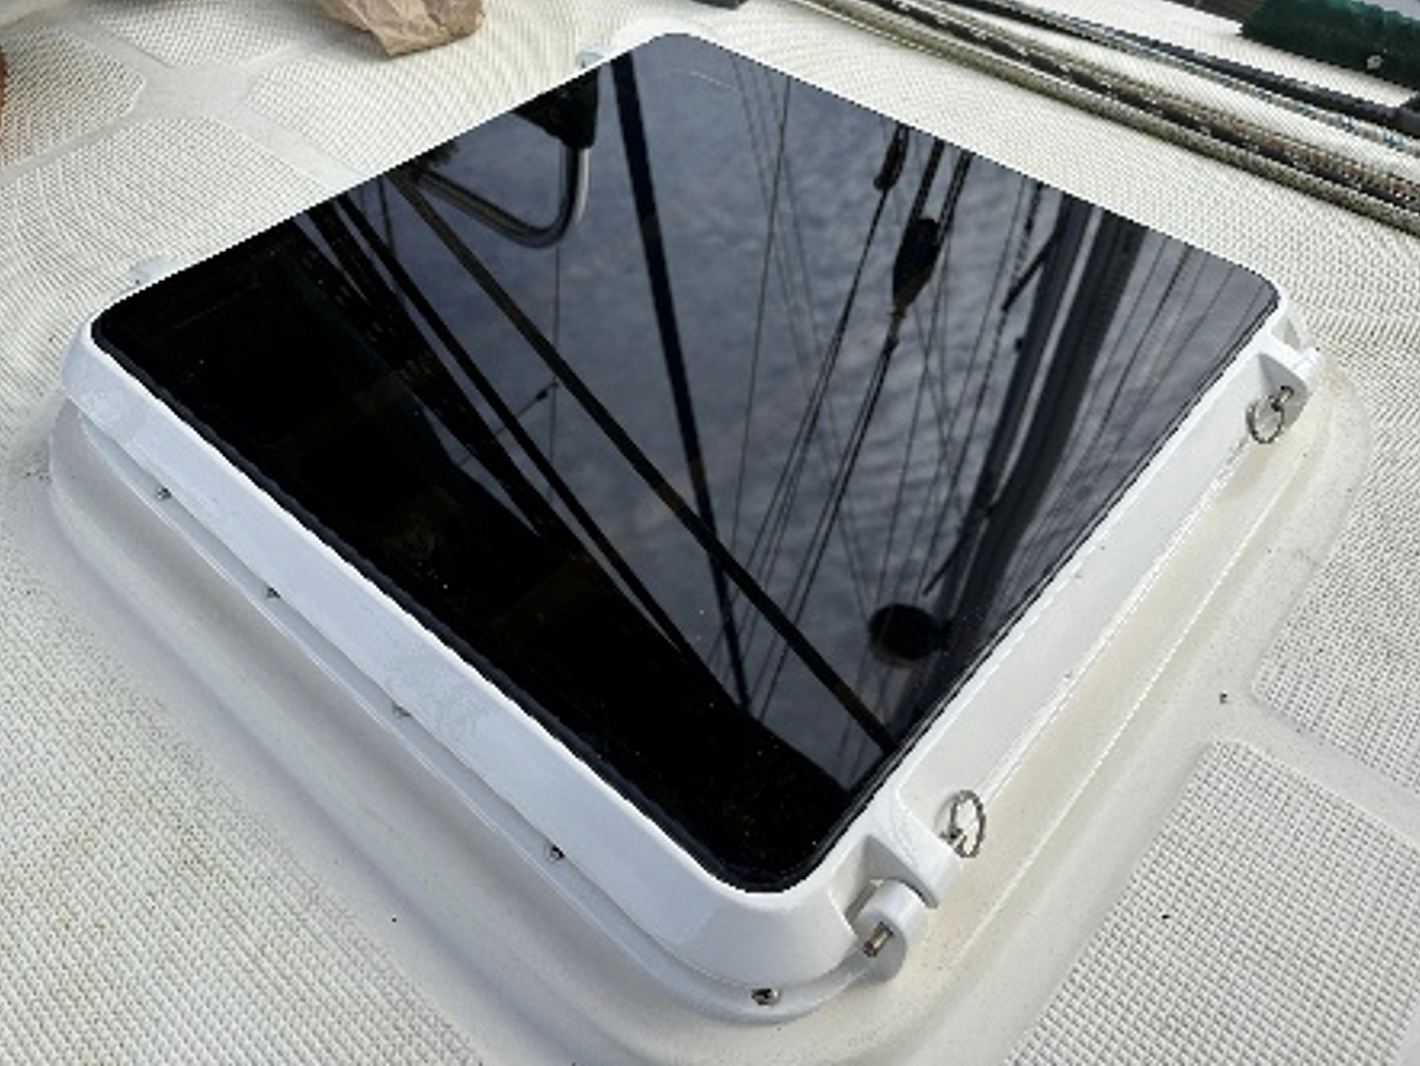
The protective paper removed from a beautifully restored hatch.











Just a couple of pointers.:
During the removal process using DeBond greatly reduces the amount of force required to remove the hatch. Be patient as the DeBond is not instant. You might apply an initial coat a couple of hours before starting.
We use wooden wedges from any hardware store to work the hatch up. Spray DeBond, work seam with a thin sharp blade, usually near a corner is easier, tap in a wooden wedge.
Spray DeBond into the newly created gap and repeat. As you move you can keep taping the wedges in further, getting more lift.
When re-installing we prefer to use BedIt butyl tape between the hatch and deck.
Note:DeBond doesn’t have much effect on silicone, There are other products for silicone. Silicone has almost no value onboard a boat. Nothing sticks to cured silicone, including more silicone. So repairing anything sealed with silicone becomes difficult and takes a great deal of surface preparation.
Thanks for the comment Carl. I agree whole heartedly, there is no place on a boat for silicone based sealants. I’ve fought with many re-bedding jobs where the most time consuming part of the project was removing all traces of silicone before applying new bedding. Unfortunately, on a time-based project there isn’t always time to use DeBond as a releasing agent. But you’re right, I should have mentioned it for those projects where time is not of the essence.