
")
With most of our boats now in the drink and our sailing season in full swing, our minds do not often turn to fall preparation. Yet, every year when fall and haul out time arrives, many sailors admit that their initial plans after the spring launch, included some cradle maintenance or fixing. But time got away!
Taking some time, only a few hours or less during the summer to maintain and prepare your cradle will avoid any last-minute rush fixes and anxiety. Whether it’s a new coat of rust proof paint, new pads or the need to reset, re-bed and level, getting these done before the fall is a great stress-free strategy.
In my case, after over 10 years of use, I found my cradle base has had some settling into the ground and I wanted to reset it. Plus, ensuring that the center pad—where the keel and most of the weight of the boat sits—is properly set is important to avoid any structural damage to the boat. As a general rule, over 80 percent of a sailboat’s weight will be on the keel, resting on the cradle’s center pad, with the corner posts/pads mostly keeping the boat from toppling over.
Cockpit Drain Location
Also, an important consideration is where does the boat’s cockpit drain. In my case, it drains out the back of the boat as I have an open transom. So, my cradle will be set slightly higher in the front. This is particularly important if your cockpit drains via a through-hull fitting, especially if you’re in an area where it freezes.
Of course, if your cockpit drain is set forward, near the companionway, then the cradle should be slightly raised at the back.
Rust and Corrosion
Avoiding rust and corrosion should be an important concern. Setting the cradle off the ground is a great way to avoid rust and corrosion away from ground humidity etc. In my case, our club keeps most of the cradles in the same location throughout the year.
Cradle Care How-To
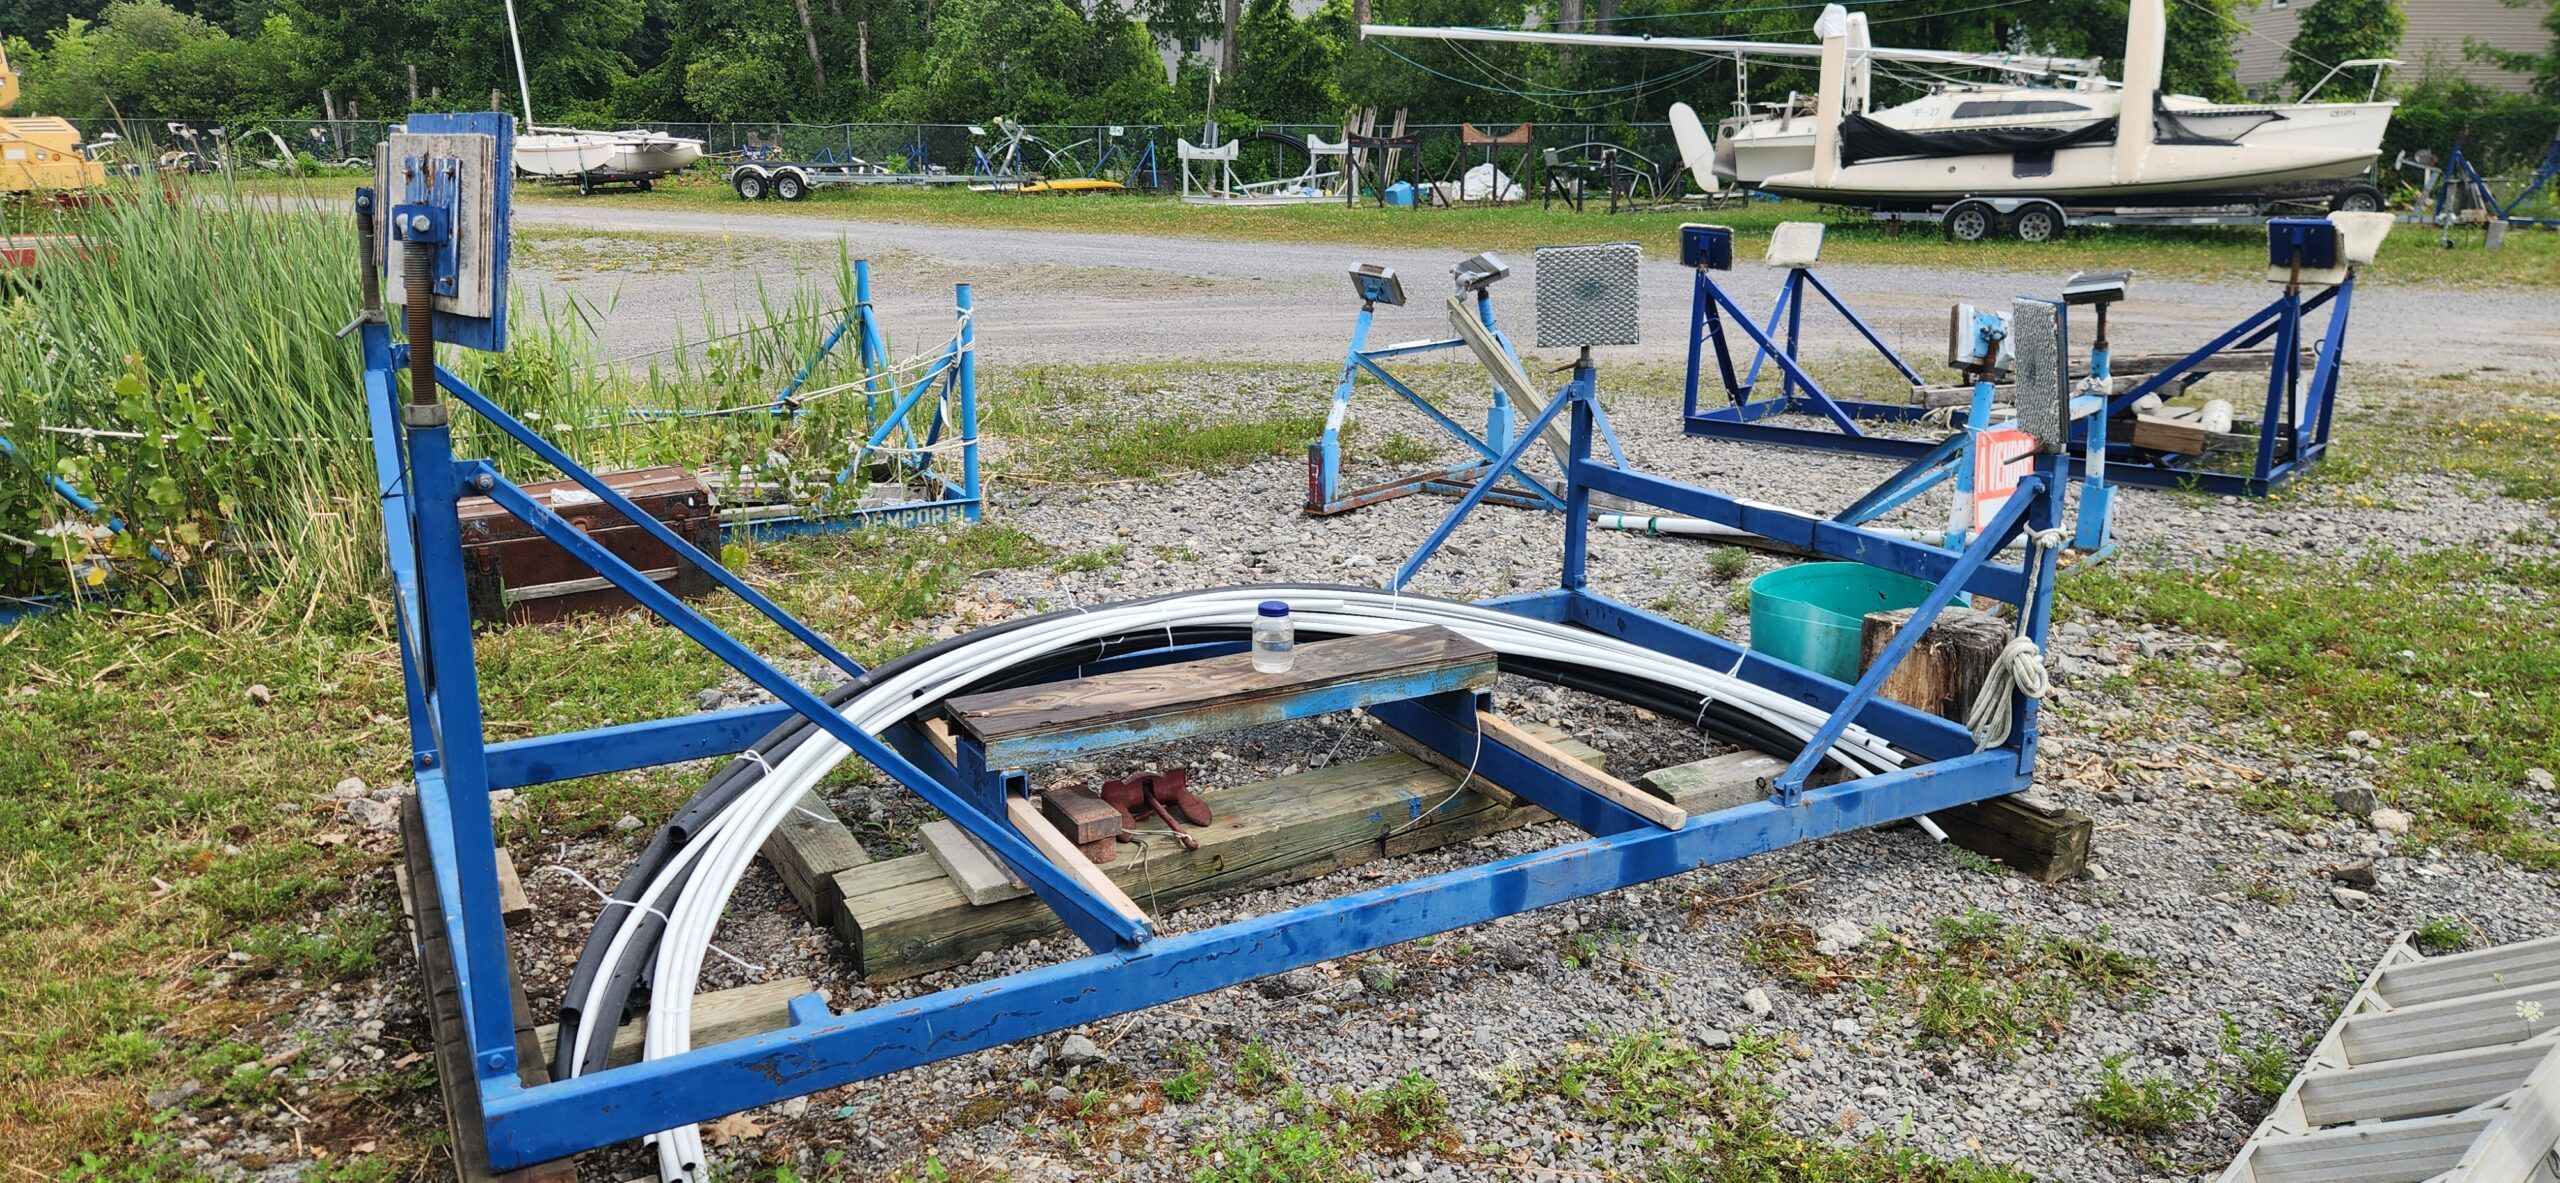
1. Level Ground and Mount Cradle
Once I’ve racked and leveled the ground, I start by setting the back and front of cradle on top of large beams. To do this, I acquired four large 6-in. x 6-in. x 6-ft. long treated wood beams, similar to railway ties, which after 10 years, are still in perfect shape. So, well worth the initial cost. But many also use cinder blocks which also work great.
2. Raise Cradle Front Higher Than Back
Once the cradle is on top of these beams (or blocks) I use a level on the keel bed to make sure the front is little higher. It does not have to be by much. I my case, adding a treated 2-in. x 4-in. beam on top of the front beam, which did the trick.
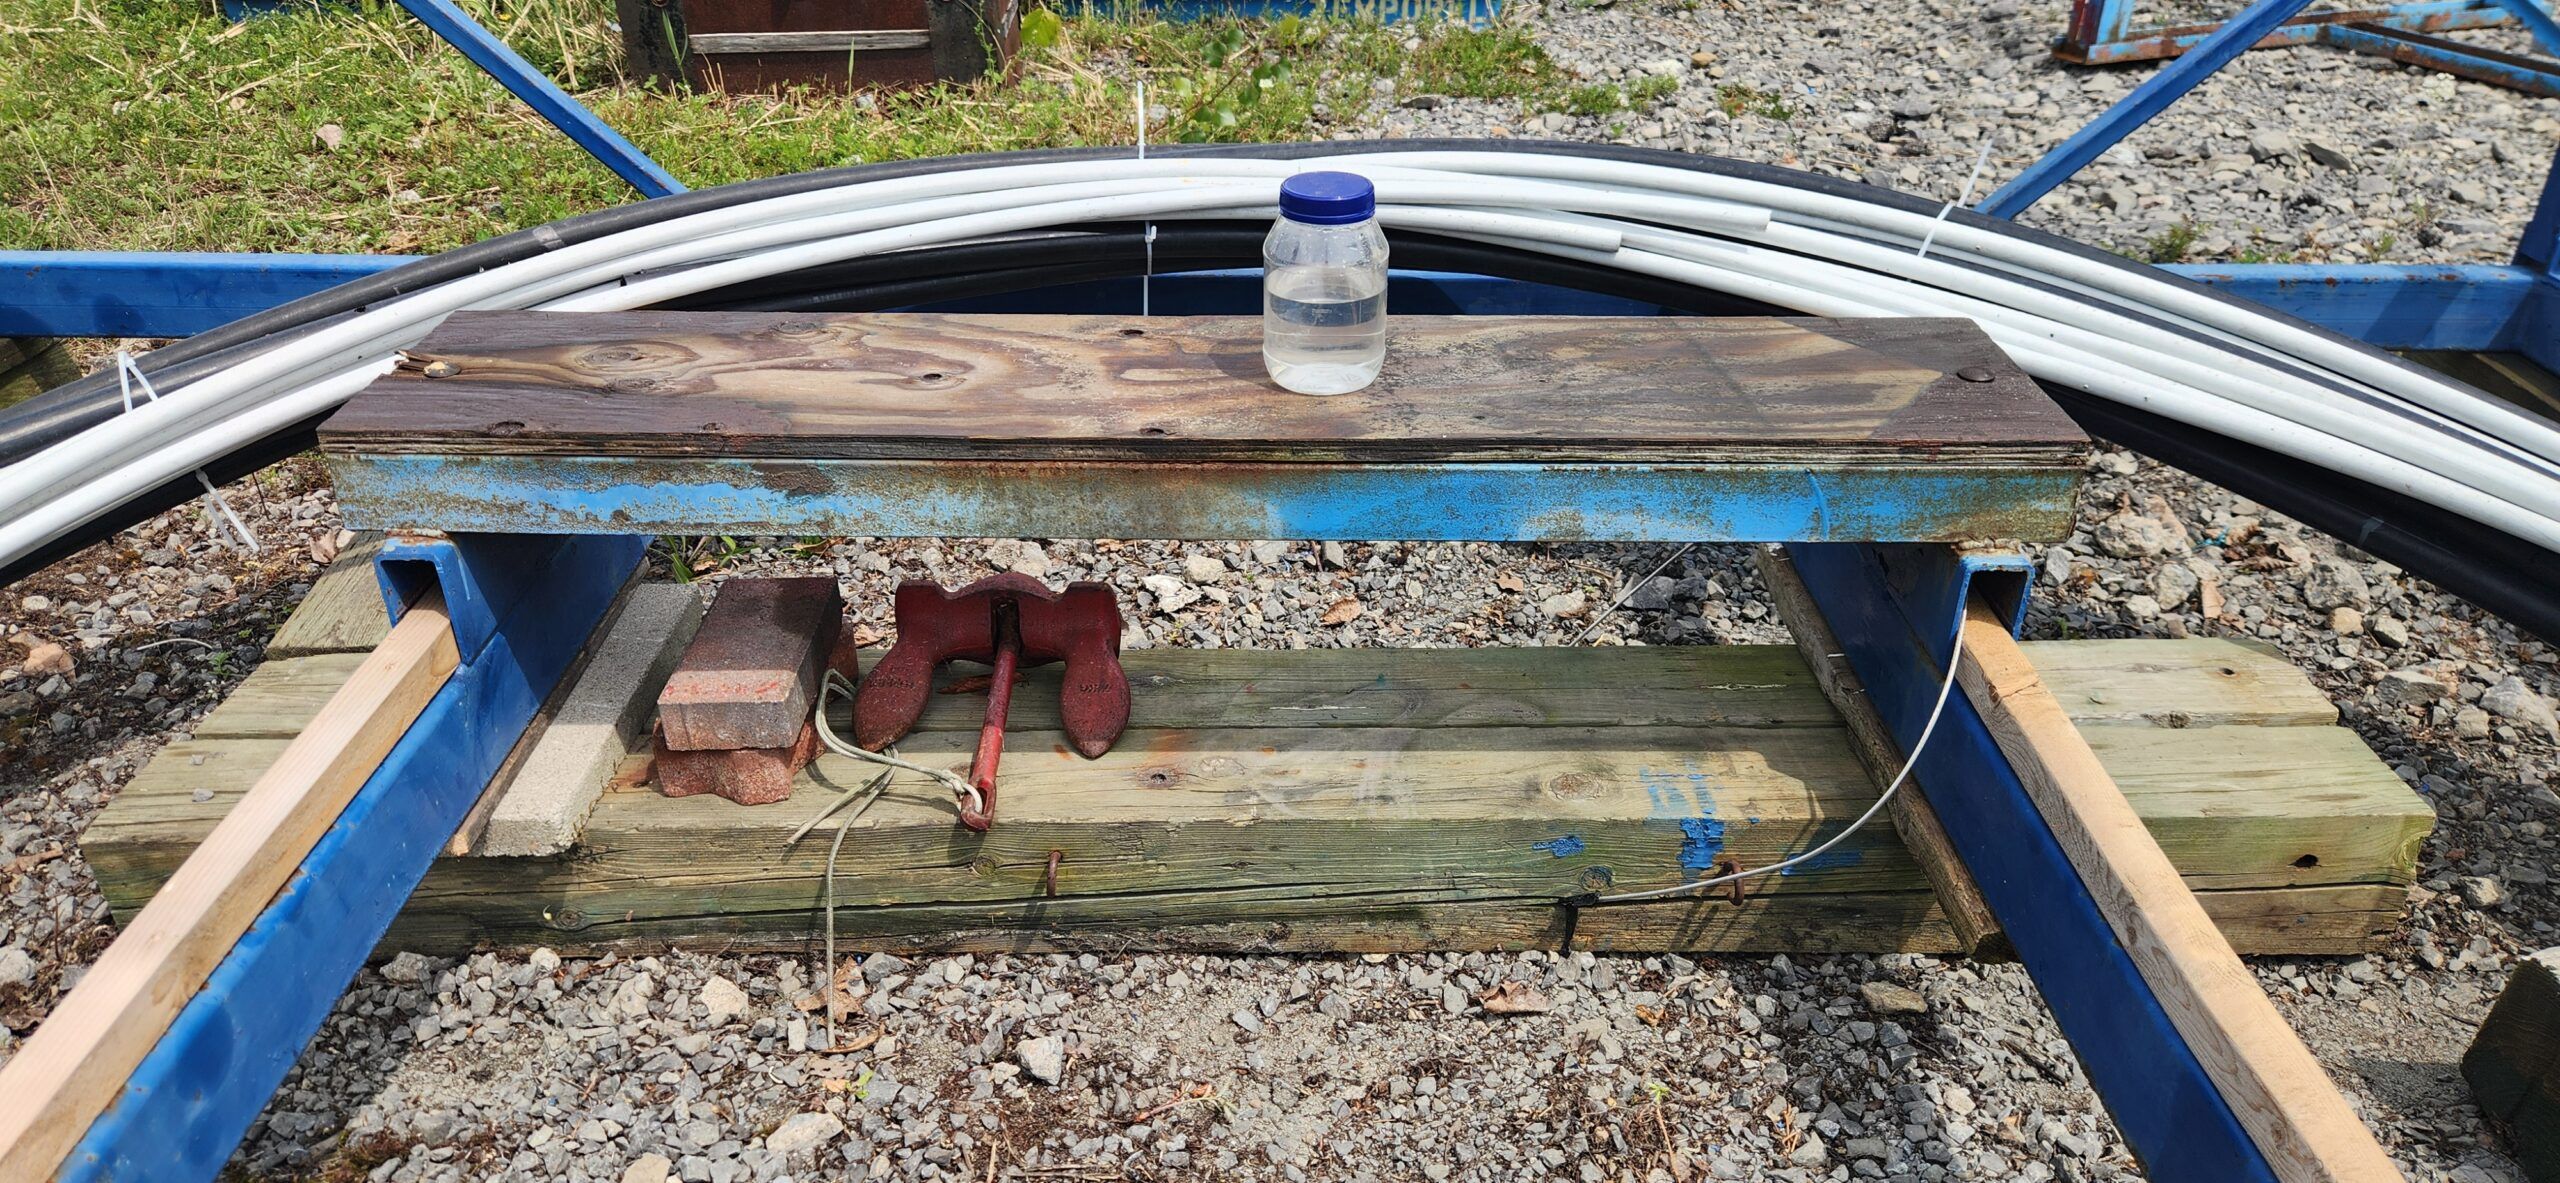
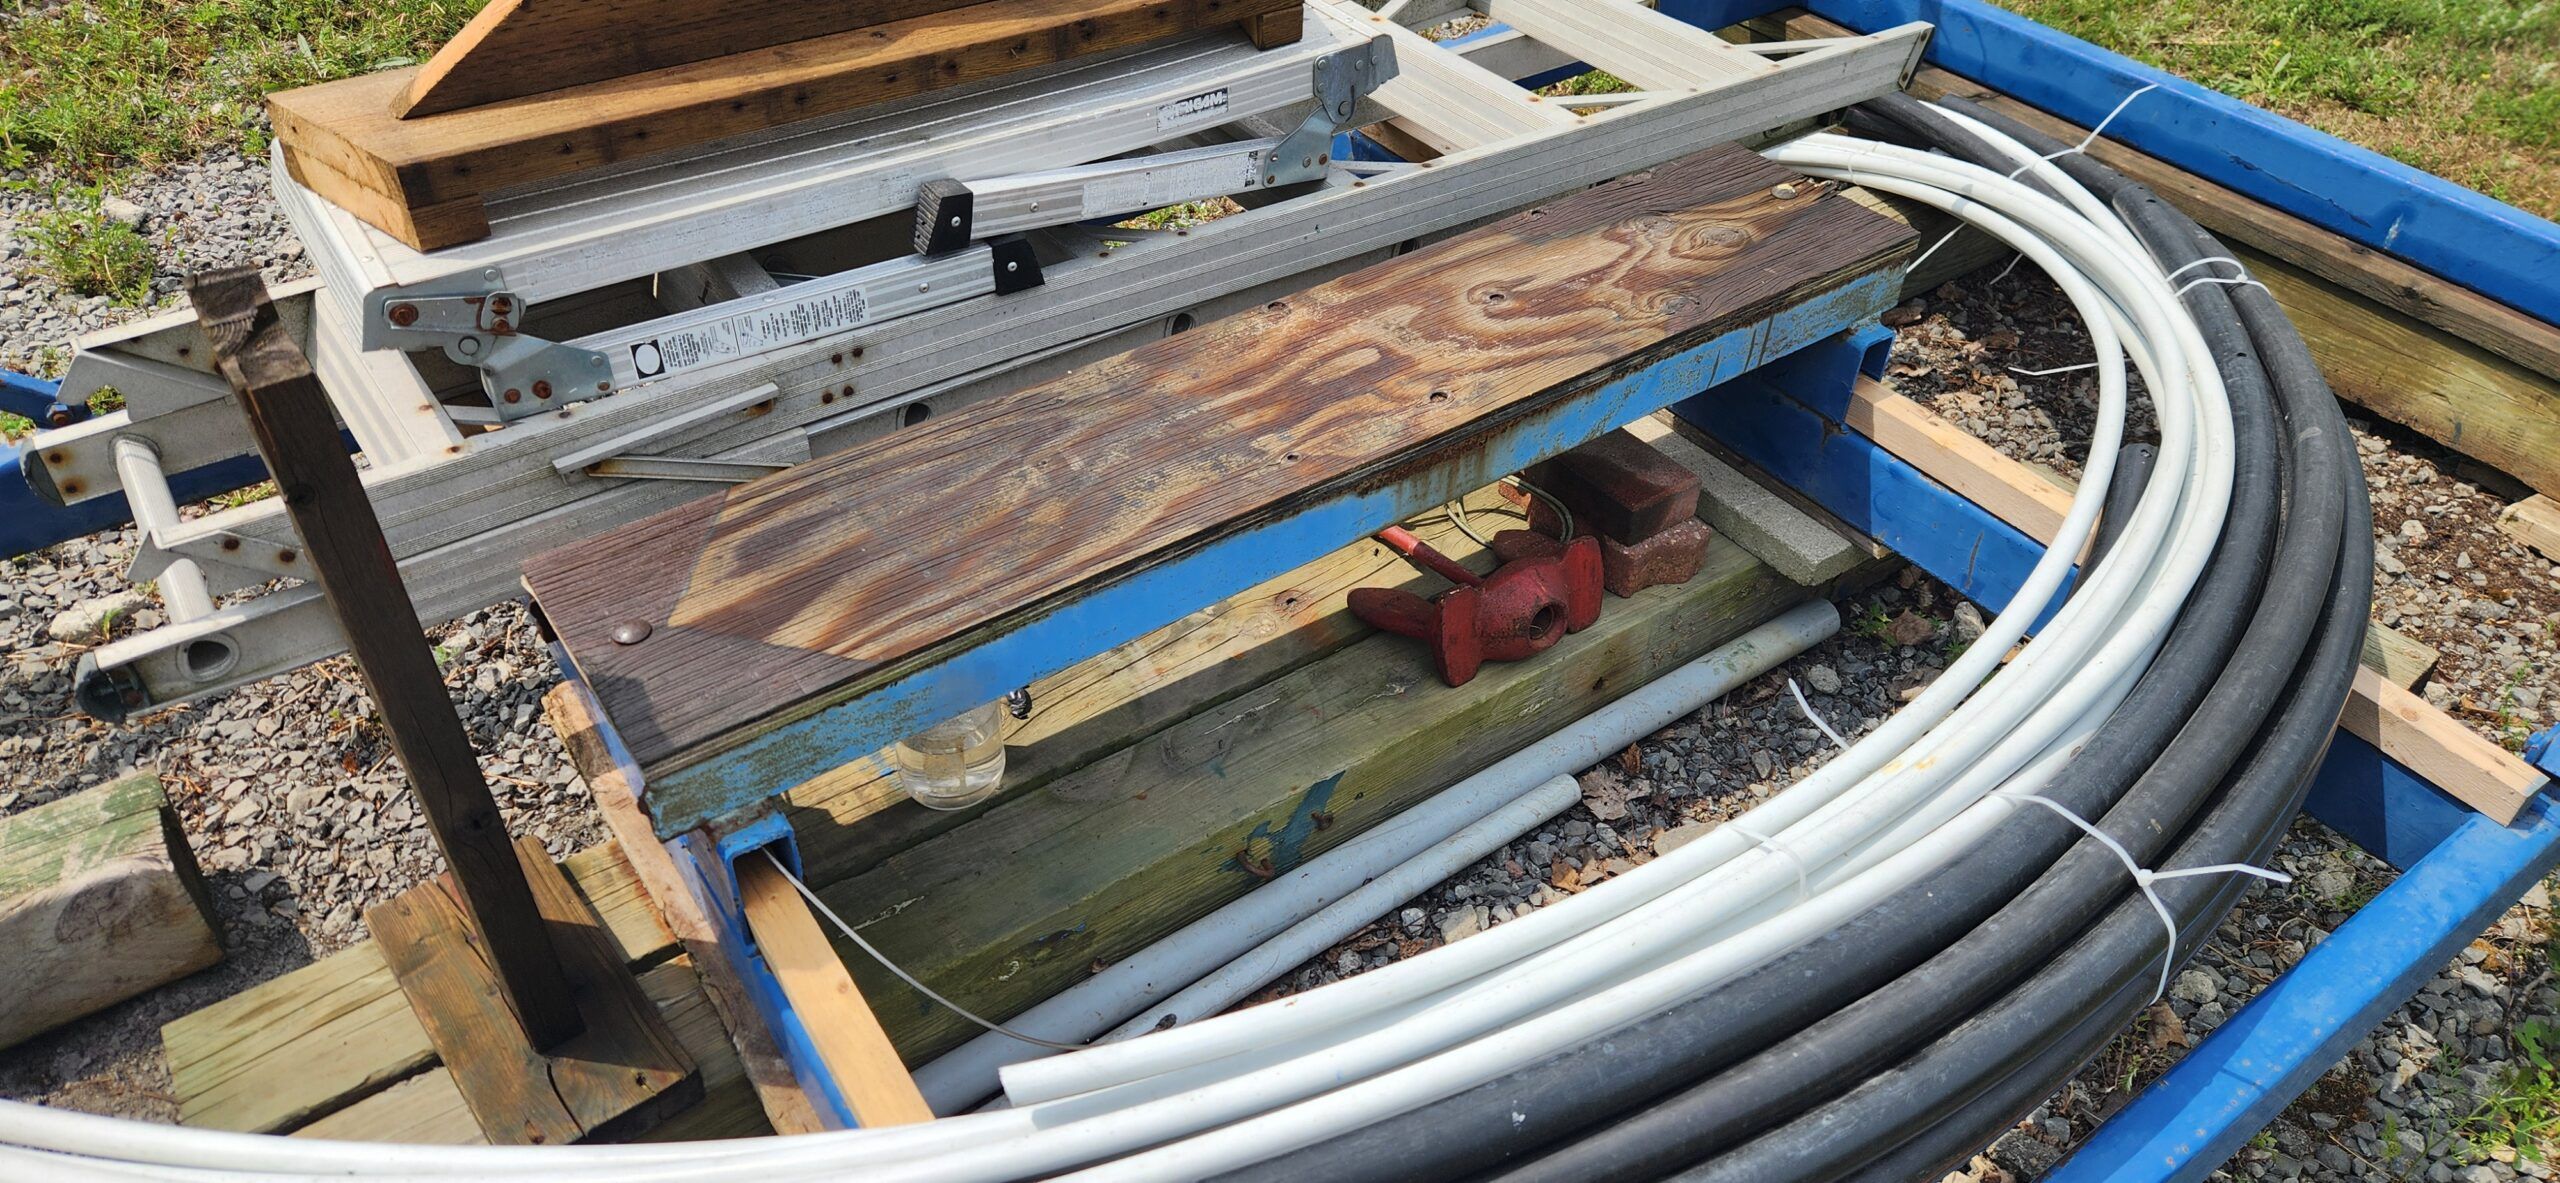
3. Align Center of Cradle
Once the front and back are in place, focus is now on the most important part, the center of the cradle, where most of the weight will rest. Using proper set of blocks or large treated wood blocks, I make sure the cradle’s own weight is mostly resting on these blocks. Using the scissor action jack from my car, I raise the cradle enough to slide wood and/or blocks until everything is set.
4. Adjust Corner Pads
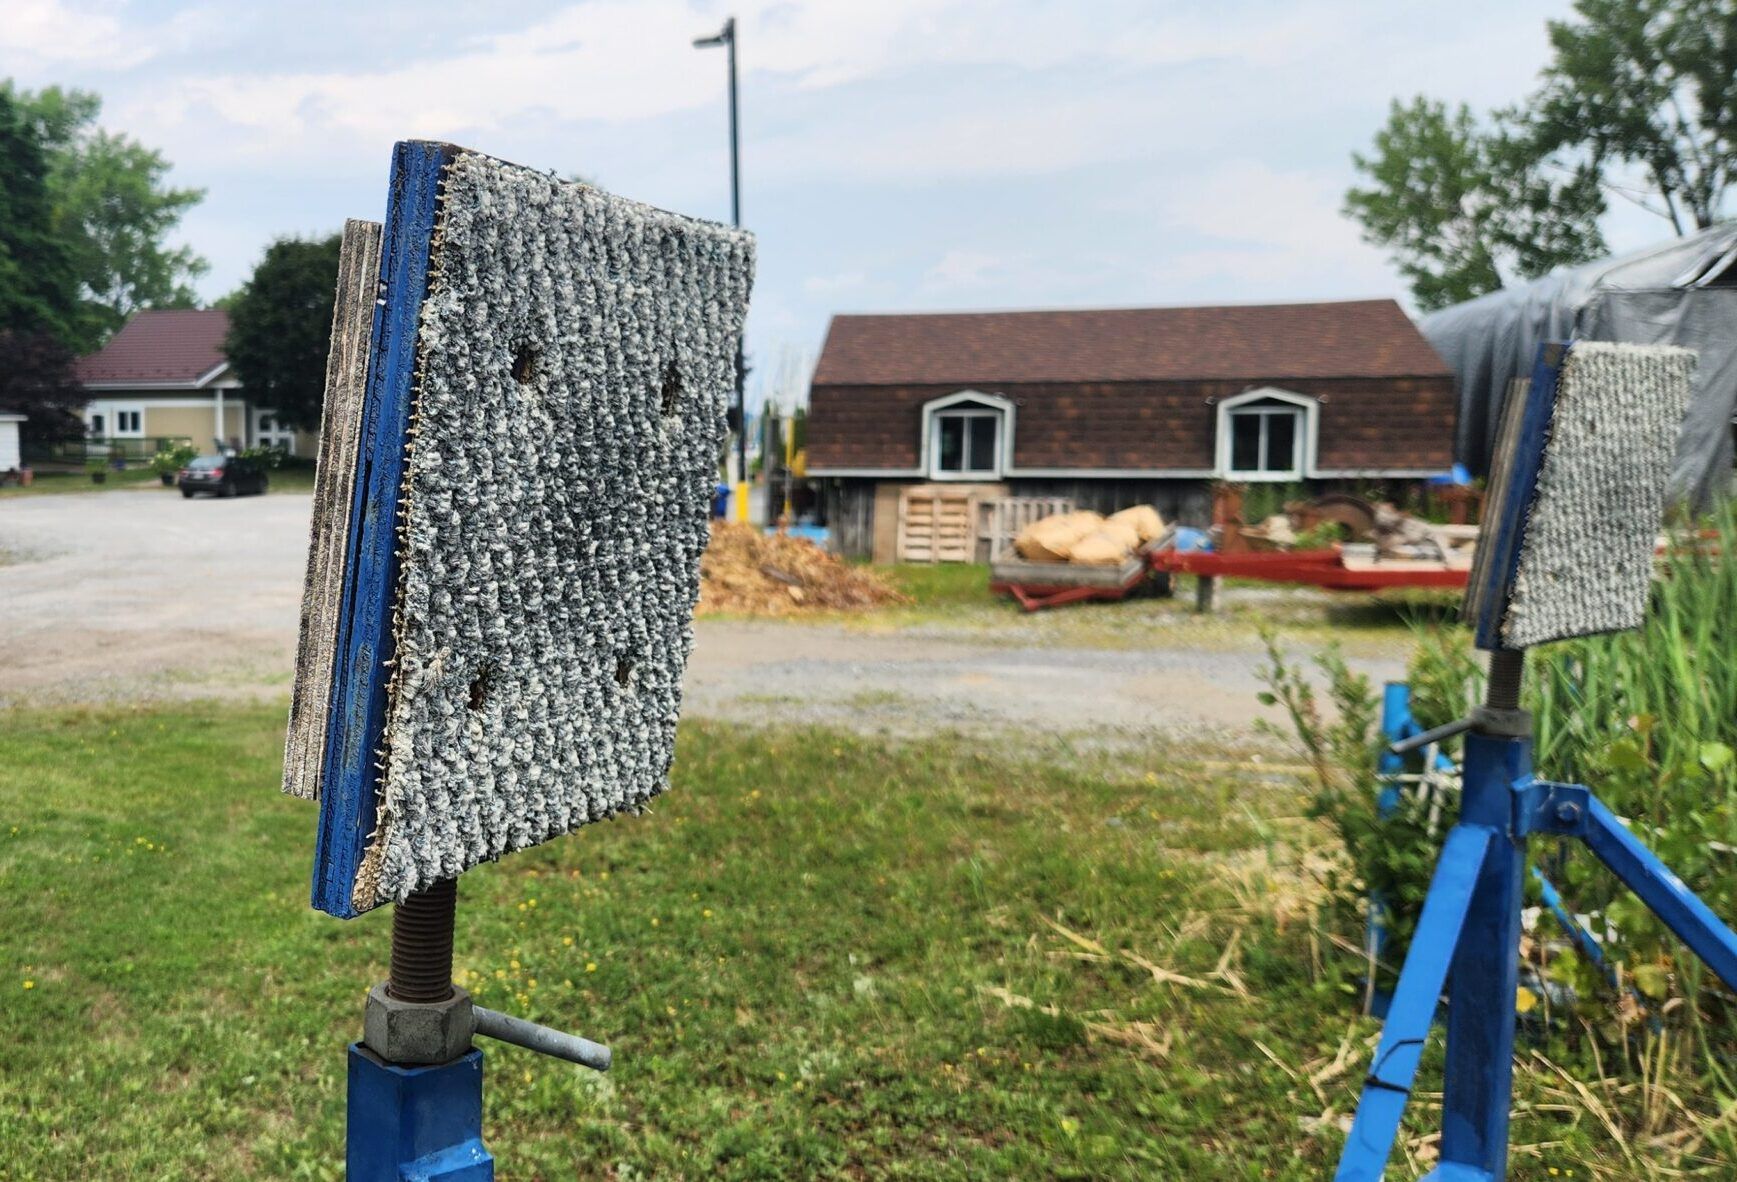
Next step are the corner pads. If you want to really maximize your flexibility, getting or modifying your pads to be adjustable is a great bonus. For example, in my case I can lower my front pads while the boat is on the cradle in order to service and paint antifouling. I also took my adjusting bolts to a welder and had handles welded on so adjusting the pads is much easier and no wrench is required.
5. Mark Where Keel Sits
Lastly, another frustration when hauling out boats, is not remembering or knowing where the boat actually fits on the cradle. In my case, I take the guess work out by clearly marking where the keel sits on the base. Doing so takes the mystery away and make the process much quicker.
6. Mark the Bow
Lastly, remember, no two cradles look the same, so clearly marking the BOW is a very useful step and makes placement of the cradle much easier. Again, taking the guess work out of the process. Also, identify your cradle so it does note get lost or accidentally used by another boat.


Cinder blocks unreliable for support and are never recommended for this purpose. If they become water saturated they can literally disintegrate from internal frost, crumbling into a pile of gravel (Google it). I’ve seen it many times. It just depends on the composition, climate, and water exposure. Concrete blocks can be acceptable, but never the more porous cinder blocks. The similarly in appearance is commonly misleading, but they are very different. Best to steer away from them entirely due to the risk of confusion.
Pressure treated wood is more predictable. The boat stand maker web sites uniformly recommend wood.
Hi Drew, Thanks for your great comment. You’re right about cinder blocks. At our club, only blocks supplied by the club are authorized in order to ensure they the right composition. Having said that, if set properly on ground that will allow water to drain and soak through and not fill the blocks, freeze and crack, cinder blocks are fine. Also, some believe laying them on their side is the best way so they cannot fill with water and snow etc. I also believe the weight of the boat has to be considered. For example, with the bulk of the boat’s weight resting on the keel, if the boat is less than 6,000 lbs, blocks are fine. In my case I use 6 x 6 treated railway ties. Like you, my preferred and recommended method is definitely treated wood. Thanks again Drew.