

One of the more popular uses for fairing compounds is for shaping underwater appendages like keels and rudders so they are more efficient. Adjusting the NACA (National Advisory Committee for Aeronautics) profile, or airfoil shape, of a fin keel or rudder can create more lift to enhance windward performance. Altering the trailing edge can yield similar improvements.
Typically, you will use a template to guide re-shaping and sanding it fair. The template is usually just a plywood strip cut to conform to the desired foil shape. You apply filling compound, and then, sand it fair until the new keel or rudder fits flush against the plywood template. Most popular racing classes offer a paper pattern that you can use to cut your own fairing templates. We used one to fair the swing keel on our Catalina 22 a few years ago, and Catalina Direct markets a video demonstrating the process.
For this project, we wanted to extend the trailing edges on the keels of a PDQ 32 catamaran that serves as one of our test boats. The trailing edges of PDQ 32 keels have a semi-circular face, of about 1-inches in diameter. The plan to extend the keels trailing edge was simple: Make cores from half-inch, pre-laminated structural fiberglass (fiber-reinforced plastic, or FRP) and grind the trailing edges down to a quarter-inch edge to follow the gradual tapering of the existing keel. This required about 5 inches of taper. The required length of the extended fairing was determined by placing straight edges on either side of the keel at several levels and measuring the distance from the current trailing edge to the intersection.
Cores for each keel were cut to size, pre-ground to the proper taper, and tacked in position with a few dabs s of thickened, 10-minute epoxy. While the epoxy set, we used furring strips to clamp the cores to each keel horizontally. Since the keel has a constant taper, the strips that we clamped to the keel met at the new trailing edge, where another set of clamps held the FRP core.
The cores were then strongly bonded in place with West System epoxy thickened with Cab-o-Sil colloidal silica. Two layers of 6-ounce glass cloth (one base, one finish) and two layers of 17-ounce biaxial glass cloth were laminated to the core.
Because the trailing edge of the keel has very little curve-only a straight taper-the fairing material (a mixture of West System slow cure epoxy and Cab-o-Sil blend) can be faired with a simple straight edge. Three coats of fairing compound were required. Between coats, we used a five-inch angle grinder (60-grit sandpaper) to roughly shape the extension. We used a very light touch to keep the sander from gouging the surface. We sanded the final coat with an orbital sander and 100-grit sandpaper, and followed this with a barrier coat of resin that was lightly sanded and painted.
Worth the trouble?
Prior to the modification, we had prepared a speed polar diagram displaying optimum boat speed in winds of varying speeds and relative angles. We also smoothed the curves using data from the polar diagram of a sistership. As much as possible, we tried to replicate the conditions before and after the keel modification. The bottom was clean, the load was light, and we sailed in the same test locations. After logging performance in various wind conditions, we concluded that the modification had improved velocity-made-good (VMG) to windward by 5 to 8 percent. Not bad.
By moving the boats center of lateral plane (CLP) aft a few inches and increasing lateral plane 12 percent, less rudder angle was required when going to windward. We noted that the rudder angle had decreased from a 6- to 8-degree range to a 3- to 5-degree range, with a corresponding reduction in drag. As speed increased, leeway was reduced, improving the boats ability to point and further reducing drag by reducing the keel angle of attack. The mainsail traveler can be trimmed closer inboard, which increases power and speed.
The handling improvements under sail were even more apparent. The boat, which was a bear to tack before, reliably passed through the eye of the wind without complaint, post-modification. The keels are less prone to stalling if pinched, allowing the helmsman to steer a more consistent and higher course. At higher speeds, turning is crisp and dodging crab pots is easier. Backing and turning in tight places does not seem to have been affected.
Conclusion
Epoxy isn’t cheap, but the project was reasonably priced, in our opinion, especially considering the results. If all of the materials had to be purchased, they would have cost about $220, but we were able to use scraps for a lot of it.
This project is unlikely to yield noticeable improvement for the casual monohull sailor or a heavy-displacement cruiser, but the techniques involved will also work for repairs.
Before investing time and money in any such modification or repair, seek out qualified input. Boat designers usually don’t miss the center of lateral plane, and a surveyors insight is important when any major keel or rudder damage is involved.
Certainly, there are boats that can benefit from changes to the underwater foils. But the advice of a naval architect or a similarly qualified professional can save a lot of time and money when making substantial changes to the rudder or keel.
A keel modification project like the one described in the accompanying article requires a fair bit of experience with laminating and fairing, but it is not beyond the reach of a competent do-it-yourselfer.
Before tackling this type of undertaking, work on a dinghy or another small project that will offer some familiarity with the tools and techniques involved. Because adding length to the keel can impact helm balance, it is also a good idea to get guidance from a naval architect before going hog wild with resin and epoxy.
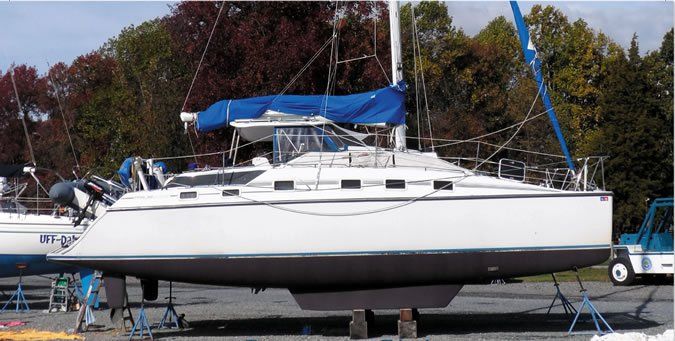
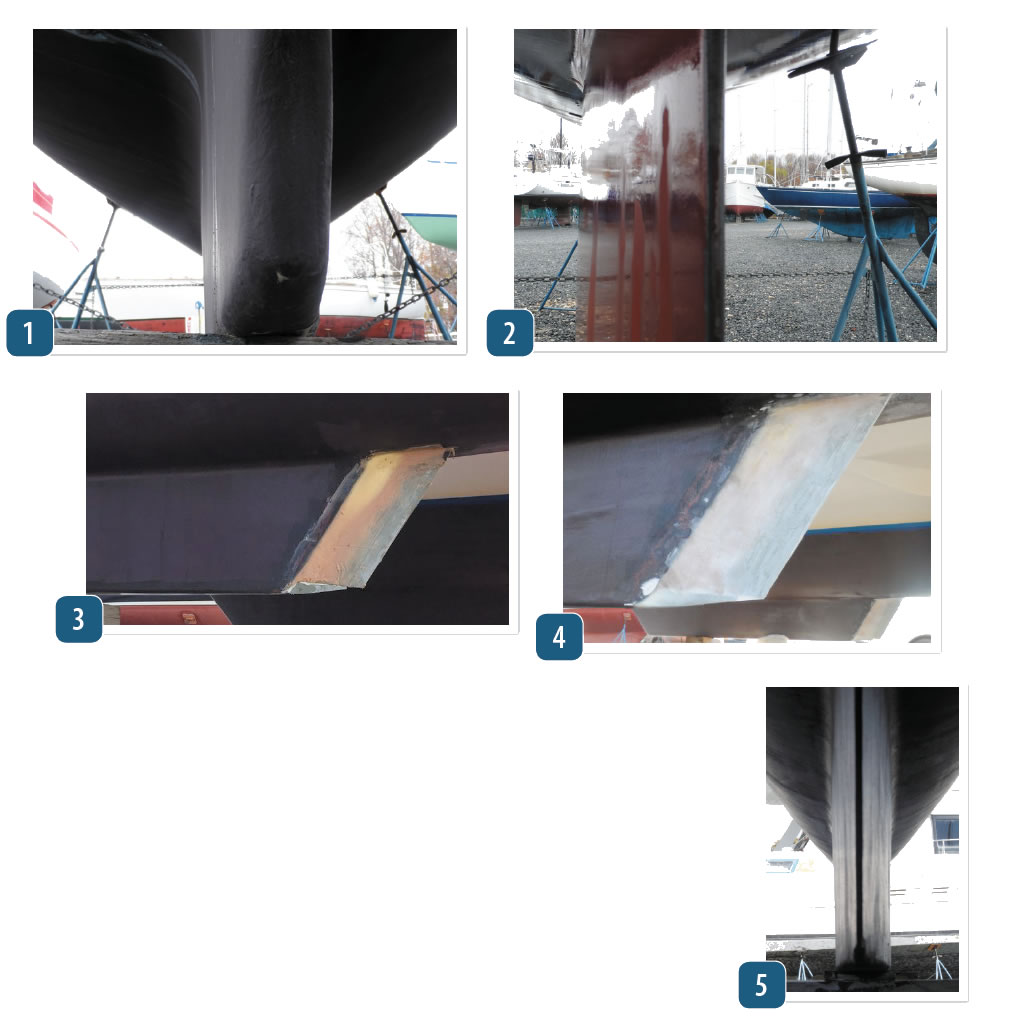
-This 40-foot cruising sailboat has a blunt trailing edge that is typical of boats of this type and size.
-This J/120 features a much finer trailing edge, the kind typically found in race boats in this size range.
-Here is the PDQ project boat’s keel after the core was bonded in place. The trailing edge was raised about 1-inch to protect it during soft groundings.
-The faired PDQ keel’s extension is ready for barrier coat and antifouling.
-The finer trailing edge (1/4-inch with paint) seemed to reduce drag and increase lift. Irregularities are brush marks, not divots.


