

OSHA has a thing against homemade tools. While a shortened extension on a paint roller won’t give them heartburn, modified power tools and attachments to power tools do. Ladders. Overhead lifting. And even wrenches that could fail in a painful way. If you feel the need to create something to solve a problem, make it sturdy and be certain it cannot hurt you if it fails. When in doubt, search it out and buy a commercial version; the engineering is more likely to be right.
We think these are pretty safe.
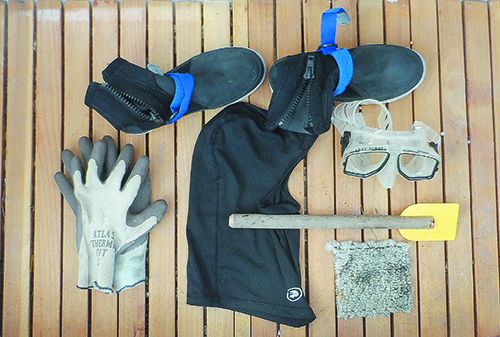
DIY Bottom Scraper for In-Water Cleaning
Heavy cleaning carries the risk of paint damage and pollution of the environment—see “Bottom Paint Care”. But often there are just a few stubborn barnacles that you can’t pry off with your gloved thumb, and the prop needs frequent touch ups. A metal scraper will scratch whatever it touches and remove paint. Plastic ice scrapers are too stiff and plastic drywall knives are too hard to hold on to. Let go for a moment and your scraper sinks to the bottom (this one floats). We’ve been using this DIY version for 30 years, ever since our first go with something less handy and more damaging.
paint. We looked at the tricks and tools that will ensure maximum protection and minimum impact on the environment (see “Cleaning Your Hull”).
The handle is a scrap bit of broom stick, or better yet, something a little fatter, like a wooden closet rod. A length of 12 to 18 inches provides leverage, reach and floats well. The extra length is also handy for removing mud from an anchor on a bow roller. Carefully round the end, in case it becomes necessary to tuck it into your waistband while swimming. The blade can be an epoxy spreader (too soft), a disposable plastic drywall knife with the handle cut off (best), or a bit of plastic cut from a thin cutting board or other scrap.
Slot the stick about 1 1/2 inches with a hand saw or on a table saw (a double kerf is required), chamfer the end of the rod for better clearance, and drill one or two holes for retaining screws. The blade will wear down rapidly if there are a lot of barnacles, but it is easily replaced.
Short Roller Extension for Bottom Painting
A full-length extension isn’t needed, since few boats are eight feet from keel to waterline, but using the roller handle bare means a lot of stooping and stretching, and the one-hand grip is stressful to the hand and wrist. A 3- to 4-foot extension allows a two-handed grip, eliminates bending over, and easily reaches the waterline. The work becomes less physical, and time required is reduced by 30 to 50 percent. I don’t use mini-rollers, which I find to be inefficient, except for centerboard trunks (the long holders for behind water closets are perfect) and a few odd spots. Chip brushes work for around the stands.
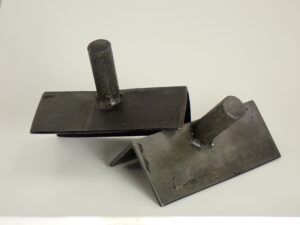
Single Blade Turbine Paint Mixer

Simplicity itself, a single flat blade is superior to common paint mixers for suspending the heavy copper and pigment that commonly settle out of antifouling paints. They are also much faster to clean, requiring only a good swipe. We’ve yet to find a good retail source. Our first batch was recycled from laboratory wastewater flocculation test stands. We then welded a few more for friends. Finally, we made one from a scrap of heavy sheet metal and a 3/8-inch rod, just to show how simple they are to make (cut a slot and drill for a machine screw and nut).
Through-hull Wrench
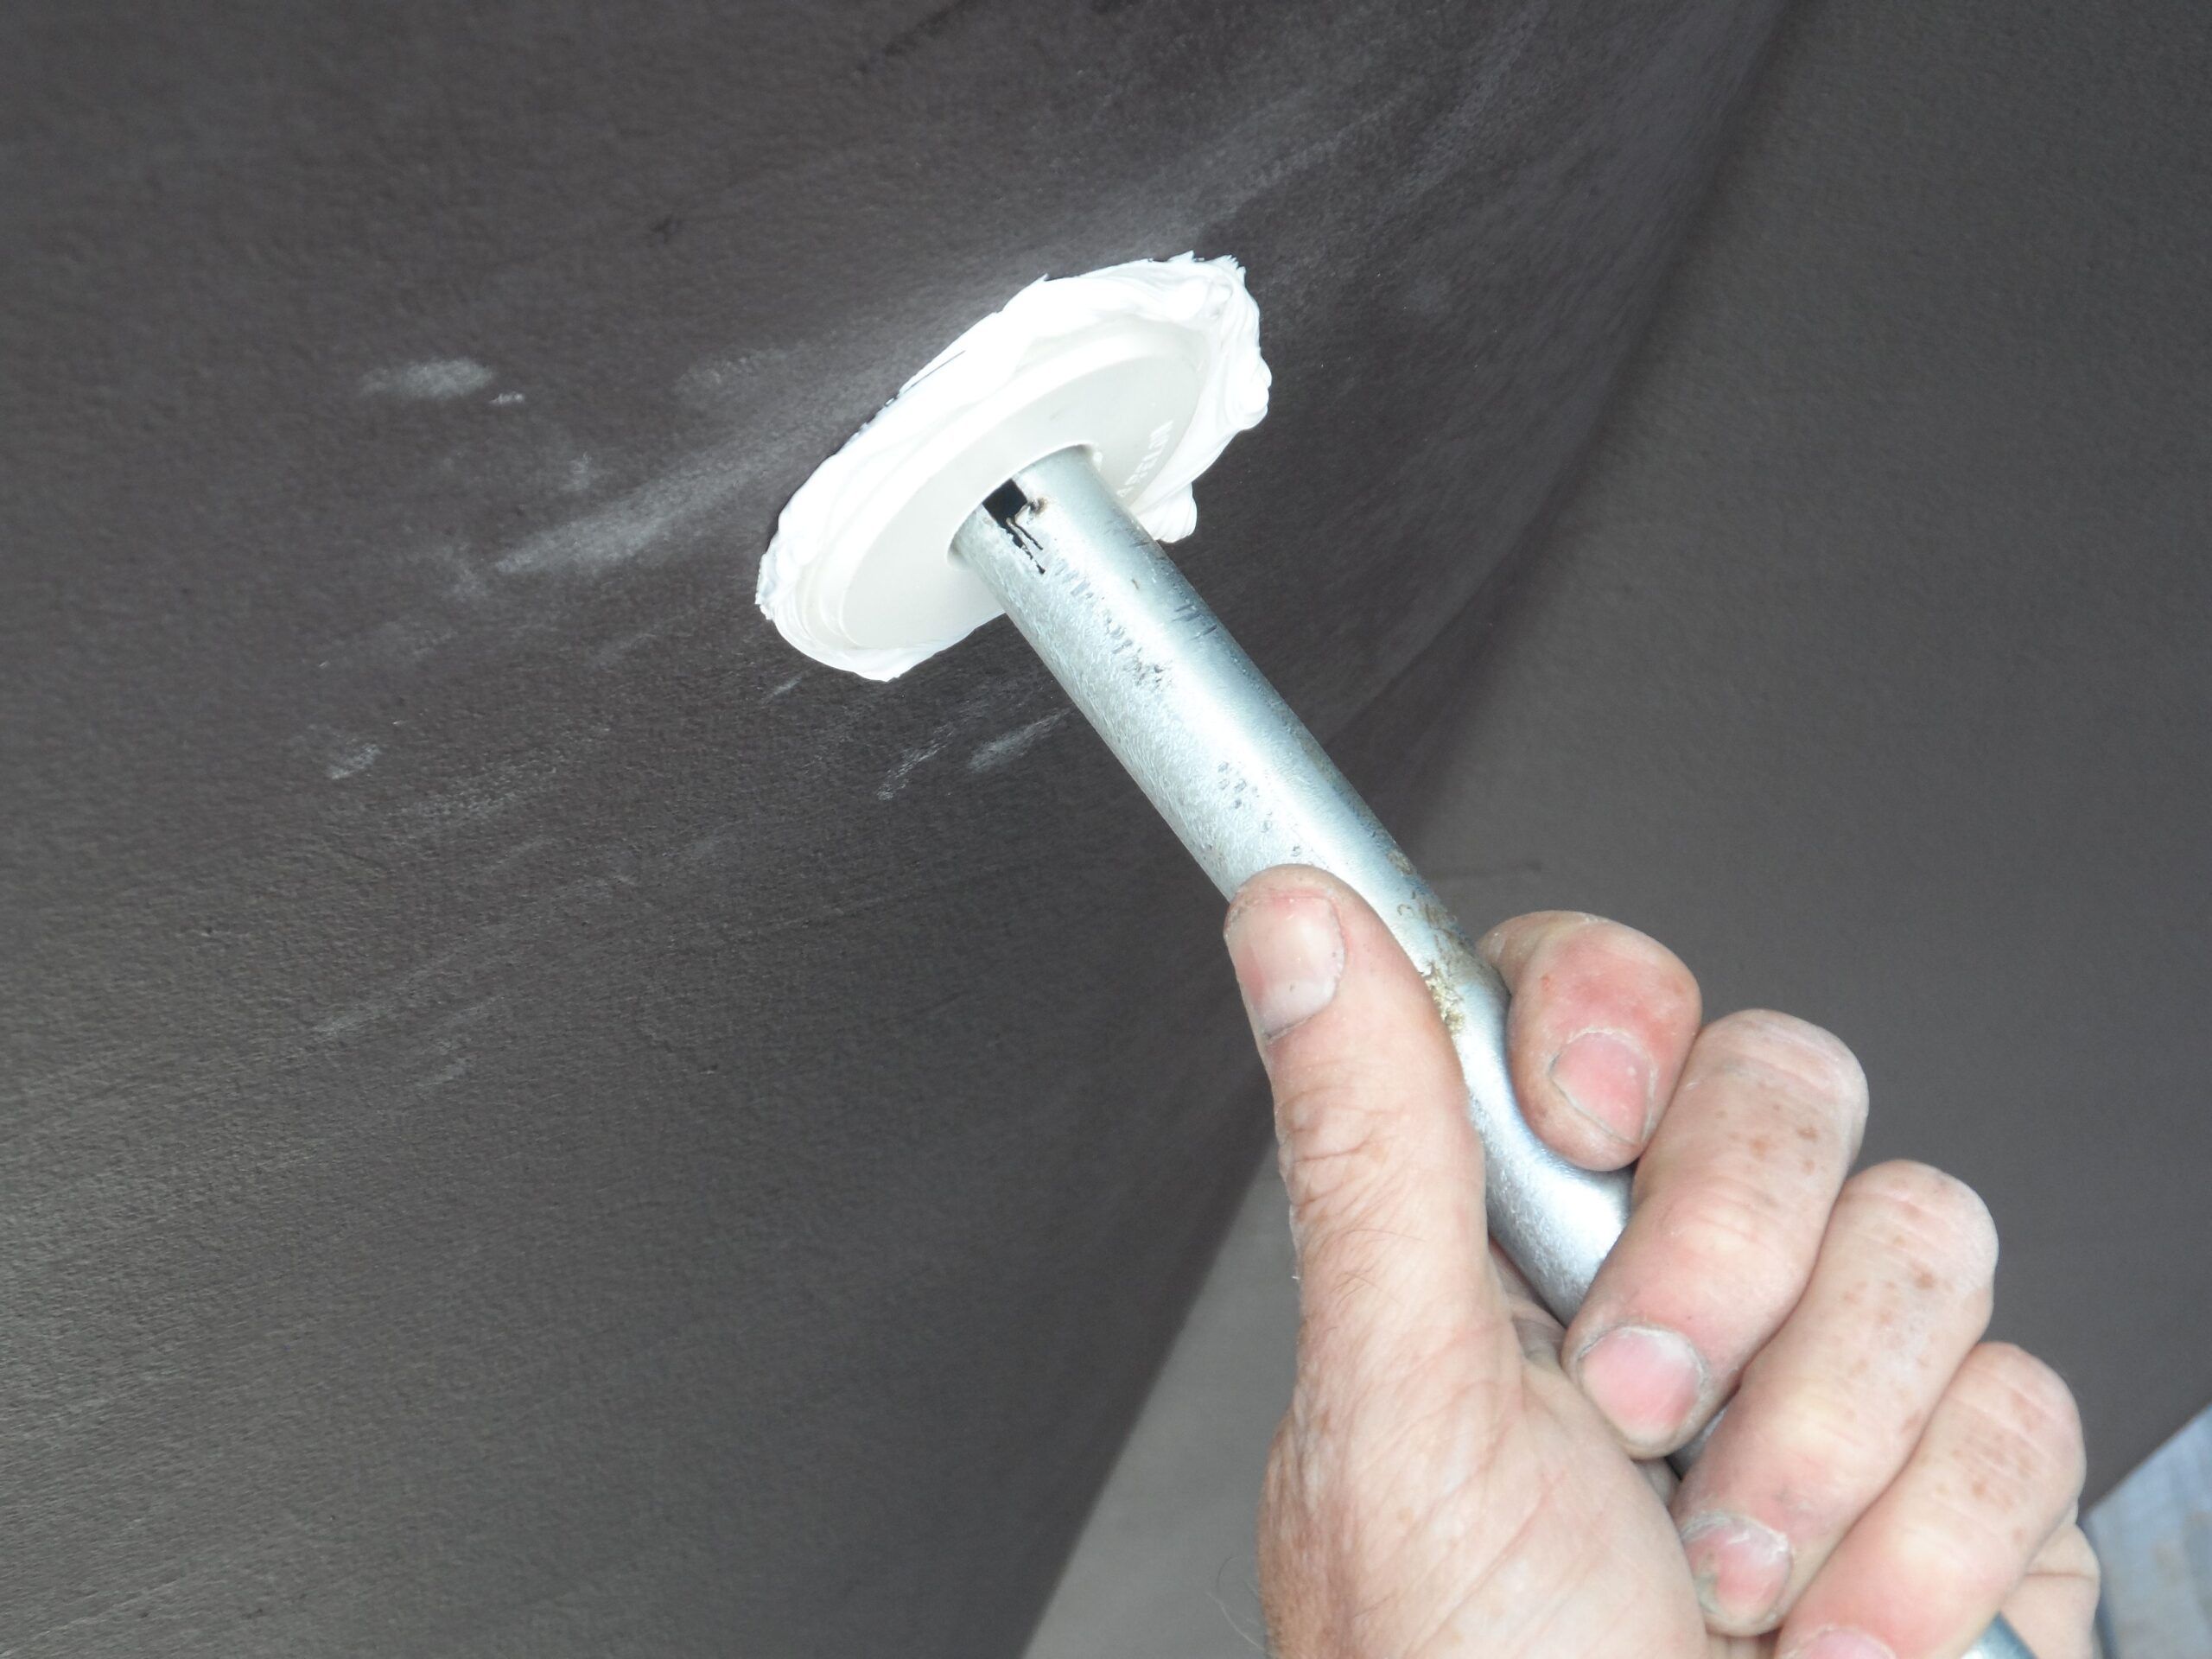
Like many tools, some result from immediate need. I was installing the water intake for an air conditioning unit and realized I didn’t have the internal wrench required to screw the through hull into the seacock. Yeah, you can buy them, but you probably only need it once, and I needed it right then. I scrounged up a bit of conduit, slit it with an angle grinder, and my improvised wrench did the job just fine. The fitting is held by sealant, so you don’t want to over torque it anyway. I thought this was a one-time tool, but I’ve used it several times since, and I’ve lent it out.
Core Removal with a Nail
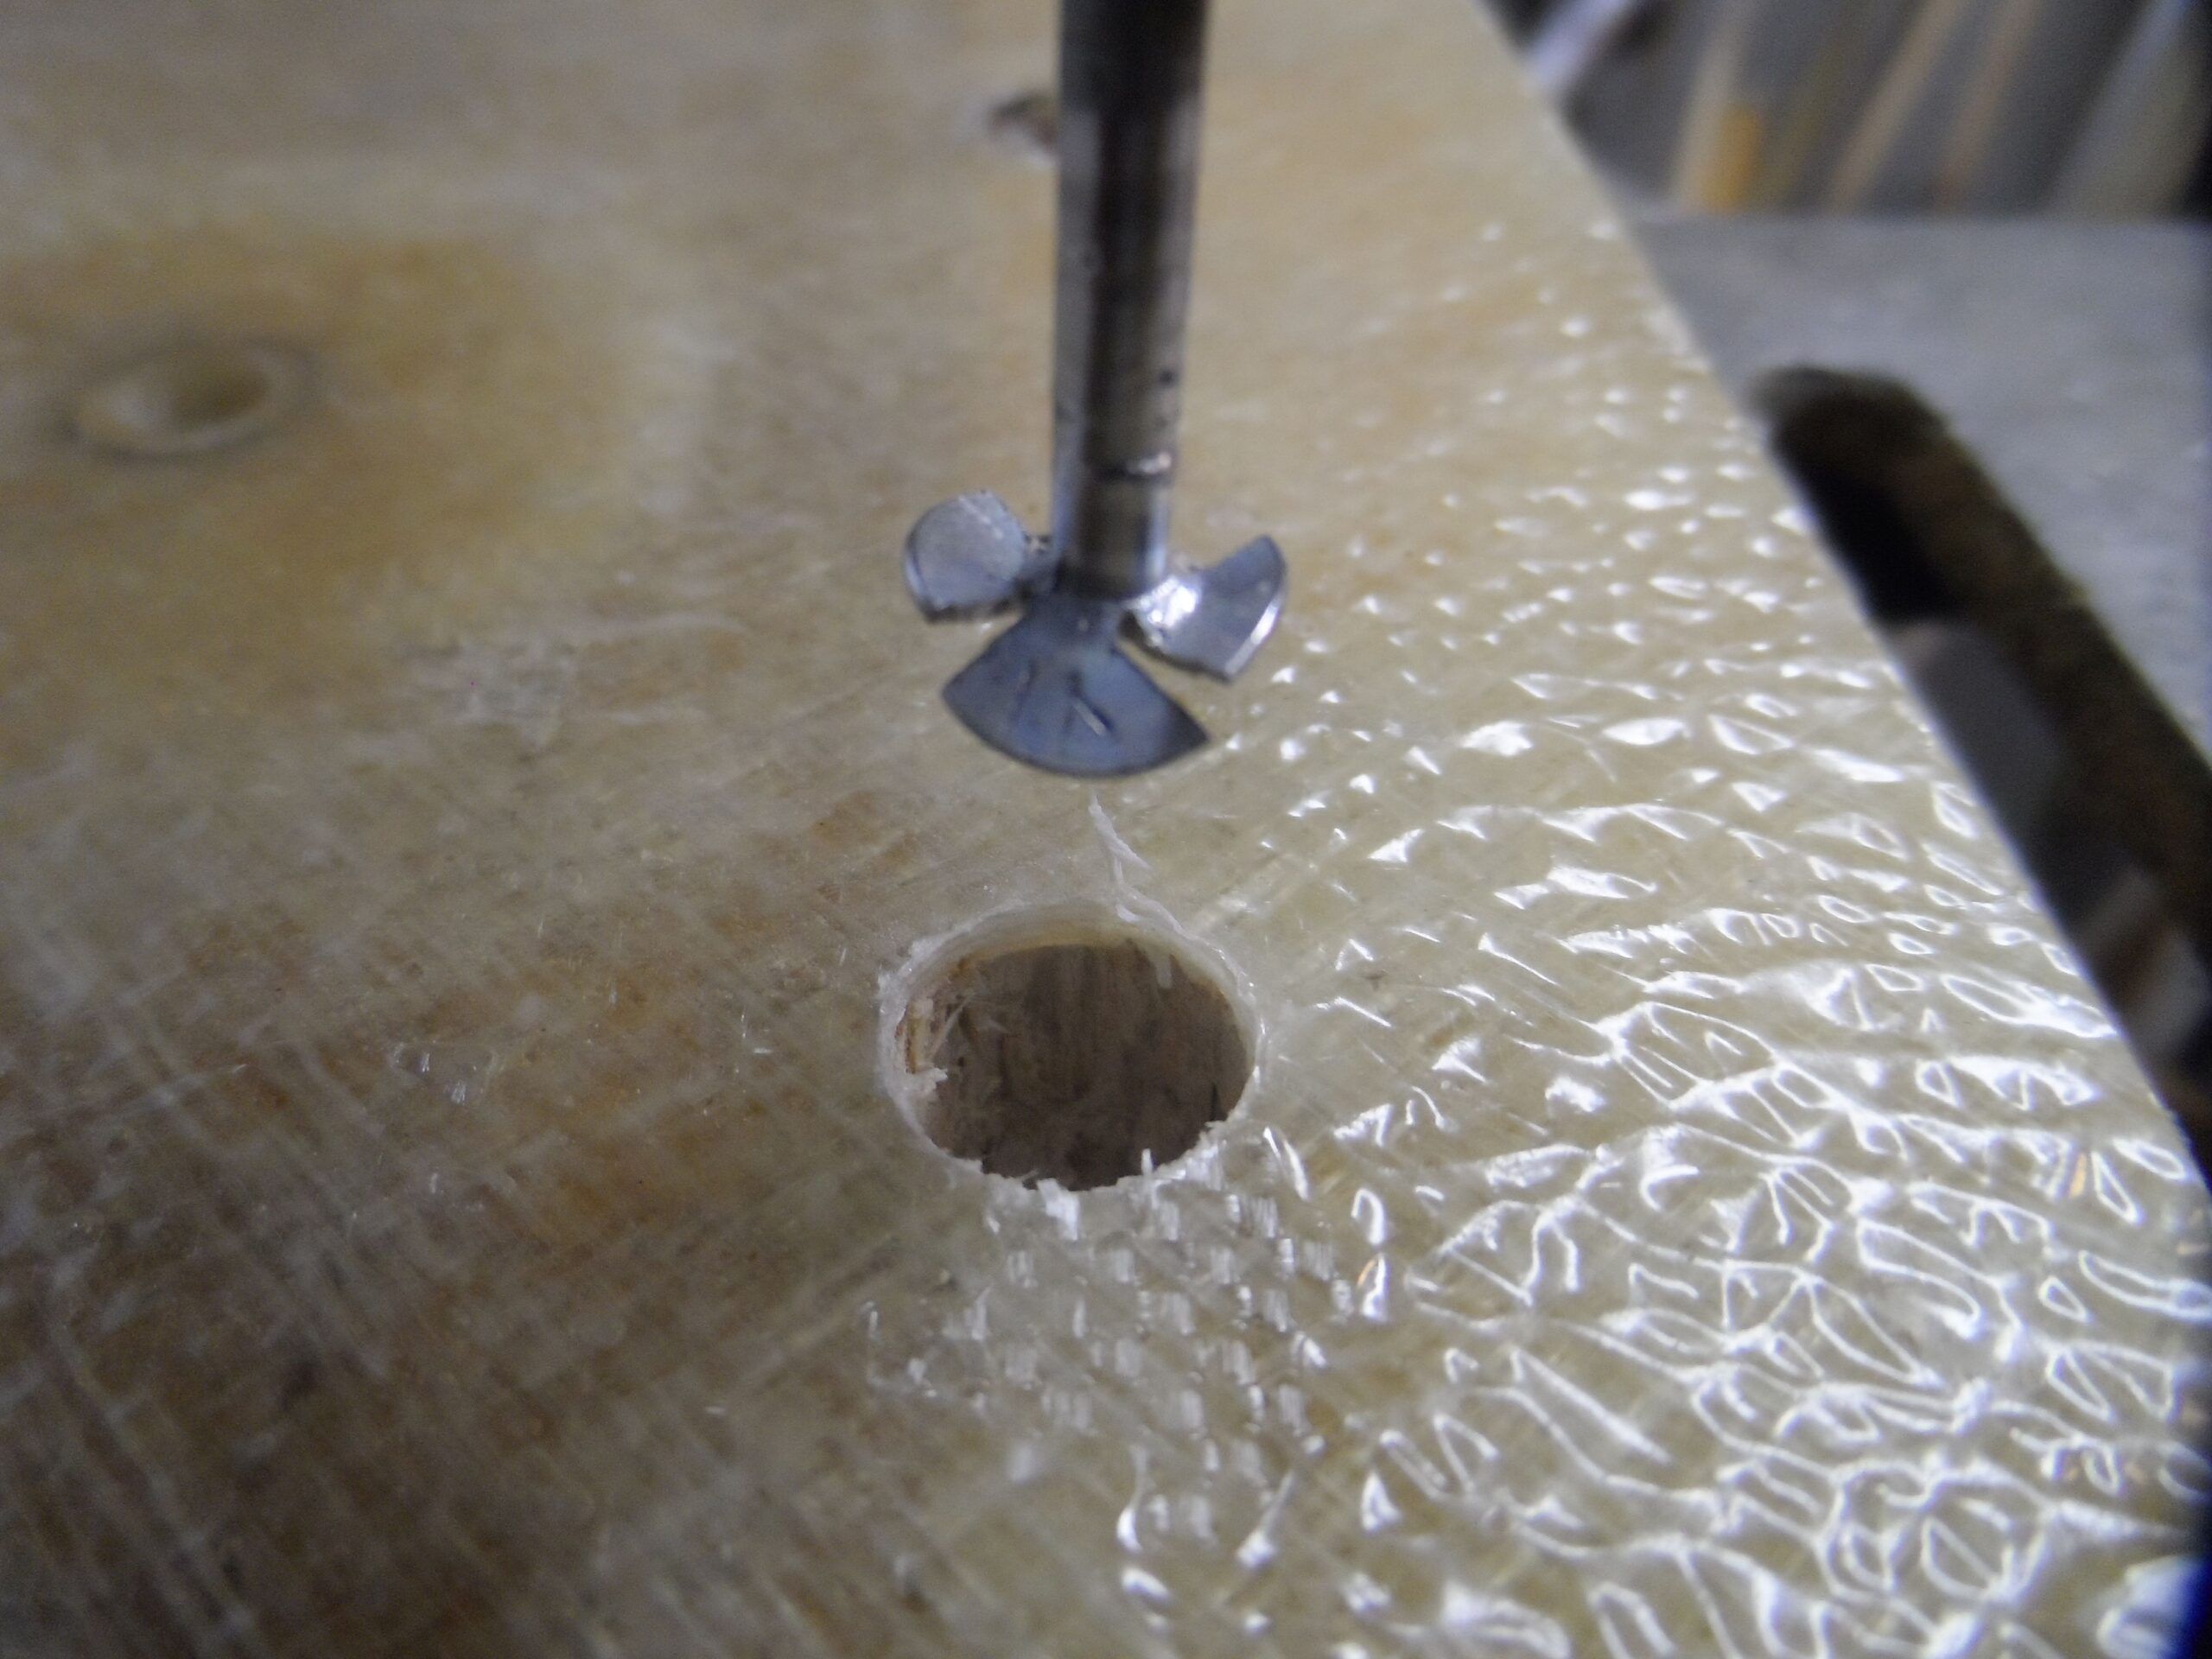
A bent nail is common but hard to control and ineffective. Dremel cutters are smooth, but they don’t reach in very far. A slotted roofing nail is smooth and reaches farther under the skin than the Dremel cutter. Our favorite. I just used it again this week to remove core as part of the core sealing ritual associated with installing a through bolt to secure a winch feeder block. Cut four slots with a hacksaw and twist the resulting quadrants about 15 degrees to make something resembling a propellor. See “Rotten to the Core: Deck Core Repair Advice” for more core removal info.
Bending Metal
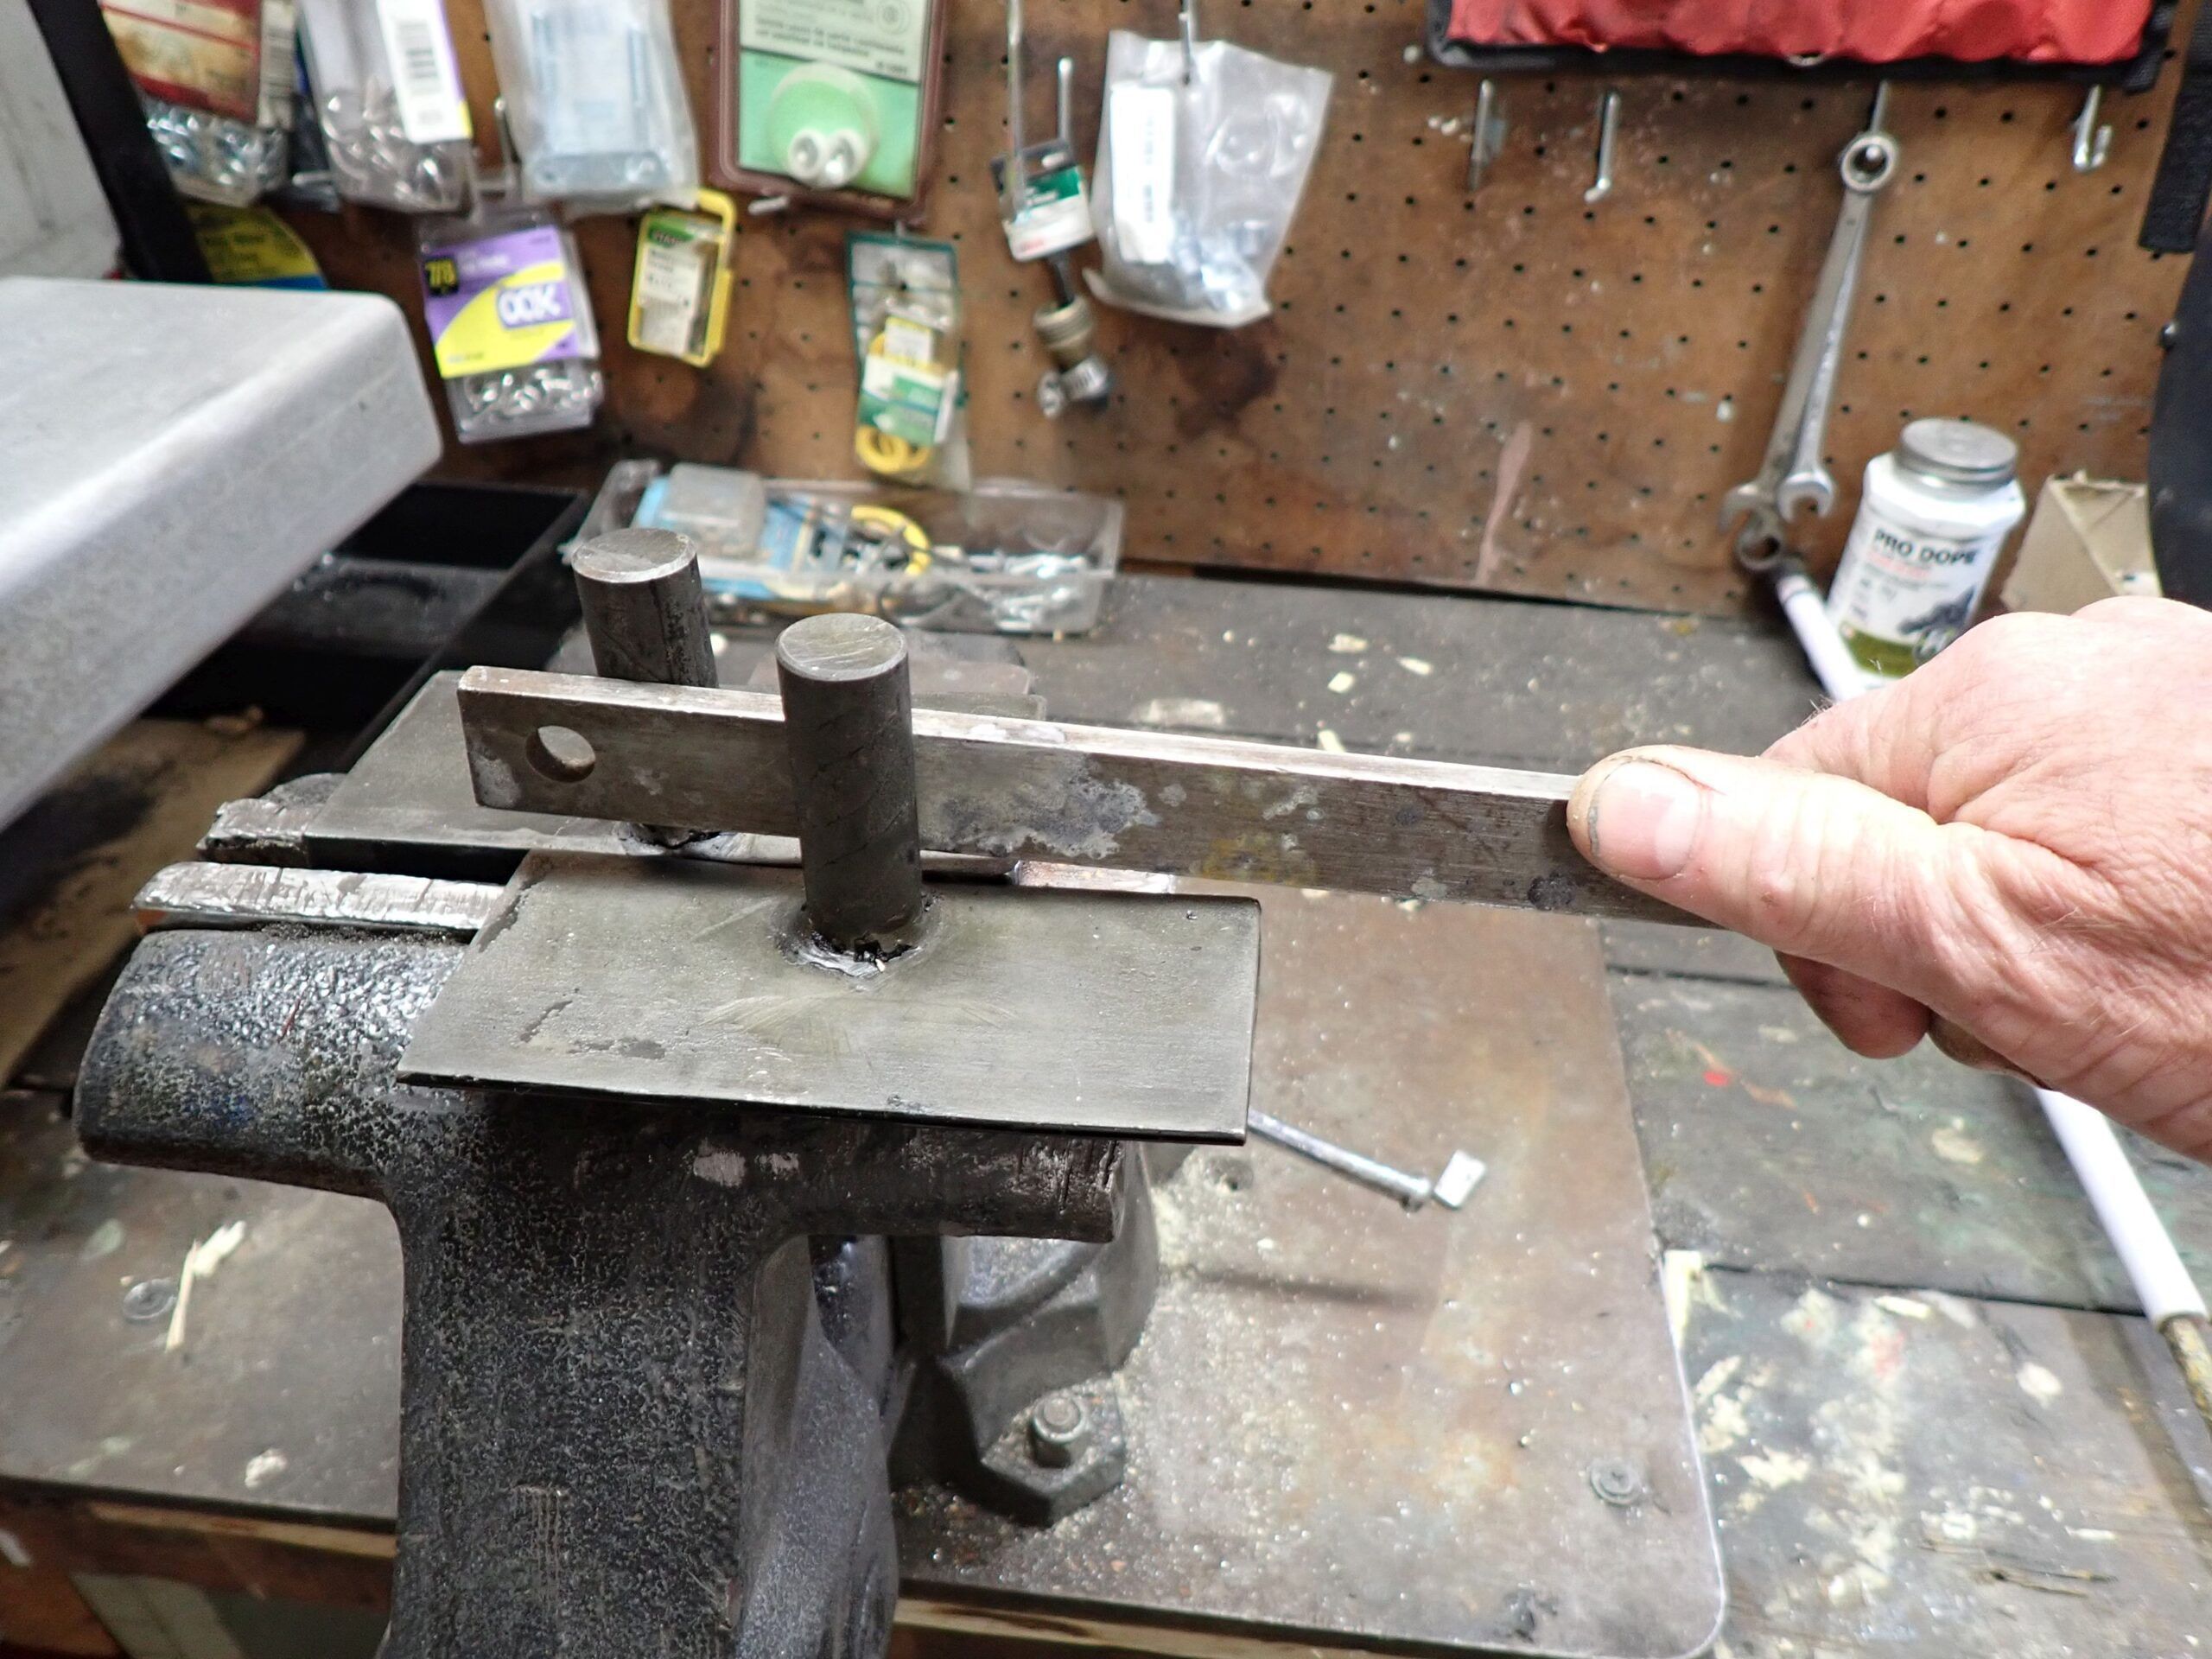
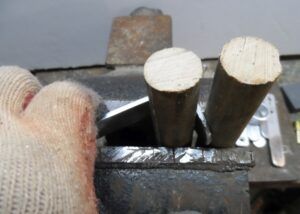
While not strictly boat specific, I first used this method for making some storage hooks. To bend thin strip or aluminum, a pair of broomstick bits clamped in a vice, just far enough apart to pass the strip works. For heavier work with thicker stainless, a pair of steel rods welded to angle iron and clamped in the vice are more stable. But the broom sticks are all you need to make kink-free bends in lighter stuff. Bending tubing is a whole nuther’ topic—see “Using Heat to Bend PVC Pipe”.
Make and Use DIY Tools With Discretion and Caution
Pullers for props and pulleys. There are many commercial versions, but often a homemade version is required because nothing quite fits. Just be certain that if your tool fails it won’t damage either people or what you are working on. Not boat stands. We’ve seen good ones and we seen backyard arrangements that gave us the willies. See “Choosing and Using Jack Stands,” for a review of affordable stands.
Not attachments for angle grinders. Grinders have a lot of power and turn at over 20,000 RPMs. Perhaps the most dangerous power tool I have ever seen is a hand grinder with a chainsaw carving wheel on it. I’ll even admit to using it to carve a totem pole. I have since thrown it away, not because it was worn, but because it scares me to death. A chain saw I am comfortable with. My list of shop-made jigs used with table saws, routers, drill presses, lathes and milling machines goes on forever, but they aren’t boat-specific.
It’s hard to stop at just five.
See also “Work Benches for Cruising Sailors,” for some tips on how to make this work on the seas.


In my industry we get safety alerts, and we got one of a pipeline worker who died on the job. He was using a 5″ grinder with the guard taken off. The cut-off wheel on the grinder shattered and a flying chunk hit his leg and severed his femoral artery. Grinders aren’t to be trifle with.
A larger diameter aluminum tube, slots cut like your Through-hull Wrench, fits over an Airmar transducer plastic wing nut on the inside. Holes drilled through at the opposite end let you insert a screwdriver (admittedly not its proper job) for leverage.
To remove heavy bronze thru-hulls, I purchased a socket that had an OUTSIDE diameter equal to the ID of the thru-hull, then cut slots in the socket to fit the barbs on the inside of the thru-hull. (My 1 1/12″ thru-hulls needed nominal 1 1/16″ socket for removal, but 1″ socket to set the new 1 1/2″ thru-hull.) I used a small propane torch to carefully heat the thru-hull up to about 200 deg F to weaken the thru-hull’s sealant (I had put a 2′ length of iron pipe on the inside neck of the seacock to quench any flame that made it through the seacock to protect the inside of the boat’s cabinet). Done this twice on different thru hulls and it was easy to remove, and cheaper than buying the special stepped tool they sell for this.