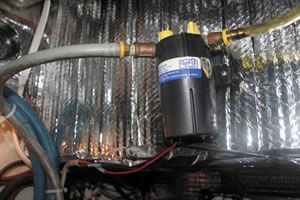
Photos by Patrick Childress


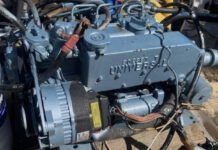
Some boat manufacturers have no concern for simplifying things, like changing the auxiliary engines oil, once the boat leaves the factory. But the process should not be more than a 15-minute job, and at most, only a few drops of oil should need to be cleaned up.
Filter access
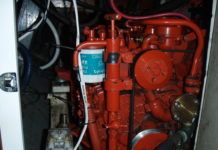
One extremely important upgrade is to move the oil filter-usually mounted horizontally or in some nearly inaccessible location-to a vertical position on the engine room bulkhead. This is accomplished by installing an engine oil filter adapter kit. Check with the local distributor for your engine to find out which adapter kit will fit your engine.
The installation is simple. First, remove the engine oil filter, then screw on the new engine mount adaptor. Run the two hoses from there to the new remote filter.
With an unobstructed oil filter hanging on a bulkhead, you can also use a longer filter with greater filtering capacity than the engine-mounted filter. Be sure not to place the filter too high above the engine, or else youll risk the oil-circulation pump becoming air bound because it will have too much air to displace, and as a result, suction will suffer and the oil pressure will remain zero.
The bulkhead-mount location allows a plastic bag to be wrapped around the filter to catch any oil that might spill out when the filter is unscrewed. A sliced Clorox bottle placed underneath the filter mount will catch any residual drips that may occur when the filter is changed.
If the filter is seated with the open face at the top, fill it with lube oil before screwing it onto the remote, bulkhead mounted flange.
Oil change
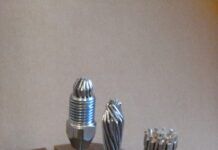
A 12-volt oil drain pump allows you to clear warm engine oil in about two minutes. To install the pump, the oil drain plug at the oil pan is replaced with a threaded hose barb. Because there is no standard thread for a drain plug, you have to be very careful to match the threads. Oil-change pump kits often come with a variety of threaded barbs for this reason. Connect one end of the hose to the barb and the other end to the oil pump; mount the pump on a convenient bulkhead. The installation is completed by connecting the appropriate 12-volt wires and fuse to the pump.
Use a clear hose for the pumps exit hose so that there will be no surprises when the oil begins to discharge. An electrical wire support clamp can be mounted above the oil pump where the end of the discharge hose is stored. At this higher elevation, it allows any residual oil to drain back toward the pump and engine.
Leaving the shutoff valve for this hose in the open position for a few minutes helps to facilitate the draining.


