

Epoxy deserves its wonder resin status as a highly adhesive, water-resistant laminating resin. It is the secret sauce behind a shelf full of fillers, glues, and fairing compounds.
The downside of this high-cost stickum is linked to its upside attributes. Its adhesive quality challenges those who lavishly trowel excess filler over a small scrape or gouge, assuming the excess resin/filler mix can easily be sanded away. A day later, the putty has become rock-hard and seems as immune to sandpaper as a granite ledge is to a nail file. Fortunately, those who do their homework before mixing up a batch discover that low-density fillers, such as micro-balloons, make the cured resin much easier to sand and shape. And during the application process, the less-is-more rule comes into play.
Premixed Versus Mix-Your-Own
In part one of this report, Epoxy Fairing Compounds, we tested six different versions of pre-mixed, two-part epoxy fairing putties. We discovered that one of the most valuable traits of these two-part pastes was that each delivered a uniform consistency and viscosity when the components were mixed. This determined how the putty behaved when spread, the cure time, and the hardness that defined the post-cure sanding/shaping process. This month, we turn to epoxy resin systems that offer a more versatile approach in what we call the mix-your-own method of creating a filling, fairing, or structural putty.
In part two of our report on epoxy systems we see how each brand behaves in side-by-side testing and how cured samples compare. We also add some hands-on advice about mixing, spreading, sanding, and overcoating. Our initial assumption was that the ability to blend varying amounts of different density powdered fillers would add versatility. In addition, anyone doing major repairs or building boats from scratch would be able to use the same resin matrix for filling and fairing as they had used in the laminating process.
In the lab, every resin falls into some polymer classification. Marine industry epoxy resins have revolutionized high-end fiberglass reinforced plastic (FRP) boatbuilding and all phases of FRP repair. The two-part system reacts when mixed, creating a heat-producing exothermic chemical change that causes the liquid to become a solid. The Bisphenol A resin used in epoxies is high in epoxide compounds, and interacts molecularly with a hardener to create a crosslinked plastic, rich in OH (hydroxyl) groups that deliver significant adhesive quality. While the chemistry is fascinating, the real story for sailors is the versatility of epoxy and its myriad of uses in boat building and repair.
How We Tested
Our test protocol allowed us to compare various systems with regard to ease of mixing, cured hardness, sandability, adhesive quality, and cost. Testers noted how products behaved and what is involved in gaining the most benefit from their use. Finally, testers compared results from both Part I and II of this epoxy-fairing evaluation and came to a consensus on what products prevailed. The tough call was whether or not the more complex set of variables (mixing and measuring ratios) were a step forward or backward over the pre-mixed approach. As one tester put it, blend you own supremacy hinges upon the job at hand, your willingness to measure accurately and how patiently you stir the pot.
What We Tested
In this portion of our epoxy-fairing review we looked at four resin systems and the way each behaved with mix-your-own fairing and filleting compounds. These powders included low-density micro balloons (spheres), that when mixed with resin/hardener, form a lightweight easily spread paste, and-more importantly-an easy-to-sand substrate. Colloidal silica is also a light dust-like powder, but because of the way it mixes with resin, it forms a dense wonder glue with great mechanical properties. But beware, it is much harder to sand than micro-balloons.
At the hard-as-granite end of the filler scale resides milled fibers and aluminum powder, additives that deliver even further strength, but are much harder to sand. Think of the denser powder fillers as a means of enhancing adhesion and strength but also making it harder to shape and sand. So, across the board, we relegate these high-density fillers to structural rather than cosmetic roles-uses such as infilling core material where high compression from mechanical fasteners is anticipated or when bonding an FRP part to the interior hull skin. This left the mid-to-light density fillers as our choice for fairing, cosmetic filling, and certain types of filleting (adding adhesive support to bonded joints).
Interlux: Epiglass HT 9000

Interlux is a powerhouse in the coatings world and under their international AkzoNobel umbrella have brought on board an impressive lineup of international products. Decades ago tech editor Ralph Naranjo was cruising in New Zealand and spent a year doing some structural and cosmetic refit work aboard his Ericson 41 Wind Shadow. He used epoxy glue sold by a little-known company, and more than 30 years later not a glue joint has failed. The company the was originator of Epiglass, now a part of the Interlux lineup. Its HT 9000 and its three different hardeners with varying cure rates are among the products we used in our testing. Interlux HT 120 and HT 450 were used to formulate the filling and fairing compounds.
MAS Products: FLAG resin
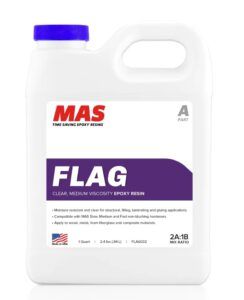
MAS Products feature a low-viscosity laminating resin and a higher viscosity resin for adhesive bonding, filling, fairing, and filleting. The two resins can be combined to form a custom-blended viscosity. The latter, called FLAG Resin, is what we used in this round of testing along with their slow, medium, and fast hardeners which combine with the resin in 2-to-1 (resin to hardener) ratio. MAS offers five different powder fillers that alter the density and mechanical properties of the cured resin. The cured resin is free of amine blush, so it saves time when it comes to prep work between coats. (Amine blush is a water-soluble, wax-like film that can prevent adhesion of successive layers unless it is washed away before any sanding or application of successive layers of epoxy.) Testers liked the 2-to-1 mix ratio, which is more tolerant of slight volume measurement mistakes than are blends depending upon 4-to-1 or 5-to-1 mix ratios.
System Three: Cold Cure laminating resin
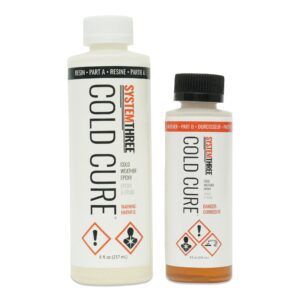
System Three offers a wide lineup of marine and woodworking epoxies along with a variety of top coating products. However, for this round of testing we used their Cold Cure laminating resin, a product that cures in conditions down to 35F degrees. The company also offers a range of powders to thicken resin with their lowest density filler, a glass microsphere product. The reason we focused on this two-part system is that sailors use their boats in the warmer weather and often work on the to-do list during the off-season when temperatures plummet. Discovering an epoxy capable of kicking off and curing when the cabin temp is 50F degrees at midday and drops precipitously at night proved to be a big advantage for our off-season boat projects.
West System: West 105 resin
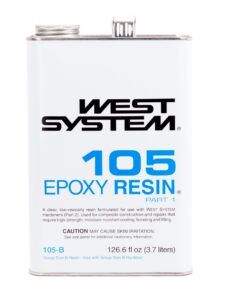
West System has trademarked an epoxy culture thats much more than resin marketing. The company’s many ancillary products fill a catalog, and of equal importance has been their effort to carry out in-house research and engineering, sharing results with the pros and do-it-yourselfers alike. Founded by the Gougeon Brothers, who spent their weekends sailing the boats that they built, the company continues to improve epoxy versatility. We field-tested their latest blends of West 105 resin and 205, 206 and 209 hardeners plus filler/fairing compounds 405, 406, 407 and 410.
Resin Rationale
Our four-brand resin system tests varied widely-from 82 cents to $1.45 an ounce (resin/hardener only). But due to the smaller amount of products used in fixing dings, scrapes, gouges and even in larger repairs, the high cost of epoxy is justifiable thanks to the high quality of the results. In many ways, epoxy resin is like a monel fastener, quite immune to corrosive elements, and the best choice where performance really matters.
Hull Lamination
Despite the fact that epoxy is approximately twice the cost of vinylester resin and vinylester is twice the cost of polyester resin, it makes sense to spend more to improve the glue that binds. High-end sailboat builders often use epoxy resin to laminate the entire hull and deck structure. This is a major financial commitment that builders make despite the fact that it quadruples resin cost. The reason behind the choice is that epoxy resin delivers better strength, increases skin-to-core adhesion and immensely improves quality as a water-barrier over competing resin types. It also accounts for improved resistance to deterioration caused by structural fatigue, added toughness, and creep resistance. Epoxy resin is less prone to shrinkage during the transition from a viscous liquid to a solid and chemically utilizes polar hydroxyl and ether groups to increase its adhesive quality. In short, if you want to build a stronger, lighter more durable FRP structure, use epoxy resin.
Repair Work
The same logic path holds true when it comes to repair work. And in this case, the value of adhesive quality and a resins role as a water barrier are equally important. So when it comes to boat repairs that are more than a scuff or scrape, the first step is to remove and replace damaged structure. During this phase of the repair, epoxy delivers better adhesion and increased strength. Once the new hull skin has been scarfed into place and internal longitudinal and transverse reinforcement (stringers and ribs) have been epoxy-bonded to the repair, the fairing process can begin. And by using the same resin in this fill-and-fair procedure, you maintain chemical compatibility.
The goal in this phase is to recreate the original contour of the hull and smooth the surface prior to matching the color and gloss of the surrounding surface. The quality of the finish starts from the bottom layer, so prior to adding any epoxy fairing putty to your new repair you need to carefully prepare the surface. Surface preparation begins with a garden hose, 3M scrub pad, and mild soap-not the sander. Amine blush is a residue of the epoxy-curing process that can be easily washed from the surface with slightly soapy water. If the amine blush is left on the surface, sanding can drive the film into the surface rather than remove it from the repair. This residue can lessen the adhesive quality of the bond between the fairing compound and the new FRP laminate.
Sanding at this point is all about roughing up the repair surface to create an anchoring pattern that aids the adhesion of the fairing putty. Prior to reaching for putty knives and plastic spatulas, you need to coat the area just sanded with a thin coat of epoxy resin. This tie-coat will act as link between the FRP skin and the epoxy-fairing compound.
Three Stages of Curing Epoxy
Its important to recognize the three states of curing epoxy. At first, we have a liquid solution of mixed A and B components. The cross-linking begins and this is the period that we refer to as the open time during which the product can be rolled or brushed onto the surface. As polymerization proceeds, the liquid begins to gel and we enter the initial cure phase. Any further spreading of the epoxy during this phase will damage the bond.
As the initial cure phase progresses the gel state becomes tacky and harder over a period of minutes or hours. During this window of initial cure, when the surface is no longer in gel state but still tacky, you can apply fairing compound without having to prep the surface. The exact time of this interval depends upon the hardener and ambient temperature. As the cure moves toward a tack-free state (at which the surface is no longer sticky) it enters the last phase and the final cure begins.
During the initial cure more epoxy filler will crosslink and bond with the still curing substrate. If the substrate has reached final cure status, it must be washed and scrubbed, then sanded prior to overcoating with resin of a resin/filler paste. MAS hardeners are sold as a non-blushing formulae that does not require a scrub-down between coats. In our testing, the product lived up to its claim.
Timing is important with all of the products we tested. When the recently applied resin was about as tacky as a piece of masking tape, it was time to apply the fairing putty. Techniques vary, and according to highly informative West System guidelines, direct over-coating must occur during the initial cure window. The West System library of how-to information (including online videos) does a great job of training pro and amateur epoxy techs in how to use battens, templates, and squeegees to an advantage. Their publication
Final Fairing and Finishing
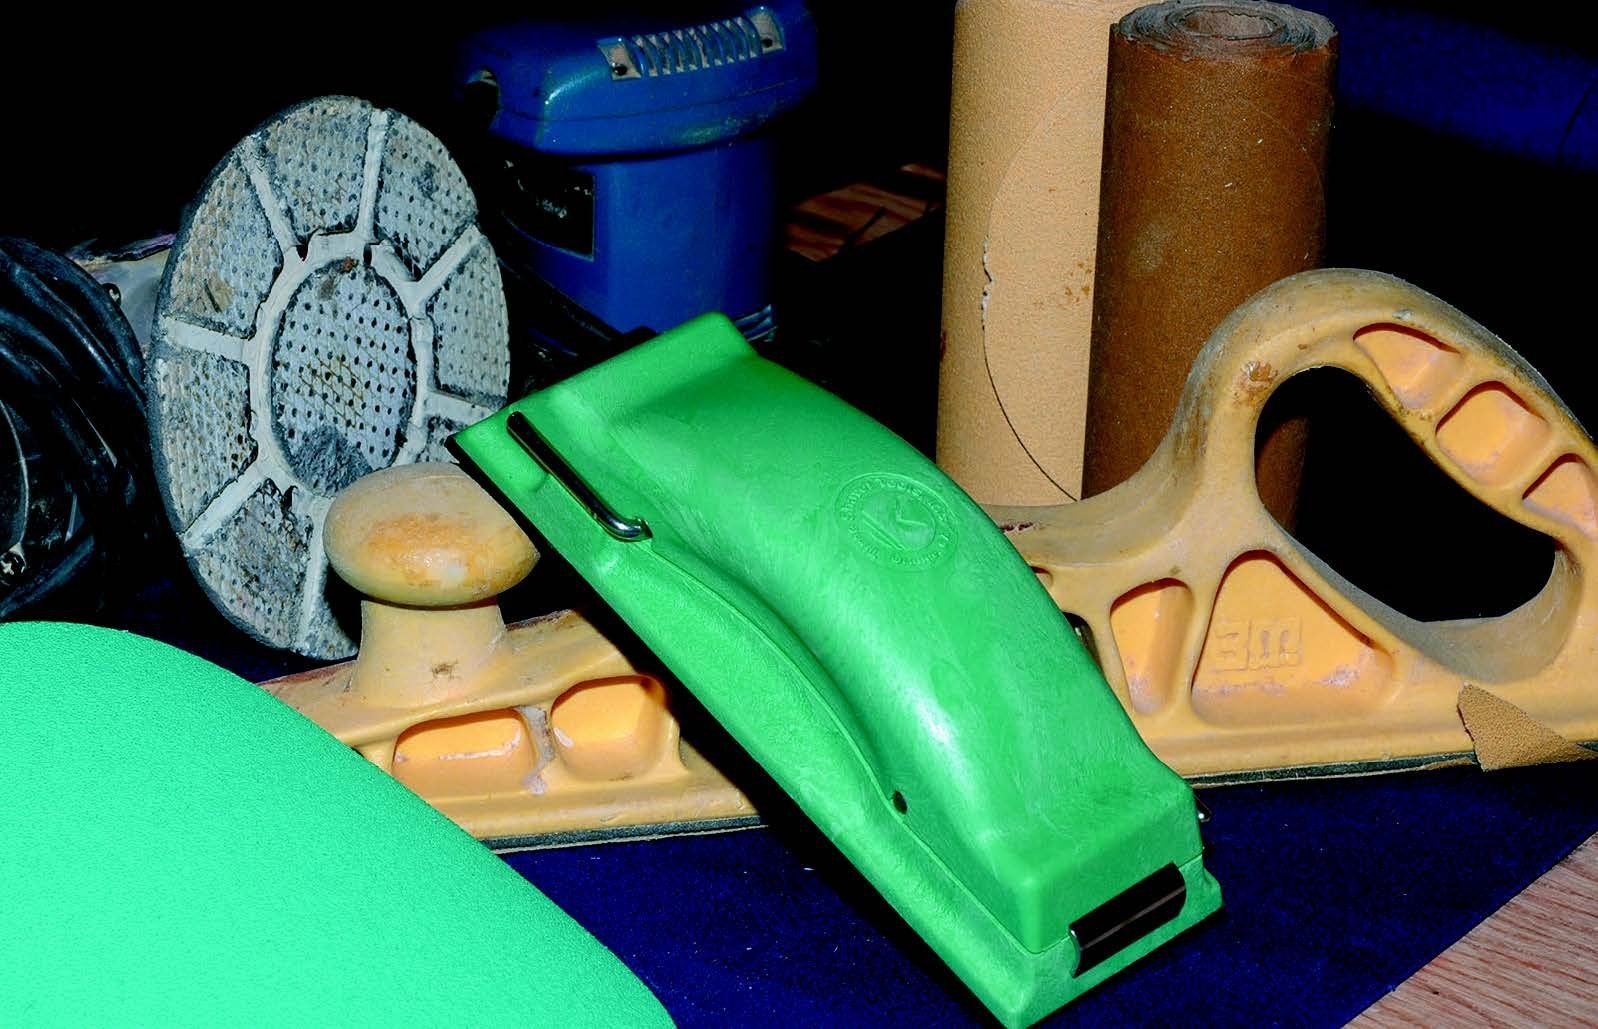
West System’s “Final Fairing and Finishing Manual” describes everything you need to know about the fairing process and includes handy how-to hints such as making a fairing file, flexible sanding board, and a simple roller cover brush.
Findings
When evaluating similar materials, its always nice to find a standout amidst a few underachieving products. But in this case, we ended up with a photo finish in a horse race of competing glue pots. All of the epoxy resin systems scores were tightly grouped when it came to resin-only adhesion. However, because this was a filler-fairing compound test, we focused on the behavior of the blended resin and fillers.
Mixing Technique
Mixing requires more attention than you might first assume. Unlike the fairing compounds tested in part one, which involved pastes of nearly equal viscosity, the procedure for the products in this test involves more than a few stirs with a stick.
With the DIY approach, you combine the resin and hardener first, insuring a thorough blend of the two liquid components. Next comes the addition of a powdered thickener in order to achieve a desired consistency. Its important to keep track of the volume of mixed resin and the amount of powder added to create the filler. Those who approach this process like a cooking chef who prefers a dash-and-splash approach to recipes will end up with batch density differences. This can lead to varying filler hardness, sanding challenges and problems with attaining uniform shape and smoothness. So keep careful track of the ingredients.
Mixing the batch is a measure of patience. Too little stirring entraps dry clumps and hinders smooth application. Some pros use a drill-driven stirrer, while those handling small batches simply pick up a favorite stirring tool and twist away. The colder the weather, the stiffer the resin and the harder the stirring. At times, well use an 80-degree water bath to keep the viscosity of the resin friendly to stirring in thickening powder. Naturally, care must be taken to keep water out of the mix and off the surface. System Three’s Cold Cure takes the lead as the chill sets in the Northeast or Pacific Northwest and epoxy season wanes. We even performed some pre- and post-winter epoxy filling and fairing with the product, and marveled at its ability to shake off the chill.
Spreading Technique
Spreading epoxy putty efficiently is a big deal, and the better a product behaves, the less material is wasted. Efficient application also results in less sanding. The goal is to avoid piling up an epoxy sculpture that will require removing more material than what is left on the surface. The filler chosen depends on where it will be applied-above or below the waterline, in highly stressed structures or in low-stress topsides or deck regions. Picking a filler that is too dense makes the resin seem as hard as granite and as difficult to sand.
Milled fibers and aluminum powder additives yield high compression strength and good abrasion resistant putties that should never be used as a general fairing material. Their hardness resists sanding, and leveling them with surrounding softer, gelcoat and polyester laminate becomes almost impossible. However, these additives do come in handy where little or no sanding is needed and high compressive strength is mandatory-infilling where deck core must be replaced for new hardware installation is one example.
Micro Balloons
Micro balloons are at the other end of the spectrum, and these tiny, low-density phenolic spheres create the easiest epoxy putty to sand. Fumed silica mixed with epoxy resin delivers a higher density gluing filler and has long been used as a paint/resin thixotropic (thickening agent). Its made from quartz sand heated to 3000C and is vaporized into dust-like fine particles. Both micro balloons and fumed silica should be mixed carefully, wearing a mask, because their extreme lightweight and fineness allow them to easily become airborne and act as a respiratory irritant. Other useful medium density fillers include MAS Wood Flour and West Systems 405.
Conclusion
When the dust settled and we had spread, sanded, and painted over various home brew fillers we had a few opinions to share. First of all, there are advantages to custom blending your own custom density epoxy putty. This was especially true with bigger projects where we needed a greater range of filling and fairing putty. For filleting, gluing and bonding, we liked MAS Cell-O-Fill, West 406 Colloidal Silica, Interlux HT-120, and System Three Silica Thickener.
Fairing
For fairing, we favored lower density, easy-to-sand, faster curing recipes such as West 105/205 resin with 407 filler used below the waterline and 410 above. MAS FLAG resin and medium hardener thickened with their Micro Balloons created an easy-to-shape and smooth surface. MAS resin and hardener combos lived up to their no blush claim. Interlux Epiglass HT9000 with YXA450 and their fast hardener also performed well and can be used both above and below the waterline. System Three’s Cold Cure really filled a niche with its cure capability at temperatures down to 35F degrees. It came in as the highest priced alternative at $1.45 an ounce, but it was worth every penny.
Pump kits are available for all the products, and because we favor mixing small amounts at a time, we found these metering devices essential. They keep mix volumes consistent, especially important with high-ratio resin to hardener blends. Too little or too much hardener greatly affects epoxy cure quality.
Resin Systems
When the dust settled we had a photo finish on our hands. All four resin systems delivered quality results. Testers liked the MAS and System Three 2-to-1 mix ratio, but Interlux and West System pumps delivered the right resin to hardener ratios so both got high marks. The lower viscosity resin/hardener mixes from MAS, Interlux, and System Three wet out cloth as well as powder fillers a little more easily, especially in cooler weather, but West Systems lineup of fillers and hardeners seemed to cover more bases. When a question arose regarding product usage, West System’s technical experts were there to help.
Finally, we used over the counter pricing at Jamestown Distributors (online System Three for Cold Cure) to calculate the cost per ounce of mixed resin and hardener (based on gallon sized pricing). The bottom line is West System came in at .82 per ounce and with its strong showing in all other aspects of our evaluation we gave it our top choice label.
Premixed versus Mix-Your-Own
When comparing the two-part pre-mixed epoxy fairing putties in our previous test and the DIY epoxy fillers in this test, we feel that theres room for both in the DIY paint locker. Many painters like the repeatability and batch consistency of the pre-mixed approach. It insures filler density consistency but mandates the need for thorough, perhaps power mixing.
Our testers liked the system approach of first mixing resin and hardener and then thickening the mix by gradually introducing appropriate filler. The longevity test will help tell the complete story. Both types of fairing compounds are being weather-tested and immersion tested. Adhesion, moisture intrusion and how coating hold up on the surface will be evaluated and the next epoxy update will include performance durability details.
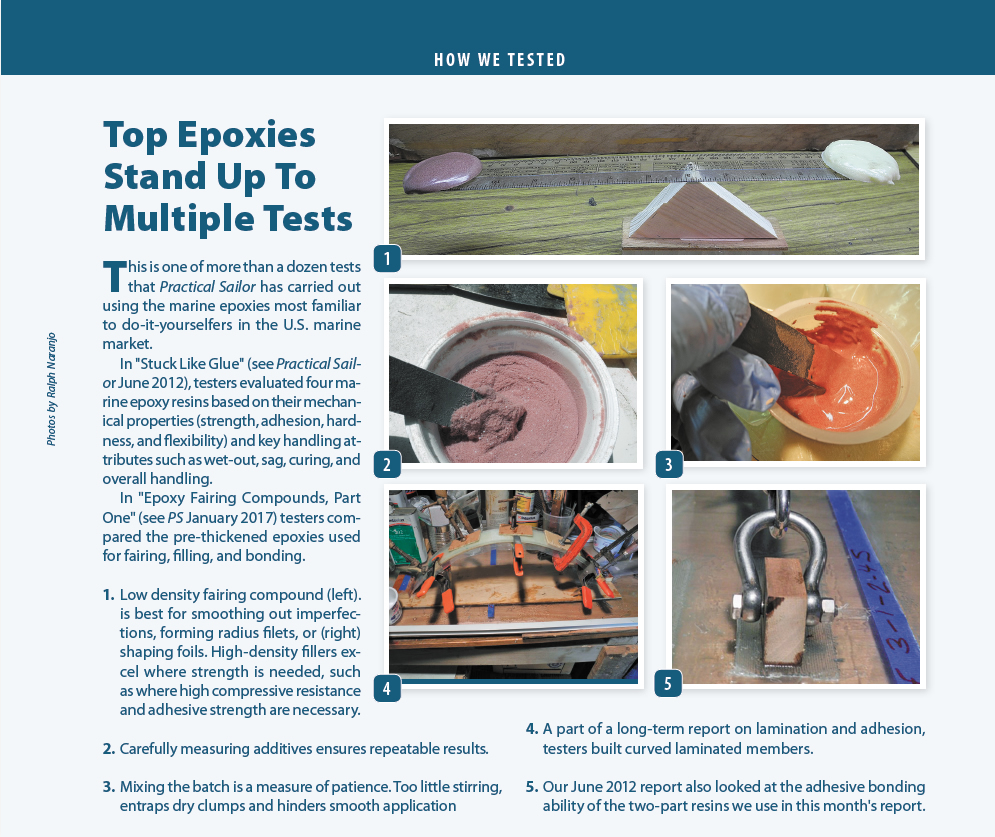
This is one of more than a dozen tests that Practical Sailor has carried out using the marine epoxies most familiar to do-it-yourselfers in the U.S. marine market.
In “Stuck Like Glue,” testers evaluated four marine epoxy resins based on their mechanical properties (strength, adhesion, hardness, and flexibility) and key handling attributes such as wet-out, sag, curing, and overall handling.
In “Epoxy Fairing Compounds, Part One,” testers compared the pre-thickened epoxies used for fairing, filling, and bonding.
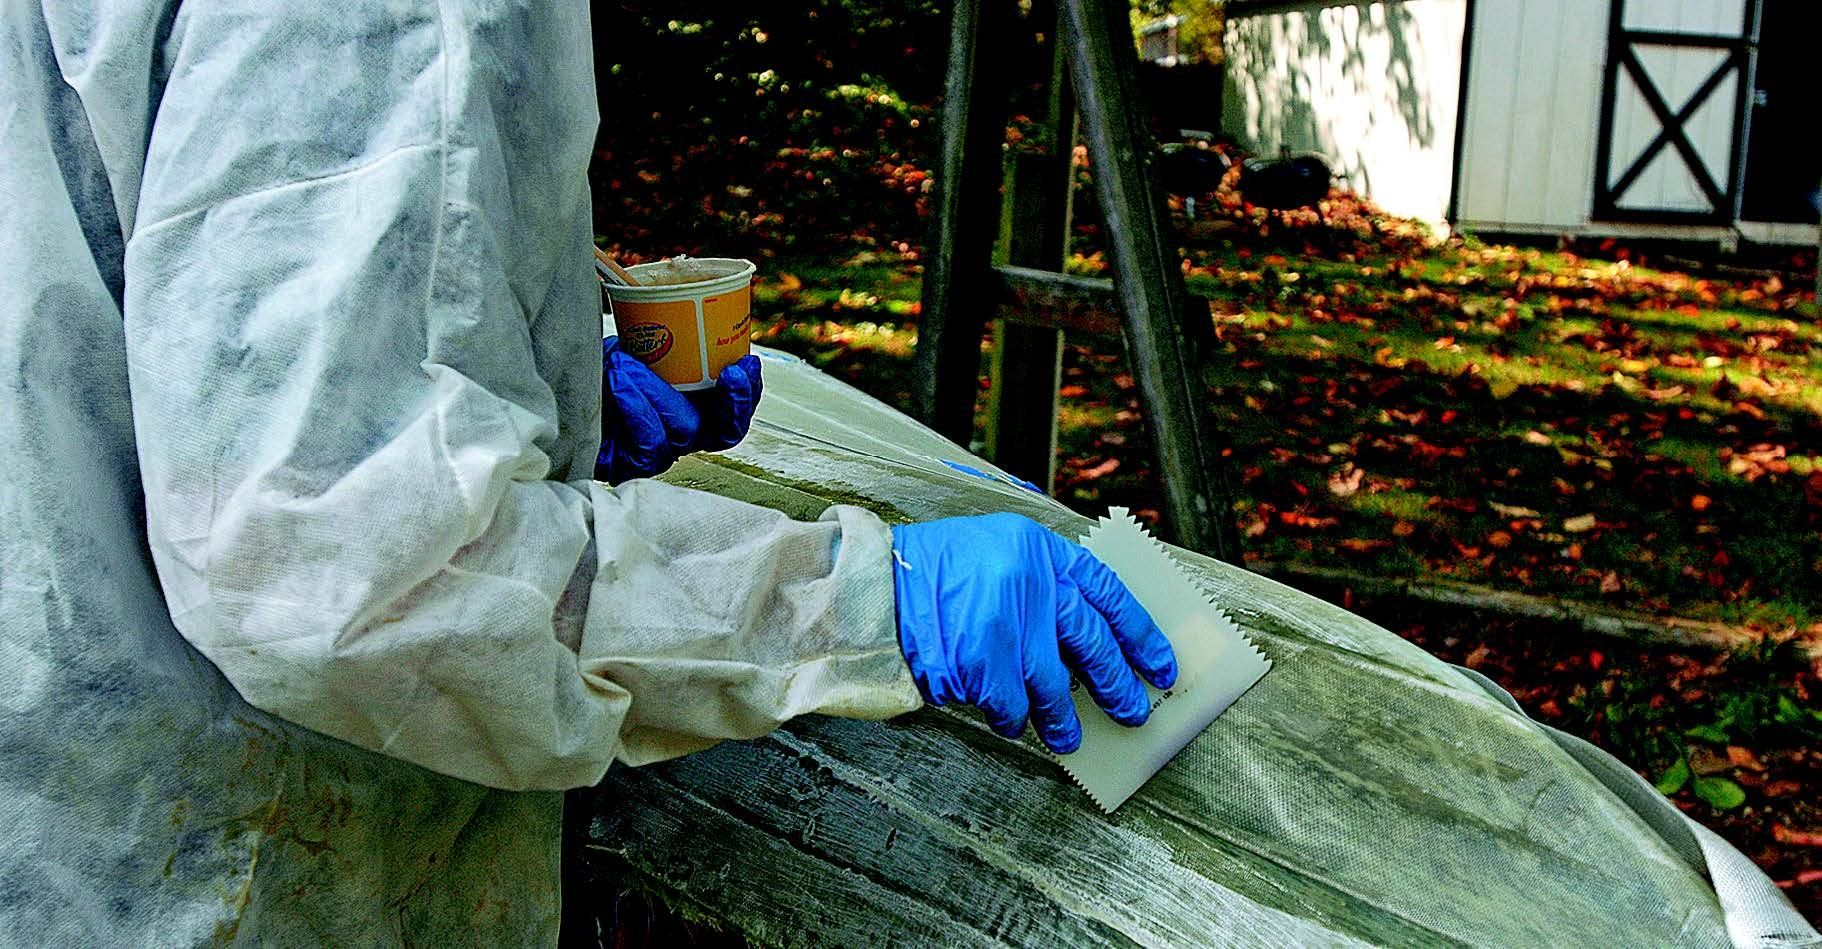
- Low density fairing compound (left). is best for smoothing out imperfections, forming radius filets, or (right) shaping foils. High-density fillers excel where strength is needed, such as where high compressive resistance and adhesive strength are necessary.
- Carefully measuring additives ensures repeatable results.
- Mixing the batch is a measure of patience. Too little stirring, entraps dry clumps and hinders smooth application
- A part of a long-term report on lamination and adhesion, testers built curved laminated members.
- “Stuck Like Glue” also looked at the adhesive bonding ability of the two-part resins we use in this report.
This article was originally published on 17 July 2017 and has been updated.


The article was really informative, especially the cold cure option.
The biggest advantage of mix your own is flexibility for small repairs. Working quickly, you can use the epoxy without additives to wet the surfaces. Then mix the thickener of choice into the same batch and complete the repair. Epoxy keeps well, so using individual components may be more economical over time.
Three quick things: First; one of the great advantages of epoxy that you missed noting is that it will adhere to polyester and vinylester, but not the other way around. If you are unsure of the composition of what you are repairing, use epoxy.
Second thing; mixing is critical and needs to be measured. do not eye ball it- it doesn’t work like forgiving polyester. However, if there is any doubt, err on the side of too little hardener not too much. Better yet, throw away and start again!
And too much mixing will increase the exothermic reaction- not helpful at warm temps, helpful in cold.
Third; the article does not touch on the very real health issues. Always use active charcoal respirators as epoxy allergies can happen to anyone at any time. Breathing the fillers will cause more than respiratory irritation- silicosis is a very real and incurable threat to breathing in silicon.
Lastly (ok four things), do not use alcohol on the part- it breaks down (uncured) epoxy. good for clean up, but will destroy any confidence in your part/repair. Use acetone.