Plastic holding tanks and water tanks have the advantage of not corroding, but they are hardly failure proof. Plastic holding tanks can crack and fail under extreme vacuum pressure if the vent is clogged. An errant drill or saw used to make adjacent repairs can puncture a tank. Or a poorly secured tank can be hurled across a cabin and crack.
In our recent report on polyethylene (PE) tank repairs, we explored several different methods of repair, including heat-welding using commonly available welding kits. As that article points out, the manufacturers of these tanks do not recommend such repairs. However, our long-term tests of reinforced water and holding tank repairs (not fuel!) have so far been very promising.
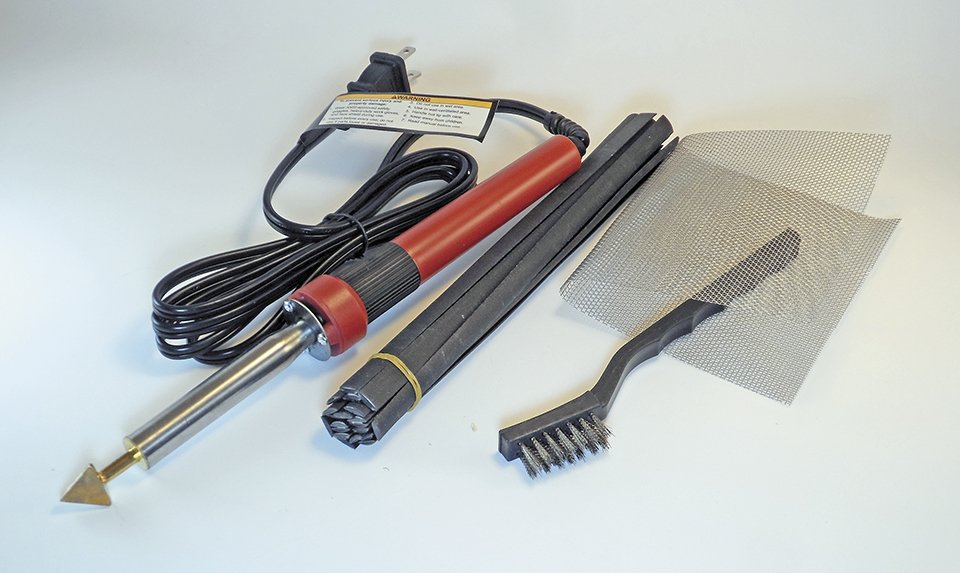
Heres a generic look at the repair procedure using one of two plastic repair kits we tested. We also had limited success using epoxy and polyurethane adhesive, and these repair procedures are outlined in the main article, which appears in the December 2018 issue.
The first step for all cracks is to drill a stop hole (3/16-inch is usually adequate) at each end of the crack to prevent it from spreading. If your hole is more than superficial, you’ll usually need a filler strip.
One source suggested trying a milk jug for filler, as it had been used by others. Although the milk jug approach might work in some cases, in our experience, the thin strips tend to fall down through the crack instead of building a bridge. The repeated heating required to lay down enough material often made the crack wider.
It was easier to work with the thicker strips that came with the supplied repair kits. We used these for our test.
Prep work. Clean and prepare the area around the crack with 60-grit sandpaper. If the hole or crack is very small, use the plastic welding iron to melt plastic around the hole and fill it in, being careful not to melt through the tank. Melt only a thin layer and work it into the crack.
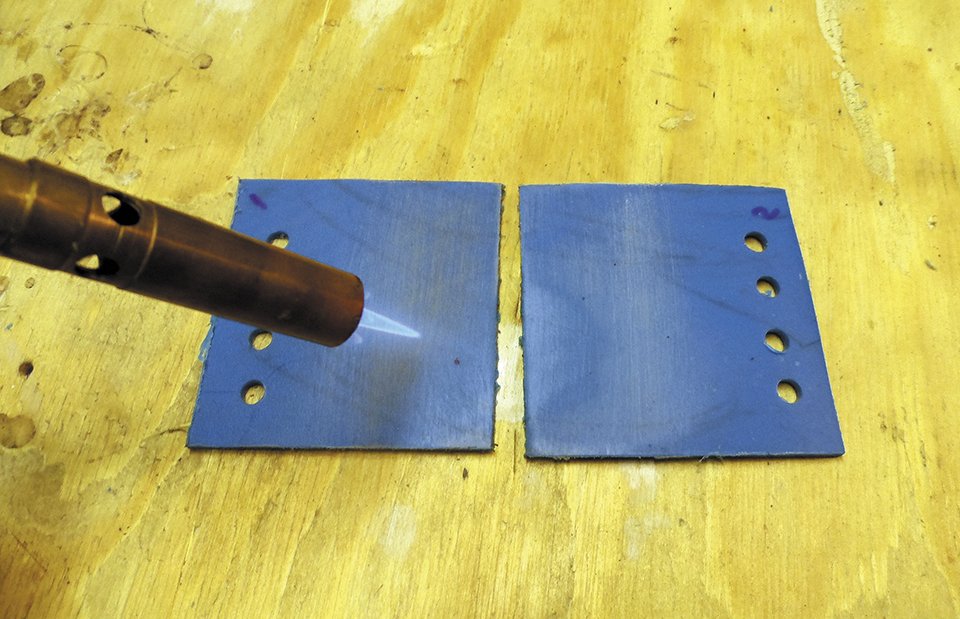
Heating. Next, use the welding iron to soften the area around the repair to insure good adhesion, soften one side of the filler strips, and stick them on, apply 1-2 layers, building up until you match the thickness of the tank material, tapering for five tank thicknesses wide on every side (at least 5/8-inch past the crack).
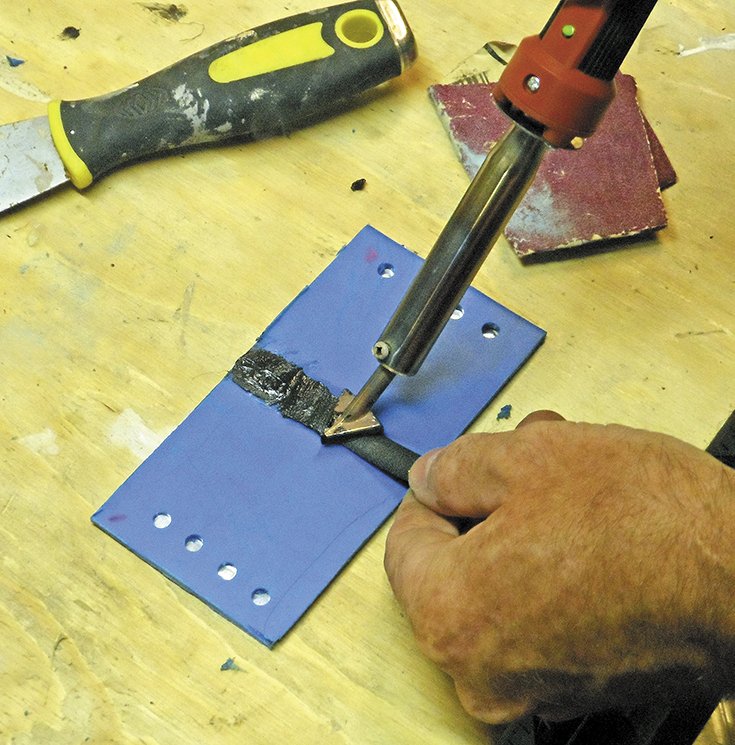
Blending. Smooth the layers of plastic together, but do not linger too long in one area, or the heated plastic will begin to sag into the tank. Keep in mind that your aim is not a true fusion weld, as in steel welding when the filler and base material are well mixed. This simply does not work. If you tried to apply enough heat to fully liquefy the PE, it would shrink away from the crack, and fall into the tank before you finish. In addition, the melting points of the filler and the base material, even if both PE, are probably somewhat different.
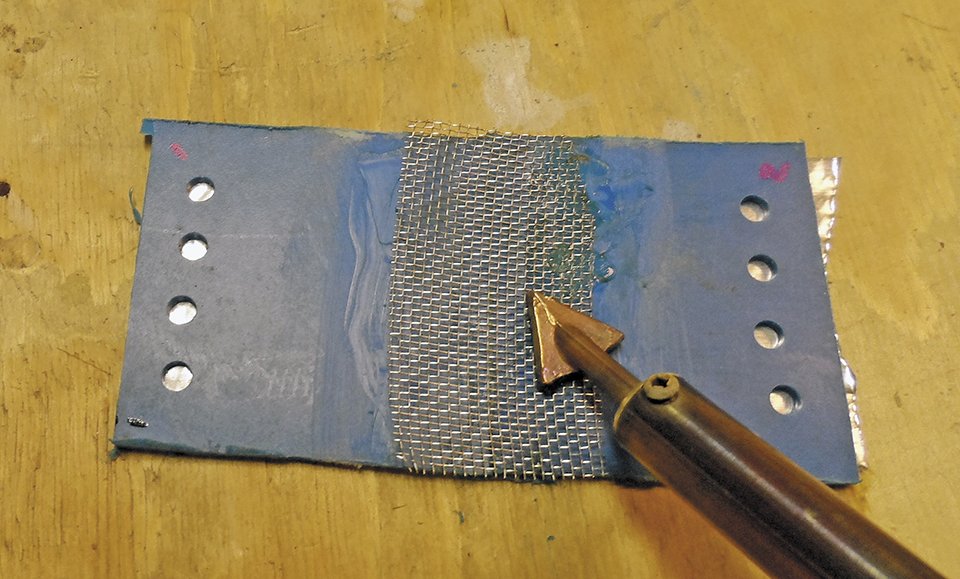
Reinforcing. Incorporating reinforcing material makes the repair stronger and tougher. We recommend this for both adhesive and welded repair, but the materials are different. We tried using fiberglass cloth with melted polyethylene, but it was hard to keep in place during welding.
We settled on stainless steel mesh. This is included in welding kits, and you can also get small pieces in the plumbing department, sold as lint screens. Cut a piece about 1-inch wide and 1-inch longer than the crack. Soften the tank surface with the welding iron and then press the mesh into the plastic. Do not press too hard; wait for the plastic to get soft and it will settle right in.
If the surface is curved, cover a small area, let it harden, and then work the mesh into the plastic in stages, bit by bit, as if fitting a replacement plank or bending a steel hull plate. Once the mesh is set, lay filler material on top of it. Pre-soften one side of the filler material with the iron, press it onto the screen, and use the iron to melt and smooth it down. Cover the mesh with several layers of filler, continue building up to about 1/8-inch. There is an excellent how-to video by Polyvance, the makers of one of the tested kits.
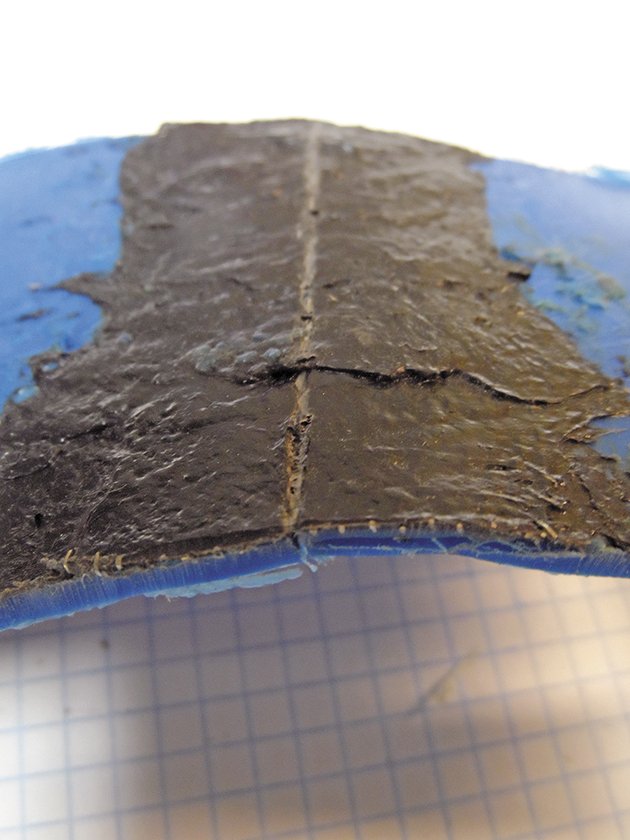
Sanding. After the filler and tank cools, you can sand it smooth if you have added enough filler material. The sanding will leave it dull and fuzzy, but a light flaming with a torch, similar to how you prepped the area, will restore some of the gloss. If you need to match color, use strips of matching PE. The color worked well with our kayak repair, but for a tank repair you can skip these cosmetic steps.
Practice. It is possible to make things worse. If you watch enough You Tube repair videos, you will see people make small cracks into big holes by applying too much heat or using filler material with too high a melting point. We made the same mistakes during practice, before making the welds we used for testing. A 5-gallon bucket, a kids playhouse, or a food storage container makes for a good test bed. Try to find something similar in thickness to your tank.






I would like to order
Is there any reason a P-tex ski base repair stick would not work? I’ve repaired garbage pails with it. You light the stick on fire, drip and/or roll molten plastic onto the cracked area. I’ve got a tiny failure in the junction between the female NPT fitting and the body of the tank.