

A sailing buddy came to me looking for advice. He had inadvertently left a portlight open and a combination of rain and snow had blown into the cabin near the nav station. The finish on the teak and holly cabin sole had been compromised. The surface had stained dark in areas and the finish bubbled white in others. As a fastidious boat owner, he was hoping to re-finish the sole to factory condition. Failing that, the second choice would be replacing the teak and holly veneer with a similar product and hope that the same tint of teak and holly was available with similar stripe width.
Thin Veneer Specs
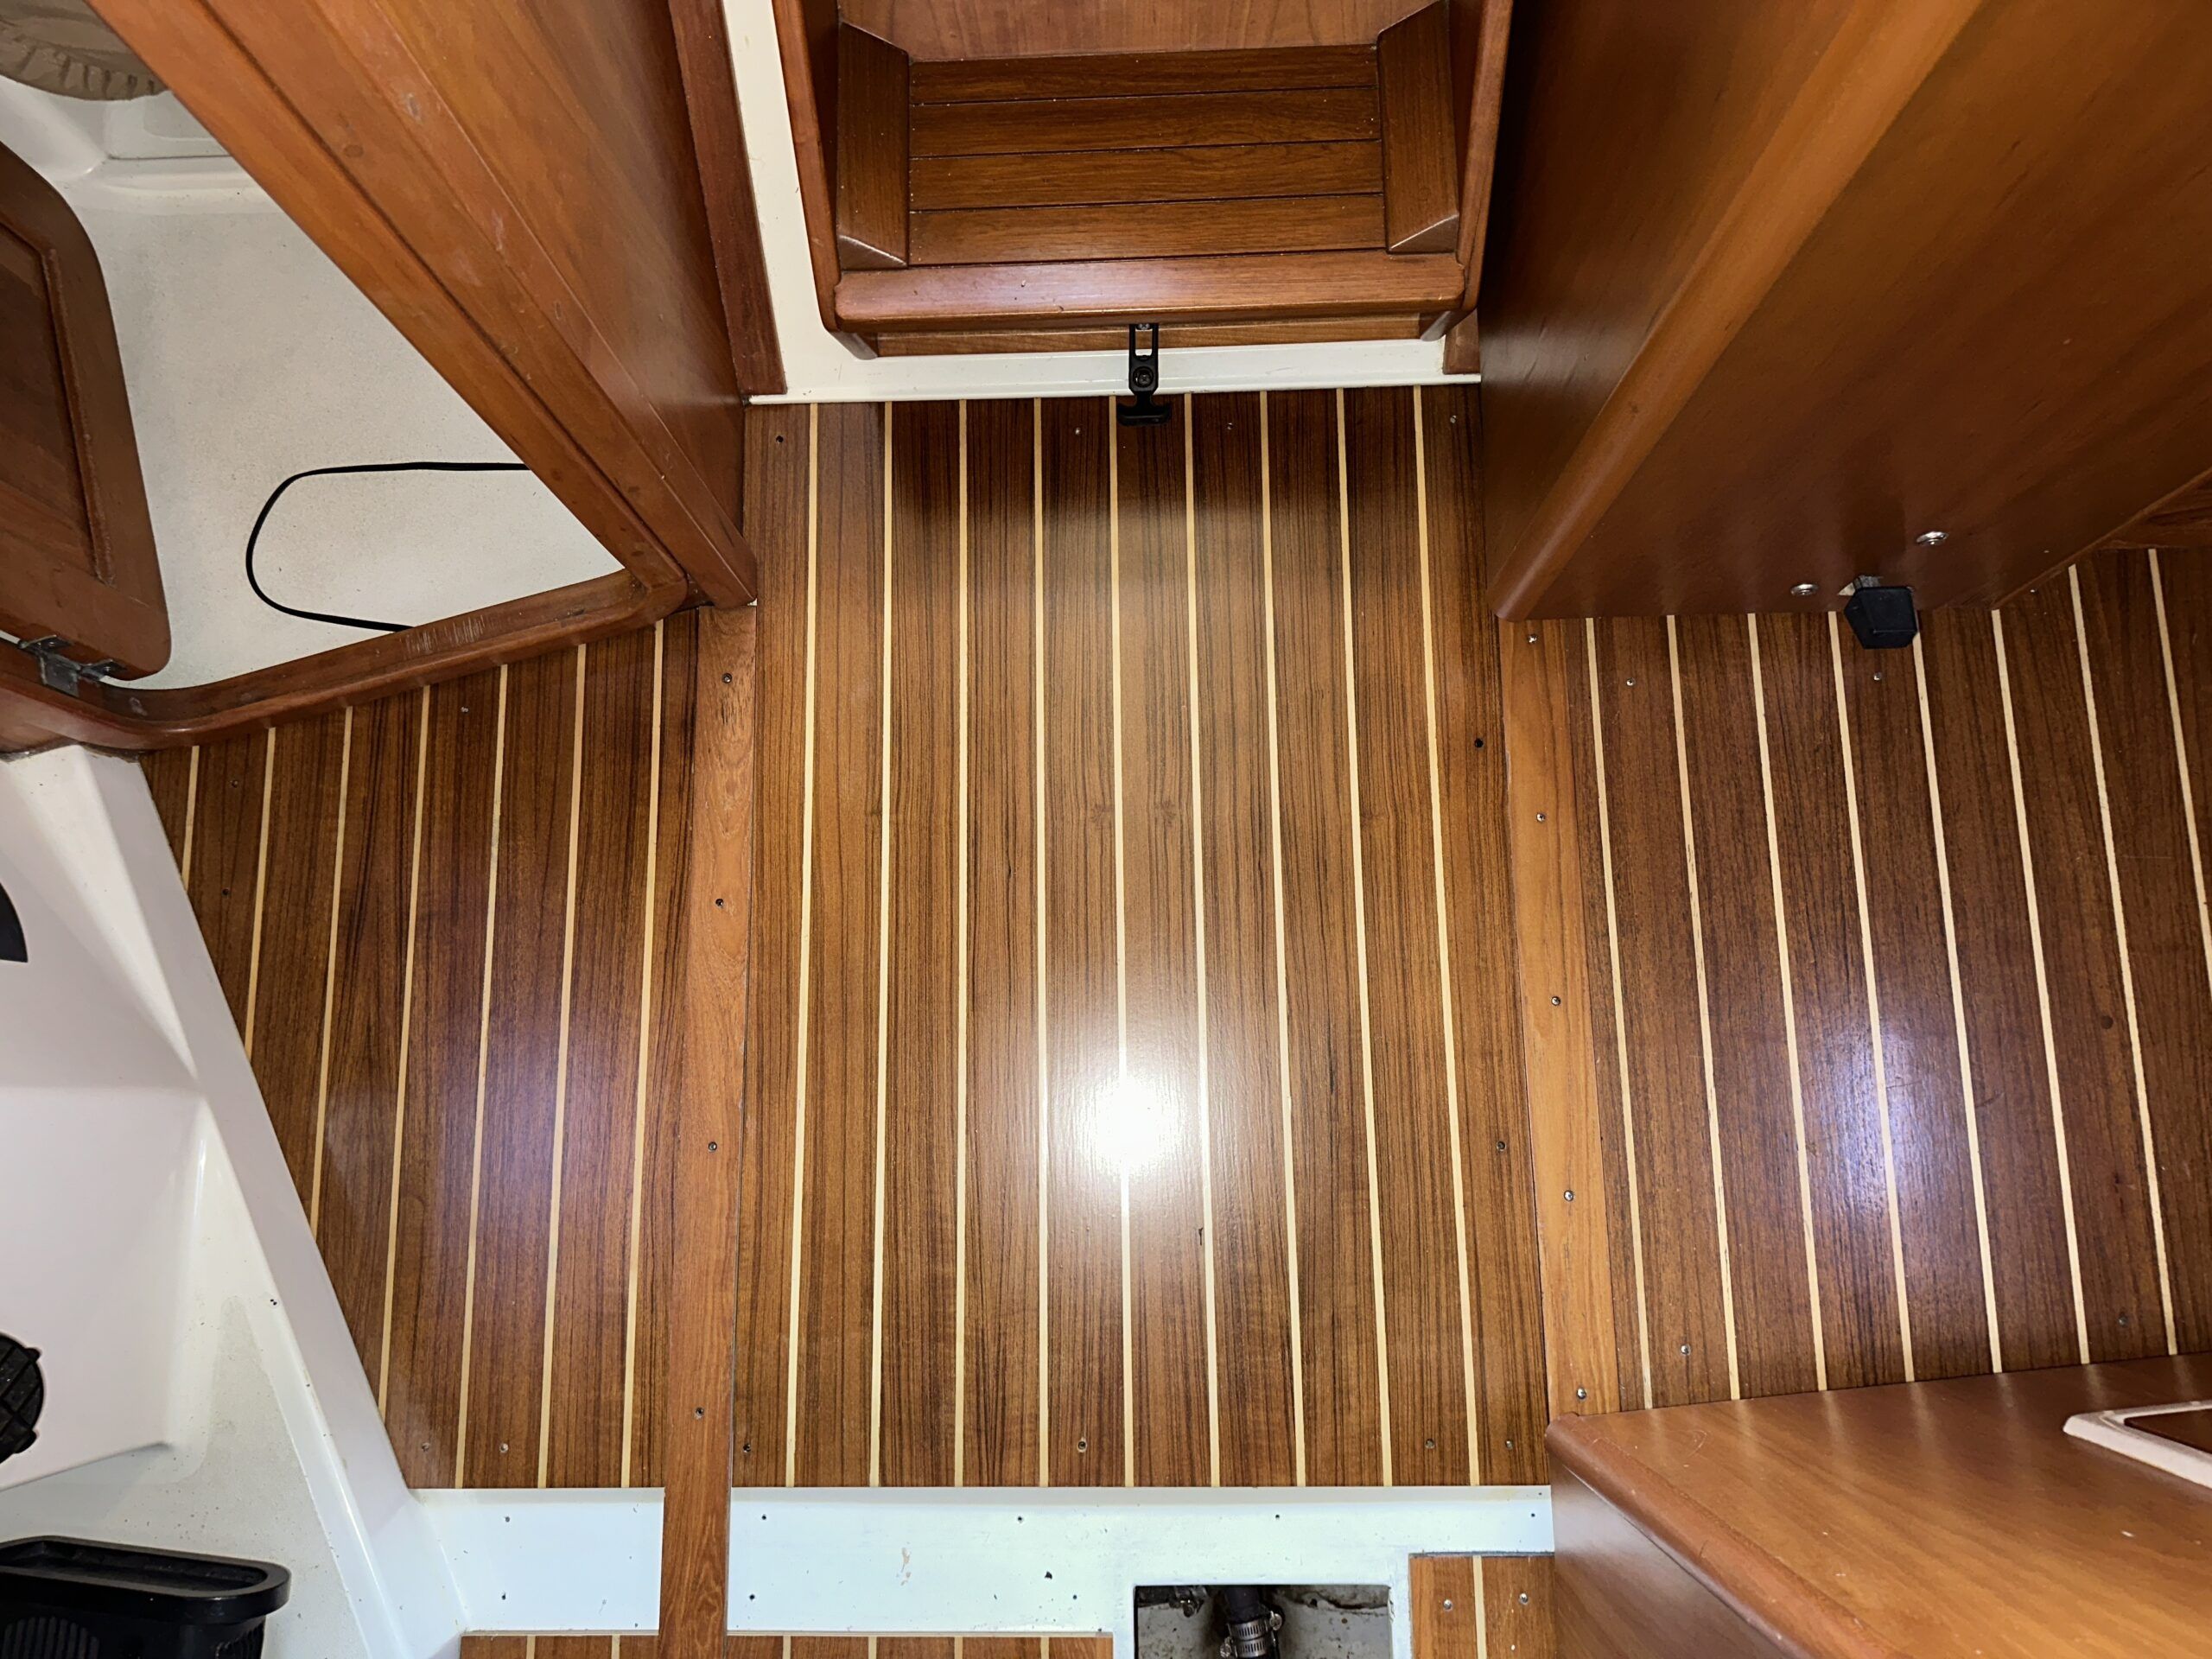
On the 2006 Tartan 34 the cabin sole is plywood screwed down over a fiberglass substructure, similar to many boats of that era, and today. The plywood has a very, very thin veneer of teak and holly laminated to the top. Depending on how deep the damage had penetrated the veneer and plywood, the damage may or may not be salvageable. A local specialty lumber store had marine grade teak and holly plywood available in ¼-inch (6mm) four by eight sheets at $500 per sheet. A bit pricy considering that the ¼-inch sheet would still have to be laminated onto another marine grade sheet to make up the necessary ½-inch (12mm) thickness of the Tartan cabin sole.
Gently Remove Damaged Parts
As can be seen in the photo above, the sole in the damaged area had an odd shape. It proved impossible to remove the entire panel without removing adjoining vertical cabinetry, something we did not want to disturb. Attempting to refinish the panel in-place was not a practical option. In reviewing the entire sole, it was noted that where floor panels met elsewhere in the cabin there were solid pieces of transition teak. Why not cut the damaged floor panel where an additional transition piece was likely to be? Splitting the panel would enable the removal without disturbing the vertical cabinetry. That was the accepted solution and, once cut, the two separated pieces were easily removed without disturbing the vertical trim.
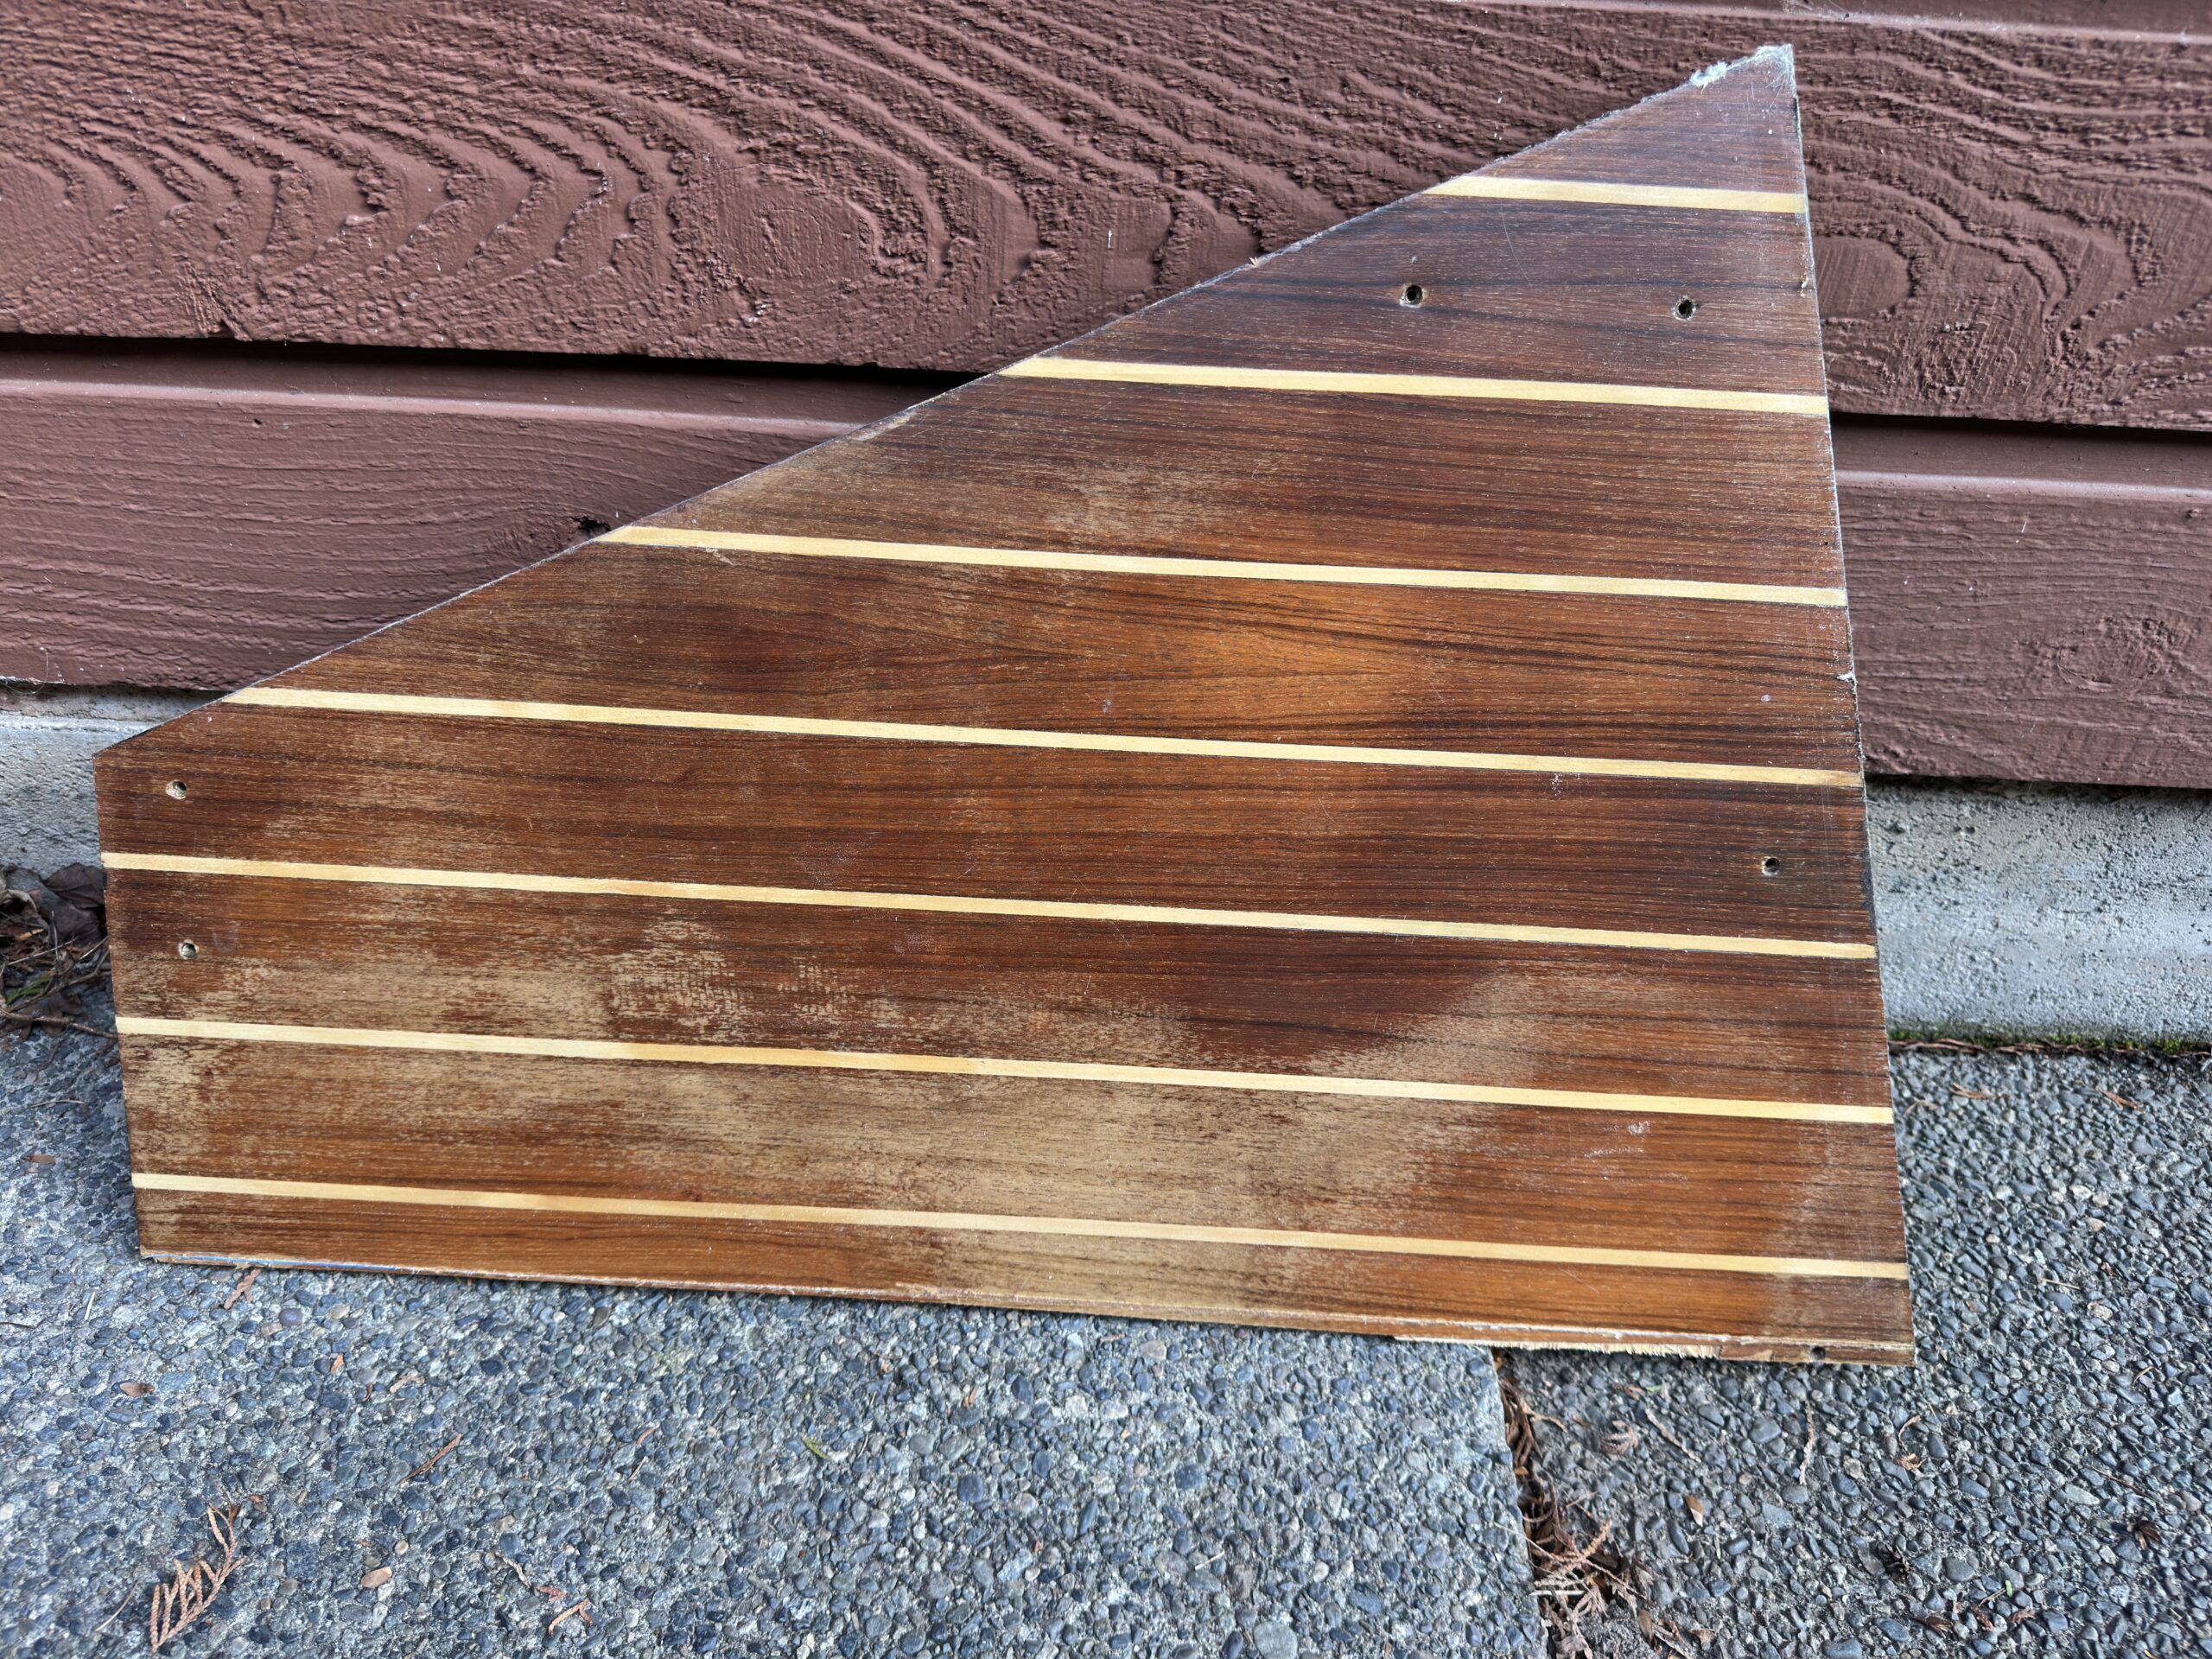
Examining the sawn edges, it was determined that the water intrusion was simply under the finish, not into the substructure. The water had not been sitting on the surface very long.
Remove Varnish
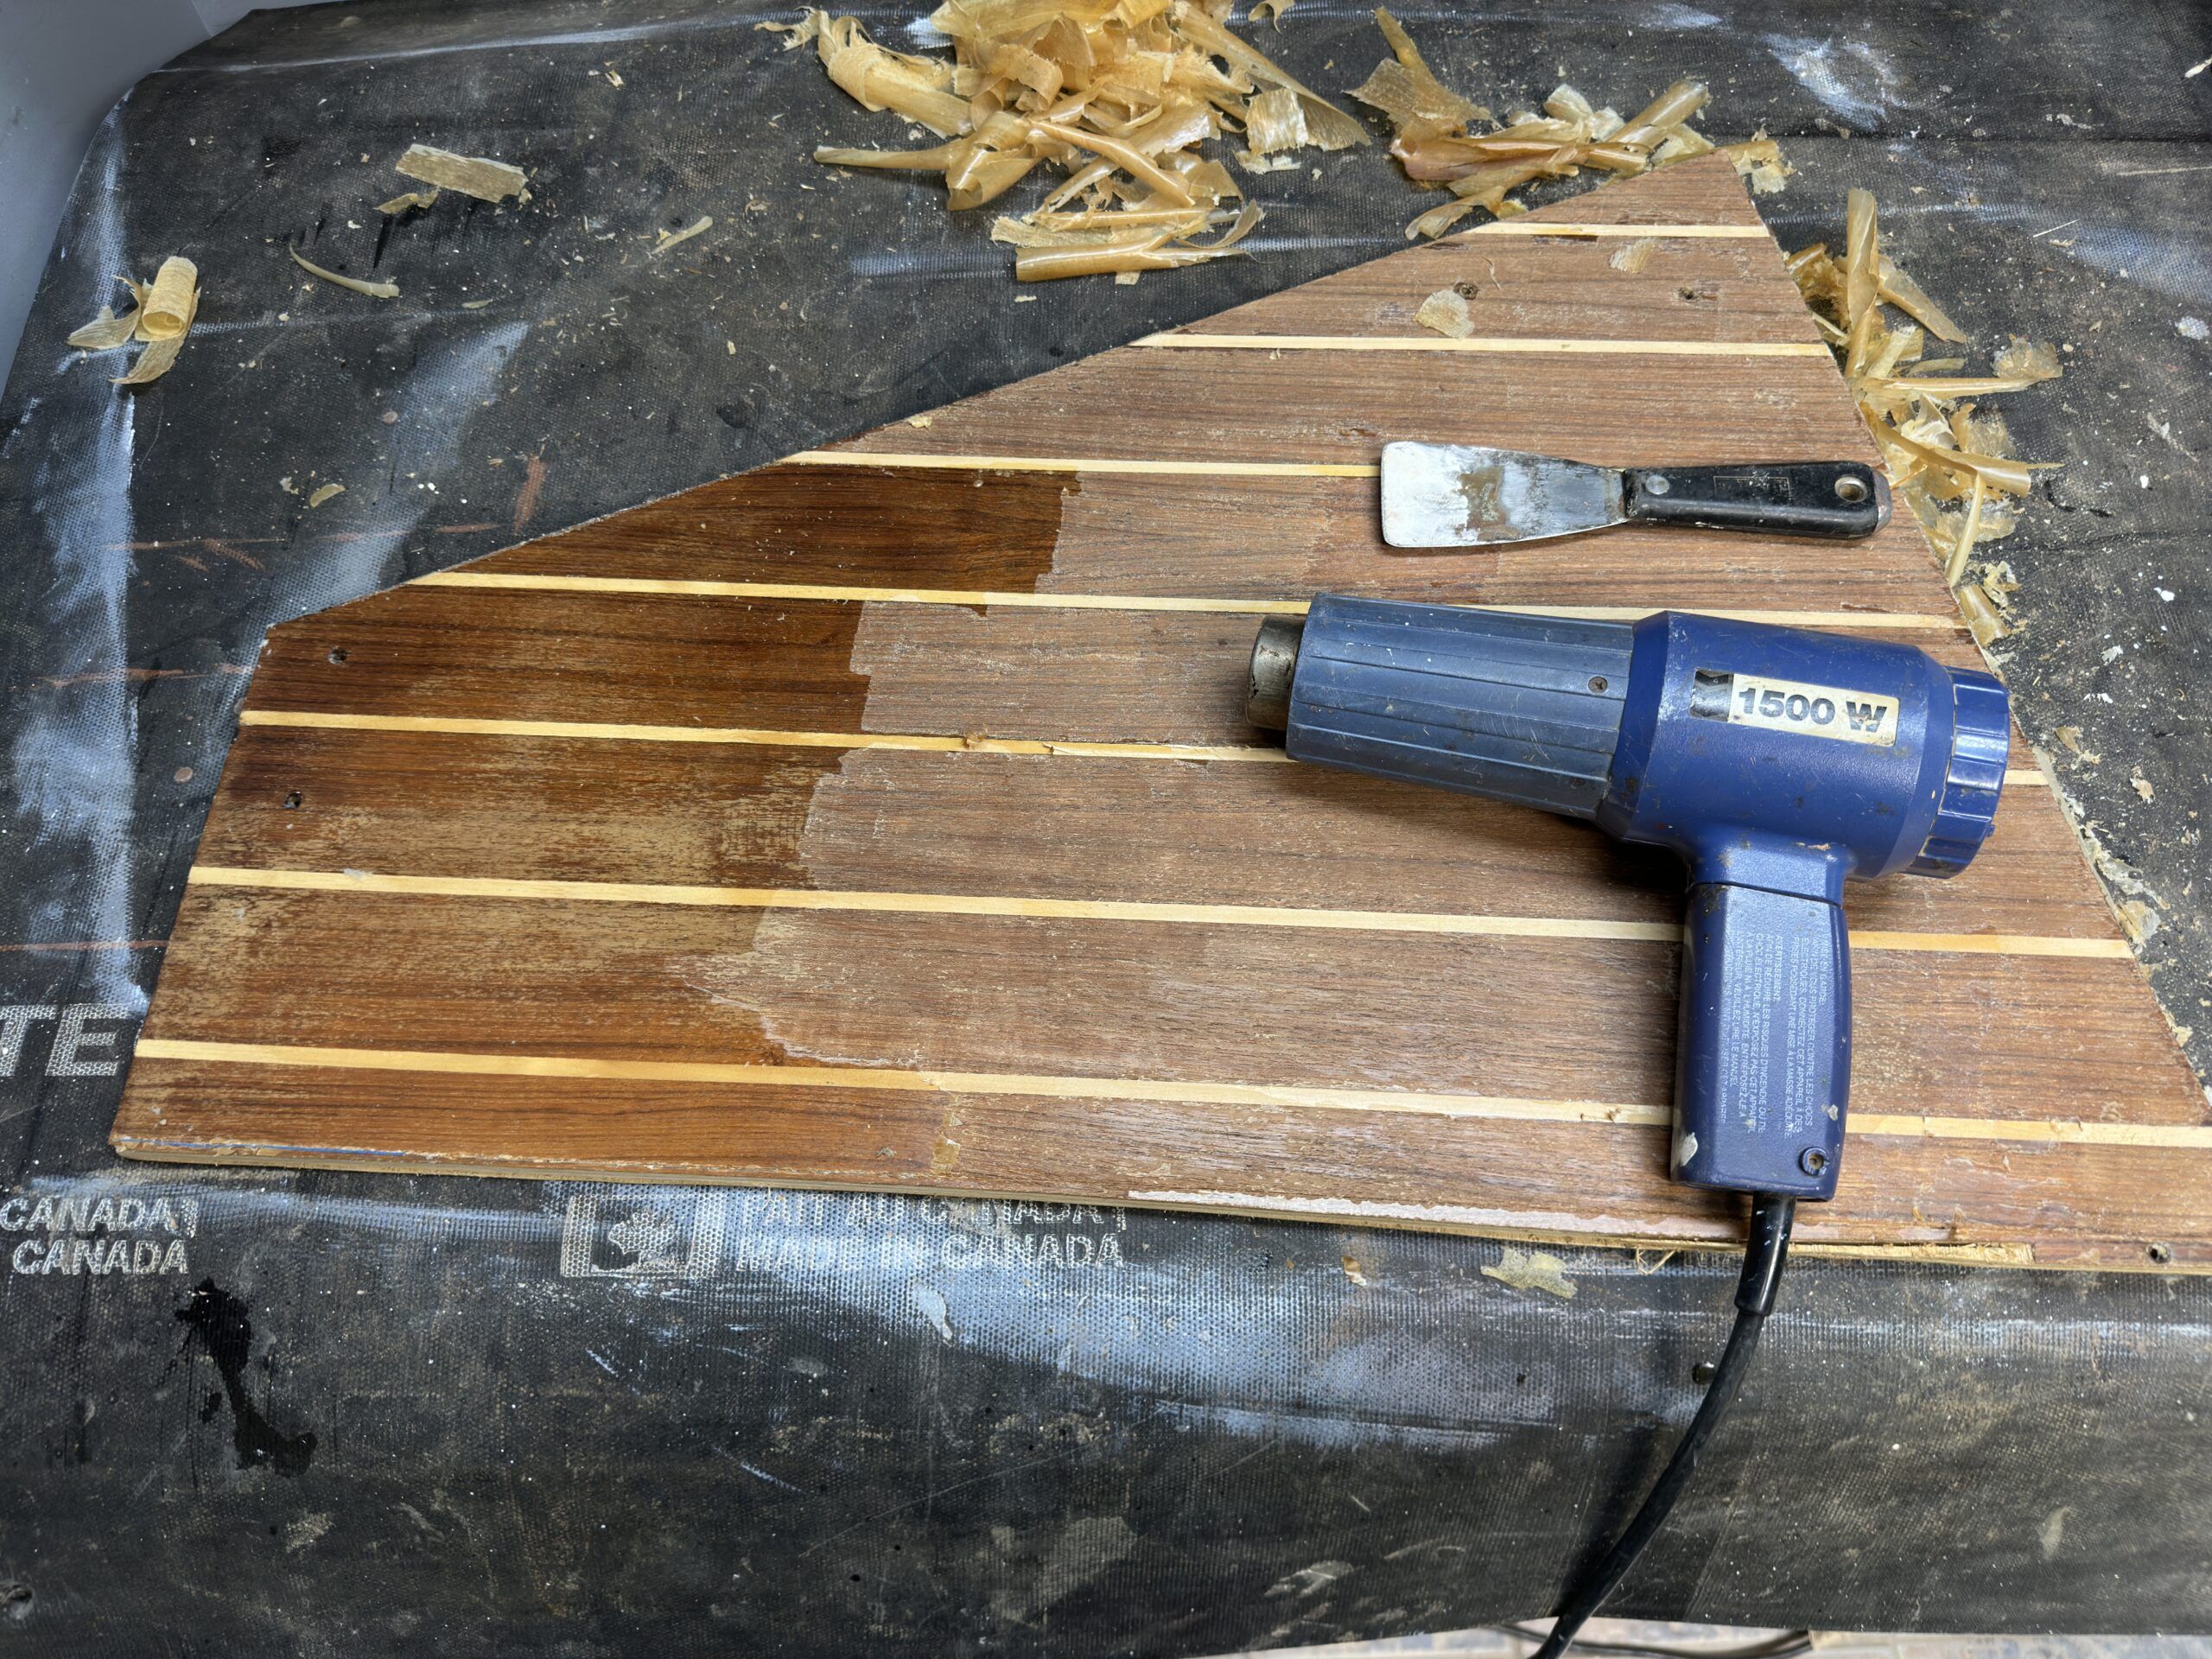
I had top-varnished this cabin sole years ago to give it a fresh glow. I knew there was a layer of varnish over the original factory finish. With a heat gun and small putty knife the top layer of varnish was carefully removed. The putty knife/heat gun combination and I go back a good many years and I know how they behave. The corners of the putty knife have been rounded off and the sharp edges sanded down, reducing the risk of gouging the surface. Great care was taken with the heat gun not to burn the factory finish, or any of the bare teak underneath. This was not the place to rush.
Sand Down the Factory Finish

Once the top layer of varnish was removed it was time to address the factory finish. Contact with Tartan Yachts revealed that the original finish was Valspar Ultra Guard Premium conversion varnish, a two-part epoxy product. Chemical stripping came to mind, but I’ve had varying degrees of success with those products when dealing with epoxy-based finish. I didn’t want to take the chance of damaging the teak underneath. Keeping in mind that even the smallest error in sanding through the scant millimetres of teak veneer to the plywood substructure would ruin the panel, hand sanding was going to be the safest route. Care was the focus, not speed. Power sanders were not even considered, far too great a risk of an error.
Starting with 150 grit paper on a padded sanding block (to even out hand pressure), sanding with the grain was commenced, one strip at a time, just to keep focus on a small area. Dust from the epoxy finish came off the sandpaper white, dust from the teak came off a light brown. Visually, there was a marked difference when the sandpaper reached through the factory epoxy into the thin layer of teak and holly. Sanding very carefully, each strip was cleared of finish until the teak looked even. Where there were pre-existing dings, they were left as is. The teak veneer was far too thin to sand down to remove such dents. They are part of the heritage of a well sailed boat.
Lighten Darkened Areas With Solvent
Once the entire panel was sanded down it was apparent that some of the darker stains, both from the water damage from the recent intrusion, and that of damage near the engine compartment from years of slow water intrusion, still tinted the teak. Wiping the panel with a cloth dampened (not soaked) with solvent highlighted the dark areas. Wiping with a water damped cloth will also show the same results, but will take longer to dry. If it darkened with a damp cloth, it would darken with any applied finish. I mixed up a small batch of oxalic acid, a product used to bleach wood, and applied it to the entire panel, allowing it to dry overnight.
The next day, and wearing a properly fitting face mask (oxalic acid dust must not be inhaled!) the panel was thoroughly vacuumed of the dried crystals and then lightly sanded with 320 grit paper, still with the mask on. When vacuumed again, it looked spectacular, a light teak color. But wiping again with a damp solvent cloth revealed some continued dark spots. Again, those spots would re-appear when a sealer or varnish was applied. Another application of oxalic acid was applied and allowed to dry overnight. Patience is a virtue when working with this product.
Following the second application and light sanding, a wipe with the solvent cloth showed virtually no dark areas on the teak. Potential success!
Seal the Teak
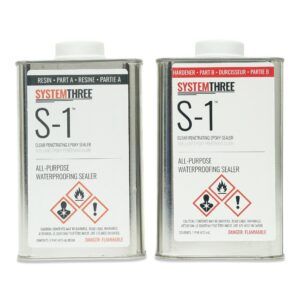
Tartan applied an epoxy-based finish as a water-resistant sealing coat at the factory. That specific product was simply not available locally. I selected System Three S-1 Sealer, a two-part low viscosity clear epoxy that I had used previously as a water proofing agent on wood products. The very low viscosity ensured sufficient penetration into the teak surface for excellent adhesion.
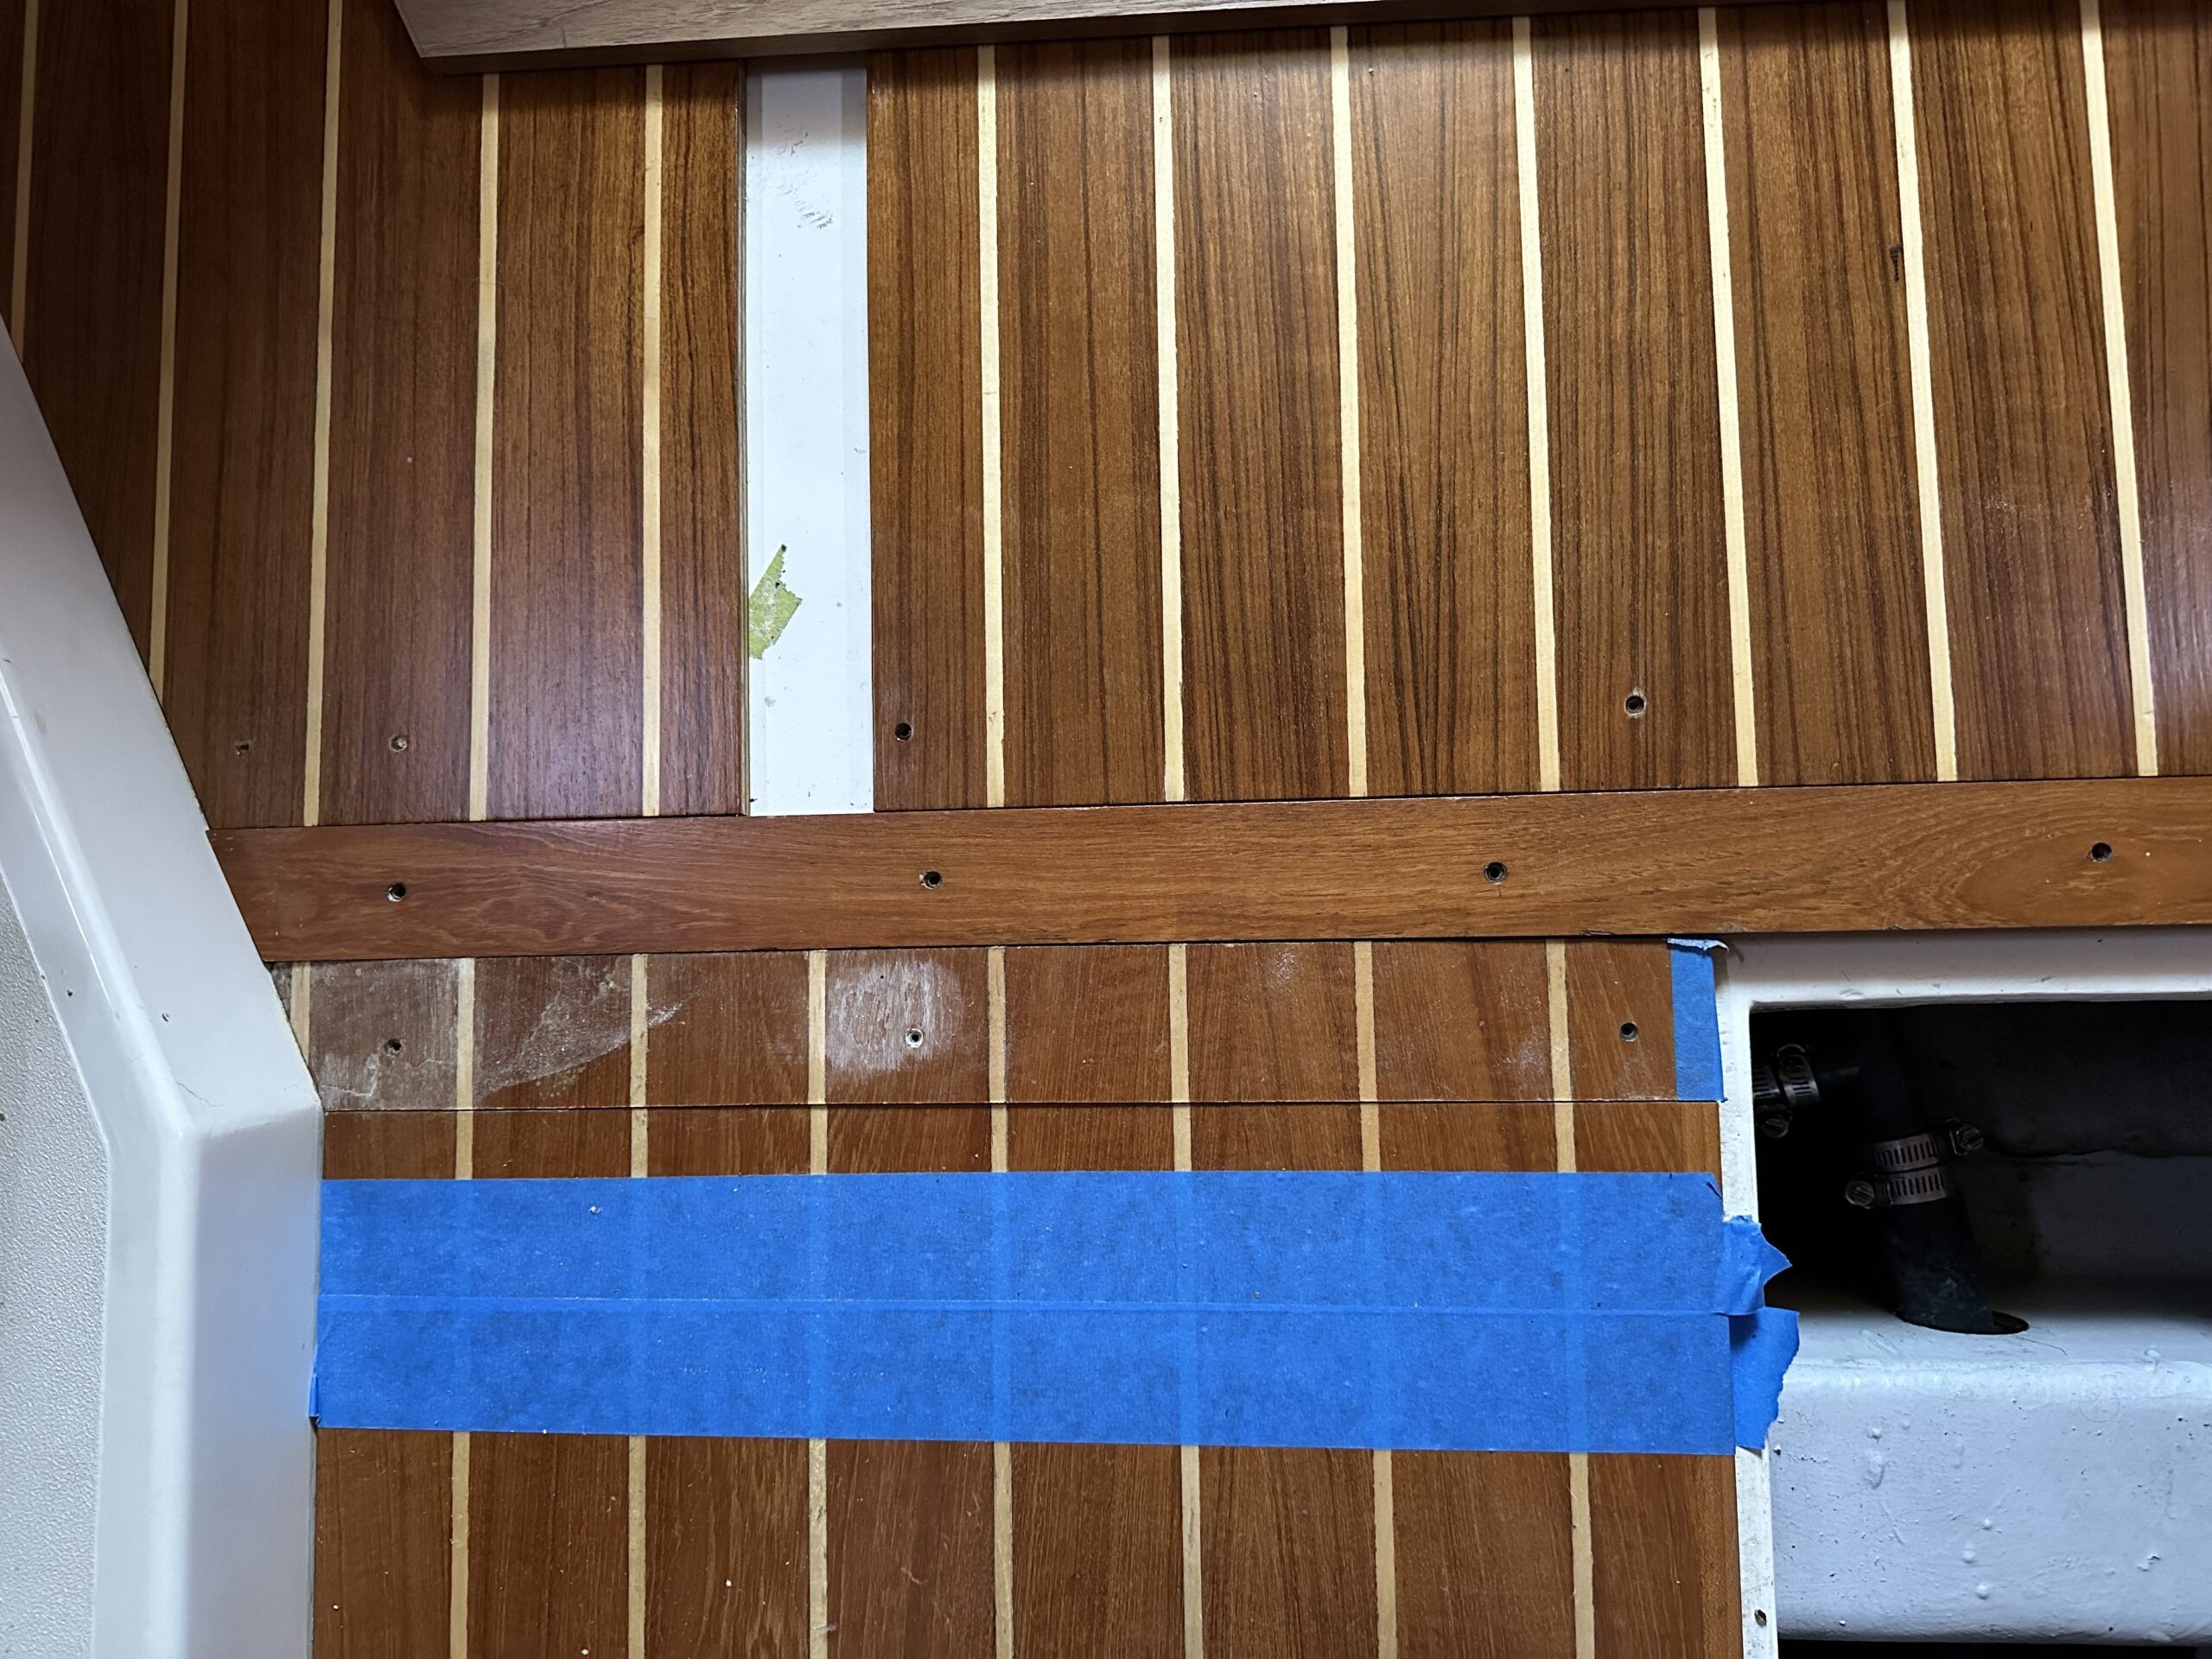
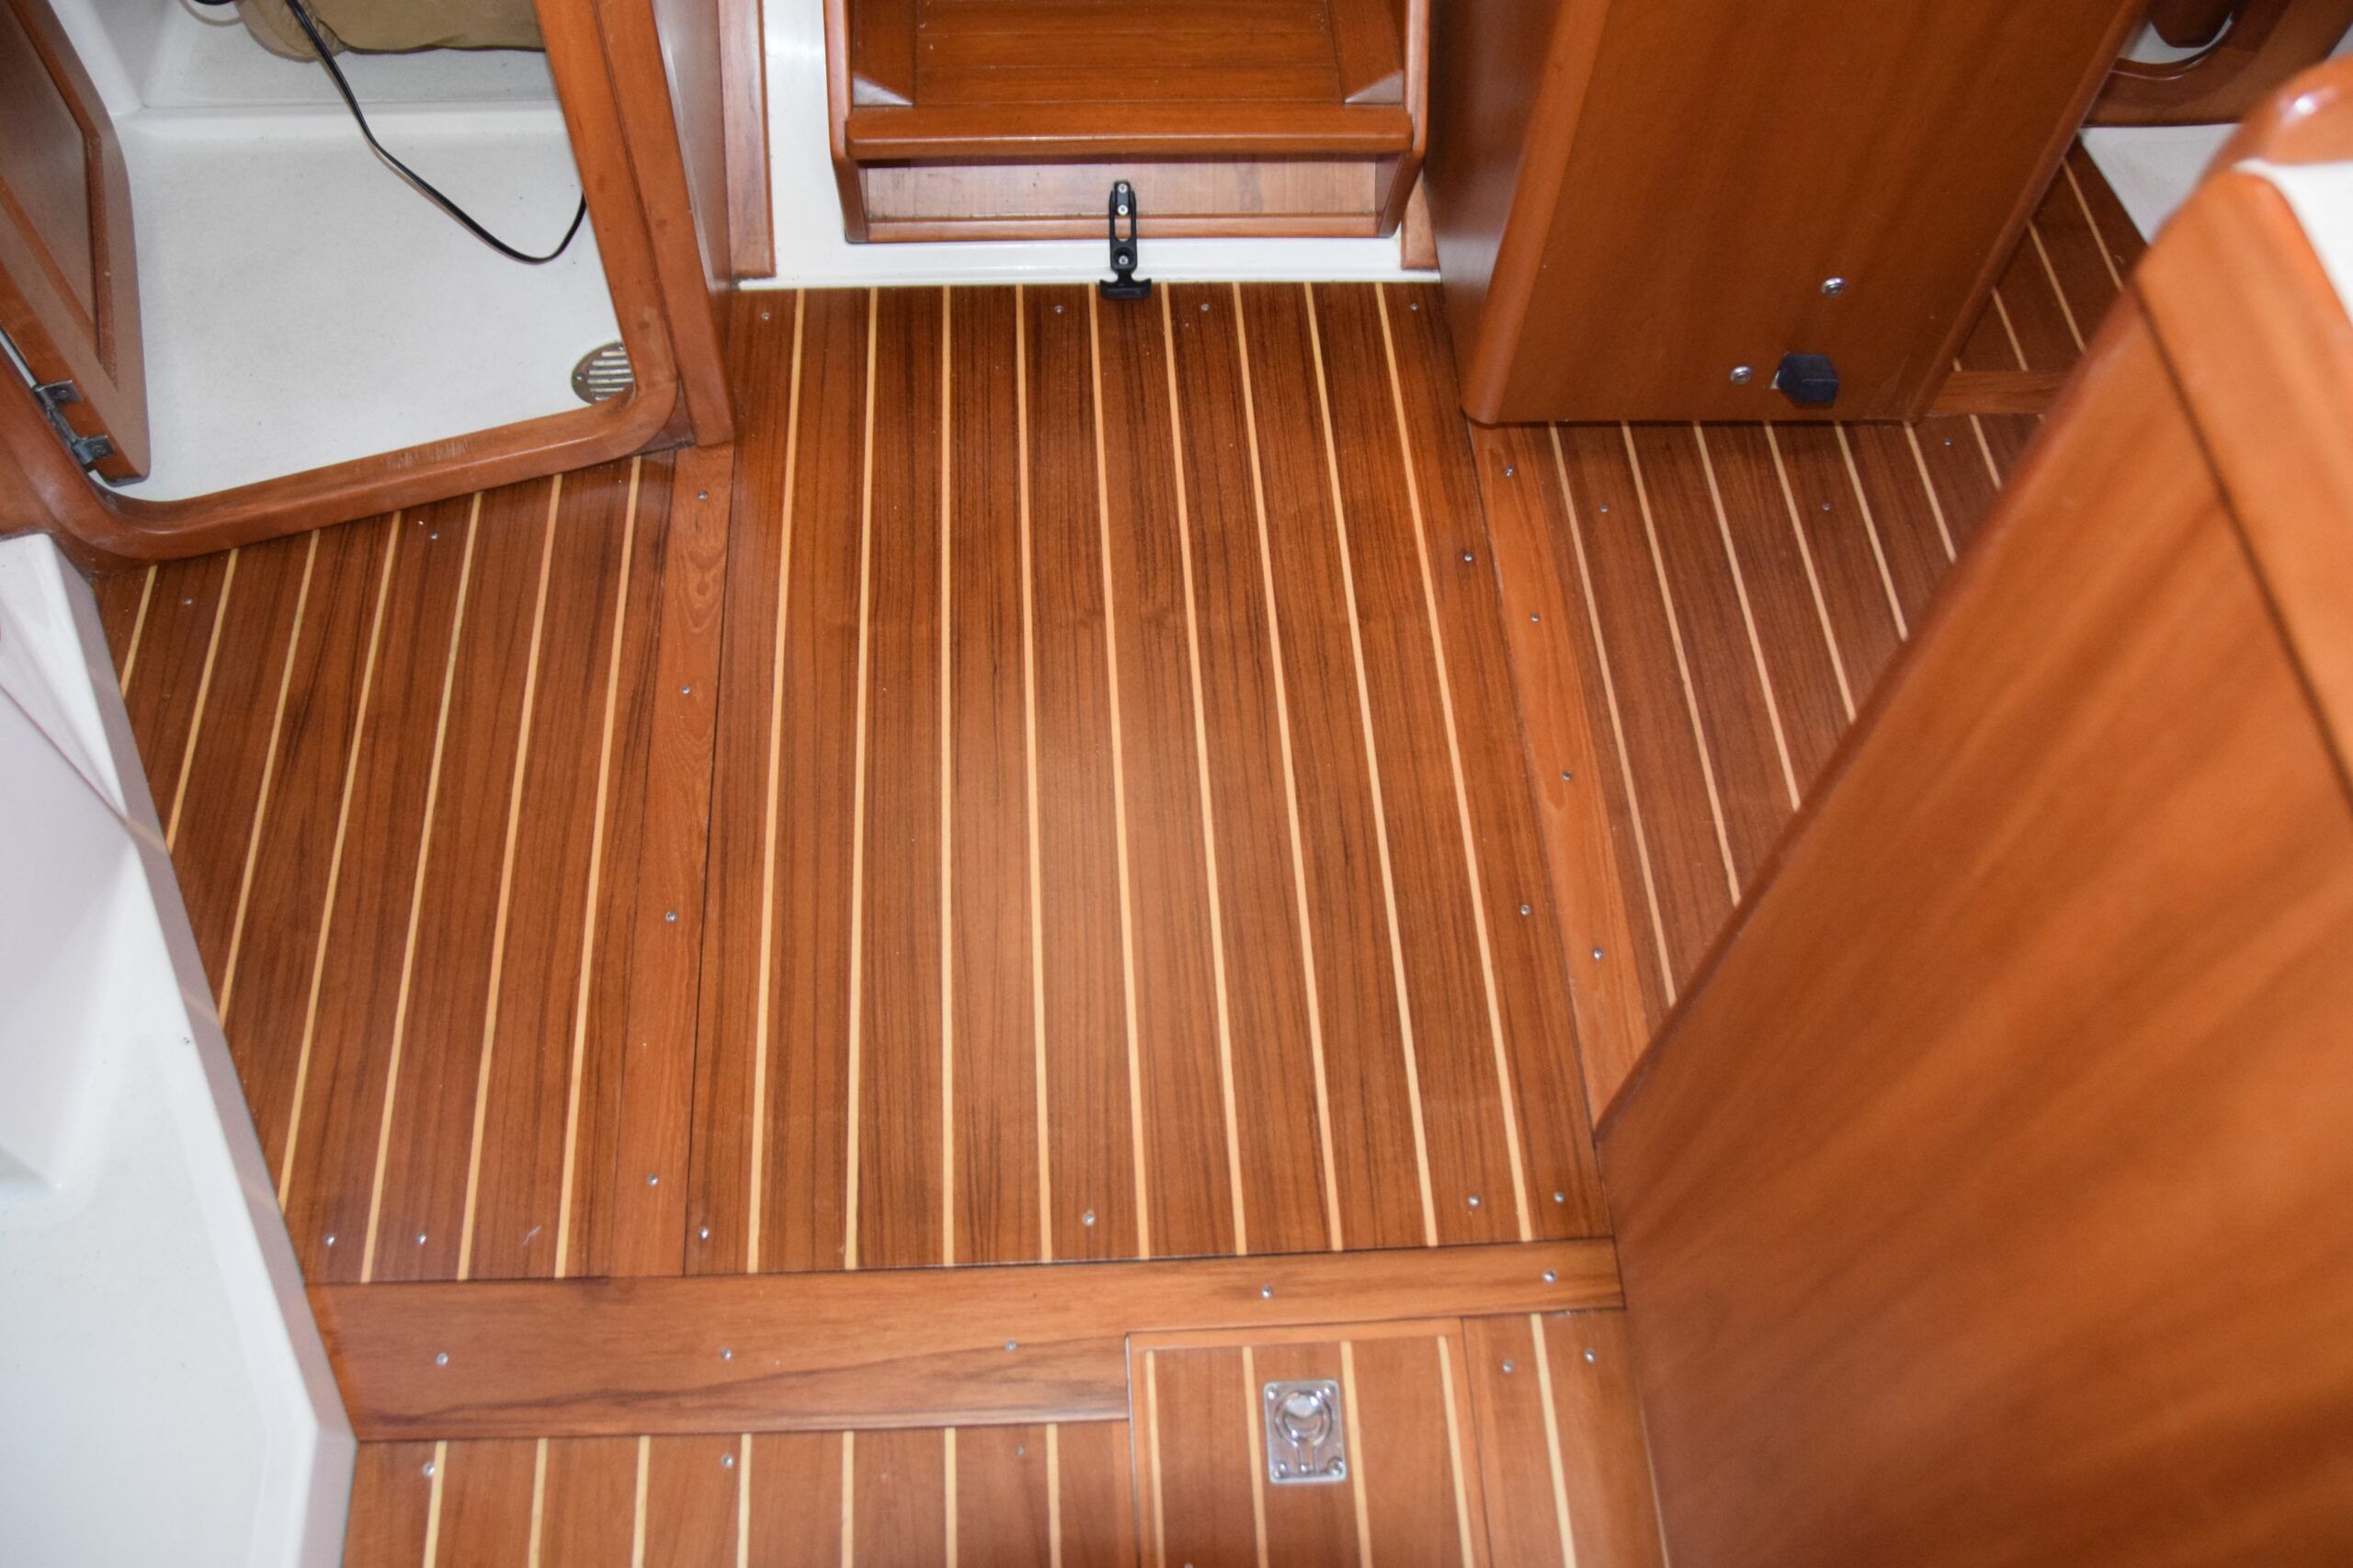
A thorough wipe-down with acetone to remove any residual surface oil from the naturally oily teak and the S-1 Sealer was applied with a small roller. A day of drying and the results looked spectacular. To match the remaining panels in the salon, three coats of Interlux Goldspar Satin Polyurethane varnish were applied for a hard, glowing finish. The repaired panels appeared as good as new.
Create a New Cross Piece
At the time of removing the damage pieces I knew that the longer, starboard panel in the salon had also suffered minor damage in a corner. The agreed repair was to trim the damaged panel and widen the cross-transition piece. I used the existing cross-transition piece as the new longitudinal transition between the two panels that was formerly one panel. The most difficult part of creating the new cross piece was finding teak with which I could match colors of the existing sole. A mixing of stains and varnishes, plenty of experimenting on scrap pieces, and the results looked original.
Conclusion
Although approached with a great deal of trepidation, and considering the extent of the original damage, no great expectation of success, this project achieved better results than I believed possible. Sometimes I surprise even myself!


Compliments – I’m doing the same job on the sole of a Wauquiez Centurion 38 of ’87, and the original varnish must be some 2-component epoxy which is impossible to sand (it took me more than 1 hour @ girt 120 for a 30 x 40 cm piece), no chemical stripping possible, so I had to resort to the heat gun, and the damned varnish is “boiling up” when heated, then it re-melts and gets very hard to be stripped. The result is a dark-spotted sole which I try to uniform as much as possible using 5 layers of Epfinaes Hard Wood Varnish with two layers of Epifanes Auqa Marine Urethane sealing matt finish. Not comparable with your good job. I’m deeply envious … chapeau to your good work!
Thanks for the comment. Refinishing a factory sole is always a chancy gamble. I got very lucky with this project. I believe on the Centurion the sole is permanently fastened to the hull, not screwed down. You can’t replace individual boards like more modern soles (that squeak when trod upon!). On my own boat I refinished the cabin sole by laying another sole overtop, 1/4″ thick. I used oak with mahogany strips, the interior of the Islander is mahogany. It worked out very well but it was a lot of work. Good luck on your project!
Nice work! Articles like this are great for keeping the “practical” in Practical Sailor magazine.
What might it cost to replace the veneer with real teak and holly?
Good question. With the exorbitant cost of teak, and the milling that will be required to trim it to size, I suspect that most boat owners would reject that option out of hand. In this particular incident, trying to match the rest of the sole would have been near impossible. To look good the entire sole would have to be replaced. In western Canada teak runs around $85 a board foot.
I got a price of $30,000 from my local yard to add a teak and holly tongue and groove layer on top of my existing salon/galley sole on my ’85 Morgan 43, which is almost as much as I paid for the boat! The same width new veneer is not available to match my boat, so I am in the process of moving good veneer from the galley to replace damaged spots in the salon-new teak was not going to match the old teak color anyhow. Then I’m going to completely replace the galley sole with a beautiful compass rose floor medallion from some wood artisans in Ukraine that I found on Etsy. I have had good luck very carefully sanding the existing finish off with a good quality (brushless motor) orbital sander starting with 80 grit.
Excellent idea Todd. I’ve also seen the worn out teak & holly in the galley replaced with a rubber type non-skid sole like Treadmaster, the same material used on the decks and cockpits. It looked pretty sharp as well. But your idea is something I’m going to look into. Never thought of that avenue. Thanks for the comment.
Timely article for me; I will need to refinish my floor this Winter. Thanks for the detailed guide.
Thanks for the comment George. I’ve been away sailing and just got back. Good luck on the refurbish on the sole. Hopefully any damage is not too deep and salvageable. Patience is the key! I’d be interested in seeing the results if you can send me photos at [email protected].