
")
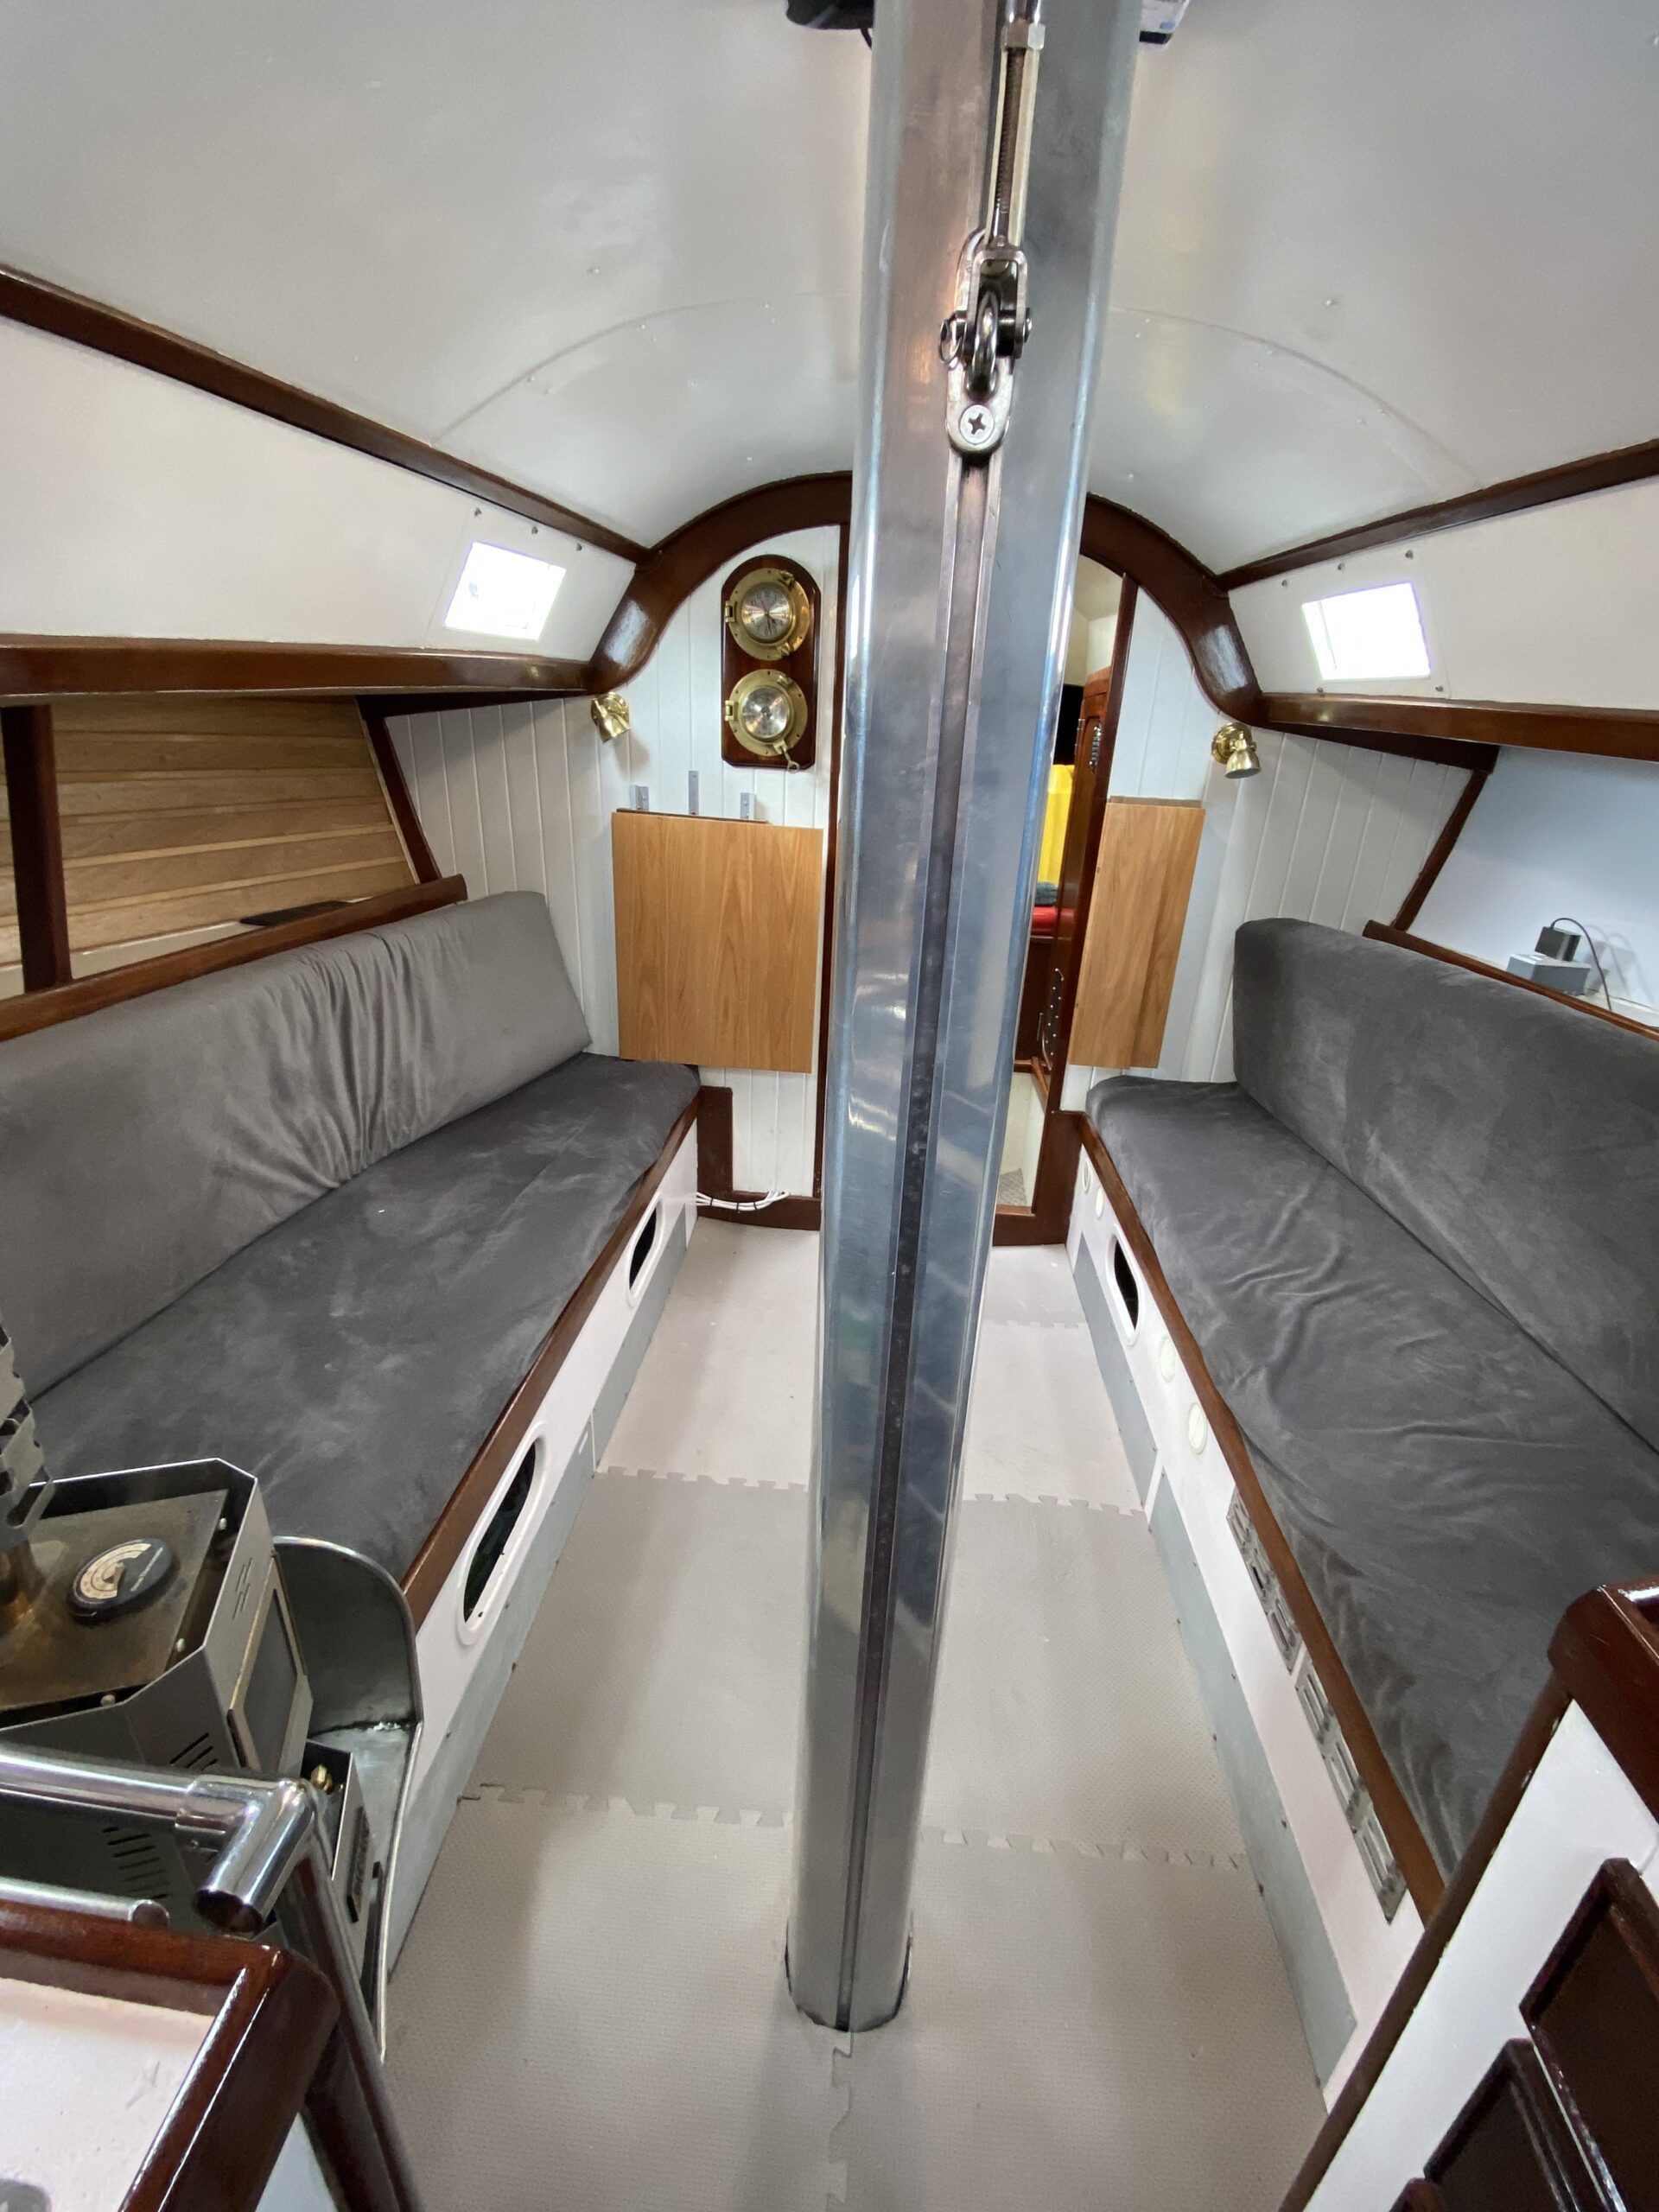
“Interesting, functional and downright ugly,” were a few words people used when I mentioned the boat my husband and I had on Vancouver Island in fall of 2021. Many people were interested in the well-appointed cruiser, but after catching a glimpse of the interior, they ran at breakneck speed away down the docks.
Our 1979 Fast Passage 39, Raicilla, isn’t exactly in line with the rest of the fleet in terms of polished teak and mahogany finishes. Her owner-finished interior included a variety of grey exercise-mat flooring, a surface-mounted inverter and wiring, and harsh fluorescent lighting. We knew it needed an update, but what did two new boat owners know about interior refits? With some research and planning, we discovered we knew more than we thought.
Carpentry and sewing YouTube channels like Woodwork Web and Sailrite came in handy when the time came to tackle the sewing and cabinetry projects. Having a father who is an avid woodworker to answer unexpected questions along the way helped.
The interior was overdue for a refit, but with plans to cruise and not get stuck on the dock in an endless renovation cycle, we decided to tackle it in phases. The salon was our first target, since it was the most prominent and glaring eyesore, then we planned to move through the rest of the interior as we found pockets of downtime while we cruised Pacific Mexico or during our planned haul out for hurricane season.
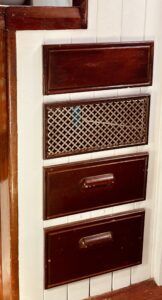
STEP 1: HIDE THE INVERTER
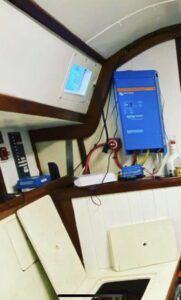
The focal point of the original salon was a Victron inverter, proudly mounted on the bulkhead wall and complete with surface-mounted wiring. Our broker joked it was like showing off a Tiffany jewelry box. Spurred on by the gentle buzzing of an inverter six inches from our heads, this became our first project. We moved the inverter into an unused bank of drawers and then rerouted the cables—my husband has electrical and cabling experience, which made this part of the process easier than the carpentry aspects. Moving the inverter involved shortening some of the cables and removing one of the drawers to mount the inverter on the underside of the countertop. We added a removable panel to the bank of drawers for easier servicing and modified the drawer face for extra air circulation.

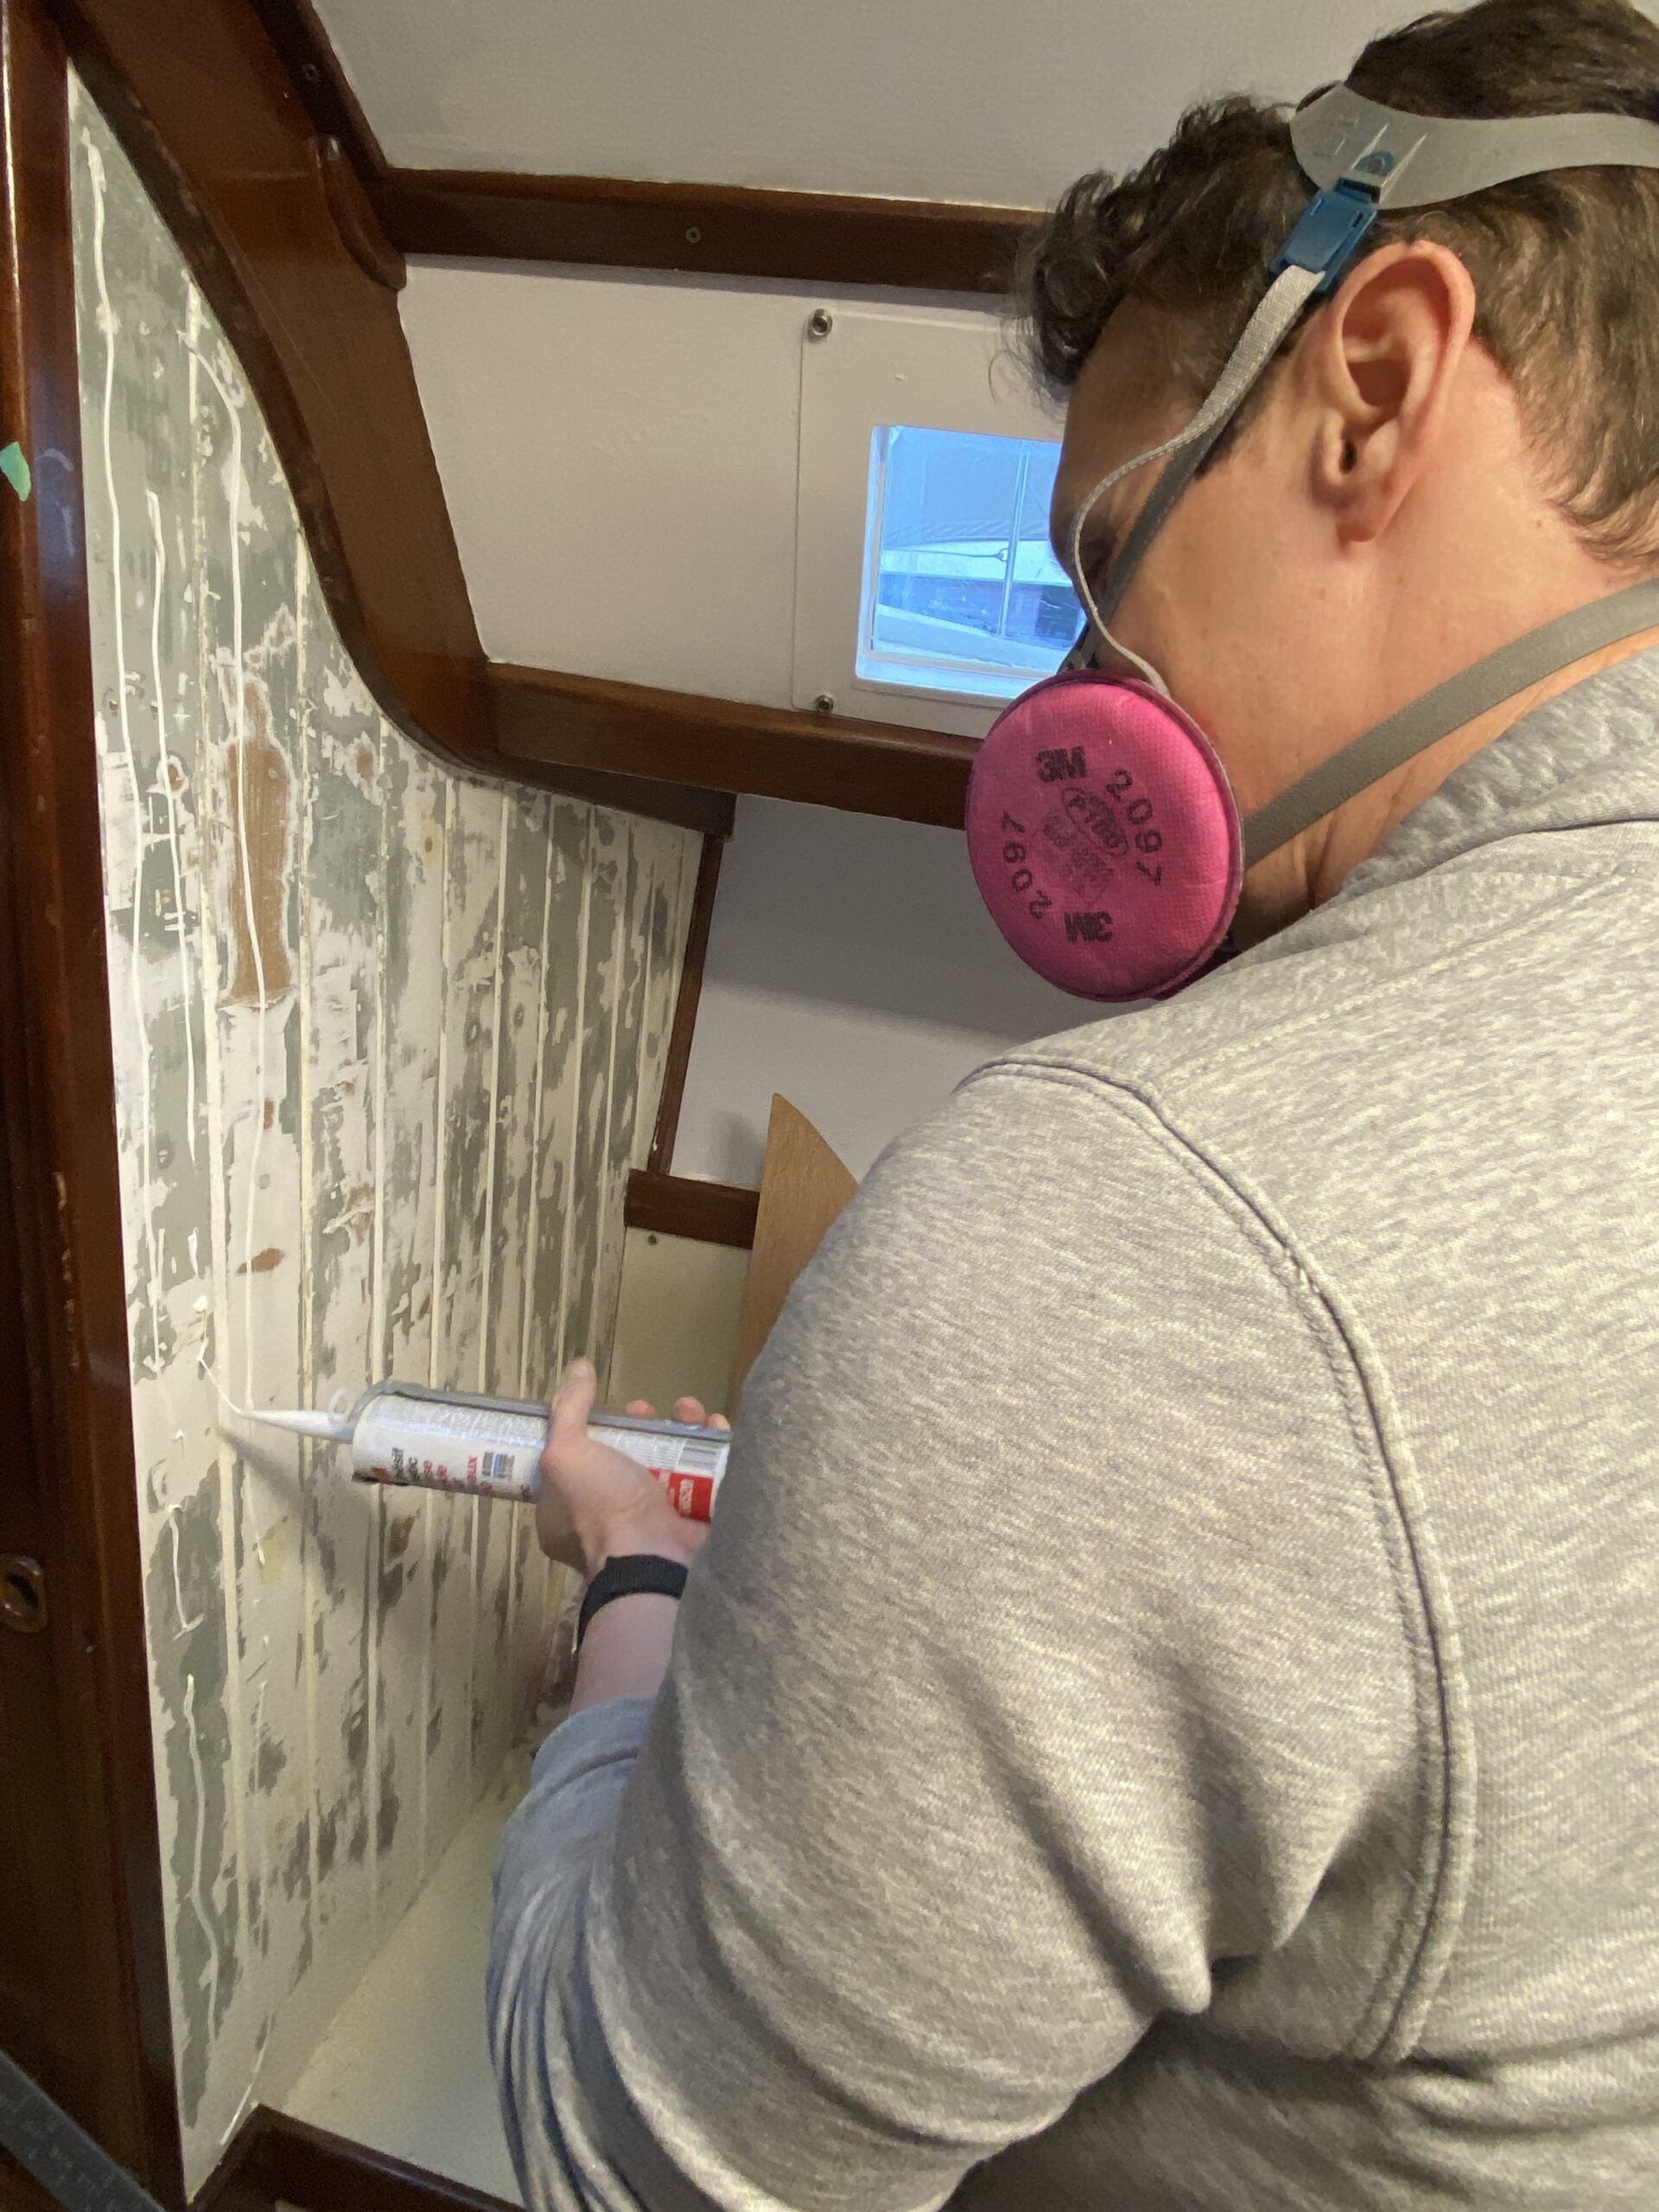
STEP 2: REPAINT THE WALLS
With the inverter moved, the walls needed attention. The paint was a mix of thick, glossy white over bilge grey. At first, we followed other sailors’ advice to refinish the wood but soon found it was a mismatched mix of tongue-and-groove teak and oak. Some friends thought it had charm, but we repainted everything white for a brighter feel. We applied a thin sheet of marine plywood, sanded and faired, to the forward bulkhead walls for a smooth, modern look.
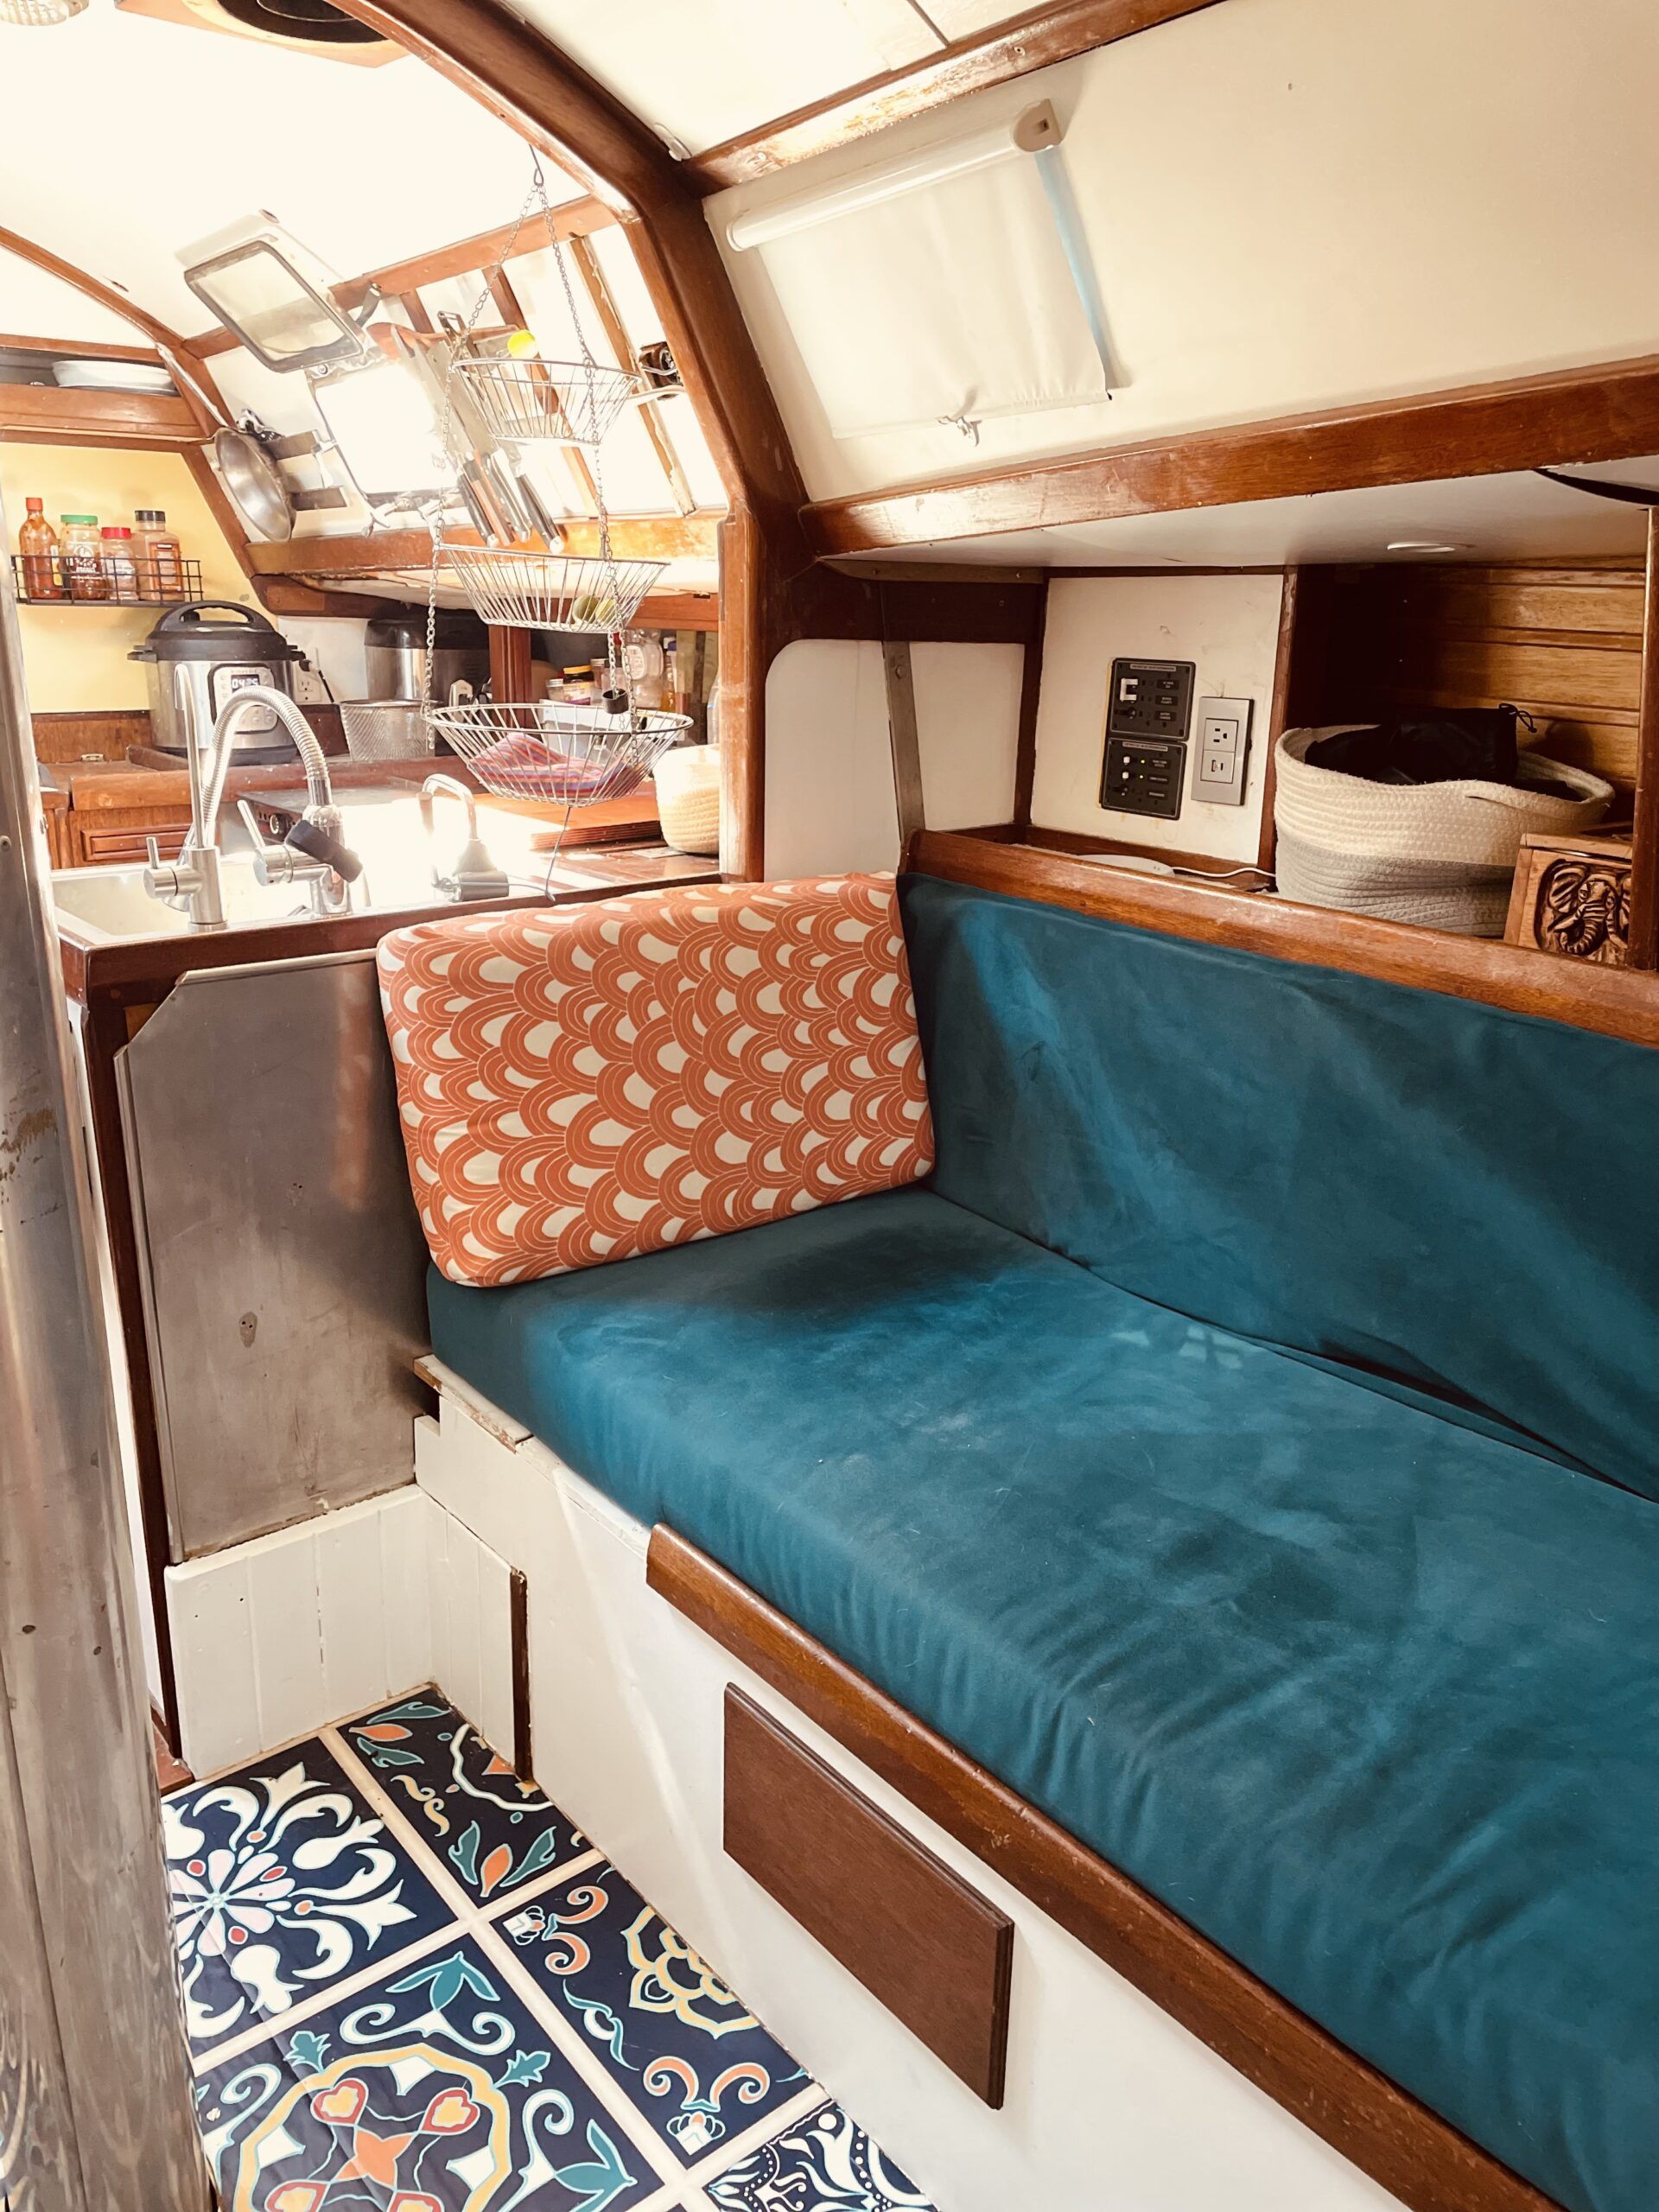
STEP 3: REPLACE THE FLOOR
As much as we appreciated the warmth of the exercise mats during the Pacific Northwest winter, the mismatched gym flooring had to go. We considered traditional teak and holly wood but opted for a lower-maintenance vinyl in a modern printed pattern we found on Etsy. It was affordable, so we figured we’d risk it only lasting a season or two. After two years of full-time cruising with a dog, it’s holding up with just a few minor scuffs from vigorous vacuuming.
STEP 4: SEW NEW CUSHIONS
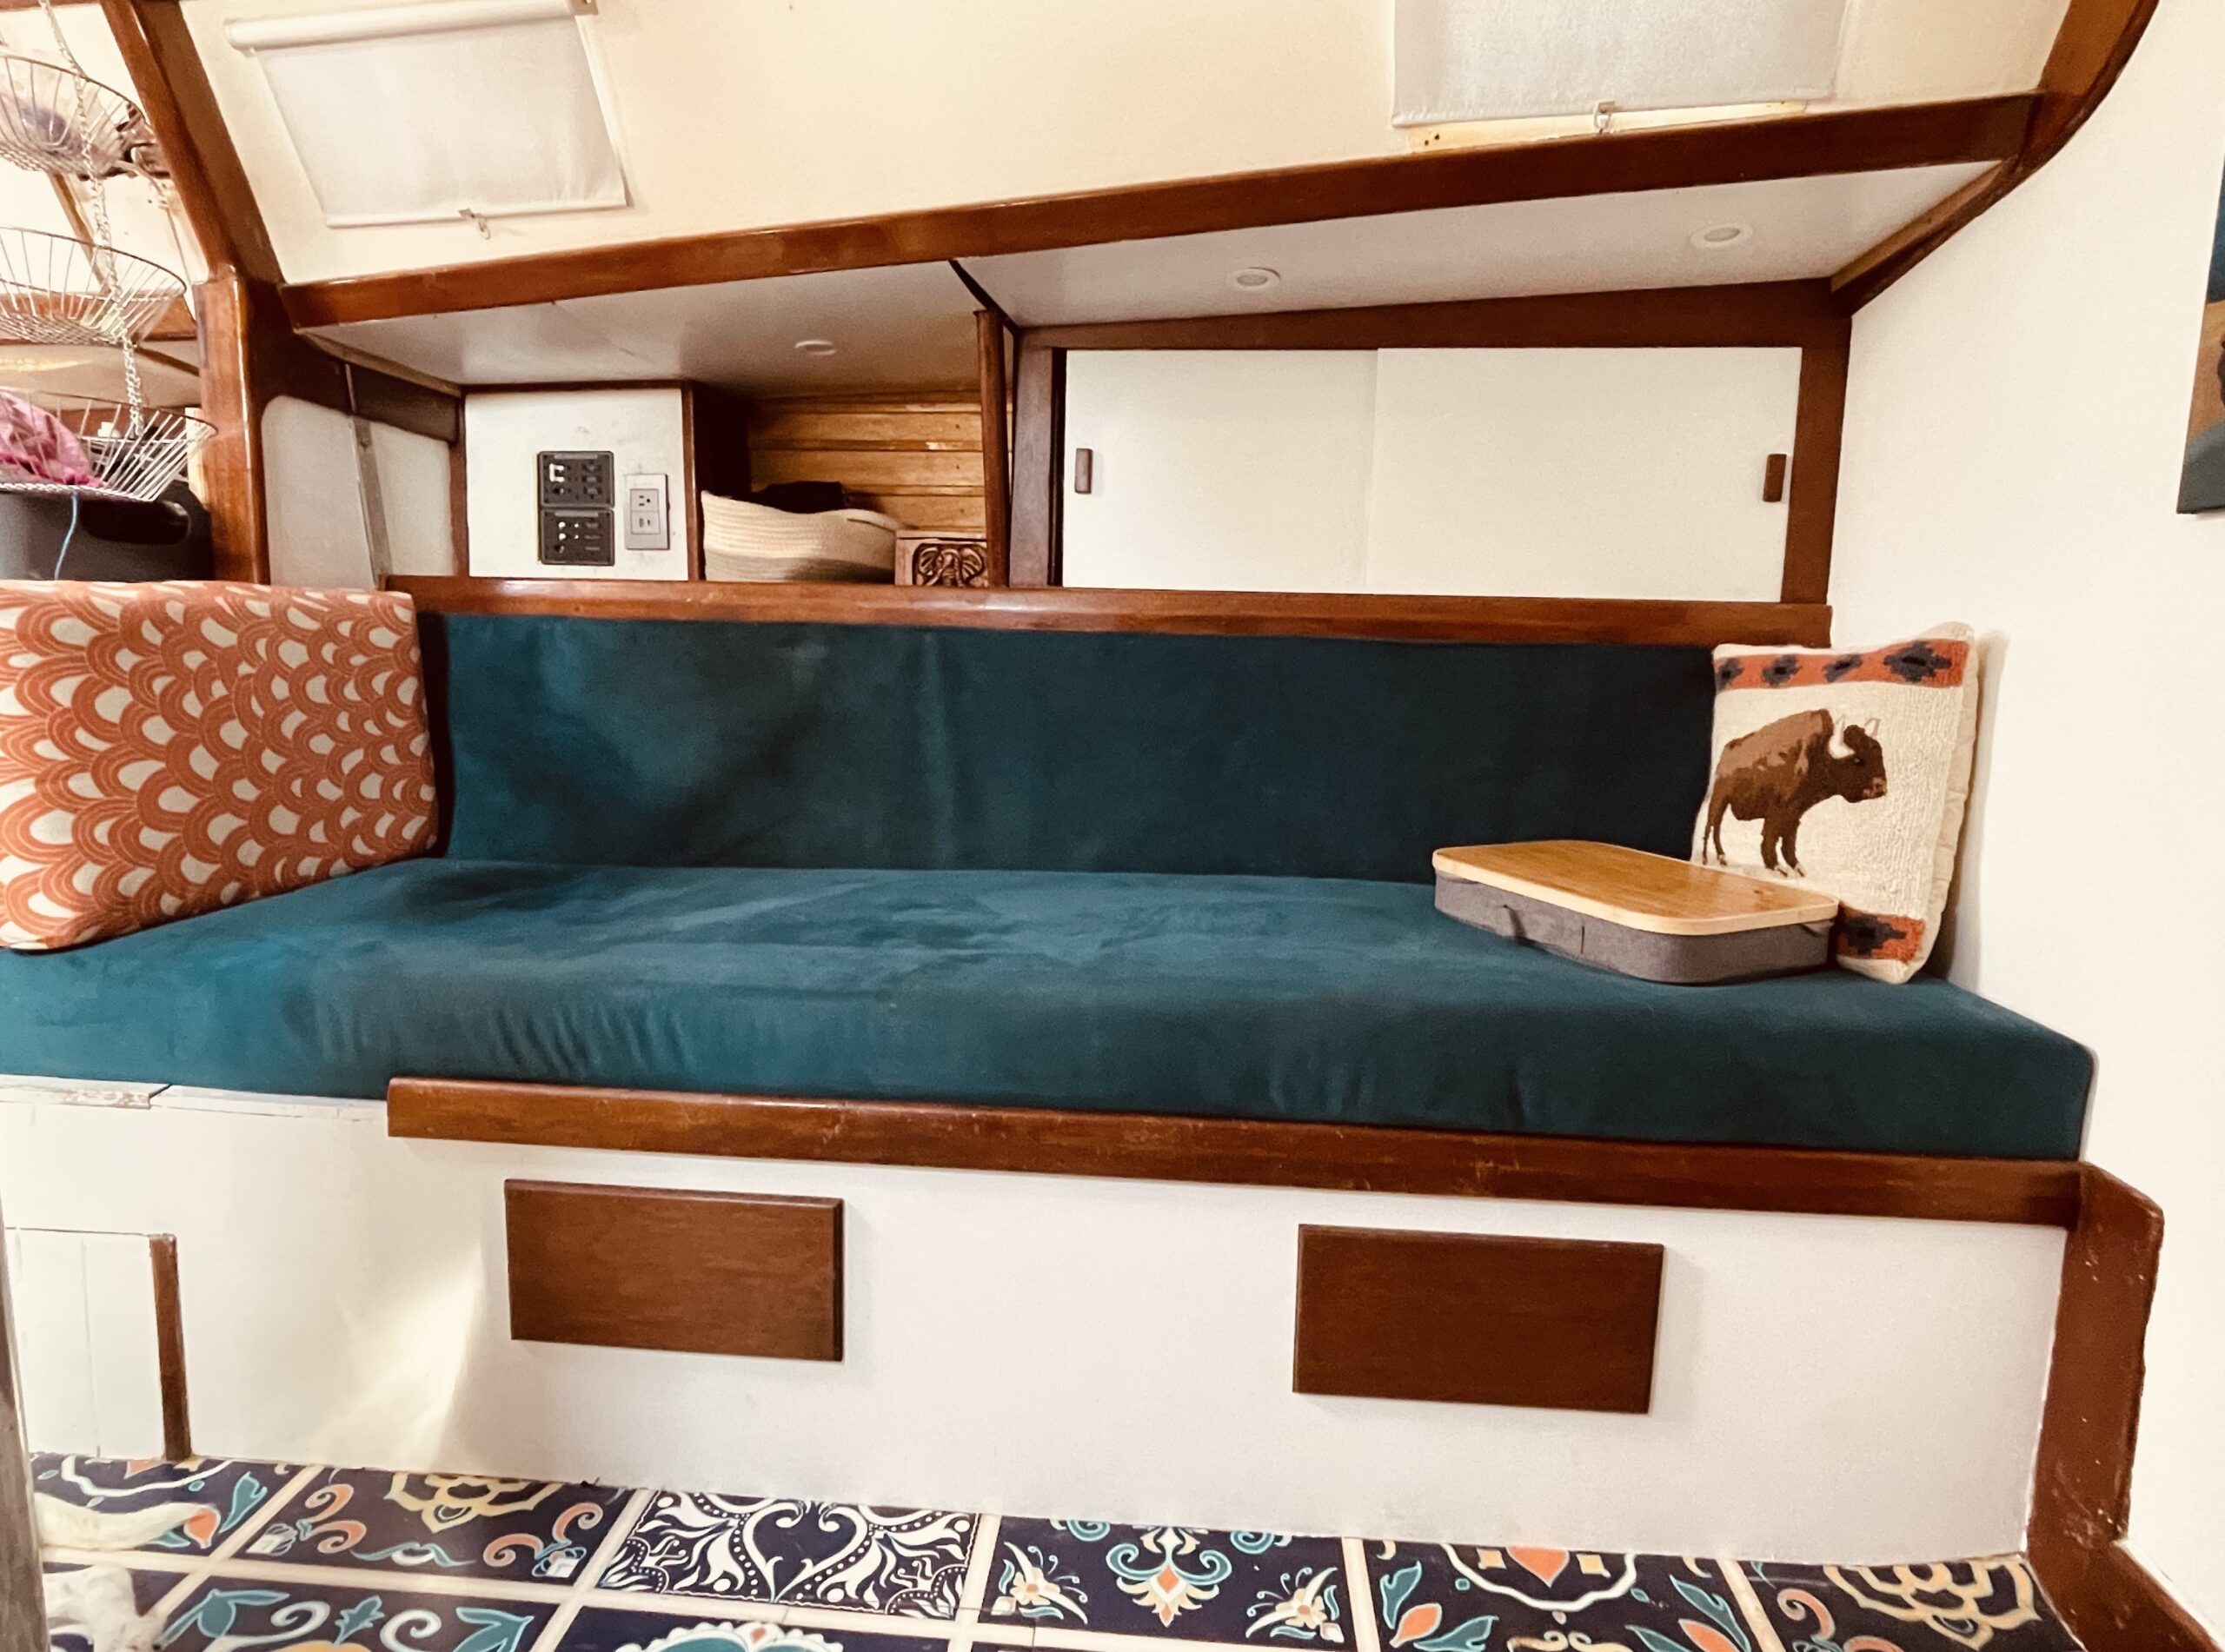
Since we no longer planned on cold-weather cruising, we removed the Dickinson diesel heater, freeing up 24 inches of settee space. This allowed us extra storage, particularly for raicilla, the boat’s namesake alcohol, and a longer settee cushion. We pulled out the Sailrite sewing machine and made new cushions in a low-maintenance, synthetic ultra-suede. Sewing box-style cushions was surprisingly easy with some simple internet research and videos from Sailrite.
STEP 5: CREATE SECURE STORAGE SPACE
One of the most significant undertakings was enclosing the open storage areas for safety. We didn’t love the thought of cans and books flying around in rough seas. This odd-shaped space was challenging, stretching our limited knowledge of carpentry.
In a rented garage during the winter, we built two mahogany frames for the forward storage areas. This was the most difficult project. Hours were spent researching woodworking sites, learning to make jigs and calling dad. Learning to make the jigs, along with mastering the router, were the key factors in our success with building the frames. Unfortunately, we made the error in assuming that the boat sides mirrored each other, and we were left with one cabinet that has a slight gap in one area. We saved costs by buying a remnant piece of mahogany from another cruiser and chose to make the sliding cabinet doors with plexiglass instead of buying more pricey wood. We wrapped the plexiglass doors with white 3M vinyl. The space was completed with laminate panels glued directly onto the exposed insulation and trimmed with a linoleum knife. A router with a laminate bit would have produced better results for this. We installed recessed lighting in the laminate for a polished look.
FINAL TOUCHES
Victory brand reflective roller shades, an Asus ceiling-mounted projector, and a few pieces of artwork rounded out the salon to make the boat feel more like home. Due to the narrow beam, we opted out of a salon table and bought Mayjoy bamboo lap tables from Amazon that double as electronics storage. We were not worried about limiting our entertaining options as our cockpit has a large table and we often entertain outside or opt to have the larger boats host.
CONCLUSION
The entire refit cost close to $1,500 and took 250 hours over the course of two years to complete. The majority was done prior to leaving the dock in Vancouver and the last 50 hours were done during our haul out in Mexico.
The absolute hardest part of the process was cabinet making. We didn’t take into account that the cabinets (port and starboard) wouldn’t mirror each other and didn’t measure both sides independently. The port side has a ¼-in. gap in one spot as a result.
The refit transformed what was once an awkward, utilitarian space that more closely resembled a floating office into a welcoming and much more modern salon. With careful planning, DIY determination and a willingness to experiment, we created a space that suits our lifestyle, meets the demands of full-time cruising, and still feels like home.


