

Like most sailboats from the heyday of factory production in the 70s and 80s, our 1978 Islander Bahama came with a textured non-skid gelcoat deck, with a pattern designed to provide traction in all conditions. More expensive boats of the era came with glued-on rubber sheets with a diamond pattern. TreadmasterTM comes to mind. Even more expensive boats had teak decks. Our deck was basic gelcoat, and it was starting to appear somewhat aged. It was time to take action.
There are a host of companies that produce marine-specific, self-sticking non-skid sheets for decks. This would be the ideal solution—good looking, long lasting and able to hide all sorts of age-related defects. However, if a boat owner wanted to apply this type of product on textured decks, the current surface would have to be sanded down to a smooth surface to ensure adhesion. To me that appeared labour intensive and required a skill level I was not prepared to commit to.
I was looking for a simpler solution for our Islander with its accumulation of dings and scratches on the non-skid. I found a wide variety of ideas while exploring available paint products that were either developed for, or could be adapted to this project—everything from glossy polyurethanes with sand- or walnut-shell additives, to rubberized paints that provided traction through surface composition.
My research led me to a product called KiwiGrip, a water-based paint developed and produced in Australia that is available locally at a realistic price. I had (nor have) no affiliation with the company or the product. I just deemed it to be the best bet for what I wanted. Is it also Practical Sailor recommended. The product came with a specialized roller that, when used while the paint is wet, created a textured surface that provides a non-skid finish without a glossy appearance. What sold me was that this product was water based, forgiving to apply, quick to touch up after the inevitable dings, and reasonably priced. From the factory literature and videos, application appeared to be within my skill level.
PREPARATION
As in all paint jobs, it’s all about the preparation.
Step 1: Remove Hardware
The first task was to determine what needed to be removed from the non-skid portions of the deck. There were cleats, line stoppers, dodger hardware and winch drums that had straight forward fastener access—no question about removal. Other items, like the teak handrails on the cabin top, proved a bit more of a challenge. But as this was a winter project and I had time on my hands, the handrails came off, even though I could have worked around them. The more that could be moved out of the way, the easer the paint application would be.
Step 2: Dewax and Degrease
The next step was to thoroughly dewax and degrease the target area(s). Most boats have patterns/sections of non-skid separated by glossy gelcoat. The target non-skid areas must be free of any contamination that may affect adhesion of the paint. I used trisodium phosphate (TSP) available at the local hardware store in both liquid and powder form. Commercial de-greasers could also work but be cautious of any potential damage to gelcoat. Wearing protective rubber gloves and eye protection, a thorough scrubbing with a stiff brush took me a couple of hours to complete. TSP is brutal on the skin and good quality rubber gloves are highly recommended. Once scrubbed, a thorough rinsing must follow. Failure to use plenty of water can leave TSP contamination on deck.
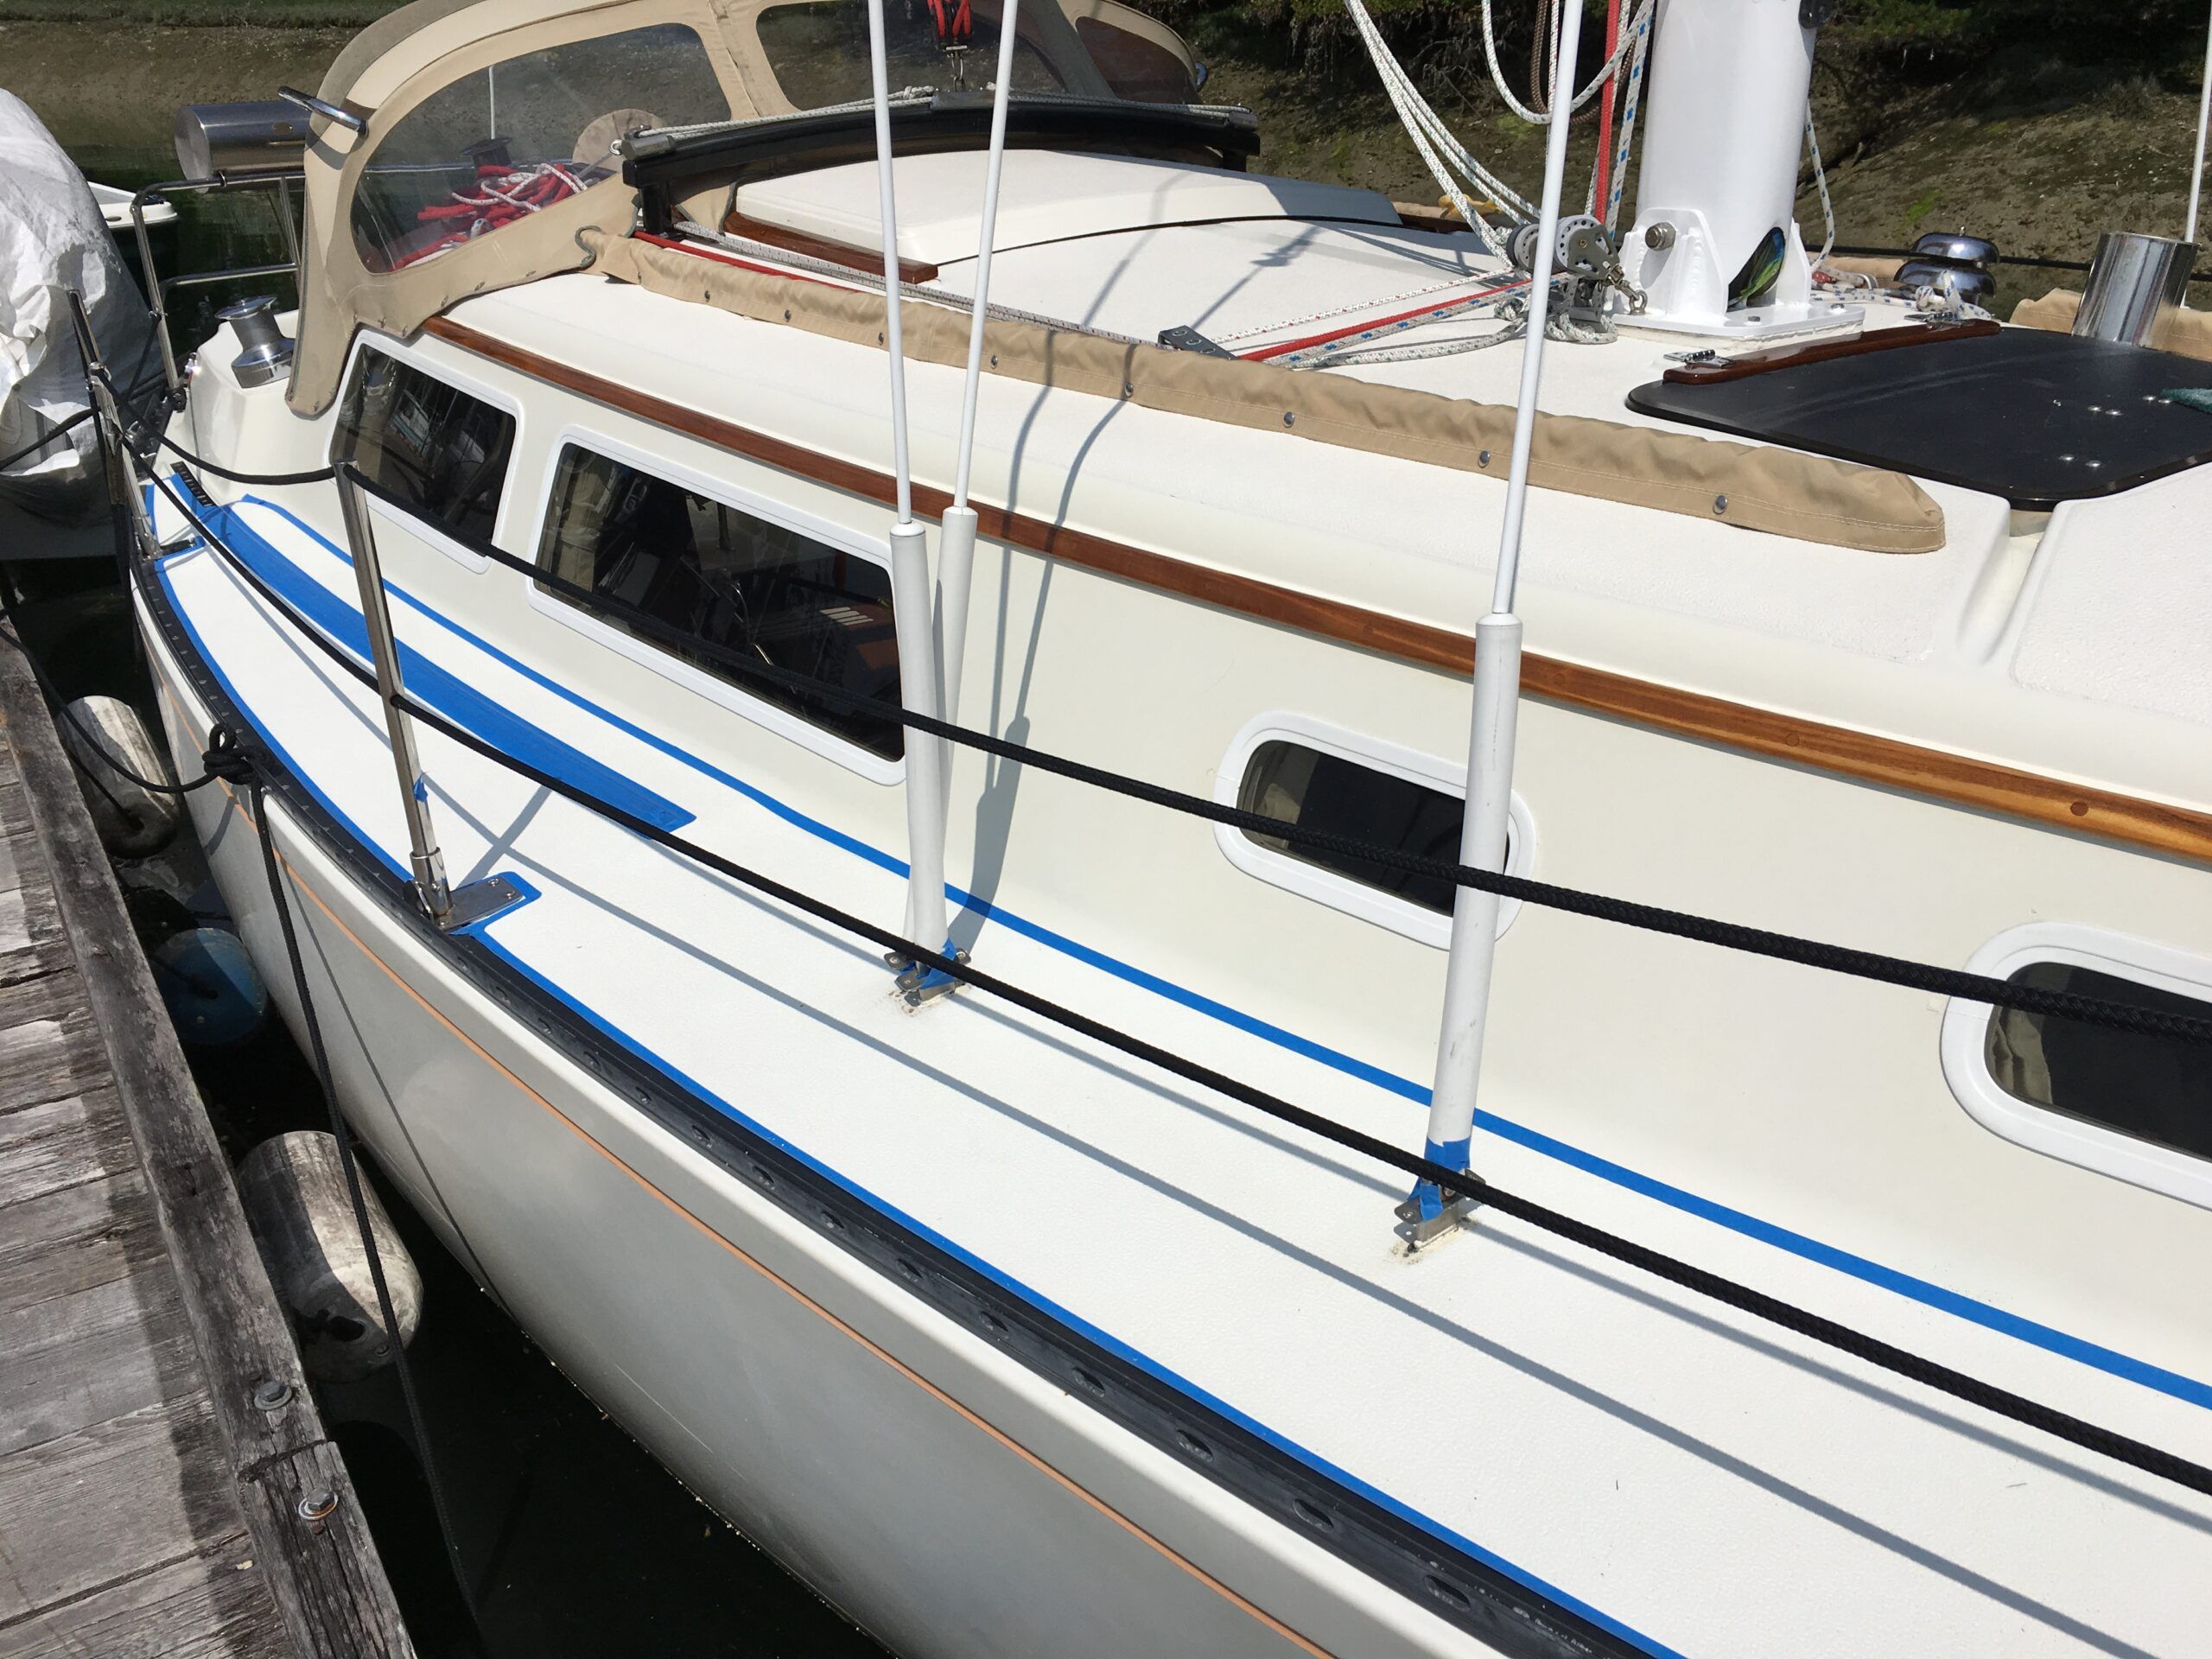
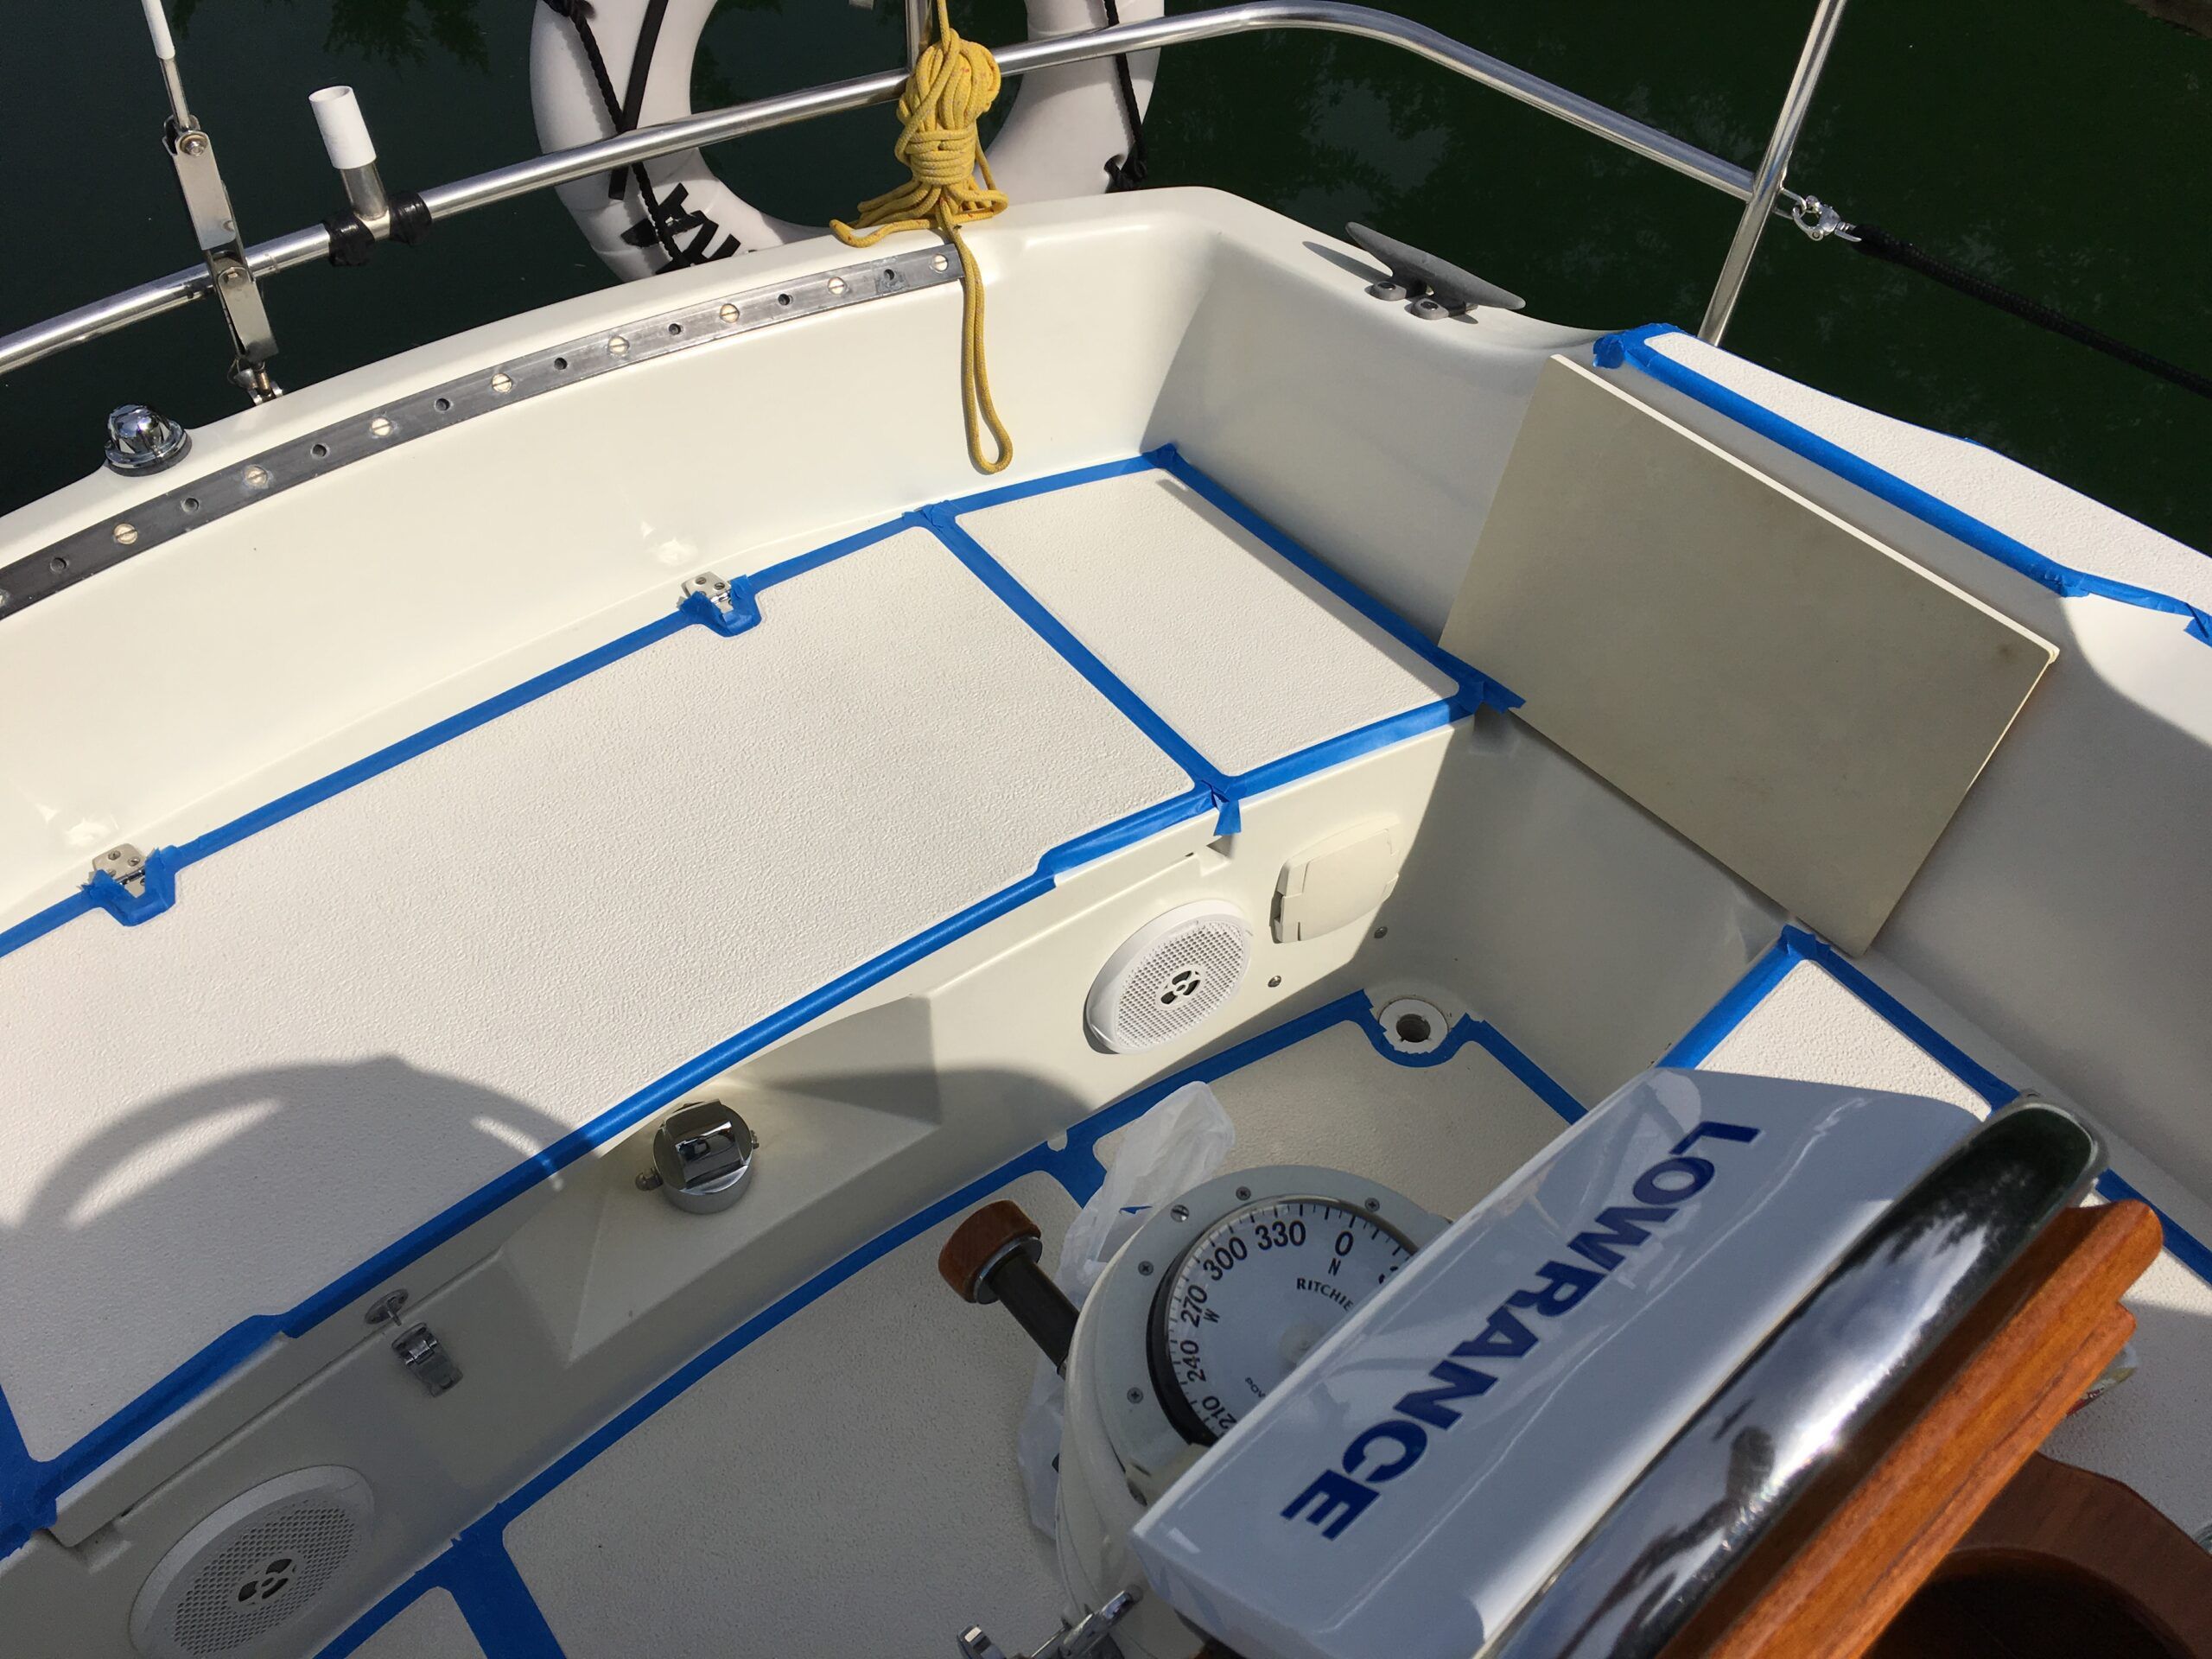
Step 3: Masking
Now came the most time-consuming part of the project—masking the areas not to be painted. Applying KiwiGrip is messy and there are time constraints. It has a consistency of pudding and has a tendency to get everywhere. Be sure to mask everything even remotely in danger of being touched. Once hard, KiwiGrip is almost impossible to remove from gelcoat and hardware. This is a good thing for the target areas, not so good elsewhere.
I would also recommend splurging on quality masking tape. Although the tape will be removed during the painting process, probably while still wearing rubber/vinyl gloves, poor quality tape may tear causing delays and frustration. If you leave a small up-turn for each section of masking tape, removal using the small tape lift will be so much easier to grab with gloved fingers. Protective gloves during the application process also keeps hand oils off the clean gelcoat. The same applies to bare knees, shorts may not be a good idea.
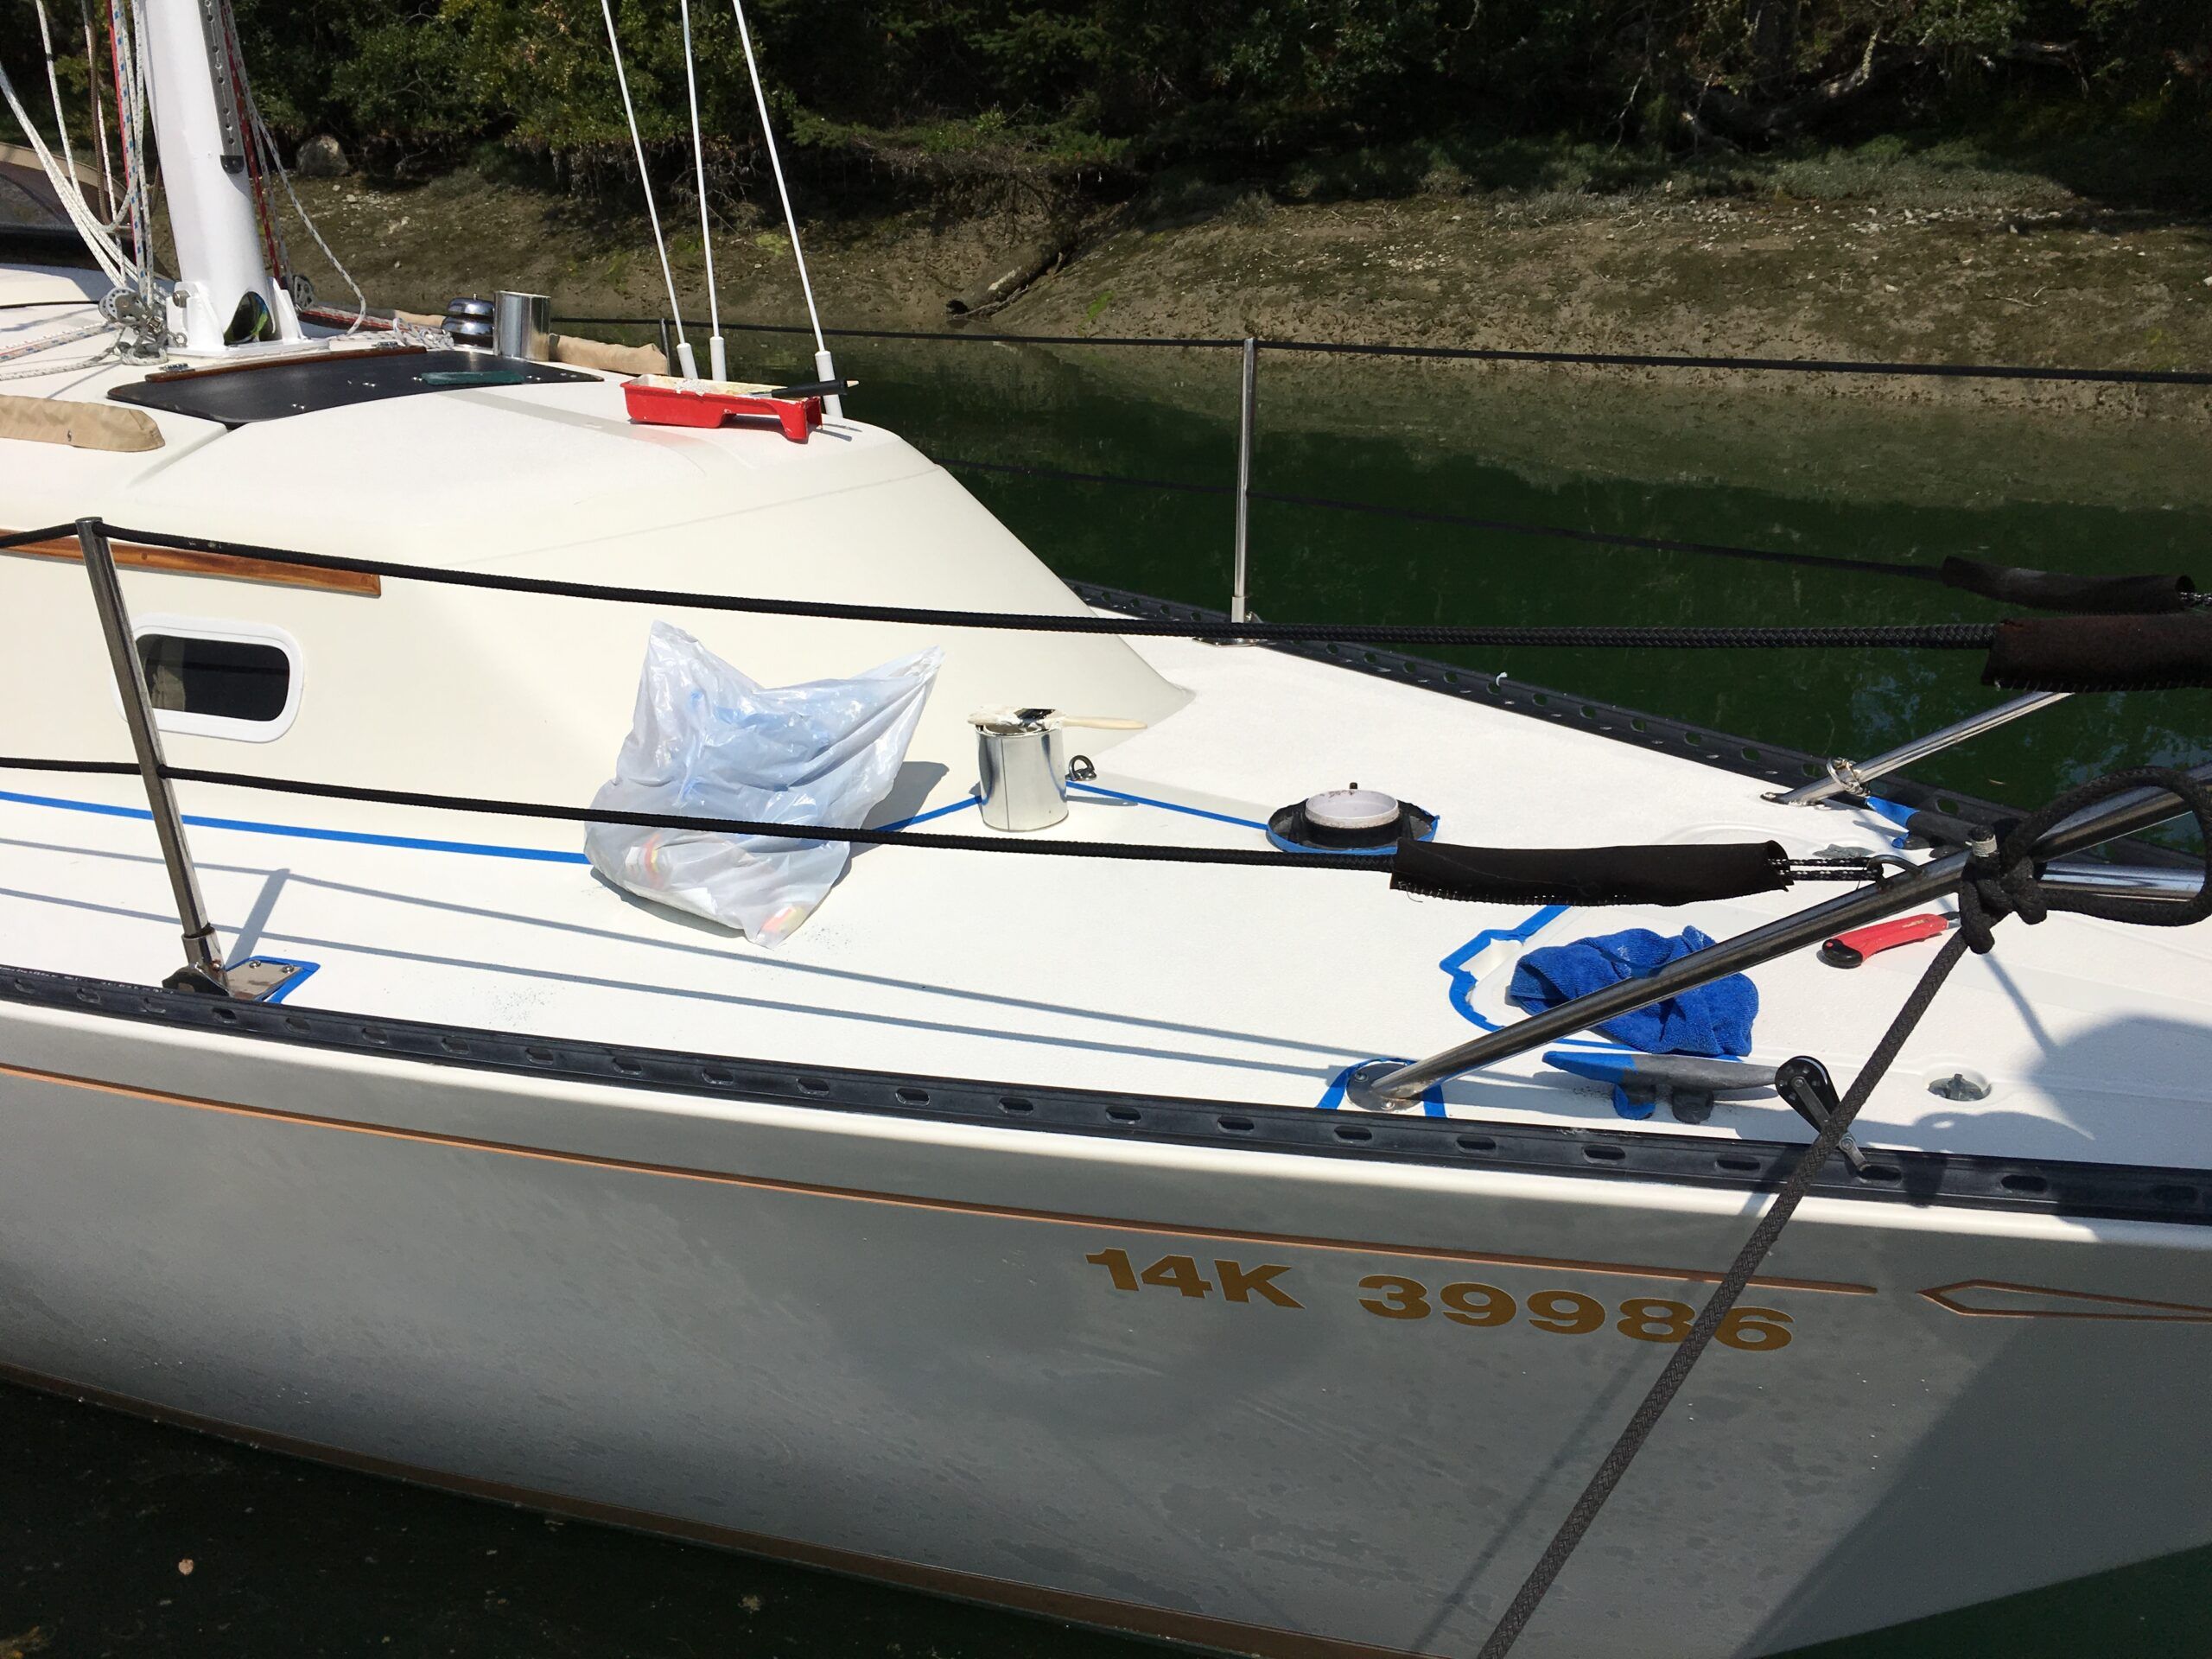
APPLICATION
Now comes the fun part! It’s also the most stressful. As mentioned earlier, the painter (you) is working against the clock. The warmer the day, the greater the pressure to work quickly. It’s helpful to divide the deck into sections, something probably already done by the factory when laying out the non-skid textured surface. The smaller the sections, the easier the task. Start with the smaller sections to acclimatize yourself to how the paint behaves.
Roller size
Application of KiwiGrip process includes laying the paint on in a thick, even layer by brush, then rolling it out with the textured roller that comes with the paint, or can be purchased separately. The roller comes in two sizes, 4-in. and 10-in. In most cases, the roller handle and tray are separate purchases. For small areas, or areas in tight places, the 4-in. roller works best. Larger cabin tops and side decks are best tackled with the larger roller. The goal is to get an even texture on the area, large or small. Roller size matters. Again, the applicator is working against the clock.
Apply the paint
I have found a 3-in. bristle brush the best tool for applying the paint. I would not recommend a disposable foam brush, those are simply not stiff enough. Slather the paint on. There should be enough paint on the deck that a finger pushed against it will leave a trough. Using the brush judiciously, even out the paint to a level surface, but don’t spend too much time perfecting it.
Texture the paint
Now comes the textured roller. Do not dip the roller in the paint tray, the tray is just there to hold the roller when it’s not in use. Rolling over the thick paint will transfer the roller texture to the paint surface, stippling the paint. Roll back and forth a few times to even out the texture, but don’t overdo it. The fresher the paint, the milder the resulting surface texture as the paint slumps back down. If a rougher surface is desired, wait a few moments and roll again, the surface will stay rougher. Wait long enough and you can give it a moon-like texture. Although such a rough texture may be perfect for ultimate traction, a very rough surface will be hard on bare skin (feet, knees and hands!) and will catch ropes running along the surface. As the painting progresses section by section do not let the roller load up with too much paint. Wash the excess paint out with water, spin it dry, and you’re ready to go again.
Roller speed
Keep roller speed down as you cris-cross the section to balance the texture. With the perceived urgency to get the paint applied, there is a desire to move too quickly. The higher the roller speed, the more paint will be sprayed onto surfaces not intended to be painted!
Remove masking tape immediately
Once satisfied with the surface texture for that section, remove the masking tape! The intent of this immediate removal is to get the paint at the paint edge to “lay down,” reducing the vertical tape edge to the adjacent smooth gelcoat. Have a garbage bag or pail at hand, the tape will be sticky and the paint still wet. Wear gloves and have enough on hand to change them often as you progress through the sections.
Plan your movements
Plan your rotation of sections to ensure that you can reach each panel (including the removal of masking tape) without stepping on fresh paint. Keep in mind that the entire task does not have to be completed in one day. With simple clean-up and re-use of the tools, this project can easily be divided into separate days or weeks.
Drying time
Drying time is dependent upon the surface temperature. From my experience, an early morning start before the sun gets to the surface is best. I’ve applied it down to 10 C (50 F) without any adverse results. Working time is critical. Brushing on an even layer, rolling to a consistent texture, and removing masking tape should be completed before the sun starts heating the surface. The surface dries quickly but underlying thickness remains soft. Drying to a hard finish takes a day. I’ve always avoided the surface overnight, preferably two, before treading on it.
CLEAN-UP
Clean-up is quick and easy—use water! Simply rinse out the brush(s) and roller(s) in fresh water before the paint dries out. Identify any over-runs or drips on the glossy gelcoat or fasteners and remove as quickly as possible. A rag with water works while it’s still fresh. Remember, washing the decks with TSP earlier has removed any wax that protected the gelcoat, including the shiny parts that won’t be painted. KiwiGrip is formulated to stick very well to that gelcoat and, once dry, is very difficult to remove. Ask me how I know!
RESULTS
KiwiGrip has provided our Islander with a hard, non-glossy textured non-skid surface that has survived the marine environment well. After 14 years the cabin top, side decks and foredeck still look fresh. The finish can be scrubbed with a stiff brush and aggressive cleaners without any detrimental effect. The cockpit seats and sole, the high-wear area of any sailboat, are showing signs of wear (dings, scratches, and discoloration from the dyes in new blue jeans) and will get a fresh application this winter. And that’s the beauty of this product. A wash, masking tape and application is going to take me less than a day and will look brand new again. Touch-up of scratches is also a breeze, something that is difficult with the polyurethane finishes.
KiwiGrip comes in a selection of common colors, white, light grey, light blue, light green and tan. At time of my application, I wanted to match the boat’s gelcoat color. I took the can of white KiwiGrip to a local paint shop for tinting. The “old guys” at the shop were intrigued by the product and took up the challenge, which resulted in a nearly perfect match. Unfortunately, those gentlemen are now retired, and the new crew simply works on computer tinting and are not interested in customization. However, for my desired tint, blending the white and tan should get me close. Be aware that KiwiGrip does dry slightly darker than what appears in the can.


I had a similar experience redoing the nonskid on our Pearson Countess. The new nonskid surface worked well and lasted for years.
This method of application – brush on, roll, repeat (rinse roller when needed) would have been much better than P—- T— C—‘s directions for getting their product applied with an improved outcome. Pearson 35.
Ah, the school of learn by mistakes. It always seems to work best vs a demonstration on a flat panel in a factory setting. Thanks for the comment!
I found that having a 2nd texture roller was really helpful. After 10-15 minutes, the edges of the roller get little nodules and clumps due to drying. When this happended, I would put it in a bucket of water and switch to a new roller. I had a helper and they would wash out the roller in the bucket and pat it dry on a paper towel.