Photos by Drew Frye and Patrick Childress

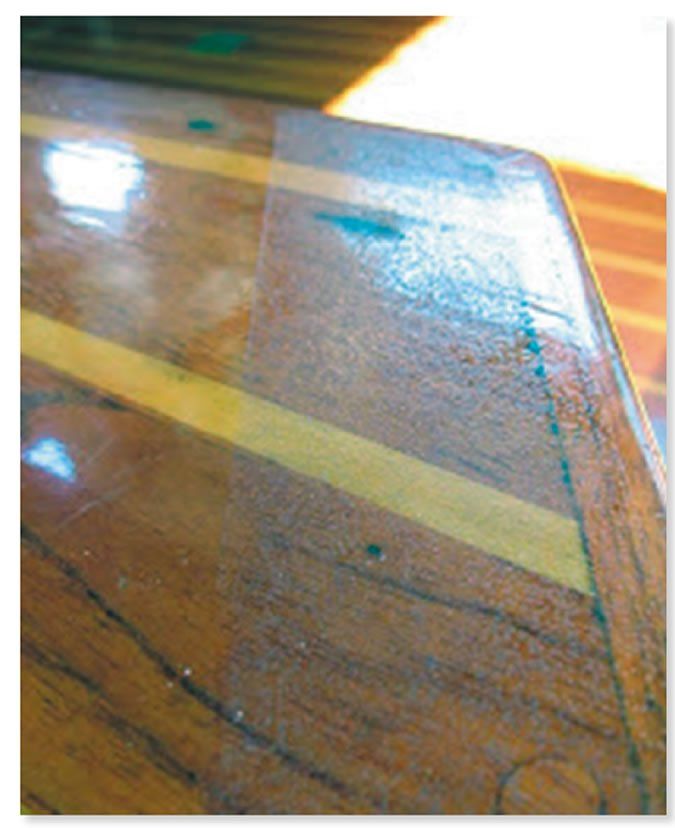
While new finishes-paint, epoxy, or varnish-may be beautiful to look at, they are also as slick as can be when a little seawater hits the surface. You can cover your handiwork with nonskid tape; slather on a coat of bland nonskid paint; try one of the nonskid paint additives like crushed walnut shells (favored by PS Technical Editor Ralph Naranjo); or you can try an easy, age-old method that PS tester Drew Frye favors: salted varnish (or paint).
The first step to creating a salted finish is to coat the project as usual, with as many wood-finish, paint, or epoxy coats as required for lasting service, allowing it to cure completely. Next, mask off the area surrounding the section that requires nonskid and apply an unthinned coat of the same finish; we have used this method with polyurethane varnish, marine enamels, linear polyurethane (LPU) paints, and two-part epoxies. It works best and lasts longest with harder finishes like LPUs and epoxies.
While the coating is still wet, sprinkle it with coarse salt. A salt grinder works well; just hold it two to three feet above the work surface. Start with a light coat, moving back and forth until a uniform coating is obtained. Eventually, you want a heavy coat. There is no harm done by applying a little too much. For a more subtle nonskid, Mortons table salt works sufficiently. Wait until the coating dries, and then rinse it well with water. The water dissolves the salt, leaving a dimpled, textured profile behind.
Frye cites the methods many advantages over other nonskid options: The invisible nonskid is nearly identical in color to surrounding areas; it isn’t overly aggressive (some nonskids will wear holes in your pants); and it is as durable as the base finish. He has used salted varnish for many years in high-traffic areas. While it might not be durable enough for a companionway ladder, he has found it to be a good option everywhere else.
Best of all, it is easy to resurface. Since there is no aggregate, simply sand lightly and re-coat. It couldnt be simpler.


