

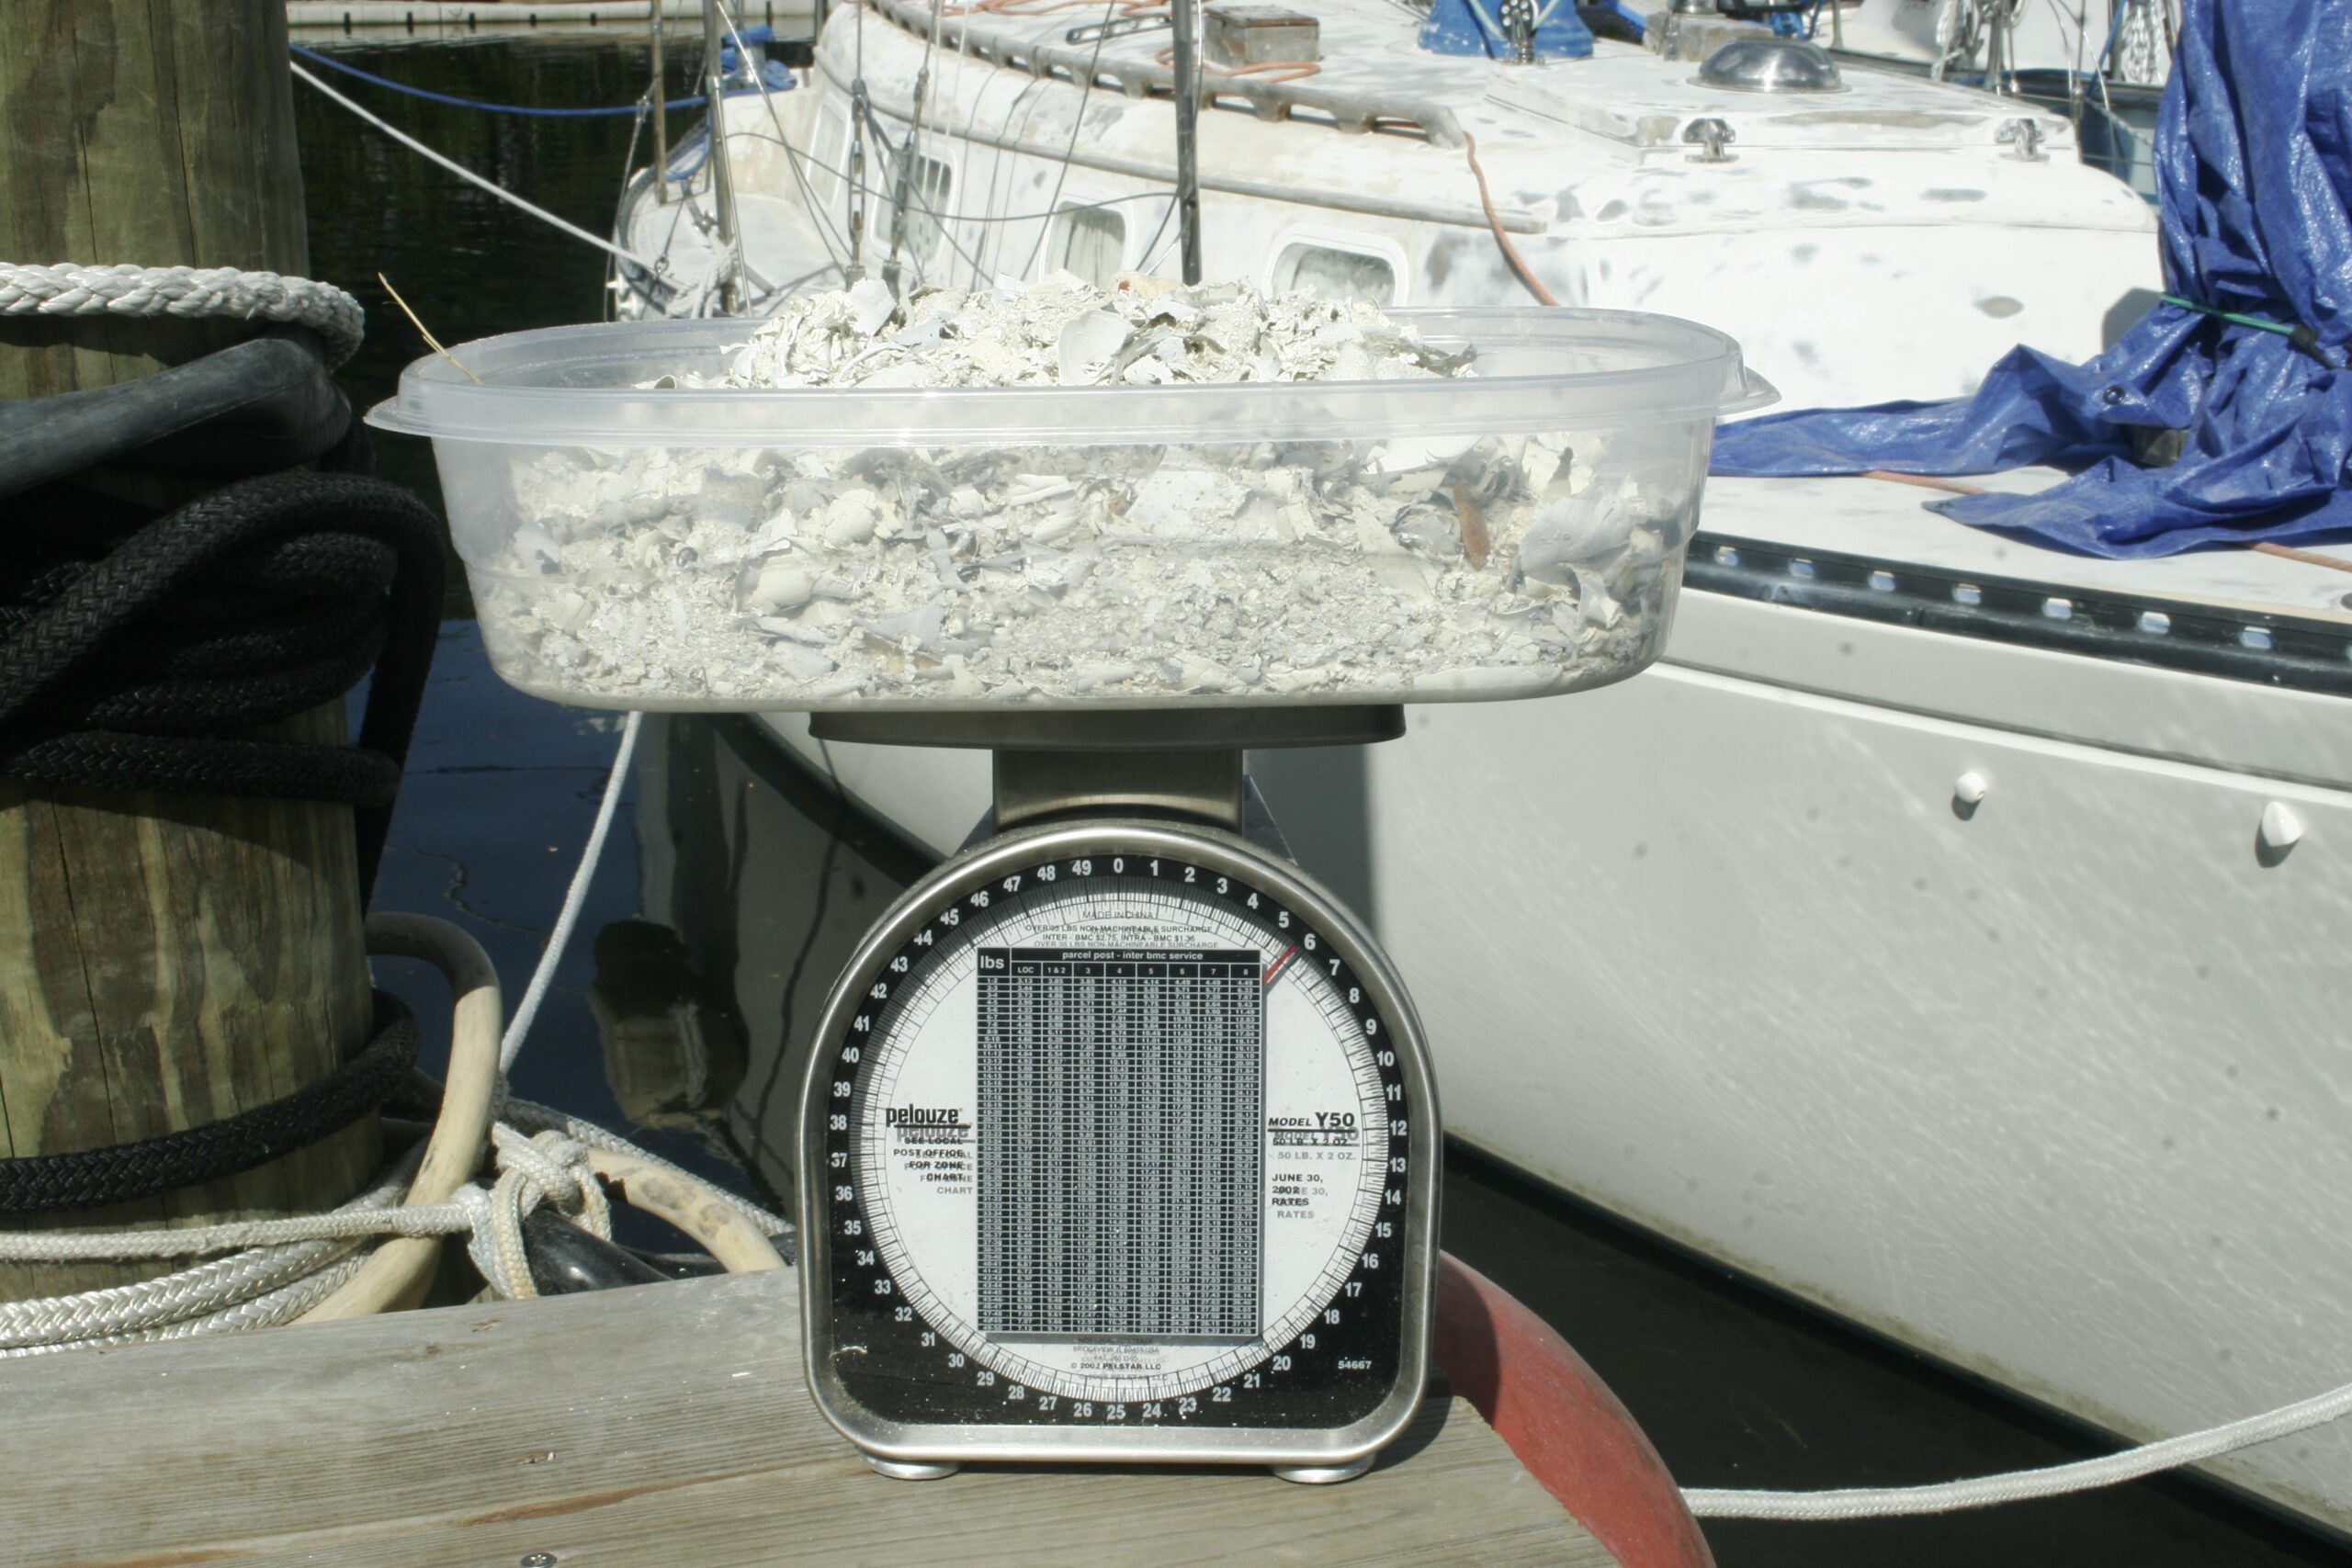
Last fall, I embarked on one of the most time-consuming boat projects I’ve done in years, one I hope never to repeat—remove six layers of paint and primer from the deck of my 1971 Yankee 30 Opal. The boat’s one-part polyurethane deck paint was completely shot and I needed clean, smooth substrate to get the long-lasting finish that I wanted.
As grueling as the work seems to an outside observer, I found the work satisfying. The exercise gave me some time to clear my head, let other pressing concerns slip away, and to focus on one simple task. At the start, it was as if I was sweeping an endless hallway, so to focus too intently on the finish line was discouraging and counterproductive. After a while, I just fell into a contemplative rhythm. The Florida fall and winter made for pleasant working conditions and minimized the discomfort of my personal protective gear.
So why not do it again? The main reason I’d rather not repeat the job is because I feel like I’ve accomplished the purpose of the exercise—to update my boat maintenance skills, to renew my appreciation for boatyard workers, and teach me a few lessons that might help me through life. I’ve reached a point when I can afford a little help, so next time I won’t hesitate to hire a good hand.
The Lessons
1) Every once in a while we have to tackle a seemingly overwhelming, “impossible” task to remind ourselves we’re more capable than we think we are. This also helps to identify personal shortcomings that need some attention, or to recognize moments when you could use a little help from friends. Risk failure or you’ll never grow. I’d almost go so far as to say you should strive to fail. You’ll either surprise yourself, or discover a new opportunity you didn’t know existed. (This philosophy can be pretty expensive with boats.)
2) Don’t focus so much on accomplishing a certain task by the end of each day, concentrate on the quality of your efforts within a fixed period of time. During the final month of the project I was no longer telling myself, I’ll sand this many square feet today. I was saying instead, “I’m going to work five hours today, as proficiently as I can.”
3) Timing is everything. This grueling project was less arduous because it was carried out during the Florida fall and winter when the temperatures were comfortable. Sure, I sacrificed good sailing weather, but having spent much of my sailing life meandering across the equator, I know the suffering involved in a tropical boat bottom job—not to mention the risk of heat stroke. Drew Frye’s tips on cooling down coveralls with a personal air conditioner was a big help early in the project.
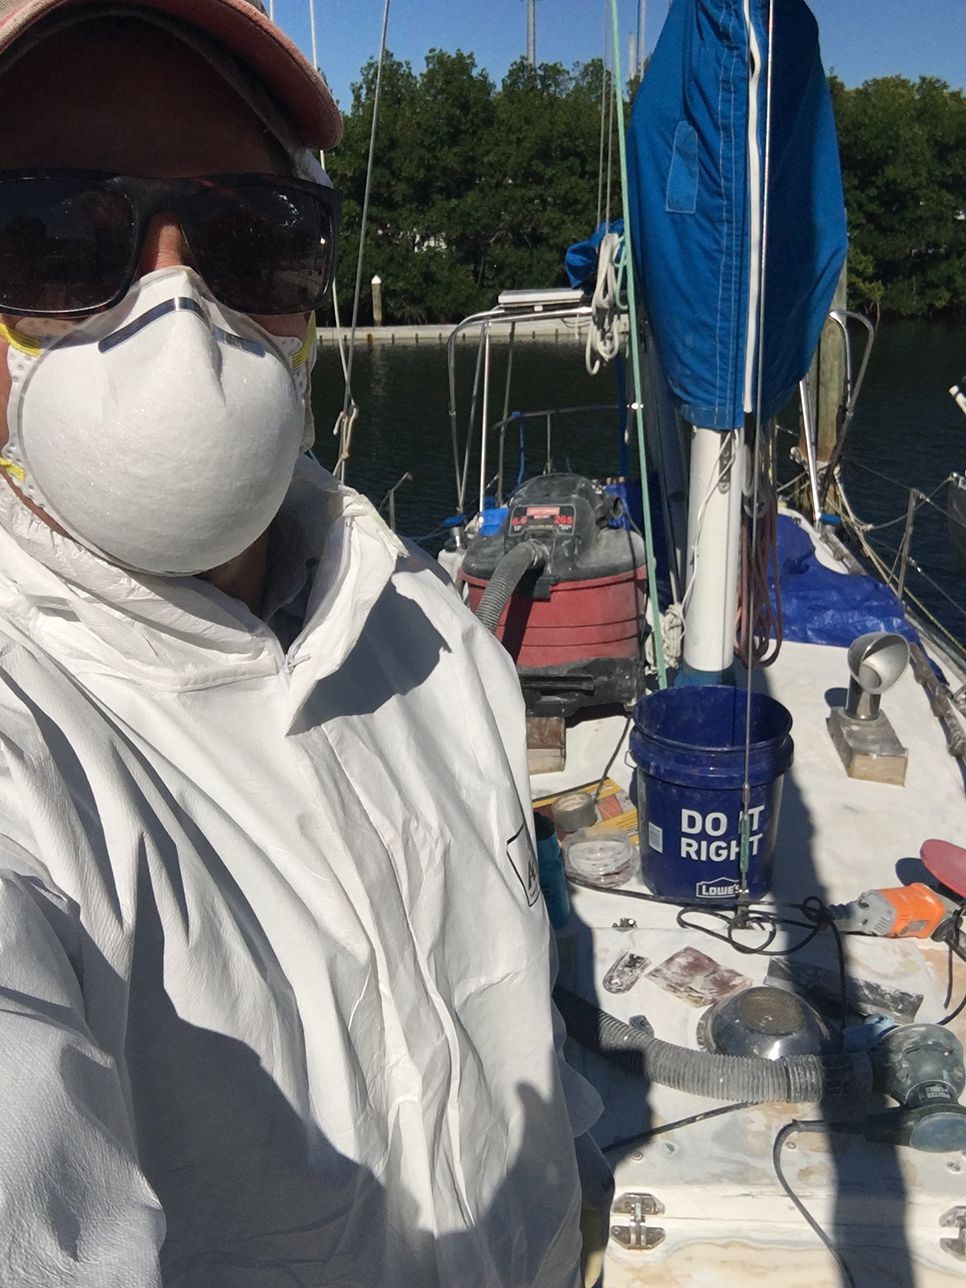
4) Take care of yourself. Sleep well, eat well, stay hydrated, and go easy on your body. The boatyard can be a hazardous place; follow our guidance on boatyard safety. I would stretch every morning, take regular breaks and wouldn’t hesitate to take a long lunch—or even a nap—if I felt I needed it. You’re not going to be doing much sailing if you wreck your body in the boatyard.
5) Plan and prepare. Your back and arms aren’t saving you much money—your brain is. Make a budget and try to stick to it as much as possible (you probably won’t, so leave a generous buffer). Unlike the Department of Transportation model, where workers tear up the same street for each successive utility project, tackle jobs in a logical order. I sought out the advice of several experts, paying a small consultation fee on two occasions, to make sure I was using the right tools and materials, and following the correct, most expeditious process. The major marine paint manufacturers have tech experts to answer questions—use them. My biggest question was at what point was the substrate ready for the first primer coat, and how can I be sure that each layer adhered? I wanted my boat to look nice, but mostly, I wanted the finish to last.
6) Don’t underestimate what you can accomplish, but be careful not to bite off more than you can chew. As much as I enjoy following the adventures of John Stone and his phenomenal six-year restoration of his Cape Dory 36 in the past few issues, I am purposefully resisting the urge to gut Opal and start from scratch. She is a great candidate for a full restoration, but I just don’t have the time for such an undertaking. Like my last boat, she will be a moving rehabilitation and upgrade project. She is already fit enough for offshore passages, so all her “needs” are mostly wants (upgraded deck hardware, new sails, new canvas, etc.) and can be addressed in piecemeal fashion. I know some surprises will come up, so for now, sailing time is my priority. If something is going to break, I want it to happen now.
6) Finally, dig into the back issues of Practical Sailor — or harass the editor (that’s me)— for guidance. We got a ton of tests and guidance on the site, and not all of it is easy to find (we’re continually working to improve the search function). If you take the time to search by key words related to your work (you can filter to prioritize by date, too), you should get a pretty clear picture of the tools you need and the products that will fit your task. If there’s something you can’t find or have additional questions, you can reach out to me at [email protected].
For example, here’s a Practical Sailor tip that I used last spring when I was unable to get a second and third coat down because the heat of spring and Florida’s annual lovebug invasion made painting problematic (see lessons #3 and #5).
Preserving Used Paint and Varnish
Once your varnish or painting work is done, and you are now left with several cans of very expensive marine coatings—some opened, some untouched—that you don’t want to go bad. What to do?
Stored in a dry place at room temperature, an unopened container of most of marine finishes will last anywhere from three to five years. However, some unlined metal cans will corrode surprisingly fast, so protecting the can with a corrosion preventative may help extend the products life. Keep in mind that even though a product appears a slightly different color after some time in the can, it may be fine once applied. It’s good to apply it to a test patch before throwing out a batch.
- Once a container is opened, a multi-year shelf life is not guaranteed, but here are things to preserve the product for another season:
- Store it in a cool, dry place with the cap tightly sealed. (Some woodworkers suggest storing cans upside-down to better ensure a tight seal.)
- When using the product, avoid introducing contaminants into the can by pre-mixing and then pouring it into another pot for application.
- Meticulously clean the lid and lip before closing. The catalyst containers for some two-part finishes can cement shut.
- Reduce the amount of air left in the can. You can put the remains in a smaller can (available at most paint stores). We’ve also heard of people putting marbles in the can to raise the level of the varnish back to the top.
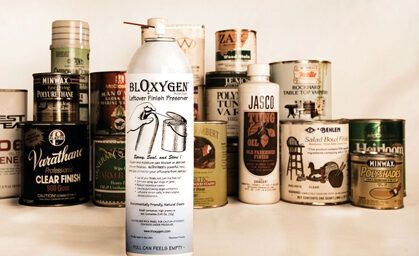
In addition to the above tips, a few readers have recommended pumping half empty cans of varnish with a product called Bloxygen. Bloxygen contains pure argon, a naturally-occurring gas used for welding and in packaging bagged foods like potato chips. The gas displaces oxygen in the container, helping to preserve the contents. Readers have suggested using other cheaper more readily available gasses.
When you spray, avoid spraying directly into the varnish or paint because this can cause it to splash out.
Does it work? Back in 2008, we counted several cans of marine varnish left over from our test of wood coatings. As is our policy, we ended up donating most of those to local charity (the Sarasota Youth Sailing Program, Sailfuture, and Shake-a-Leg Miami are some of our current partners), but we kept a few for follow-up testing. Almost four years later, I opened up a half-empty can of Epiphanes Rapid Clear that we’d sealed with Bloxygen, and I couldn’t tell the difference from the original in the way it looked, smelled, or applied. Here is Practical Sailor’s most recent long-term varnish test, by the way.
The same, however, couldn’t be said of all the varnishes we protected. The two-parts seemed the most vulnerable, but this may have been due to some negligence on our part. Of the eight cans we sealed, five showed no sign of deterioration.
As an added measure, we recommend using aluminum tape (metal, not just shiny silver duct tape) to seal the rim of the can. Most solvents will penetrate ordinary tape, but not metal. Our tech editor, Drew Frye, seals his half full bottom paint cans each season this way so he can reuse the paint the following year.


Great article and reminder of why we do what we do. Please share before/after photos!
Two comments about this project:
First, the author mentioned the nuisance of cleaning the vacuum filter often because of the dust clogging it. Of course, that’s not surprising but the real issue which the Dust Deputy doesn’t solve is the finest of the dust particles that don’t get spun out of the air suspension and settle to the bottom by a Dust Deputy of similar cyclonic add-on. Rather they stay in the air that ultimately reaches the vacuum’s filter. Here is the solution to turn a simple shop vacuum into a 2 stage system:
– use the disposable bags available for your the vac’s container–this becomes your primary filter.
– then, replace the vac’s only filter on the motor with a “fine dust filter. This filter becomes your 2nd. stage filter. Ridgid offers both even offers a conversion OSHA approved wet-dry HEPA upgrade kit for select vacs which includes both filters.
And now you’ve created a 2 stage system.
If you still decide to use the Dust Deputy (Oneida-Air.com), that will reduce how often you need to replace the primary disposable bag but you will have to deal with extra equipment which would be unwieldy on a boat. And, the dust deputy does let more dust get to the secondary filter than the bag does. In our shop we have two FESTOOL ™ vacs that are HEPA rated exclusively for sanding. But you can build yourself a comparable vac by doing the mentioned above approach for a fraction of the cost of a FESTOOL or similarly machine. You can even buy a tool/vacuum-actuating switch to automatically start and stop your vac. It just plugs into the power source and the vac and tool plugs into it. That will make a directly comparable in functioning machine to the FESTOOL ™ vac’s and other similar commercial systems. And, in any case, your vac will maintain its original suction performance throughout the hours of use.
The second comment is a simple suggestion: Get a pouring lip for your conventional paint cans from your local paint store. They are plastic, flexible lip that connects to the inside lip of the can and fits quarts and gallons, too. This completely avoids finish filling the sealing grooves of the can and the consequences thereof. That will almost completely solve the sealing issue and if you always pour off only what you need into a disposable linered cut-bucket, the contamination is minimized, too.
–
Interesting article. On a big job, it can be very intimidating when you just don’t see much progress day to day. One issue that I have not seen discussed is the issue of protecting your skin when using epoxy based products. When my friends and I did the bottom job on my boat using gallons of epoxy based fairing products, three of us developed contact dermatitis from the epoxy dust. We were all wearing respirators but it was hot out and we were not wearing Tyvek suits. I ended up on a short course of steroids.
Nothin like tradin yer lungs fer a little sail boat.
It is the work of love. Shapo ba! It is good to know that there are still crazies’ (in a positive sense) among us.